UPDATE: All new featured RV tours will be posted on my other website, Wanderful RV Interiors. Existing tours will slowly be moved to the new website, and anything already moved will automatically redirect.
Disclaimer: This post may contain affiliate links, meaning, if you click through and make a purchase we (or those featured in this post) may earn a commission at no additional cost to you. View our full-disclosure here.
I LOVE the look of rustic signs and knew I wanted to incorporate them into our wedding. If you are in the same boat then I hope you will enjoy this super easy tutorial on how to make your own wedding signs. The wood I use in this tutorial was from an old barn that was torn down, but you can use the same technique on new wood as well.
Here are a few inspiring wedding sign examples:
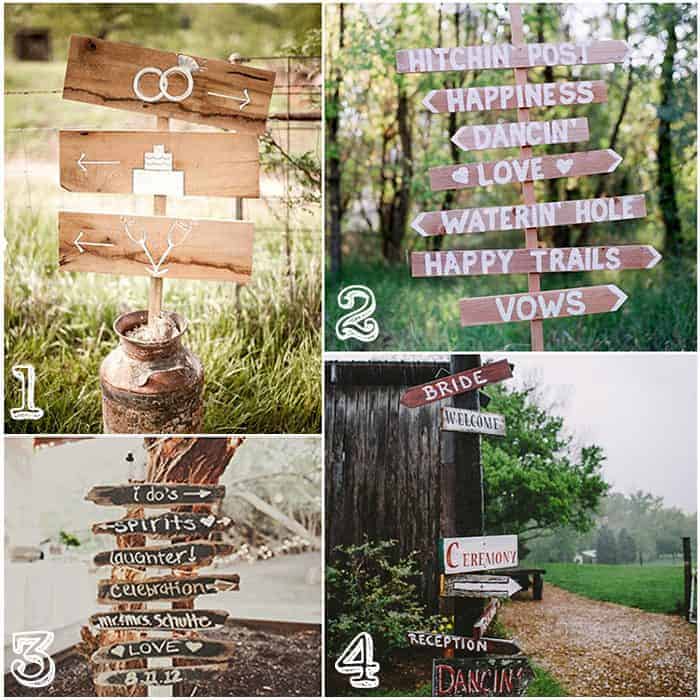
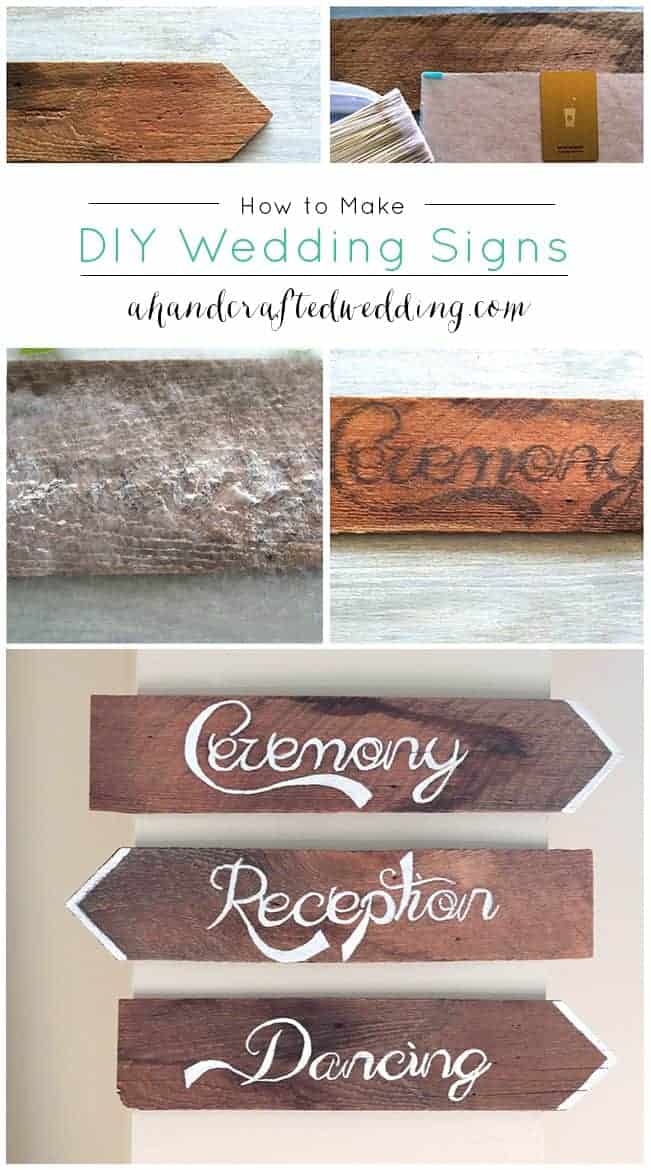
DIY Wedding Signs
I decided to make my wedding signs using the wax paper transfer method, which I will get to in a minute. I chose the Admiration Pains font for my wording (the same font I used to address our Save the Date & Invitations).
Of course, you can always skip the whole image transfer and paint on the wood directly. However, my handwriting is sooooo awful that I figured this would be easier and a fun way to incorporate the font from our wedding stationery into the signs.

Materials Needed for DIY Wedding Signs
- Wood
- Computer/Ink Jet Printer
- Wax Paper
- One Sheet of Cardstock Paper
- Tape
- Credit Card – I used my Starbucks card
- Water
- Paint Brush
- Paint
Step 1:
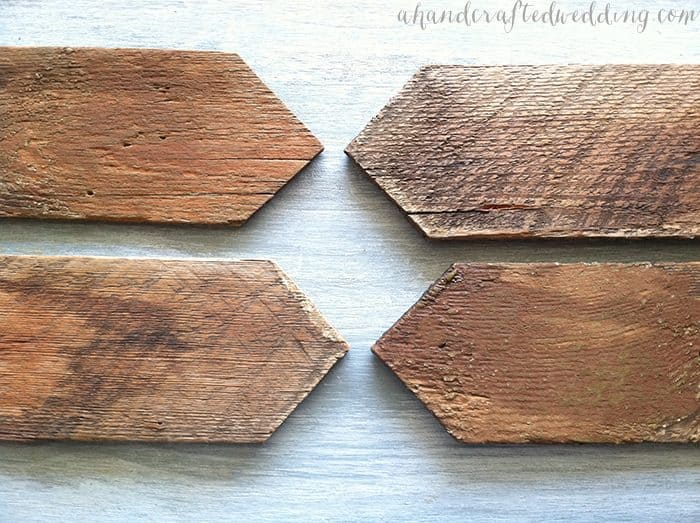
Prepare the wood – I always clean old wood with mineral spirits before doing any painting. After I wiped down the wood I then did some light sanding to smooth the wood out a bit.
Step 2:
The next thing you will want to do is have all of your words ready to print. BEFORE you print, make sure you Reverse the words!! If you have paint {which comes standard on most PC’s} then you can simply open your image, Click “Rotate” and then “Flip Horizontal” and you’re done 🙂 I used Admiration Pains which is a free font available here.

Step 3:
Brush some water onto the wood you will be applying the word to. Make sure not to use too much water, just get it damp which will help the words transfer better. After you have printed out your word you will need to work quickly which is why I brush the water on, then print out the word. You could always do this after you print though.
Step 4:
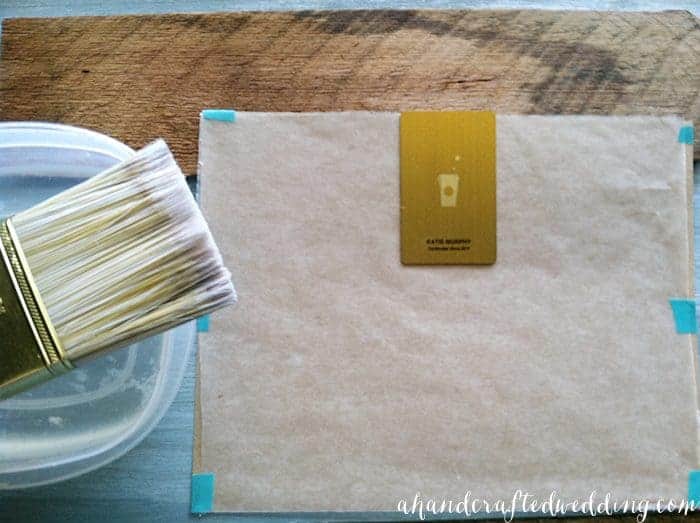
Print your image onto wax paper {the waxy side}, which can be purchased at any grocery store, target, etc. I cut my wax paper to roughly the size of printer paper so that it would fit in the printer {I have a Canon Ink Jet Printer}. To avoid the wax paper tearing or getting stuck in your printer make sure to TAPE it to a piece of cardstock paper. You can use double-sided tape along the edges, or whatever tape you have on hand.
Step 5:
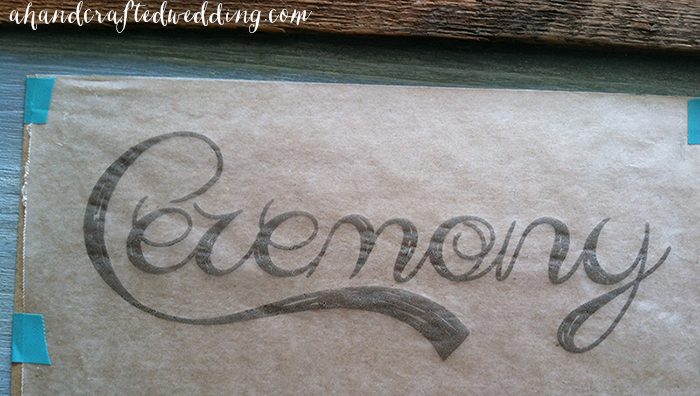
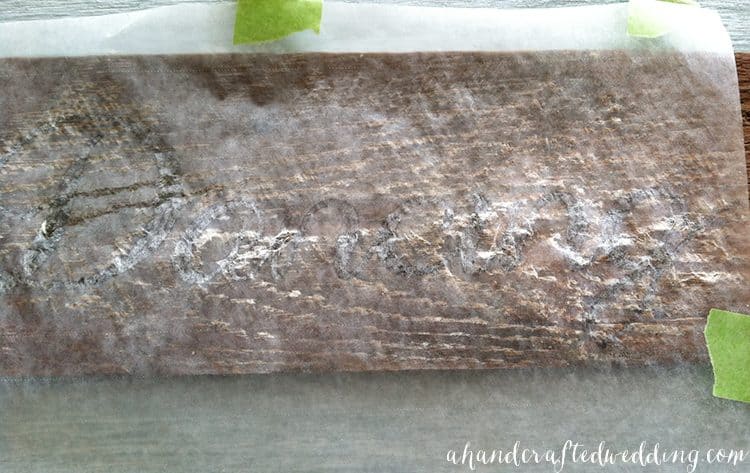
Remove the wax paper from the cardstock and place the ink side down onto the wood. Make sure you place it exactly where you want, because you don’t want to move the paper and have the letters smear. Then begin “burning” the letters into the wood by rubbing the credit card over each letter. You could always use the bottom of a spoon as well but I find that the credit card works best.
Step 6:
Paint over your words – You could skip this step but I like the handmade look of painting over the words, which also makes the signs easier to read. I used a small paintbrush and went over each word a couple times with some white paint. This is where the time and patience thing comes in 🙂

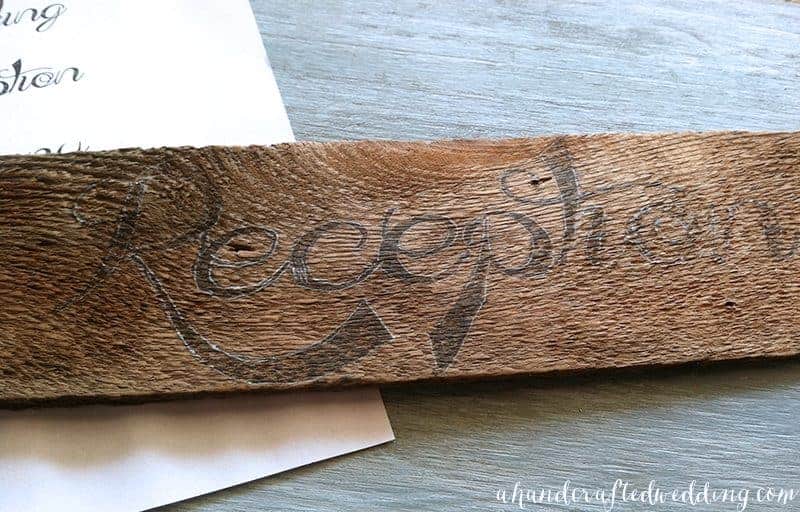
I printed out a sheet with all of the words on it and used that as a guide sometimes while painting over the letters. I first outlines the letters using a detailed paintbrush and then went back and filled in the letters.
Afterward, you could spray or paint the signs with a sealer. I wanted mine to be rustic and so I didn’t care to seal them.
That’s it! Just repeat the steps for each wedding sign you want to make. Here are a few of my finished wood wedding signs, and I later created one that said “cocktails”.
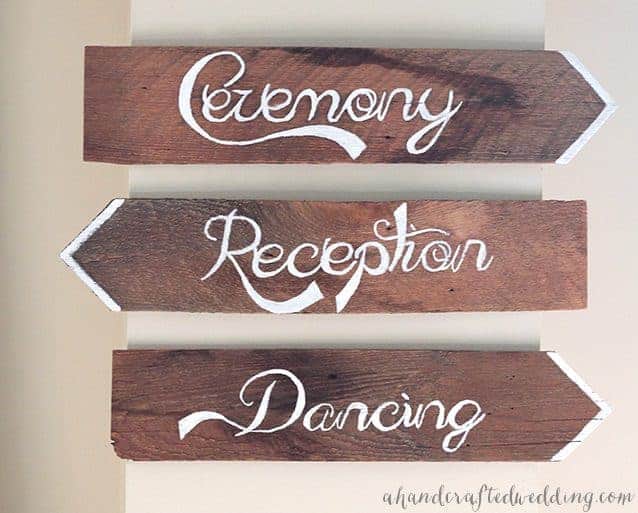
We nailed the DIY wedding signs to a wooden post for our wedding but sadly no one got a photo. They did come in handy and help lead guests to the cabin resort we were married at though. We also had to do some last minute improvising and make a couple of the signs face the opposite direction. I would recommend knowing which way you need the signs to point ahead of time, or just add the arrow before the wedding.
So what do you think? Will you be making DIY wedding signs for your rustic wedding?
If you’re looking for other great ways to save money on your wedding reception, and are already on the fence about whether or not to hire a DJ, I highly recommend checking out our complete guide to doing the music yourself. We’re professional DJ’s that are giving away our tips and secrets to the couples that might not be able to afford a Pro.
I love that font! Which one is it? Thanks!
Hi Elizabeth,
I mention the font in the post and also link to where you can download it for free. It’s called Admiration Pains, and it’s available here: http://www.dafont.com/admiration-pains.font
Hope that helps 🙂
~Katie
What type of paint did you use?
Hi Marcy, I just used some leftover interior paint, but you can use acrylic, chalk paint, etc.
Love it! Does this work with laser printer?
Hi Stephanie,
Unfortunately, I think this only works with an ink-jet printer.
~Katie
Did the wood come as a point or what did you do to make it a point? Just use a saw?
Hi Tonji,
The wood actually came that way which turned out perfect for this project. However, you could definitely just saw them in an arrow shape.
~Katie
Thanks for posting this information. My daughter is getting married in 2 weeks and its Christmas Eve. I’ve been wanting to do pallet signs for some 2 years now and have pallets galore for unfinished projects so I truly appreciate the fact that since I cannot afford the Silhouette Cameo, I can still do my signs. Thanks again!