UPDATE: All new featured RV tours will be posted on my other website, Wanderful RV Interiors. Existing tours will slowly be moved to the new website, and anything already moved will automatically redirect.
Disclaimer: This post may contain affiliate links, meaning, if you click through and make a purchase we (or those featured in this post) may earn a commission at no additional cost to you. View our full-disclosure here.
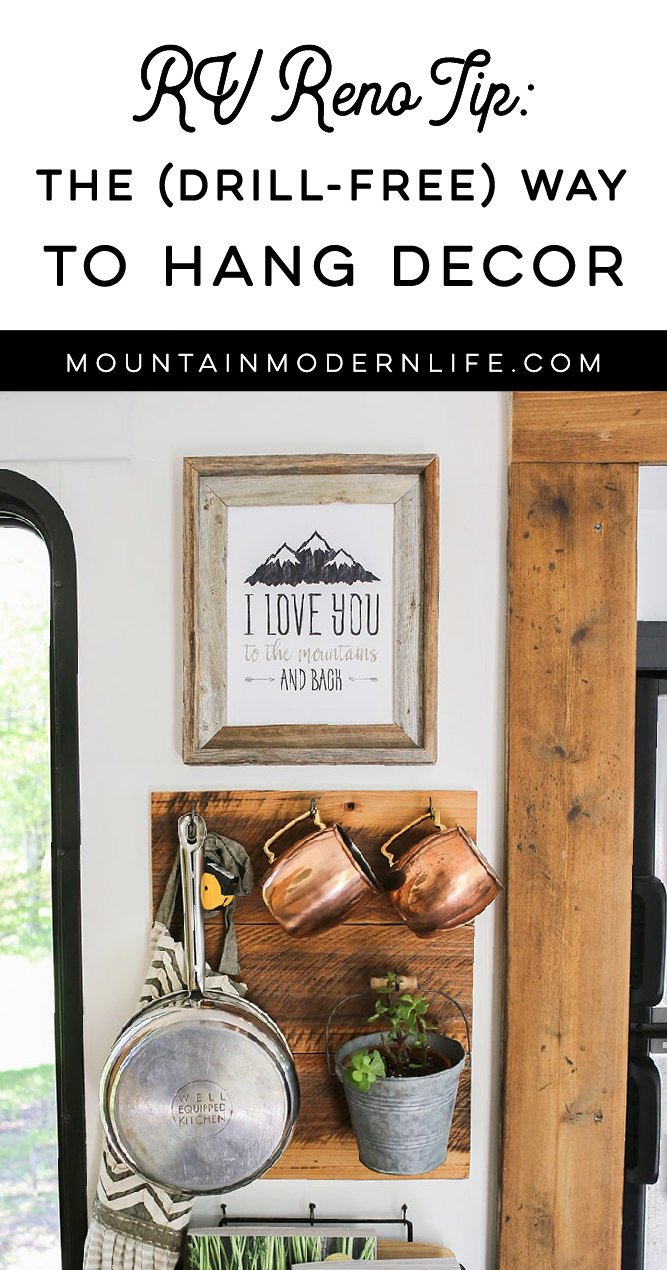
While we’ve used several methods to hang items throughout our tiny home on wheels including nails and screws, today I’m sharing my favorite (drill-free) way to secure and hang wall decor in an RV. Don’t have an RV? No worries, this method translates over to sticks and bricks homes too, and especially rental properties.
The (drill-free) way to hang decor in an RV
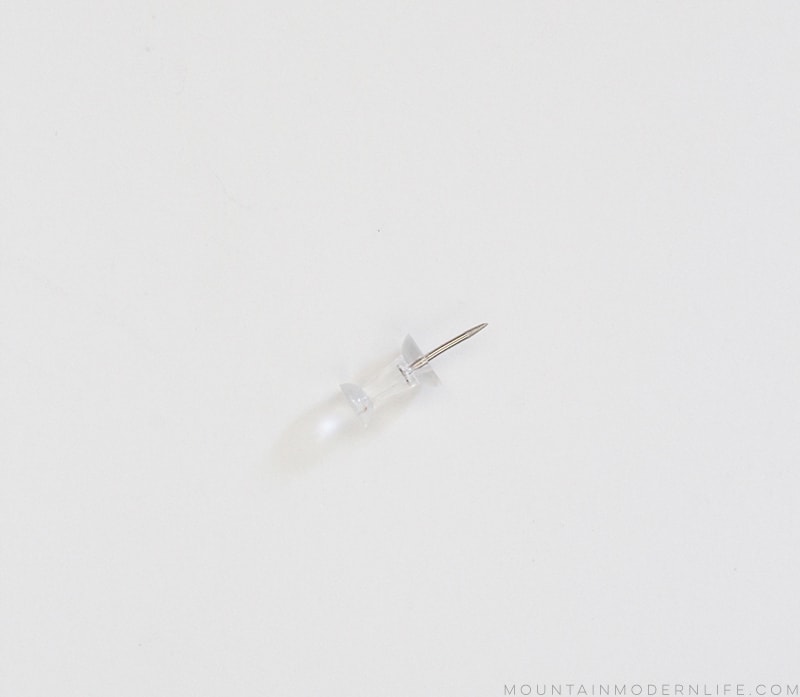
You should know that I’m both indecisive and a visual person, so when we first moved into our RV I hung most of the frames up using tacks. This way I can see what a frame will look like temporarily without damaging the wall or wasting command strips. Of course, you don’t want to go thumbtack crazy, but it’s much easier to fill in a tiny thumbtack hole than a nail or screw hole.
As you can imagine, thumbtacks aren’t the most secure way to hang up wall decor, especially in an RV. And we’re all about securing as much as we can since loose items need to be corraled before we travel. The less we have to corral, the better.
Command Hanging Strips Vs. Velcro
While we’ve used nails and screws (with anchors) for some items, we’ve also used Command hanging strips and industrial strength velcro.
When it came time to hang up my frames I decided to go with Velcro.
The reason? First, I’m somewhat indecisive and wanted a more temporary solution I could easily change up without adding more holes to the RV walls. I also wanted the option to change out the prints inside the frames.
In my experience the Command strips are more of a one time deal – you can’t remove the items and then place them back up using the same strips. In most cases, you have to replace at least one of the strips.
This is why I went with actual Velcro to hang them up.
Now I can hang up my frame, easily remove it, switch out the print, and then hang it back up without needing to replace the strips. Not to mention the velcro keeps the frames secure while we drive down the road.
Side note: A lot of people have told me that they’ve been able to reuse Command Velcro strips, so I’m guessing it was just user error or that it had more to do with the specific items I tried it on – they probably just had some sort of finish on the back that made it more difficult to re-stick (one side kept coming off and sticking to the wall side). If you’ve had luck re-using the Command Velcro Strips multiple times let us know in the comments!
Using Velcro to Hang Wall Decor in an RV
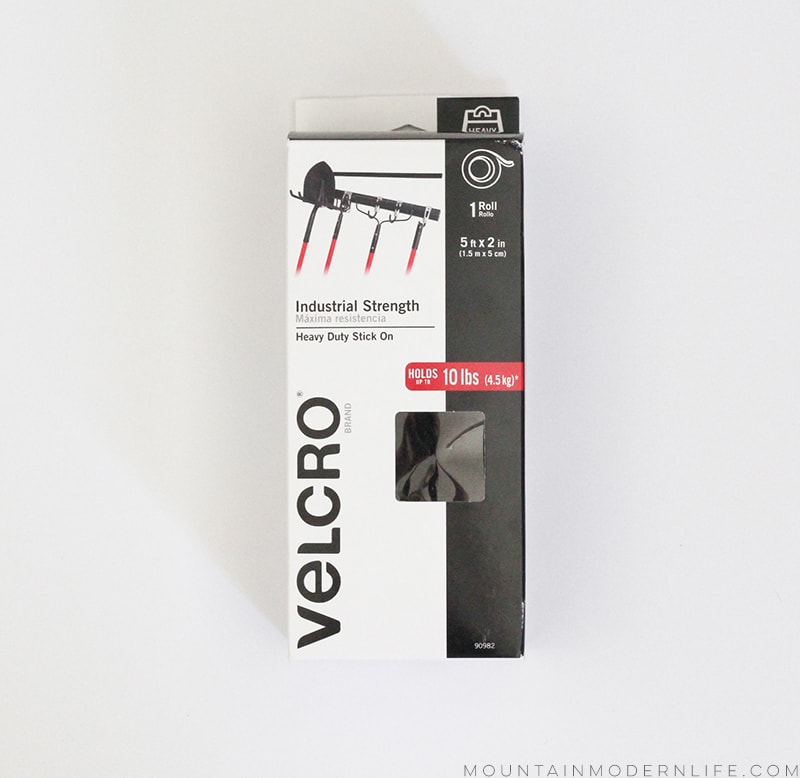
I’m sure the industrial-strength is overkill for our frames, but I figure it doesn’t hurt to go heavy-duty just in case. I generally use the Industrial Strength Velcro adhesive strips that come in rolls. It’s nice that they are wide strips that can be cut down if necessary, a little goes a long way, and it’s super affordable. I think the 5 ft x 2-inch roll cost me less than $10, but you can buy thinner strips and longer rolls like this 15 ft x 2-inch roll for $20. The pre-cut strips are a tad more but can be more convenient to use.
By the way, I removed the glass from all of our frames before we hung them up in the RV. A couple of years ago I did this to our massive gallery wall because it was difficult to get photos without glares. I then realized I didn’t mind them not having glass so I kept them that way.
Then when it came time to bring frames inside the RV I figured I’d leave the glass out. Not only does it make it easier to take photos, but I don’t have to worry about glass breaking. This was also because we were hanging the frames up with tacks originally so I was more concerned with them falling at that time. Now that we have the frames secured, I don’t see that being an issue. Either way, I wanted to mention it. And if you are concerned about it, you can always swap the glass for acrylic.
Step 1: Prep
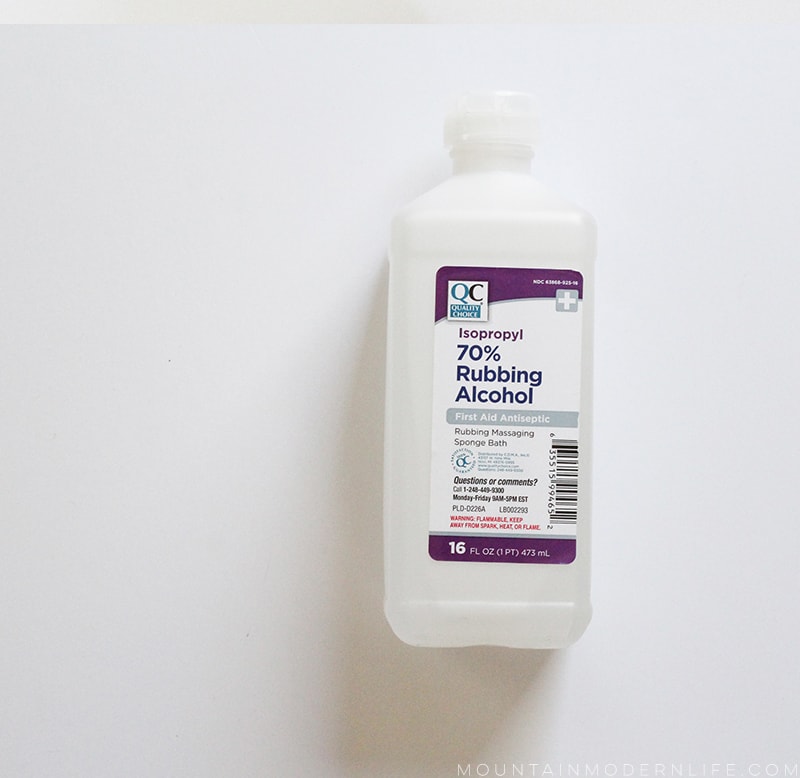
The first step to ensure proper adhesion of the velcro is prep. You’ll want to follow the instructions on the package, but this generally consists of using rubbing alcohol on the area you plan to attach the velcro – such as the wall surface and the back of the frame.
I did have one wood frame that the velcro wasn’t adhering to and I’m guessing it had some sort of finish that was preventing the velcro from sticking. To fix this I lightly sanded down the back with rough sandpaper before re-cleaning and attaching the velcro. After that, the velcro adhered to the back without issues.
Step 2: Attach Velcro to surfaces
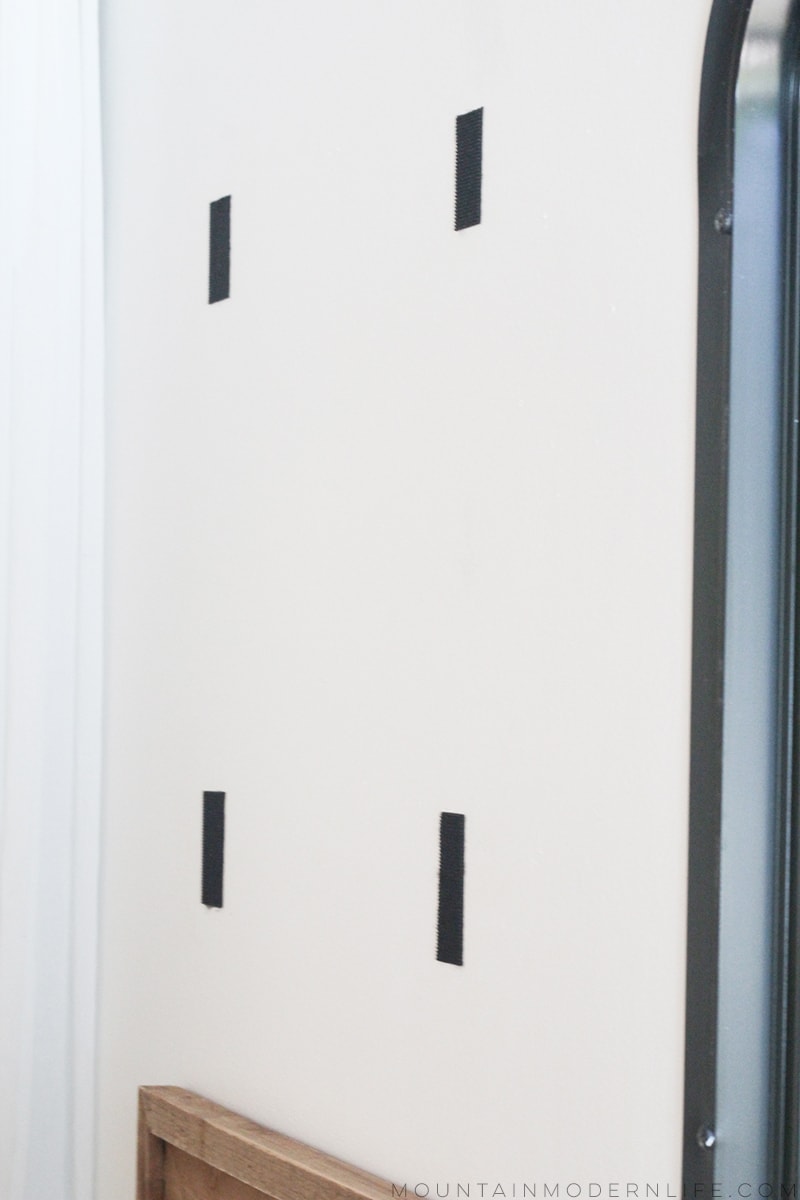
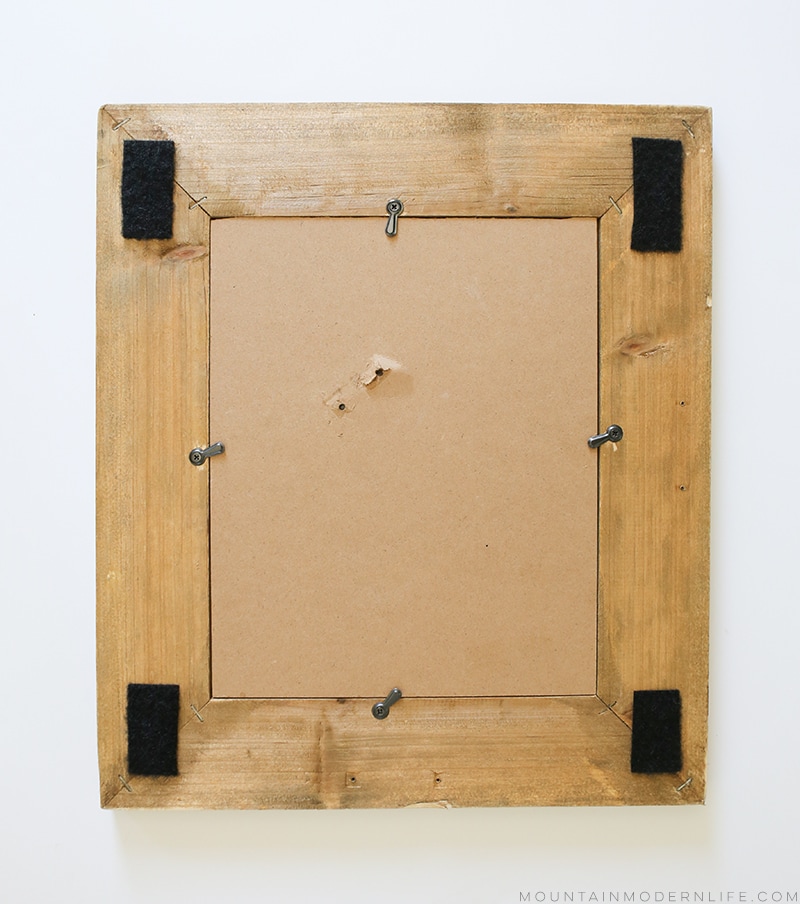
Next, attach the velcro where needed. Because I had a continuous roll of velcro vs. precut strips, I cut my velcro down to size before attached them to both the wall and frames. I’ll admit I’m impatient and mostly eye-balled where to put them, but I’d recommend measuring it out. The good news is that the velcro is somewhat forgiving so there’s some wiggle room when it comes to making sure the frame is hung up straight.
To make sure my frames were hung up flat against the wall I did have to remove some of the stands that come attached to the back of the frame, as you can see below. I don’t plan to ever use these frames on a flat surface so I didn’t mind removing them.
I couldn’t find any info on whether it’s better to have the male (rough side) or the female (smooth/fluffy side) against the wall so I don’t think it matters much. The color of the velcro shouldn’t matter either since you won’t see it, but I now prefer white because it looks cleaner on our white walls.
Tip: I hung up the first frame using 4 pieces of velcro, one in each corner. However, I later realized it’s easier to use long horizontal strips – one for the top and one for the bottom. This makes measuring and placement easier too.
Step 3: Press and Wait
For the best results, press down on each piece of velcro for 30-60 seconds. It’s also recommended to wait 24 hours before attaching the item to the velcro on the wall. This is because you want to make sure the velcro properly adheres to the back of the frame.
True confession, I only waited a few minutes with these frames and didn’t have any issues, but they are pretty lightweight. With that said, if you’re hanging something heavier – and especially anything fragile I would definitely follow the instructions and wait 24 hours.
Step 4: Hang
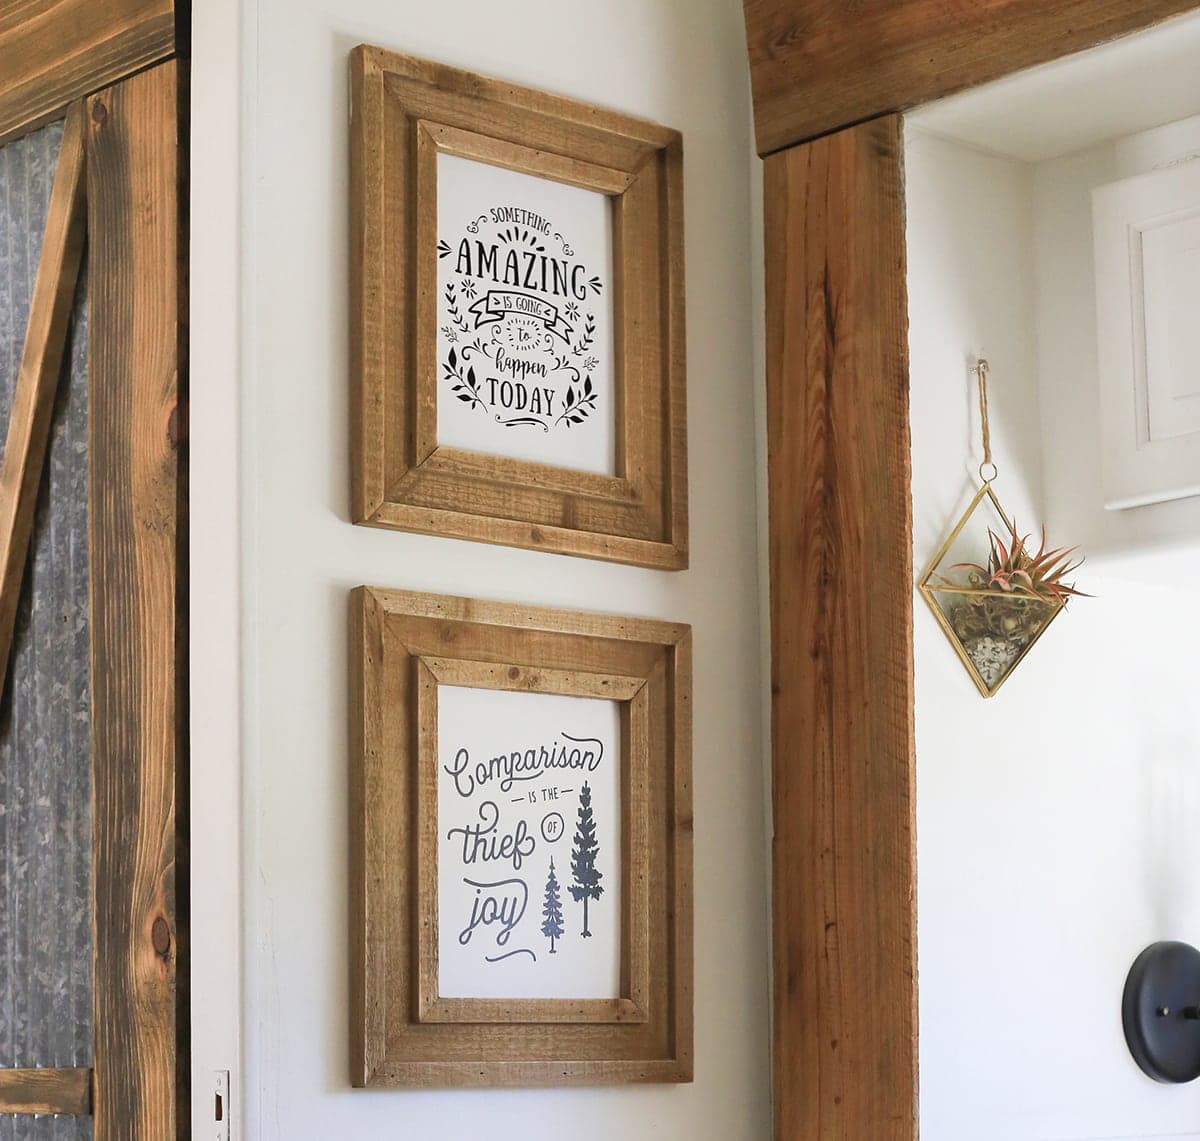
After waiting 24 hours you can feel confident hanging your decor on the wall. And because it’s velcro you should be able to remove the frame when necessary to switch out the prints.
Update: I used velcro on these frames, and others for 4 years in our RV with no issues, so it definitely got the job done!
Removing Velcro from the Walls
While command velcro strips are marketed as being easy to remove without damaging your walls, I can’t speak from experience about using actual Velcro. However, I did read that you can easily remove the velcro from a surface by first warming it up with a steamer or hairdryer and then using a razor blade. Just something to consider if you decide to go this route.
Update: I have since removed velcro without damaging our walls, but I made sure to remove it very slowly. This may depend on your walls and whether you’ve attached the velcro to a painted surface vs. wallpaper. However, it did leave a bit of an imprint on our walls (from lightly removing some of the paint), so you may need to touch up the paint or place something else in that area if you choose to remove it later.
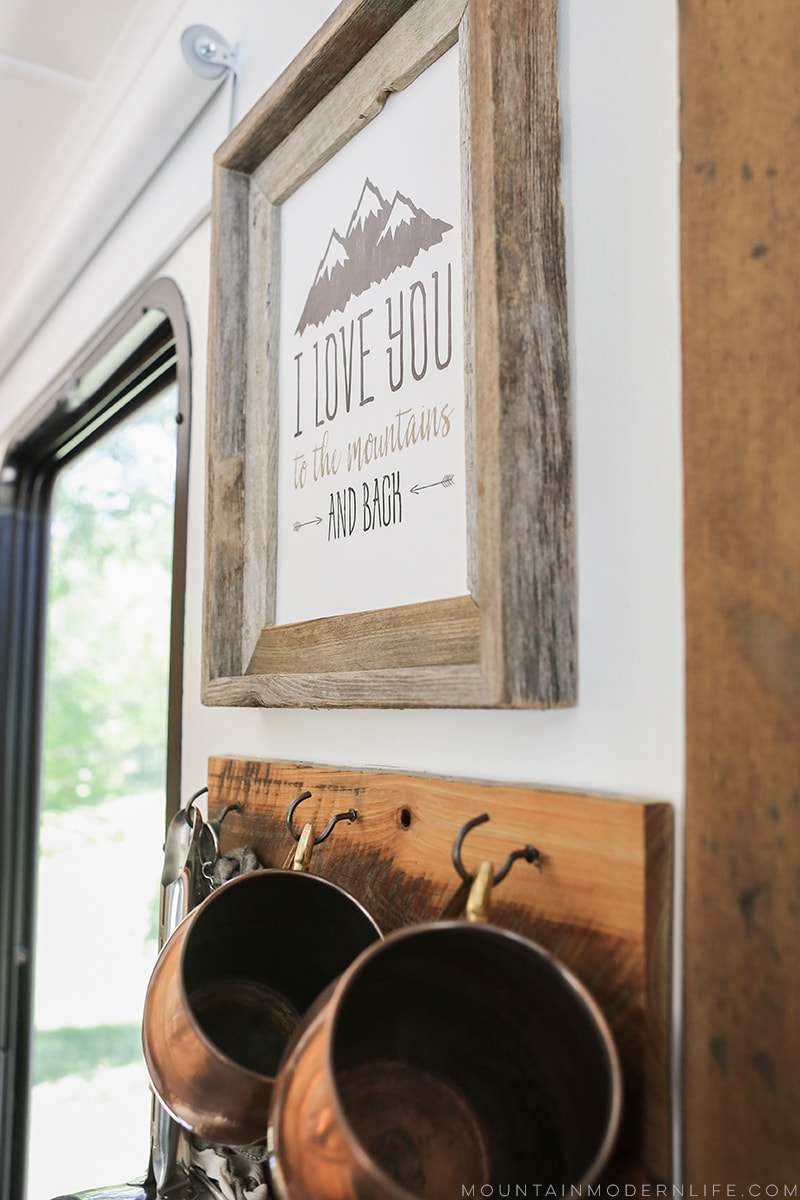
In some of our updated photos and videos, you may notice the frames appear to be hanging from a cup hook using twine and eye hooks. This hanging hardware is purely decorative as the frames are still secured by velcro, but was used to create visual interest and fill up more vertical space on the wall. So don’t be afraid to mix it up!
Velcro is a great option if you want to avoid nails and screws, but it can also be used in addition to them, to prevent swaying while traveling.
And while I love velcro to keep items secure in our RV, Quakehold is another product that can help keep items secure when driving down the road. Just be careful if you plan to be in very humid areas, as it can melt out a bit. For this reason, I recommend following the directions, not using too much, and not placing it too close to the edge of items.
And if you are going to install screws in the walls of your RV, be sure to use anchors if there is no stud. These pop toggle anchors are my absolute favorite because they are made for hollow doors which translates to working well with super thin walls, like those in an RV.
Do you have any tips for how to hang wall decor in an RV, or have experience removing velcro strips from your walls? Let us know in the comments!


Hi Katy! You did awesome! You are my inspiration! Carmen H
Thanks Carmen! Funny when I think about how much I’ve learned and grown since we met at the Haven Conference 4 years ago 🙂 And whodda thunk my husband and I would be traveling in our RV!?
Great job with the video!!!!! Thanks for the tips and tricks…they are very helpful
Thank you so much Beth!
Love having ya’ll as neighbors. Just discovered my utility hanger for my broom, mop, etc on the floor of our utility closet. So much for the 30lbs of Command tape used…UGH. I’m going to try to industrial Velcro route and this won’t be moved or relocated…I just want it to stay put.
Ditto! You guys are spoiling us with yummy food, margaritas and my new Ikea catalog, haha. I hope the industrial velcro serves you better this time around but keep me posted 🙂
Katie
Hi there! Thanks for this post! I’m starting a reno on a 1959 trailer and found your blog! Love it! Just wanted to let you know that I was checking out your log and the word environment is spelled wrong. Thought you might want to know! Cheers.
Becks.
Gah, how embarrassing!! Luckily I just made an update to it recently but that’ll show me to be more careful when making changes in the middle of the night, haha. I fixed it but thank you so much for letting me know!
I love your blog. Using lots of your ideas in our Renovation!
Have you ever had the weight of your frames on the velco pull the wallpaper away from the backing board, thus creating a bubble on the wall? I hung some very light hooks for some small stuff in our 5th wheel many years ago and a few days after it sat in storage with no a/c, I came in to find that they had all caused the bubble in the wallpaper. It was an older trailer but now I’m scared to try it in my new one. Another idea came to me, AFTER hanging my stuff, of course. An old tip I read somewhere was to cut an X in the wallpaper and peel it back, then put in your nail. Then when you want to remove the nail, just reglue the spot of wallpaper. I think I’m gonna try a spot in the closet.
I haven’t had that happen in our RV, and wonder if priming and painting could be a factor in that. Then again, all RVs are different and with extreme temperatures it’s hard to know what you’re gonna get. Thanks for sharing the tip in case anyone else runs into a similar issue 🙂
This was exactly what I was looking for! We just bought an RV we are going to renovate and I was very puzzled about how I was going to hang things! Your RV is my inspo for sure!
I have used Velcro for hanging things in our RV for quite a while. I especially like to collect little knick knacks from various vacations spots. I have a space about my tv cabinet. I put the Velcro on the bottom of the knick knack and then Velcro it up on top of the cabinet shelf. I have never had any of them fall. I use the large 2″ squares to hang up pretty large pictures. It works great. Makes decorating so much easier.
We’ve had great luck with the velcro so far too! I’ve also removed it from some areas with no damage so that was a relief 🙂
My fiancé and I just bought a fifth wheel camper back in April and will begin traveling and living in it full time after we get married later this month! Since purchasing it, we’ve been doing some renovations and your blog has been super helpful in making our camper feel more like home. I will definitely be purchasing a roll of Velcro after reading this post! However, what advice do you have for hanging heavier items, such as shelves? Looking to put a few shelves above the toilet in the bathroom. Thanks in advance!
Wondering how to hang heavier things like shelves
Hi Betsy,
We’ve used screws (sometimes with anchors) and our nail gun, but pop rivets may be something for you to consider. You can watch a video from the RV Geeks about that here:
http://www.thervgeeks.com/installation/how-to-hang-things-on-rv-walls-using-pop-rivets/
Katie
I’d love to buy some of your art but I really love the frame it comes with, can you point me inboxed the direction to buy it? They look amazing together!
Thanks Nicole! Unfortunately, these frames were a HomeGoods find a couple years ago and I haven’t really seen any exact ones since, but i want to say they are Broyhill. You should be able to find similar styles online, and if I come across them again or see them online I’ll let you know.
I have used the same velcro to hang heavy metal signs to our walls. Nothing has budged. I just used larger strips for the heavier items. I was planning on using goo gone for removal so it didn’t damage the wallpaper.
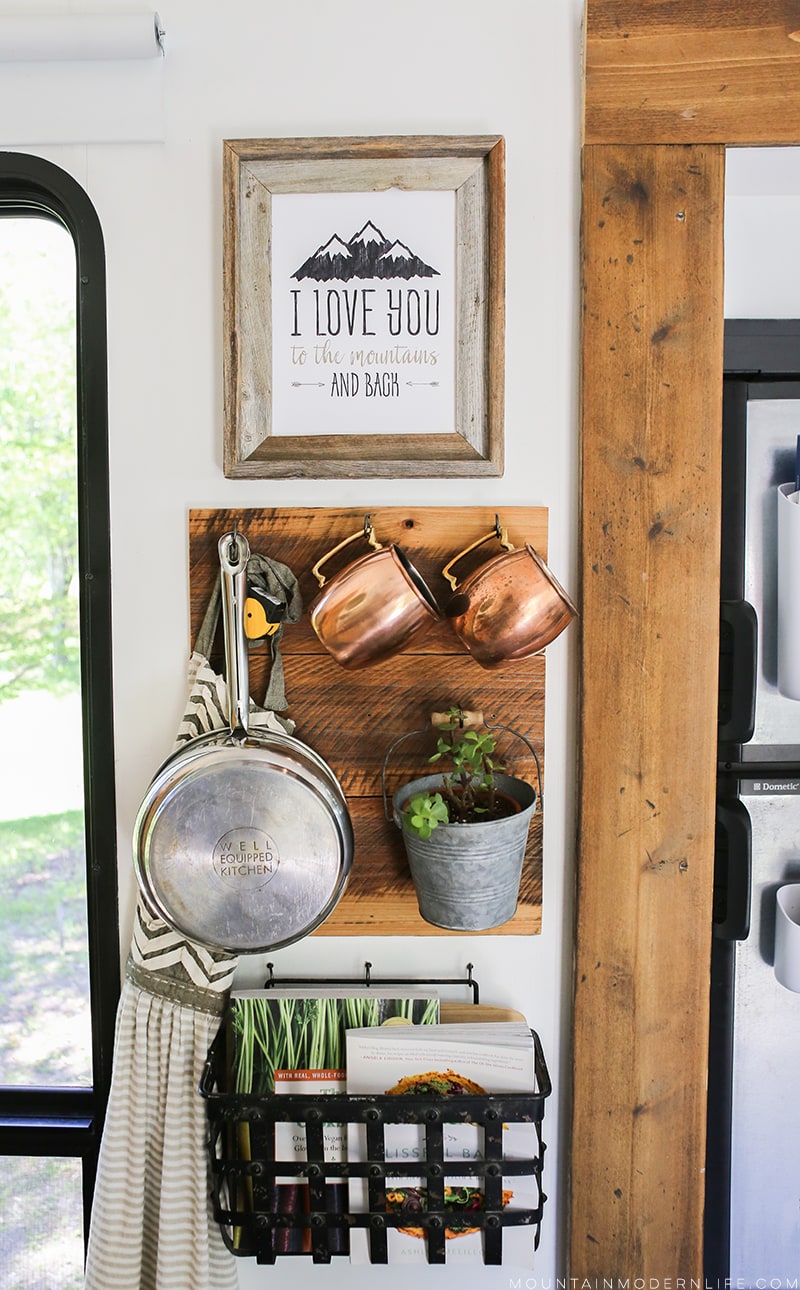
What did you hang the wood board and pots and pans with?
Hey Hope, sorry for the delayed response! We attached the wood via screws and anchors. We then attached the hooks to the wood with screws that would go through the wood and the wall (but just enough through the wall, not too deep) I hope this helps!