UPDATE: All new featured RV tours will be posted on my other website, Wanderful RV Interiors. Existing tours will slowly be moved to the new website, and anything already moved will automatically redirect.
Disclaimer: This post may contain affiliate links, meaning, if you click through and make a purchase we (or those featured in this post) may earn a commission at no additional cost to you. View our full-disclosure here.
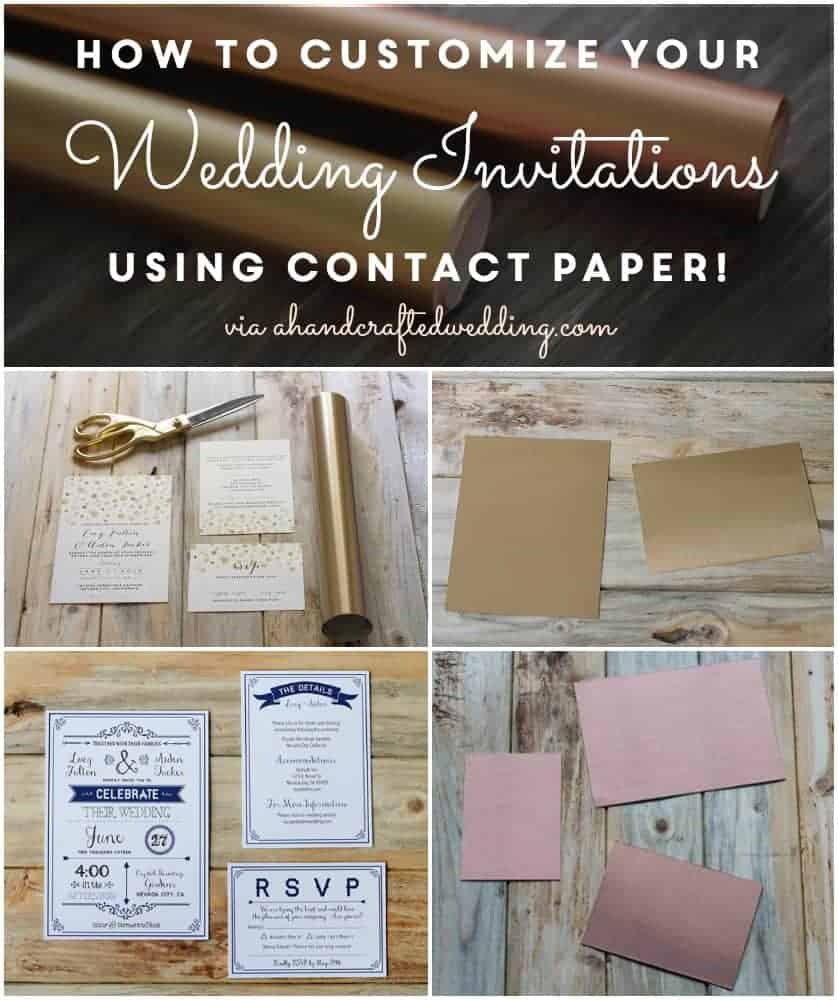
Do you love gold, or copper, or even rustic wood? I love all of the above which is why I want to share with you how you can add gold {and more!} to DIY wedding invitations.
Oh geez, I can’t believe it’s taken me so long to get this post up, especially because I am so excited about it! In fact, I am using this same technique on some wedding invitations that I am working on for our friends getting married in October.
How to add Gold to DIY Wedding Invitations
If you’ve been following my blog for a while then you may already know the secret weapon. . . . Contact Paper!
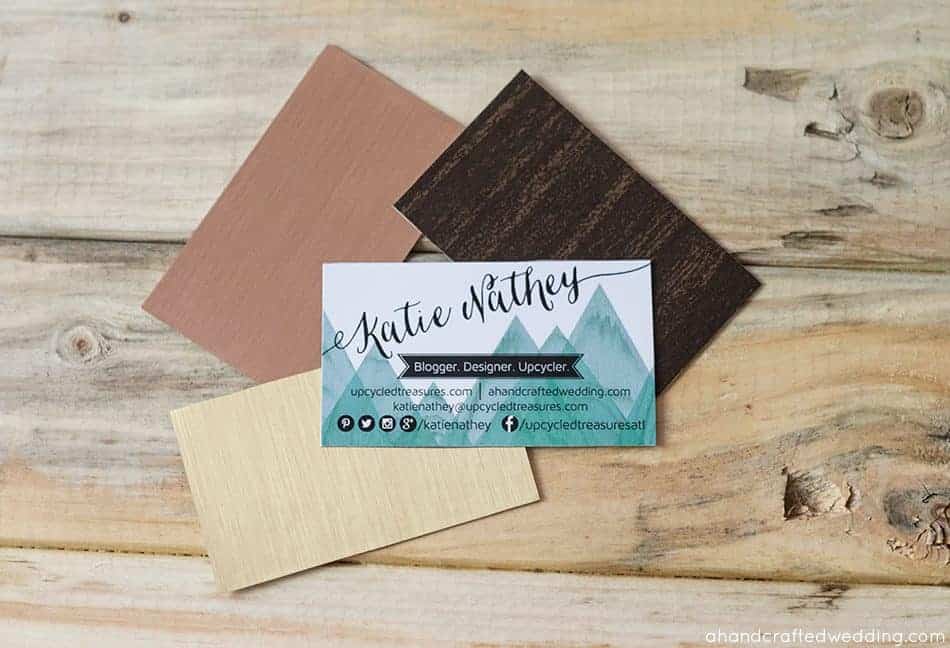
Yes, I am obsessed with contact paper {otherwise known as self-adhesive shelf liner}, and it’s sort of showing up all over my projects. I can’t help it though, it’s inexpensive, easy to work with, and so versatile! For those of you that don’t know, the con-tact paper doesn’t come in just boring colors anymore, there are tons of patterns and colors available! My favorites are the Con-Tact Brand Metallic FX and then any of the Rustic wood styles {and there are TONS!}.
In fact, I even used contact paper on the back of the DIY business cards I created for the Haven Blogging Conference.
How to Add Gold to DIY Wedding Invitations Using Contact Paper:
Alright, so this project is super easy. All it takes is a bit of patience, but it’s a really fun way to add some personality to your invitations or enclosure cards.
Invitations and Enclosure Cards
If you plan to glue your invitations to a backing or pocketfold envelope, then you can either add the contact paper to the backing or skip it altogether and only add it to the enclosure cards like your RSVP, details card, directions, etc.
Step 1
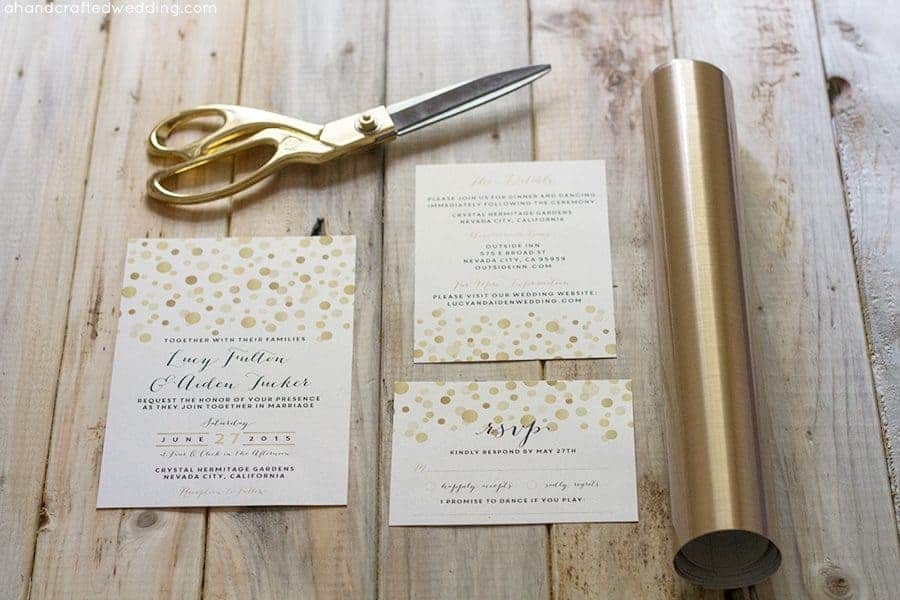
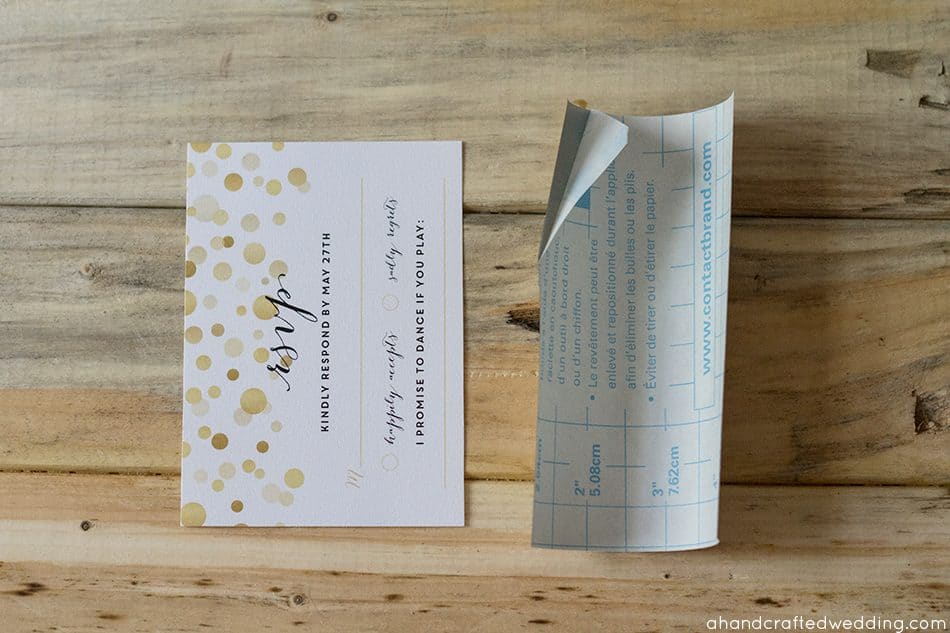
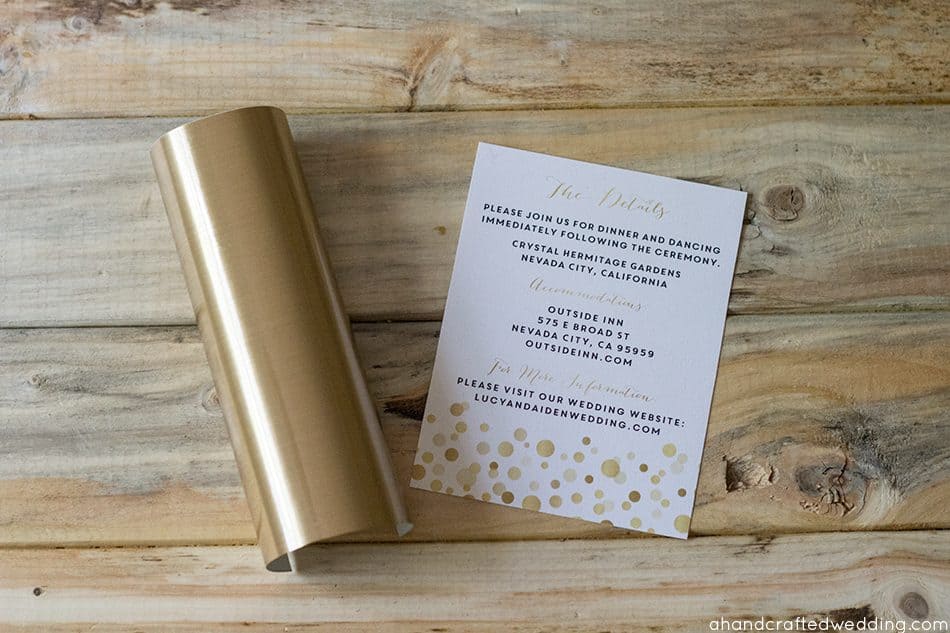
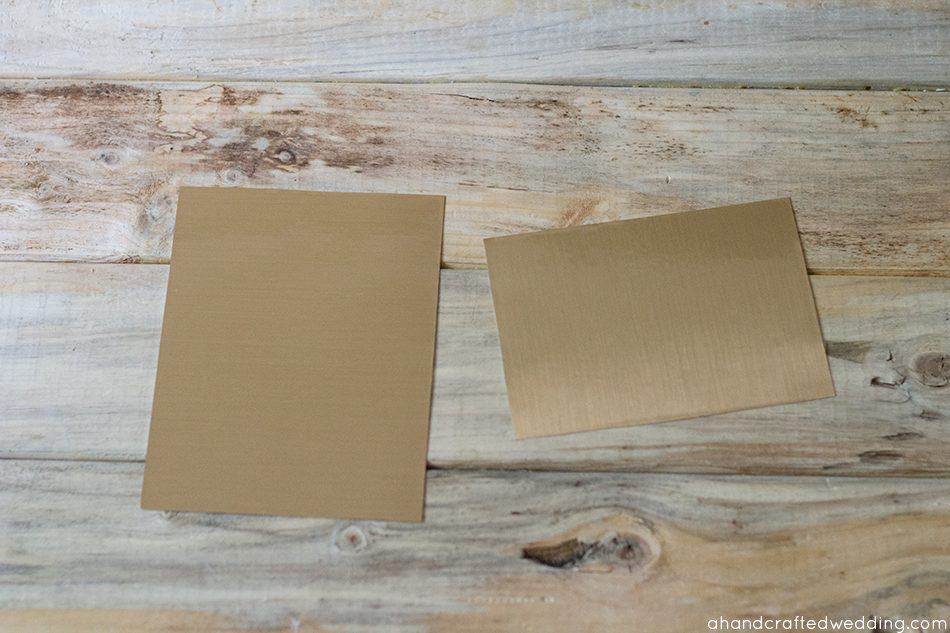
The first thing I would do is measure out the cards you plan to add the contact paper to. Then measure and cut the contact paper into smaller sections to make it easier to work with. Most contact paper has grids on the back which makes it super easy to measure and cut. I cut my sections to be a little large than the cards so that I could trim off the excess. It’s better to have too much than not enough.
Step 2
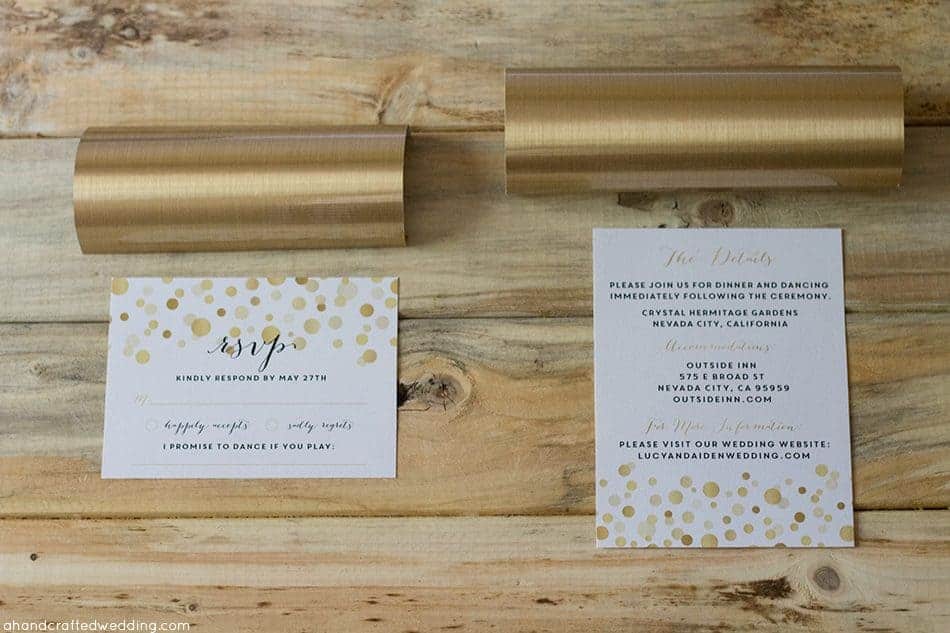
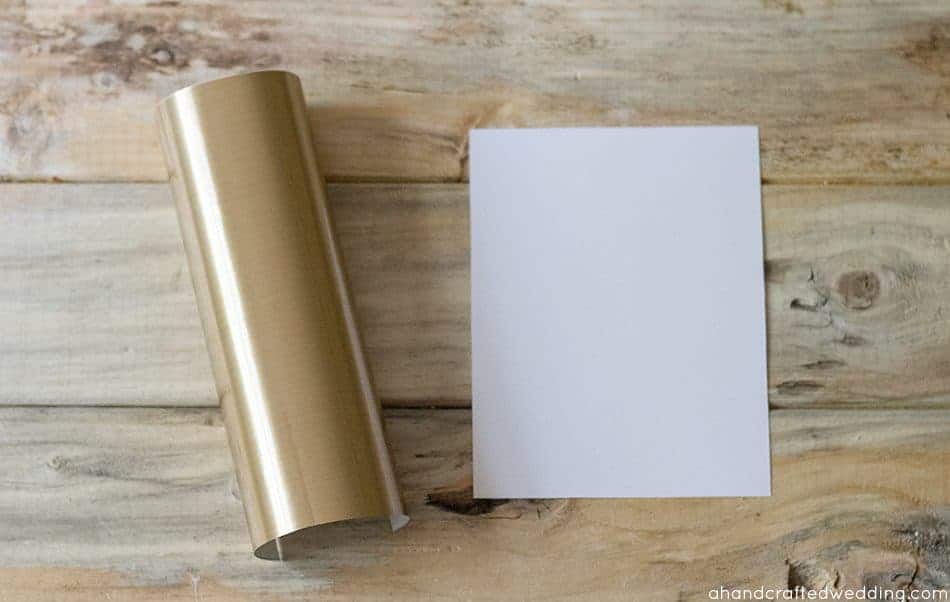
Remove the backing and place the contact paper on the back of the invitation or enclosure cards. Once it’s on there it may tear the paper if you try to remove it, so place it carefully. You can either slowly remove the backing and place the sticky part down slowly, or what works easier for me is to remove the whole backing and place the sticky side down smack dab in the center of the cards. If you left excess this shouldn’t be a problem. You will want to make sure to smooth it out using your hand or even a credit card. Also, make sure there is no dust on the back of the invitation or enclosure card, otherwise, you will be able to see the little grains through the contact paper!
Step 3
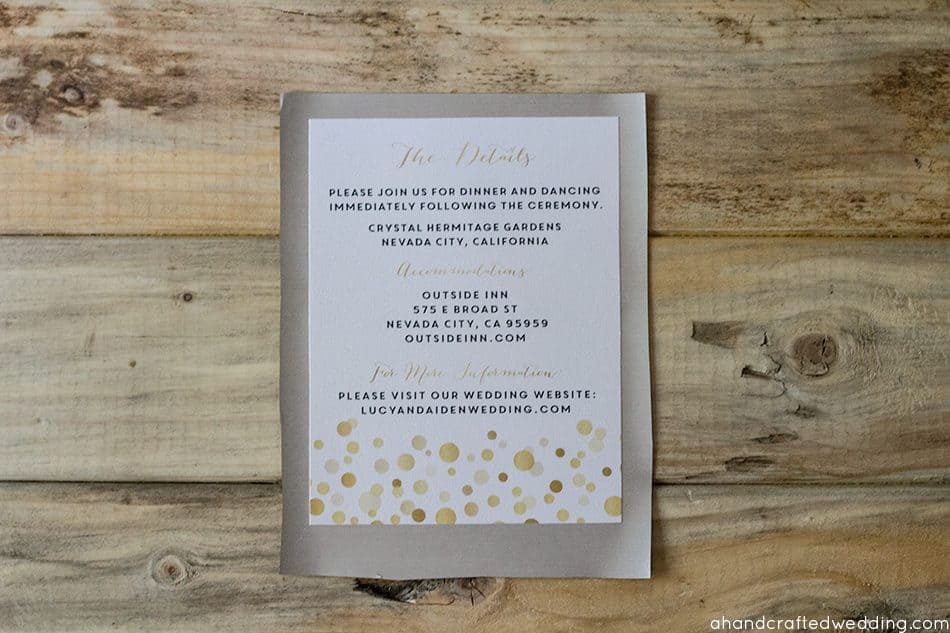
Once you have smoothed out the contact paper onto the back you can flip it over and then cut off the excess with your scissors. I found that gliding the scissors across the edge of the cards worked best. Sorta like when you are cutting wrapping paper and the scissors just glide across the paper to cut it. Does that make sense?
Step 4
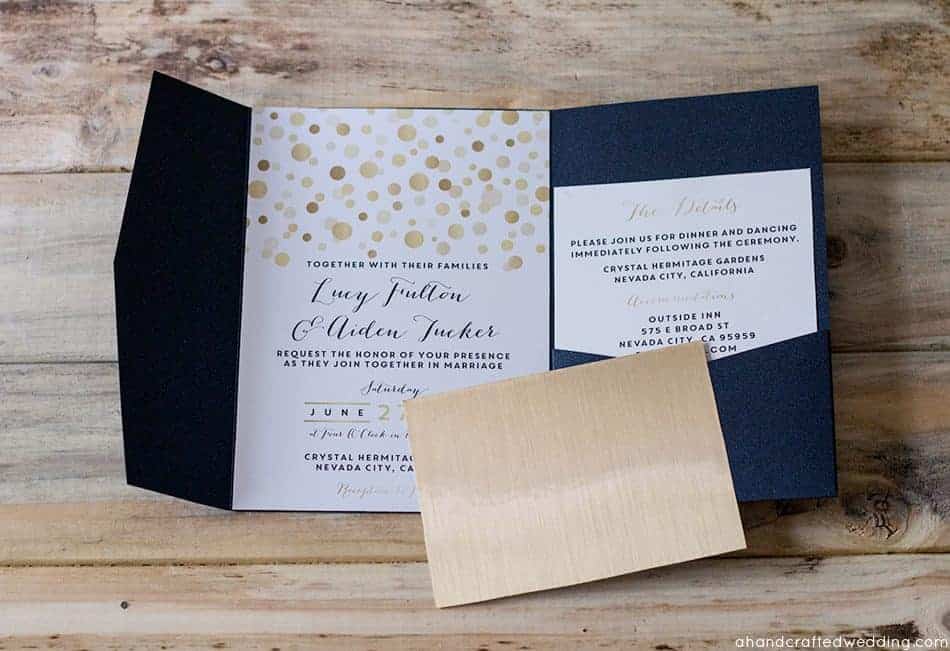
That’s how to add gold to DIY wedding invitations, your cards are done! See I told you it was easy 🙂 I love how they feel too!
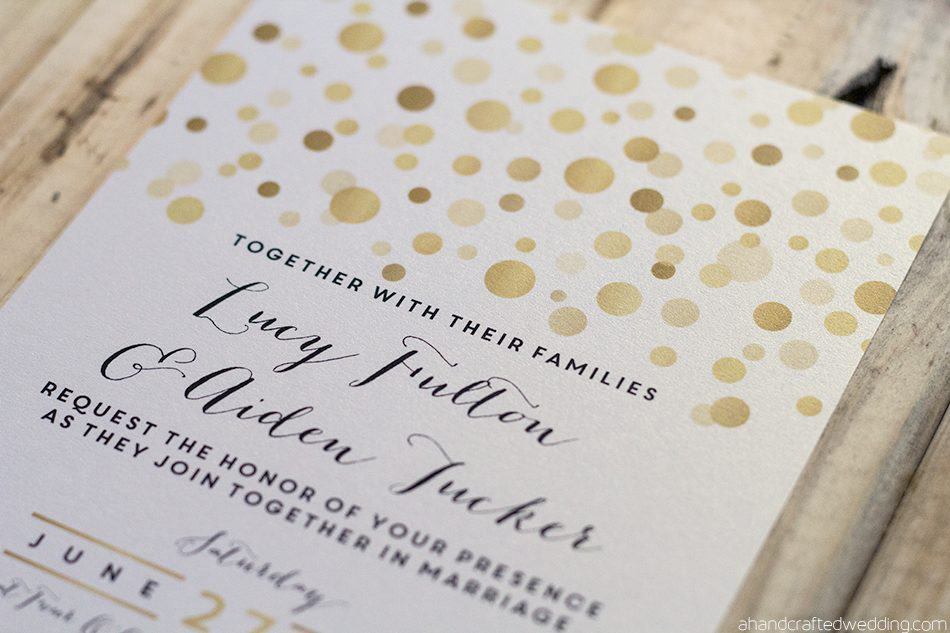
Example of Gold Polka Dot Invitations below:
Did you know Office Max carries white gold paper? It’s so pretty! This invitation is printed on it, and it may be difficult to tell in the photo, but you can see some of the metallic sheen. LOVE this paper!
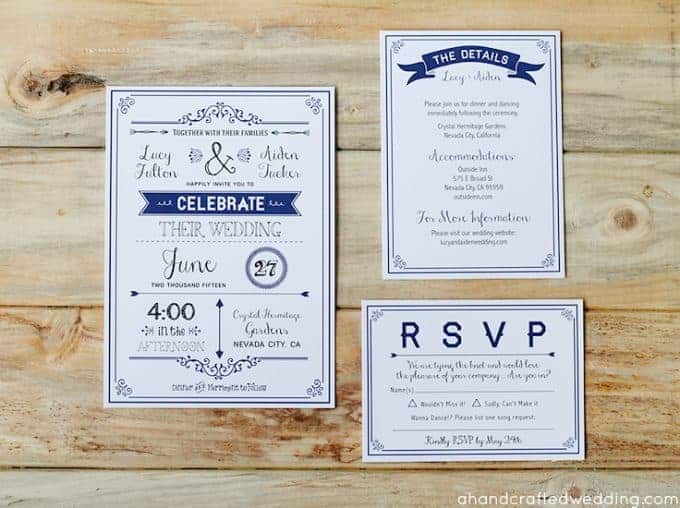
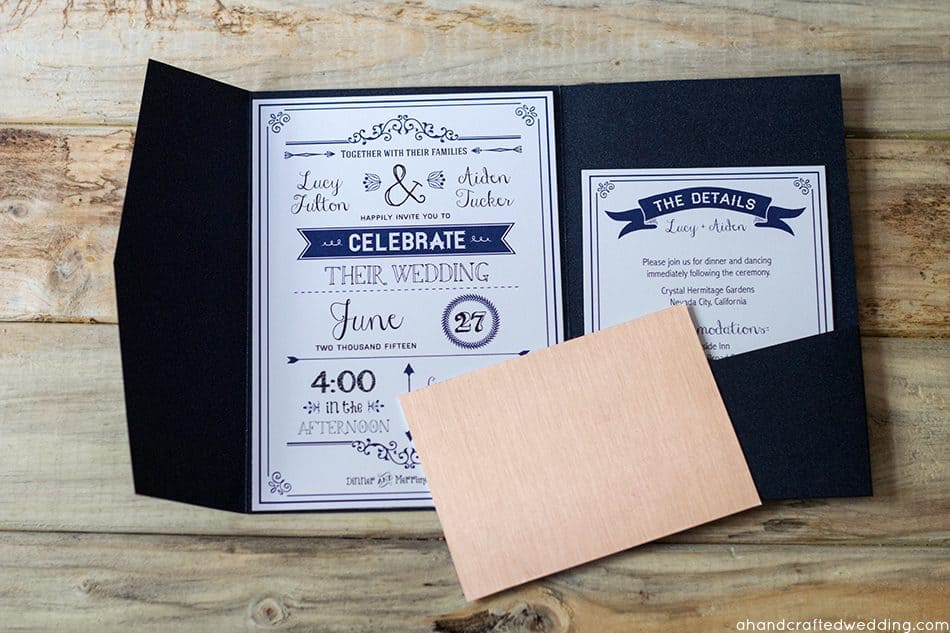
Here is an example of the DIY Wedding Invitation Set in Navy with the copper contact paper on the back:
So if getting your wedding invitations printed in gold foil is out of your budget, this is a great alternative to glam them up. Or if you are having a rustic wedding you can add wood contact paper to the back. Don’t forget you could even add it to your envelopes, place cards, or wedding programs! Yes, I am #addictedtocontactpaper.
Where to find Contact Paper?
Home Depot, The Dollar Store, and Amazon are just a few places you can find contact paper. From what I’ve seen, you will probably have better luck finding more unique styles online. My sister-in-law sent me the Copper Metal-FX Con-Tact Paper a while ago, but it’s available on Amazon, as is the Gold and wood contact paper. The metallic paper runs about $8-$15, but that goes a loooooong way, but you can find other designs that are much less, and some that are more.
I hope you enjoyed how to add gold to DIY wedding invitations.
Will you be using contact paper on your DIY invitations? If so I’d love to hear about it in the comments!




I LOVE THIS IDEA. For anything. It’s so simple and chic!!
Thanks Amy!
Wow this is great! I would never trust myself to do this for my wedding invitations because I’m probably the only person who can’t cut wrapping paper in a straight line even when there’s a grid, but I’d love to try it for birthday invitations or even thank you notes. It looks so fun and there’s such possibilities in using different papers.
Haha Corinna, I am the same way. You really just glide the scissors across the edge of the paper and it makes it super easy. Trust me, if I can do it so can you 🙂 There are so many things you can add this to, the possibilities are endless! I know I’d love to get a Birthday card with a little added sparkle 🙂
I think you may have saved me 🙂 I’m working on trying to “pretty up” my daughter’s Save the Dates and this just might work perfectly!
my partner and i LOVE the actual IDEA. with regard to anything. It’s and so simple AND ALSO chic!!
This is a great idea for my peach/gold wedding invitations!! Thanks so much!!
Where did you buy the gold confetti cardstock?
Gold is a symbol of classic and elegance, putting it in an invitation is quite a tough job. I love what you did and how you create a new way of putting gold in the invitation.
I love this idea for my wedding invitations that I will be making soon. However, I am having a really difficult time finding the gold contact paper you used in the pictures above. Do you know where I could possibly order it from?
Thank you!
Heather
Hi Heather,
I link to it on Amazon at the bottom of the post, although it looks like they are selling it in a much larger size now – 33 feet, so it’s more expensive. I had also previously purchased it from Interior Place, but it looks like their price has also gone up, although they do sell it in rolls of 9 feet and also larger sizes:
http://www.interiorplace.com/gold-metal-foil-contact-paper-9-feet/?gclid=CjwKEAjwqLWrBRC-_OaG-IfL0kASJAAbzKsV2h8M7fYFXh8No4rJIq-F4KOnSgCHz0Pd756p1WMFvhoCoczw_wcB
You could also google “gold metallic contact paper” and some more options should show up 🙂
~Katie
Love the idea !!! Where can I buy the gold Polk a dot card stock ? Thanks so much !
Do you have this template still available for download? Or do you know where it is available? Thank you!