UPDATE: All new featured RV tours will be posted on my other website, Wanderful RV Interiors. Existing tours will slowly be moved to the new website, and anything already moved will automatically redirect.
Disclaimer: This post may contain affiliate links, meaning, if you click through and make a purchase we (or those featured in this post) may earn a commission at no additional cost to you. View our full-disclosure here.
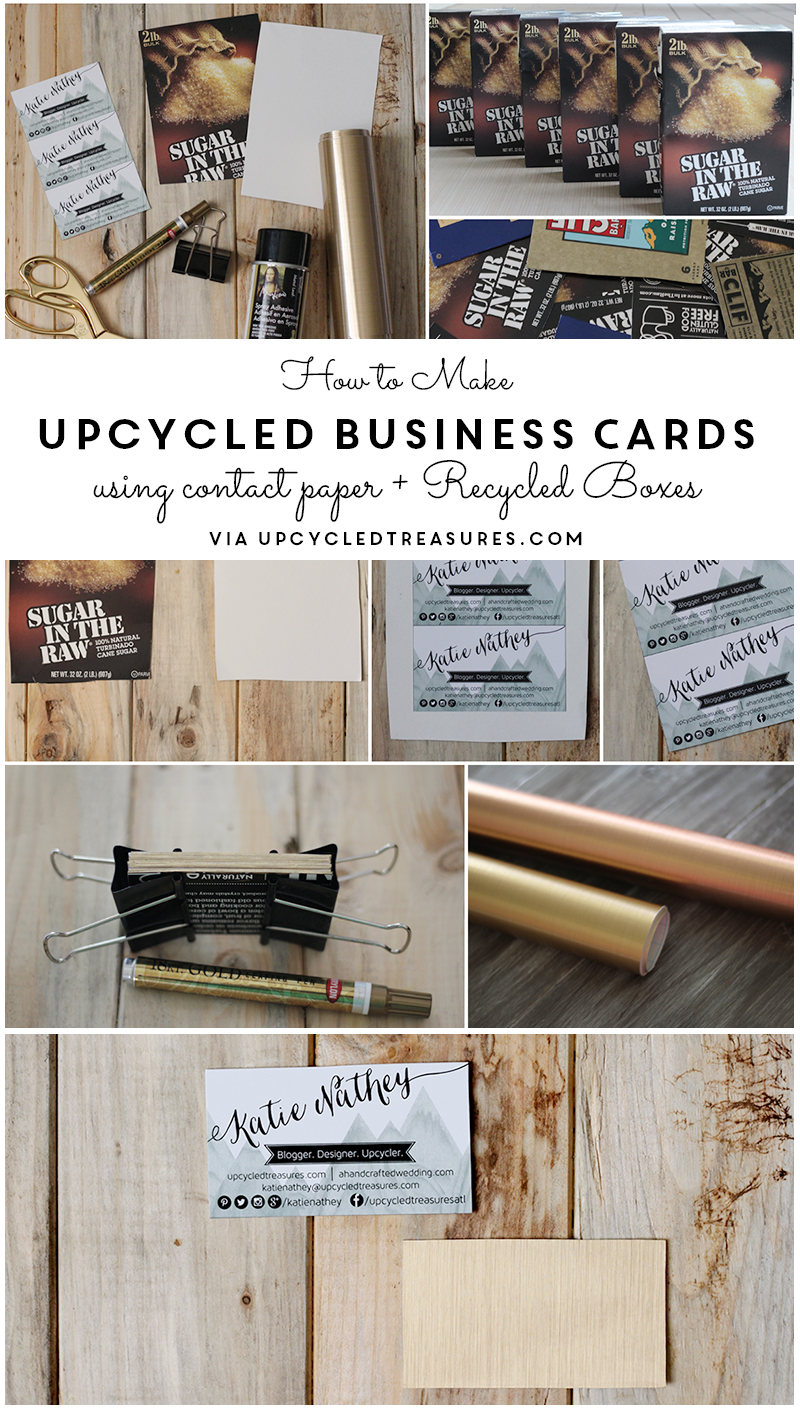
Upcycled DIY Business Cards with Contact Paper
Holy cow have the past few days flown by! I’m getting ready for Haven which starts on Thursday and have been running around like a mad lady ever since we got back from Florida yesterday. I have been wanting to share my DIY business cards with you and meant to post this earlier. Better late than never, right? So today I am sharing how to make upcycled DIY business cards with contact paper and recycled boxes.
My Design Plan:
Let me start out by saying that when it came to designing my business cards I decided to go off of my name and list both of my blogs, rather than design the card off one specific site. I plan on tweaking the design of both sites in the {hopefully near} future, so I didn’t want to design the cards around something I know I will be changing anyway. What I did know is that I wanted my business cards to be rustic, yet modern, and have a bit of whimsy to them.
I am really into triangles right now and have used them on some decor items in our home {like our triangle accent wall and the copper contact paper triangles on the planter in this post} so I decided to use them as an element in the design. I not only love the geometric shape of triangles, but they remind me of mountains and the great outdoors, which I love!
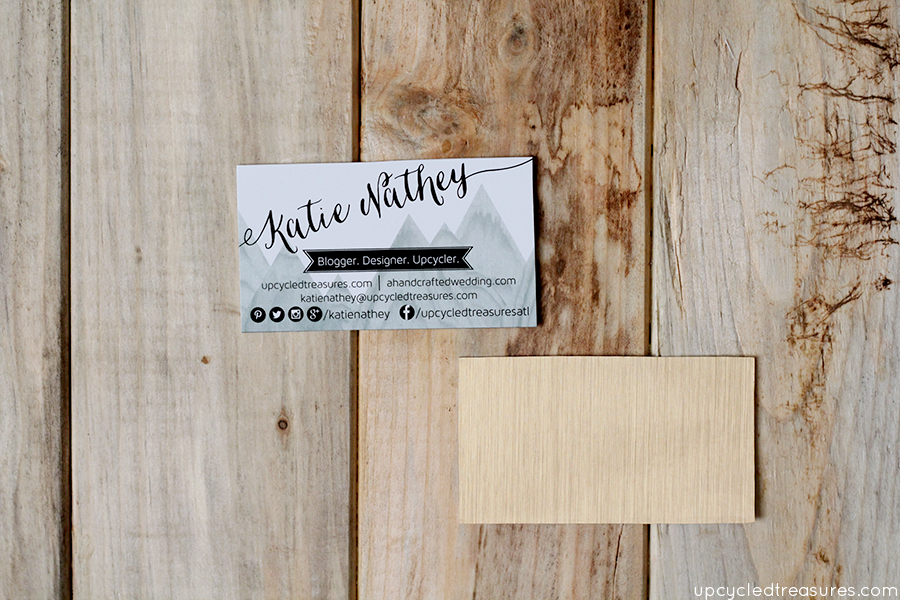
I then took a photo of a piece of wood we had in the garage and used that in the background of the triangles. I love how it made the triangle mountains look like they had peaks. As for the color, I decided to keep it simple with a minty-turquoise color.
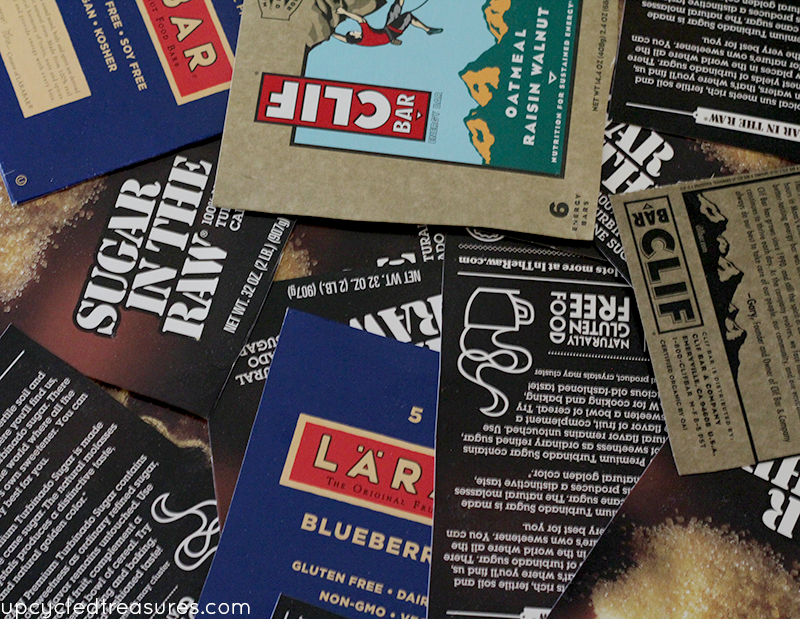
I don’t have a fancy silhouette machine {hopefully I will someday soon!} so I tried to come up with a creative design that I could create from home. My original plan was to print the cards out on some Sugar in the Raw boxes I have been saving for some time now, along with some other recycled boxes. I thought it would be fun to print onto the recycled food boxes and then cover the backs with metallic gold and copper contact paper. Of course, I quickly realized the flaws in my plan.
The problems:
1. That the sugar boxes had a waxy coating and the ink smeared every time I printed on them. I even tried covering them with a clear sealer and clear spray paint. Still no bueno. The cardboard boxes without the coating didn’t have any issues, but that brings me to the next issue…
2. My home printer didn’t print as crisp or vibrant as I wanted.
I figured I would probably get strange looks if I went to the nearest Office Max with a bunch of cut-up boxes and asked them to print on them, so instead, I decided to switch up my game plan.
The Solution:
After I was finished with my design I took the files to Office Max to get them printed and then I used some spray adhesive to attach the printed cards onto the recycled boxes. It may not be as green, but at least I was able to upcycle some of the boxes I’ve been hoarding, and now they are nice and thick, a must-have in my book.
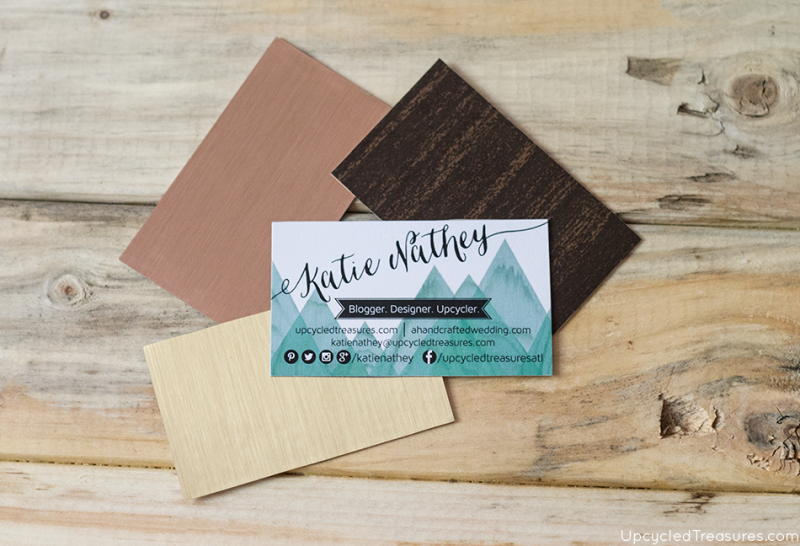
I think this photo pretty much sums up our upcycled DIY business cards with contact paper:

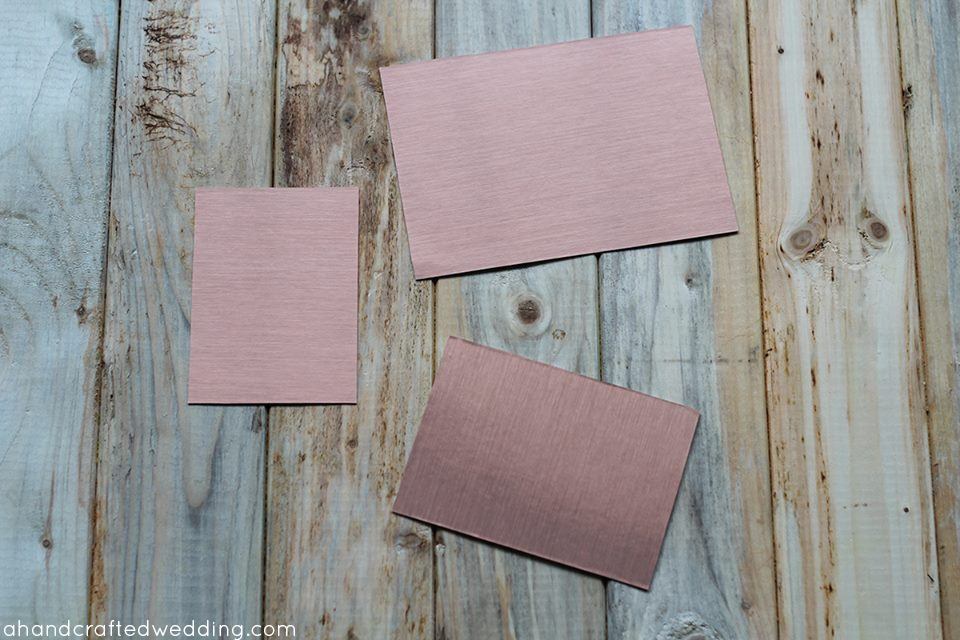
I simply sprayed the cut down pieces of recycled boxes with some spray adhesive {I couldn’t find my normal kind and used some meant for gold leafing but it worked just as well}. I then placed some of my printed business cards onto the recycled cardboard and pressed down. They seemed to stick and dry almost instantly but I decided to wait an hour before cutting them. Make sure you place some wax or parchment paper down before using the spray adhesive since it can get pretty sticky.
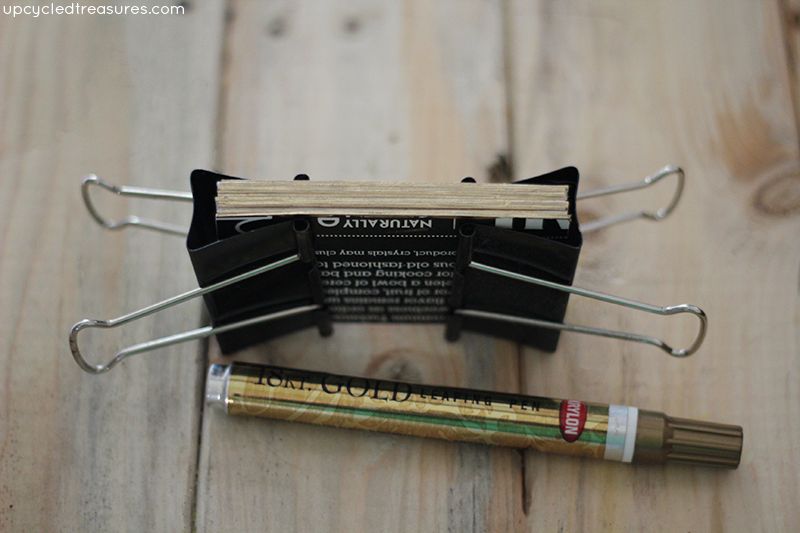
After I cut all of the business cards out I went over the edges with a gold leaf pen. I actually only did this to some and went over others with copper and metallic sharpies, which was much easier than the gold leaf pen. They don’t have the same effect but still came out pretty nice. I used 2 large clips to hold the cards in place so they didn’t move as I went along the edges. This is key because otherwise, you will end up with marks all over the fronts of your cards. You may even want to use more clips. I eventually switched to 4. Even so, you need A LOT of patience to do this, and I even ruined some cards in the process when the marker would slightly bleed over the edge, boooo.
After I went over the edges I cut out strips of contact paper, placed them on the back of the cards and then cut off the edges. It was easier to just let the scissors slide against the edge to cut it off, vs. actually cutting the contact paper. Does that make sense?
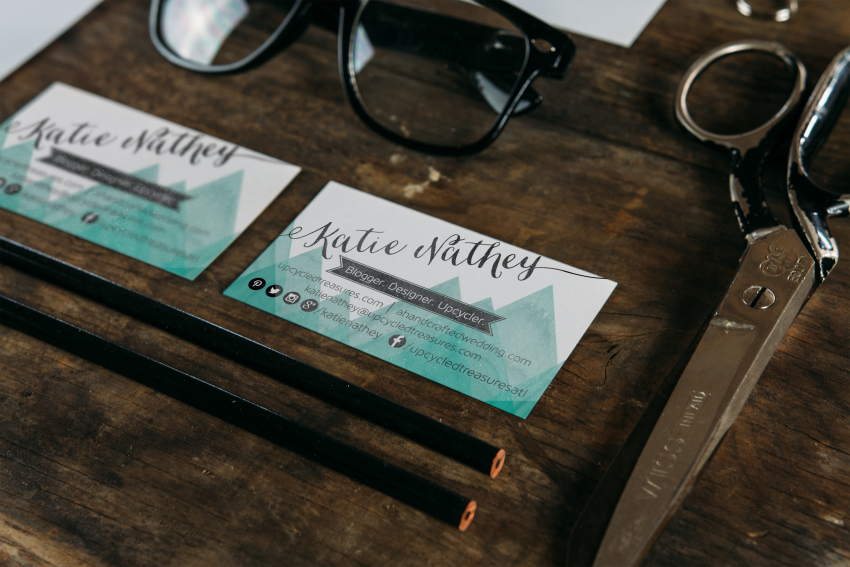
And here is a sample of one of my upcycled DIY business cards with contact paper:
What do you think of our upcycled DIY business cards with contact paper?
This was one of the first batches I printed and I ended up tweaking the color to make it stand out more. I also ran out of boxes {go figure} and glued the rest onto some 220lb cardstock paper I had on hand. At least I was able to upcycle all of the food boxes we did have 🙂
Side note: I actually wound up switching to Spray Mount on a bunch of these cards {thinking it would work better than the gold leaf spray adhesive}, which was a bad idea! Two days before the Haven conference I realized some of them were lifting and peeling right off, so I basically had to re-do them all right before the conference using some more heavy-duty spray adhesive just to make sure they stuck. I then decided to skip on the whole coloring the edges thing because that process was a lot harder than it looks, not to mention time-consuming. you would get 3 edges perfect and 1 edge would bleed a little, ack! I have so much respect for anyone out there that has mastered that technique.
I did this same thing with the 220lb cardstock and copper contact paper on some wedding invitations. I <3 spray adhesive. And contact paper.
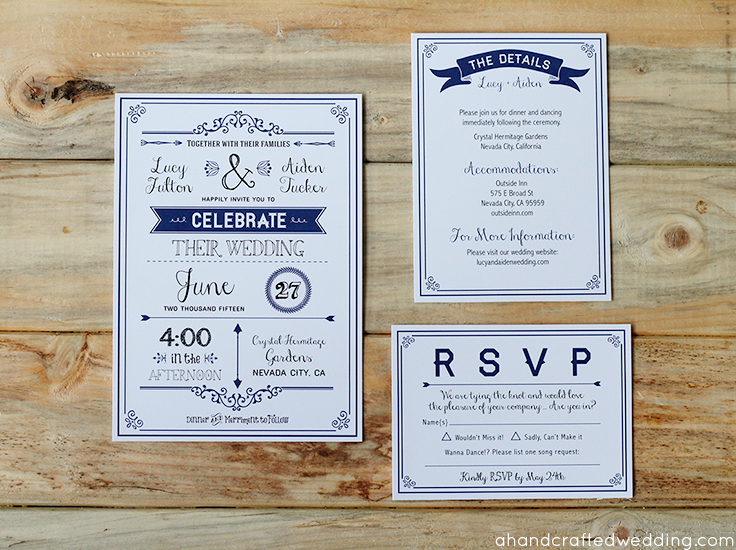
We have some friends getting married in October and I will be using gold contact paper on the back of their enclosure cards. I am #addictedtocontactpaper. Can you tell?
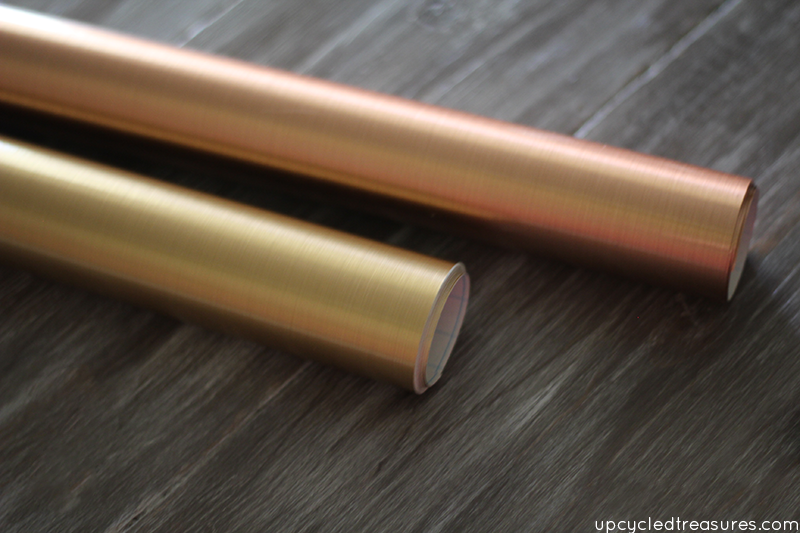
By the way, my sister-in-law sent me the Copper Metal-FX Con-Tact Paper a while ago, but it’s available here, as is the Gold {the 6-foot version is currently unavailable which is why the 33-foot version cost more} and wood grain contact paper.
Will you create your own upcycled DIY business cards with contact paper? Have you made your own business cards, and will you be at Haven? If so I hope to meet you there!
Great business cards, Katie. I used to help my kids with school projects when they were younger and a recycled cereal box or some other type of box always came in handy.
Yours is a great idea to reuse things. Thanks for sharing. — Sabine
That’s awesome and I will definitely have to keep that in mind! Heavy cardstock can get pricey so this is such a great alternative 🙂
So fun! I did the gold-edge thing as well, but tried out paint, a sharpie, and a paint pen… can’t wait to get one of your cards!
Thanks Kelly, I can’t wait to see yours! Did you have a preference as to what you used for the outside edges?
Katie, these turned out so beautifully! I love that you used contact paper to jazz them up 🙂
Thanks Amy! I love how it adds a bit of glam to juxtapose the more rustic front 🙂
I love these Katie!! They turned out so well and I love your use of supplies around the house 🙂
I love the design of your cards!
Thanks Jennifer!
You are brilliant! I absolutely love this idea…I’m gonna try it! xo Thanks so much for linking up w/ Twirl and Take a Bow! ox
Thanks Robin, it was so nice to meet you and your husband at Haven!
LOVE!
And so fun! I did the particular gold-edge factor likewise, yet tried out colour, the sharpie, and a colour pen… can’t hold out to obtain among the cards!