UPDATE: All new featured RV tours will be posted on my other website, Wanderful RV Interiors. Existing tours will slowly be moved to the new website, and anything already moved will automatically redirect.
Disclaimer: This post may contain affiliate links, meaning, if you click through and make a purchase we (or those featured in this post) may earn a commission at no additional cost to you. View our full-disclosure here.
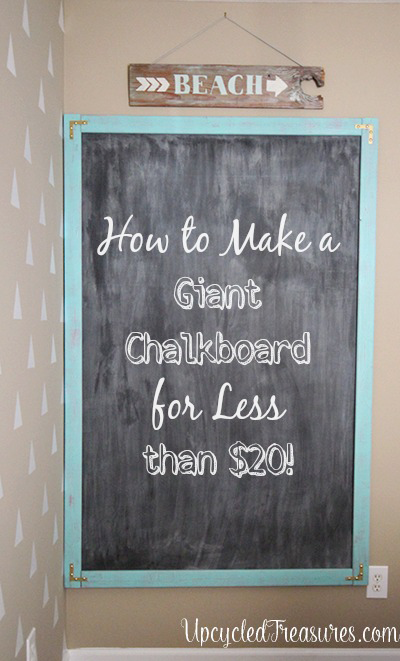
Who doesn’t love chalkboards? I have created several different ones in the past, but today I am sharing how to make a giant chalkboard using DIY chalkboard paint. This is nothing new, it’s been done many times before but it’s always fun to add your personal touch to projects and make them your own.
How to Make a Giant Chalkboard
I like writing on whiteboards but prefer the aesthetic of chalkboards and knew I wanted an extra-large one for my new office.
Here are the materials I used for this giant chalkboard (mine is 67 inches tall by 44 inches wide) most of which we already had on hand, which is why it cost less than $20. You may have some or all of these supplies or can find ways to use what you have available.
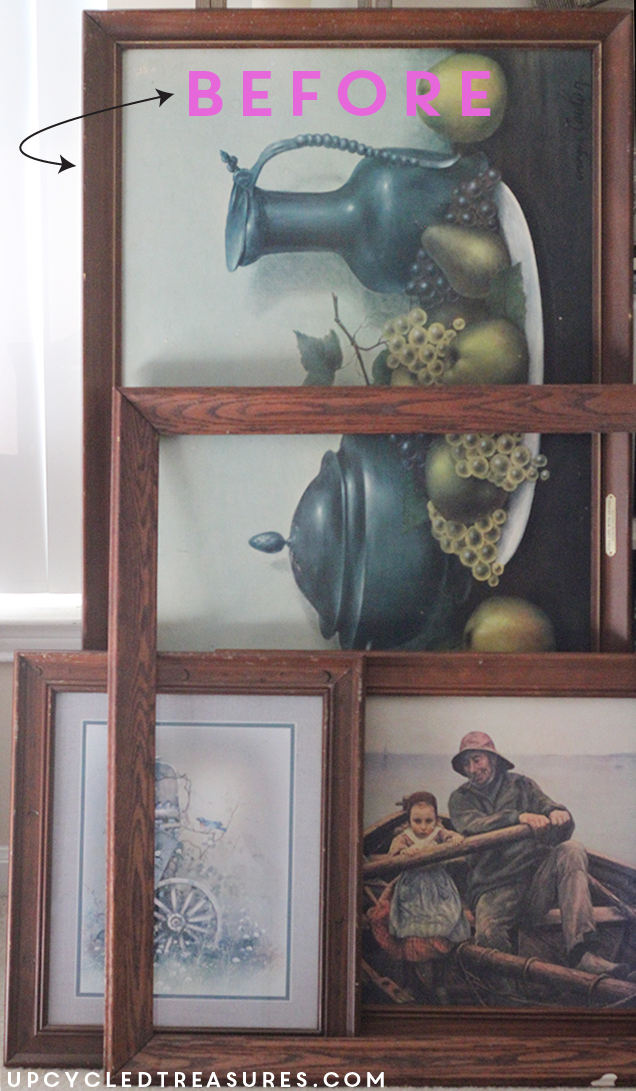
An even easier way to create this would be to find a super large piece of framed art at a thrift shop that you can then paint over with chalkboard paint – as seen in photos at the bottom of this post.
Materials Needed to Make a Giant Chalkboard:
- Plywood
- Saw {or get the pieces cut at hardware store}
- {4} 1 x 3 x 6 boards cut to custom size
- 4 flat braces and 16 upholstery nails
- Wood Glue
- Clamps
- Brad Nailer {you can use screws or hammer and nails}
- Paint or Stain for frame
- Styrofoam Roller or paint brush
- Chalkboard Paint or Plaster of Paris and black paint to make your own version
- Hanging Hardware
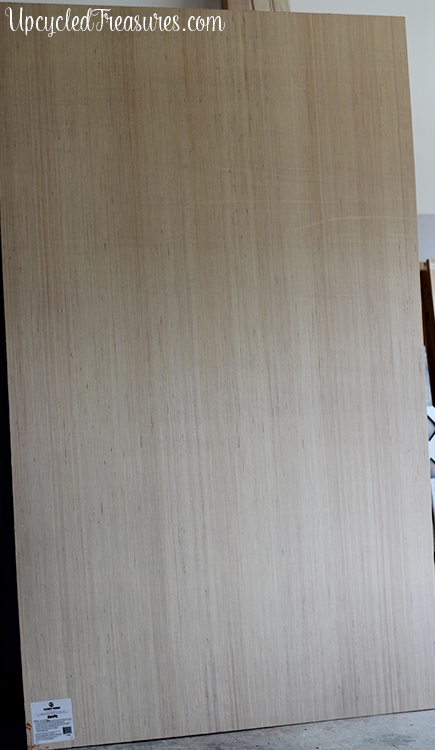
When I found some massive pieces of underlayment plywood on sale for $8 I quickly snagged some up and had it cut knowing I would have extra leftover for future projects. Of course I forgot it would actually have to fit into my SUV and wound up having to go back inside and get it cut again. Oops. The guys at Lowes were super nice though and didn’t even make fun of me (to my face). I should mention that I did have to make it shorter than I originally wanted in order to get it to fit into our Jeep.
You can pick up any kind of plywood or even buy the pre-made 4ft x 2ft chalkboards at Home Depot for $10. That was smaller than I wanted but would have made this project even easier.
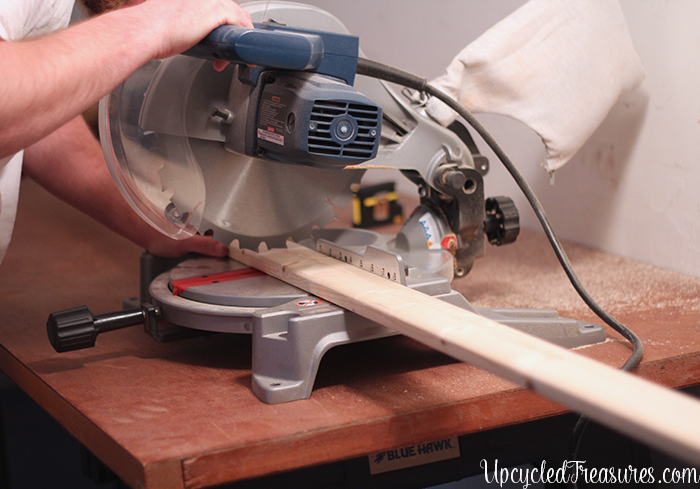
I also picked up {4} 1 x 3 x 6 boards which Eric cut to size for my custom chalkboard frame, but you can always get those cut to size at Lowes or Home Depot. I actually think wider boards would have looked better on this project but was too impatient to go back to the store so I just made it work.
I was all out of my chalkboard paint so I decided to whip up some up using this chalk paint recipe which is also more cost-effective and super easy to do.
I have used old jars and containers to mix my paints but if I have an extra {empty} quart paint can lying around I prefer to use those for my DIY chalk paint. You can even buy new ones for a couple of bucks at the hardware store. I basically fill the quart size can 3/4 with the paint color I want {in this case black}, so it’s essentially 3 cups paint. Sure I’m just guestimating but measuring paint is messy and this works well for me.
Then in a separate container, I will mix 1 cup of plaster of paris with 1 cup SUPER HOT water using a fork. Once the plaster of paris and water is a thin, clump-free batter I add it to the paint and mix it all together. Voila! Homemade chalk {or chalkboard} paint!
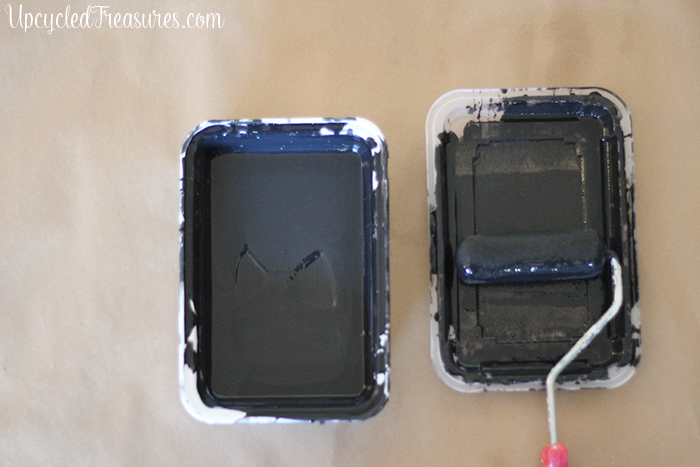
Did you know Chinese takeout containers make perfect paint trays? I also use the soup containers for mixing my plaster of paris/water mixture like mentioned above. Normally I would line it with tin foil to make for easy cleanup but was in the garage and too lazy to go back inside to get more foil.
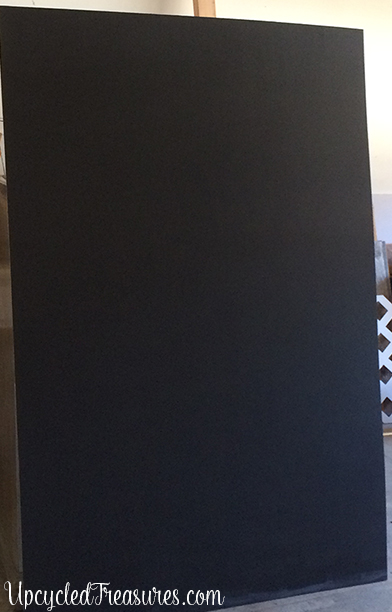
I added a couple of coats of the DIY chalkboard paint to my plywood, letting it dry in between and then went over it with fine sandpaper.
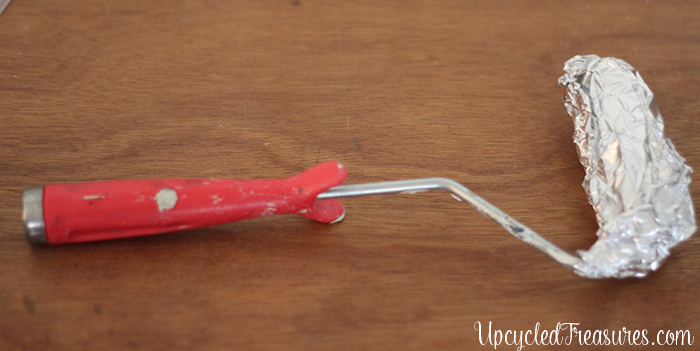
Rather than clean my styrofoam roller in between coats I just wrap it in foil, which keeps it from drying out. Sometimes I’ll even take the extra step to place them in large ziplock bags and place them in the fridge. Lazy or Clever? You decide.
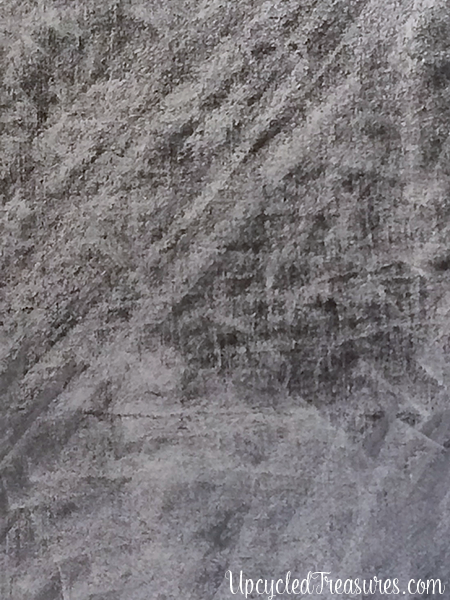
After my chalkboard was all painted and dry I seasoned it by rubbing chalk all over it and then wiped it off, which prevents future “ghost lines”.
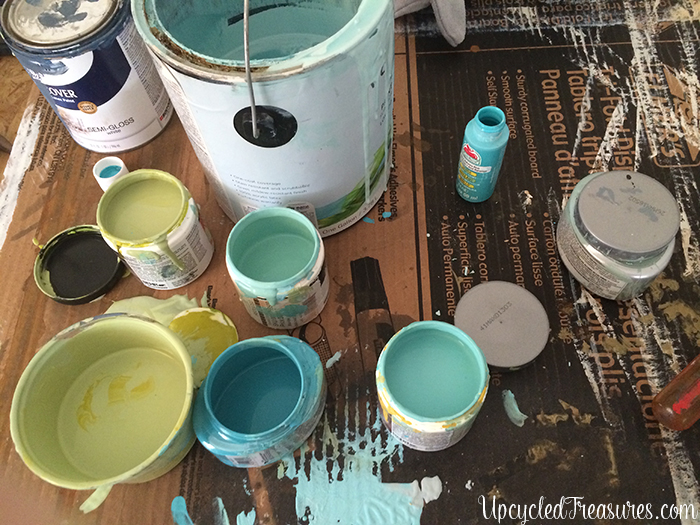
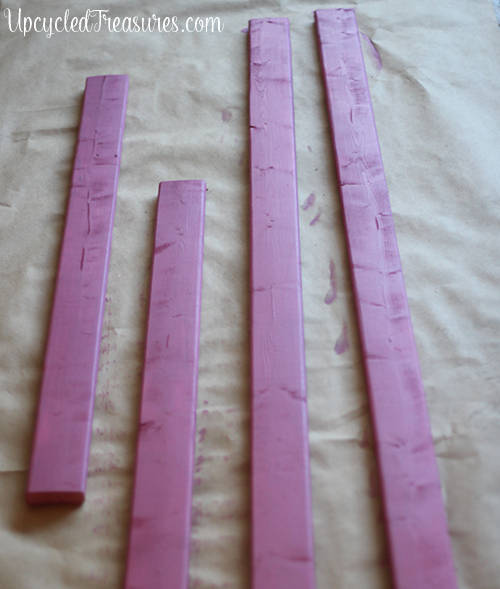
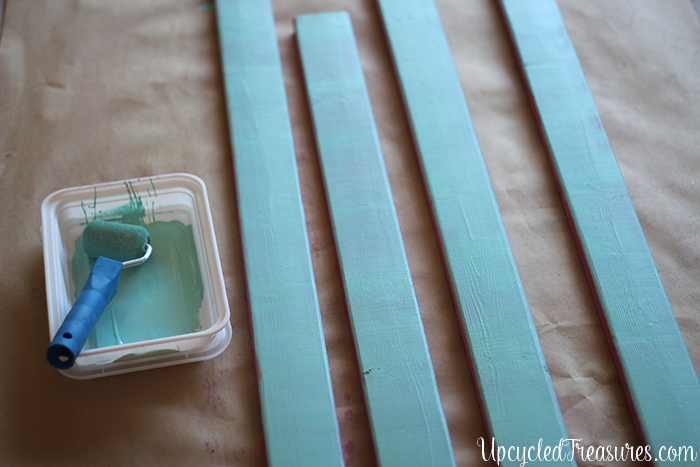
Then it was onto my frame! I first painted the boards a fuchsia color I custom mixed and once dry I went over it with a custom mixed turquoise color. You may have seen the photo below if you follow me on Instagram where I was mixing paint and making messes.
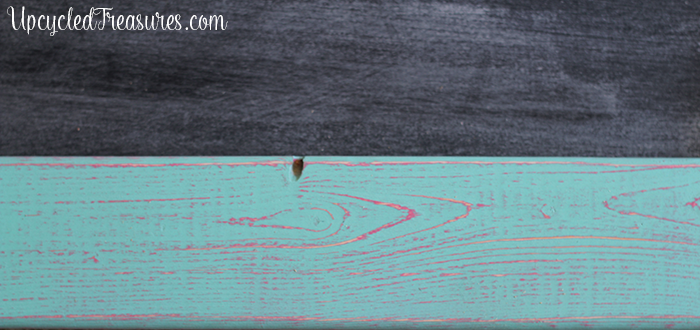
I then sanded over the boards so that the fuchsia would peek through in some areas giving it a rustic look and an added pop of color.
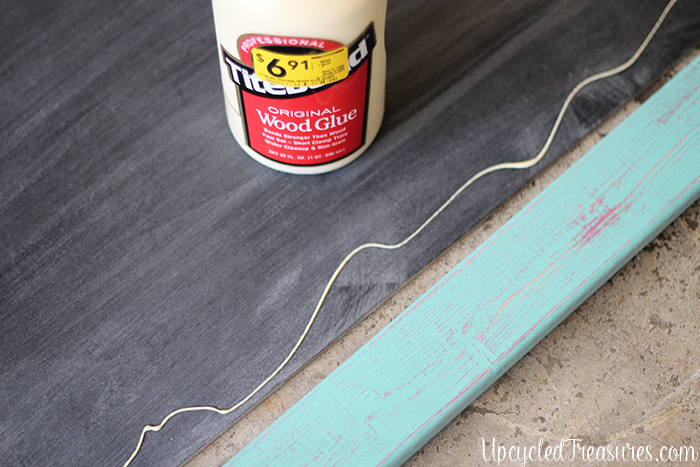
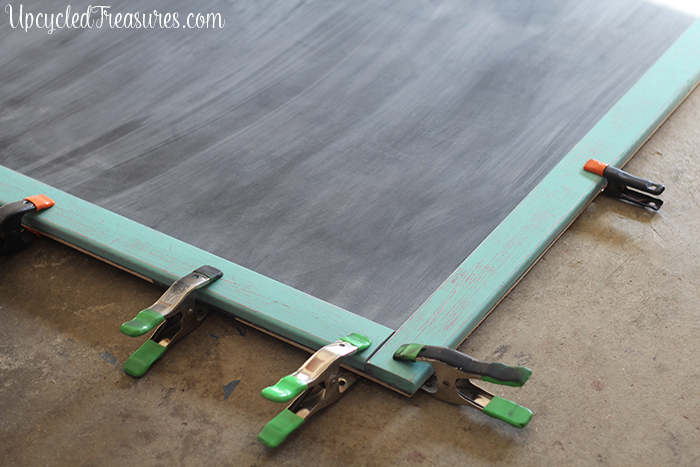
I added some wood glue to the edges of the plywood and clamped the frame boards down so the frame is flush with the plywood.
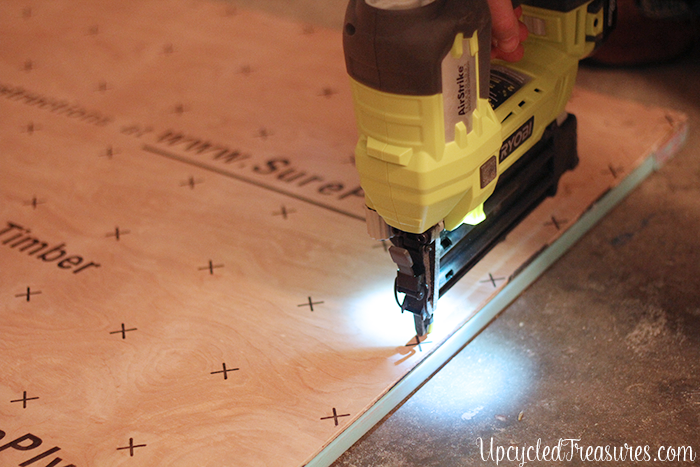
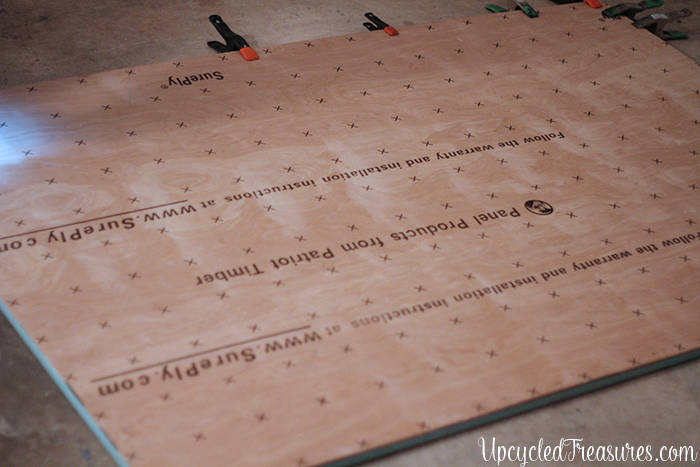
A couple of hour later Eric and I flipped the chalkboard over, removed most of the clamps and used our Ryobi Airstrike to nail the plywood into the frame, just to make sure it was nice and secure.
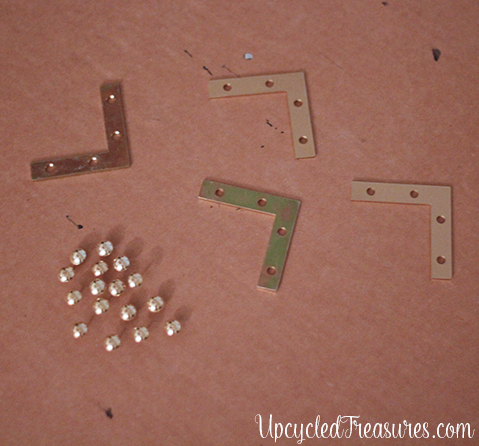
I had some brass flat braces and gold upholstery nails that I wanted to add to the frame corners, but since the colors didn’t match I first sprayed them with gold spray paint. I poked the nails through a piece of cardboard to make them stay up while I painted them.
Then we added some hanging hardware and put it up on the wall! If I had made it a bit taller I probably would have just leaned it against the wall, but felt it looked better off the floor. So what do you think of how to make a giant chalkboard?
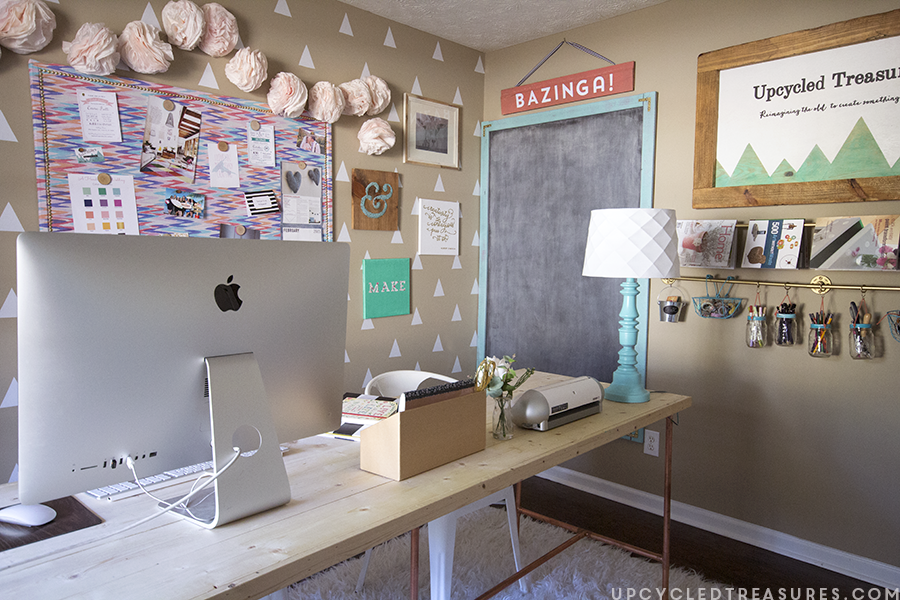
Here is an updated photo:
I’ve been slowly filling up the wall space and you will see what’s next to the chalkboard in a future post. My office is slowly coming together and it’s so fun to show you the progress!
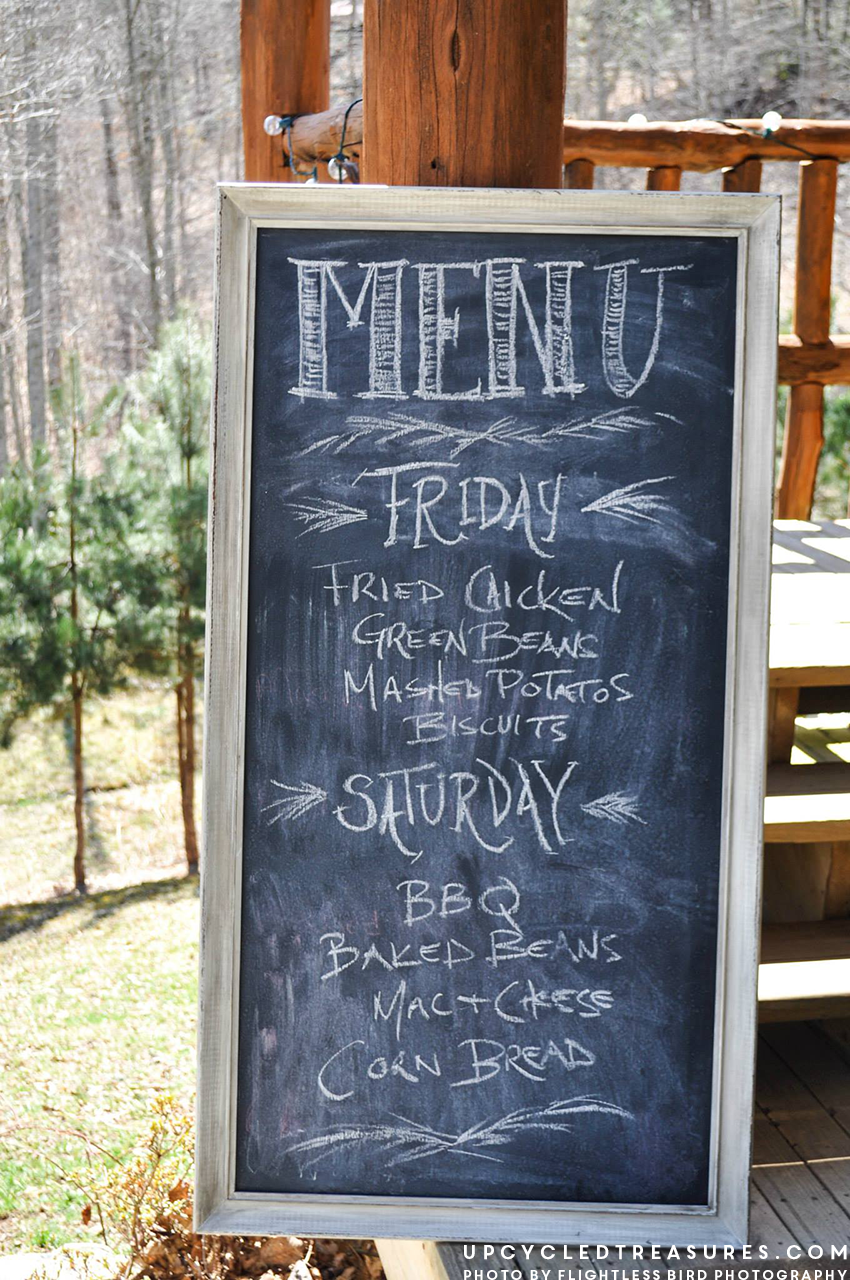
Again, an even easier way to make a giant chalkboard would be to find a huge thrifted piece of framed art and paint over it with chalkboard paint (as seen here). I did this to a bunch of frames for our wedding and one of them was used as our menu. The frames were painted with grey chalkboard paint and then glazed and lightly distressed.
Unfortunately, I didn’t get any good photos of it during the reception, and left it at the wedding venue for future brides to use. However, here is a photo of it that was taken by Flightless Bird Photography:


Love this Katie!
Thanks Corey! I just recently came across your outdoor chalkboard and that thing is amazing!
I love chalkboards! We were also looking for a way to put up a chalkboard on our kitchen wall, which isn’t very spacious and so we went with chalkboard-foil:
http://bastelbazooka.blogspot.de/2014/02/framed-chalkboard-diy.html
Yours is pretty awesome as well, though!
Cheers, Anni
Wow, what a creative idea! I recently turned an old cabinet door into a chalkboard and put it up in our kitchen. It’s definitely nice to have one in there 🙂
I absolutely love what you did with the frame. The 2 colors are fabulous together! Thanks for the idea!
Thanks Trina!
I really enjoyed all your clever tips. I was just painting today and could have used your roller in foil trick. I will remember for the chalkboard project we will soon be doing. 🙂
Oh yeah I get tired of having to wash my brushes all the time and the foil helps me keep my sanity, haha. Can’t wait to see your chalkboard project!
NICE chalkboard, Katie! I love the color! And YES, I think wrapping up your roller brush is very clever…..
Have a wonderful Wednesday!! 🙂
x Crystelle
Crystelle Boutique
Thanks Crystelle!
Thanks so much for linking up at Thursday STYLE! This is so awesome! I really want one for my office. Love it! Have a great weekend 🙂
Thanks Angela, it’s so nice to finally have a large chalkboard in my office 🙂
love how this looks would be great in playroom
angie @ annies home (http://shopannies.blogspot.com)
Absolutely! Thanks for stopping by!
What kind of hanging hardware did you use? I have a large chalkboard but am struggling to figure out how to make itflush with the wall so it doesn’t move when I write on it.
Hi Denae, we just used a couple D Ring picture hangers that I had leftover from a picture hanging kit, and it hasn’t budged yet. Hope this helps!
-Katie
Wow, the red coming through the wood grain looks so cool close up! This is great.
It’s kind of a fuchsia color and it was fun to finally use some pink in the house, even if it’s just my office, ha.
It looks great! Okay so the only time I have made my own chalkboard paint it was kind of a fail, but I did not know the mix the plaster of paris with water tip. Definitely trying that next time!
Hmm, how did you make yours? I used to make chalk paint with cold tap water and plaster of paris and it was always soooo lumpy. My sister-in-law told me about the trick of letting the water run hot for a minute or two before mixing and it’s made a world of a difference!
This is awesome!! This project is on my to-do list! Thanks for sharing! 🙂 Dawn @730Moments
Thanks Dawn! I look forward to seeing how your project turns out!
Really cute Katie! I am visiting from Linkin Blogs. It’s so funny because I saw you made a chalkboard and I had just linked up my chalkboard! ha! Great minds think alike. 🙂 I love the size you made….and I might have to try and make one for our church classrooms.
Hope to see you soon!
Leelee @ paperbagstyling
The first coat I put on looked great and the paint and plaster was smoothly incorperated but when I went to put on a second coat the plaster had hardened in the bottom of the can. Any suggestions?
Hi Josie,
If that happens you may want to try adding a little bit of hot water to the paint and then mix it up again. The hot water should help break up the clumps. That generally only happens if the paint has been sitting for a long time – like weeks or months and especially if a paint with built in primer is used.
Hope that helps 🙂
Katie
Great project, nice results. I was looking for do it yourself chalkboard plans and this one looks perfect.
You could get away without using the 90 degree brackets on the front. Glue and the fasteners behind should be plenty to hold the trim in place.
Thanks
AB
I have a question. The paint that you are mixing with the plaster of paris is the one for the board you will write with chalk on, correct? Can you do other colors besides black?
Thanks!
Hi Catherine,
Yes, you can create any color chalk paint using acrylic or latex paint and mixing it with the Paster of Paris. Although it seems like you can also get chalkboard paint, and other chalk paints more easily and less expensively then you could a couple years ago. I figure if you have extra paint on hand it doesn’t hurt to make your own, but if you have to go out to buy the supplies, it’s probably best just to buy it pre-mixed. 🙂
Katie
Thanks for the easy to follow tutorial! Just curious – have you experimented with chalk markers? I’ve bought one brand and it didn’t erase. Love the look of chalkboards but also love the sharpness of a chalk marker vs. the chalk stick.
I’ve tried them, but to be honest I’m not the biggest fan. Mainly because they don’t erase. I’ve tried chalk pencils that are much thinner but those are generally a bit too thin. They should make something in between, or markers that ACTUALLY erase. Haha.
Thank you so much guys!
This is a great idea. I am a longtime lover of wall size chalkboards and troubleshooting/problem solving through writing; and not having to waste paper.
I’m embarrassed to say, that I never considered making my own chalkboard before! I always thought it was something you had to just buy from the store or some used school depot! I never knew it was this easy to make your own! And, if you look into buying an extra large school size large chalkboard for personal use at home….you can easily spend $300-$600; and that’s on ebay alone for the cheap ones…before shipping! But, it seems,…if you make it yourself…you’re looking at a fraction of that amount! Good stuff!
Looking at your recipe I think what you are making is actually chalk paint ( I use this recipe too). Chalkboard paint and chalk paint are not the same thing at all
Yup the recipe I had used on this chalkboard was the same that I used back when I made my own chalk paint. It may not technically be the same thing, but it certainly worked the same 🙂 In fact, I made this almost exactly 3 years ago and we just put this chalkboard in storage today – and it still works great!
hi! I’m very much interest in making my own massive (8×4) framed chalkboard! came across your tutorial and its been very helpful. i have a question, did you sand the board before or after you applied the chalk paint? I’ve read other tutorials and some sand the board and some don’t. if i buy plywood, it is necessary that i sand the board? Thanks for the help 🙂
I followed videos on using chalkboard paint on plywood 2-3 coats and even after seasoning the chalkboard it doesn’t seem to take the chalk. It seem to scratch. Is it the chalk or perhaps something else went wrong?