UPDATE: All new featured RV tours will be posted on my other website, Wanderful RV Interiors. Existing tours will slowly be moved to the new website, and anything already moved will automatically redirect.
Disclaimer: This post may contain affiliate links, meaning, if you click through and make a purchase we (or those featured in this post) may earn a commission at no additional cost to you. View our full-disclosure here.
Today I will be sharing how to upcycle a table into a clock. So if you have one of those 70s tables hanging around your garage or basement collecting dust, this may just be the project for you!
A chalkboard clock wasn’t my first intention for this $4 thrift store find I purchased nearly a year ago, but I couldn’t be happier with the results.
How to Upcycle a Table Into a Clock
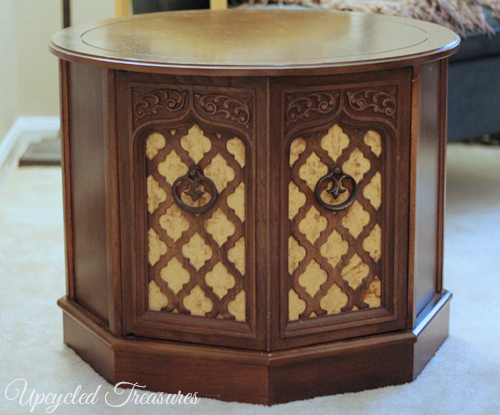
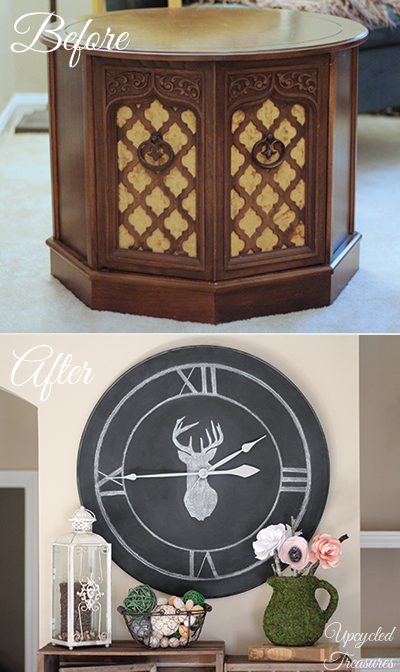
Here is the before photo:
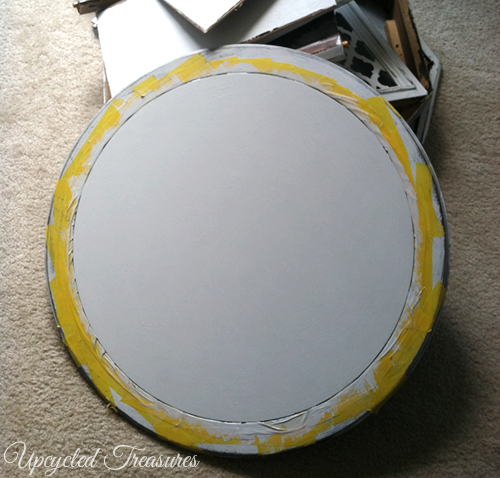
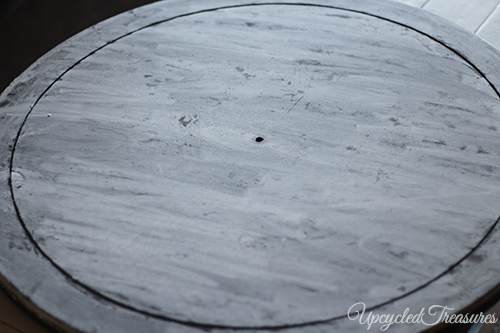
However, being that only parts of the table were made of real wood, I decided to paint it with primer, followed by paint, not realizing that the primer needed more time to cure. The end result? Paint that peeled right off. Woops. At least it stuck to the tabletop.
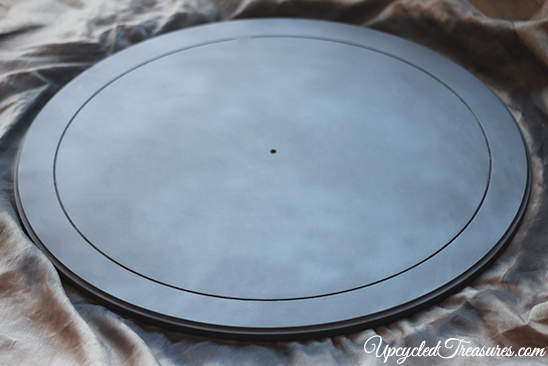
I also later realized that there was damage to the bottom of the table. So I moved the table onto its side to see if I could fix it, only when I looked straight at the tabletop I saw something else… a clock! I immediately dismantled the table with a screwdriver and set the top aside.
Of course, I went back and forth as to what kind of clock I wanted before I did anything to it. French, nautical, vintage? Being indecisive actually led me to my final decision, to make it a chalkboard clock! This way I can change it whenever I want.
After I had removed the top from the table there were holes in the back where the screws were. No one will see the back since it will be facing the wall, but I filled those in with putty and then sanded over them anyway.
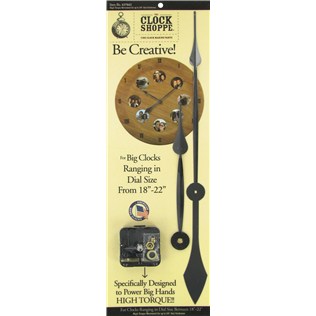
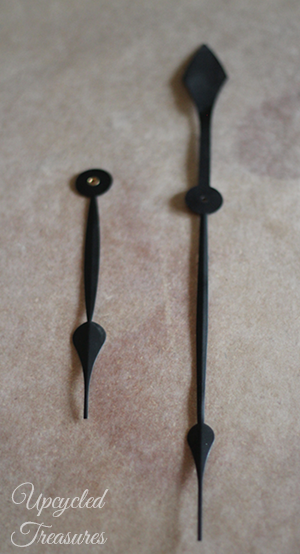
I already had a small clock kit on hand but purchased a high torque clock kit from Hobby Lobby since I wanted larger clock hands. I did end up using the “second” hand from my smaller clock kit though since the larger one didn’t come with it.
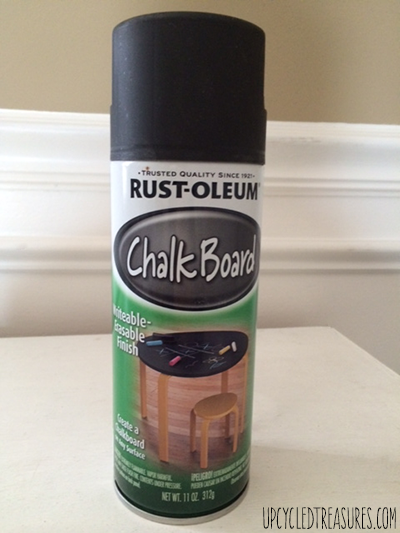
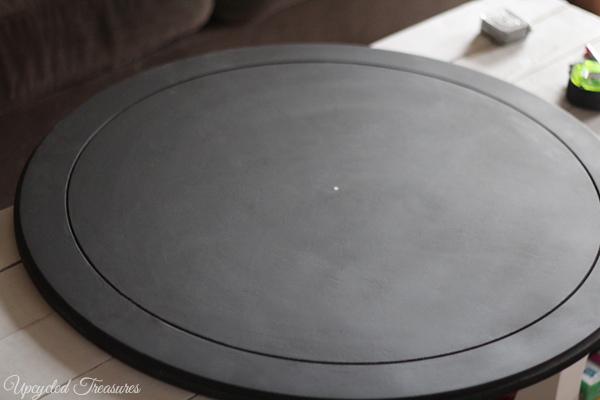
I painted the clock with 3 coats of chalkboard spray paint, letting it dry in between coats.
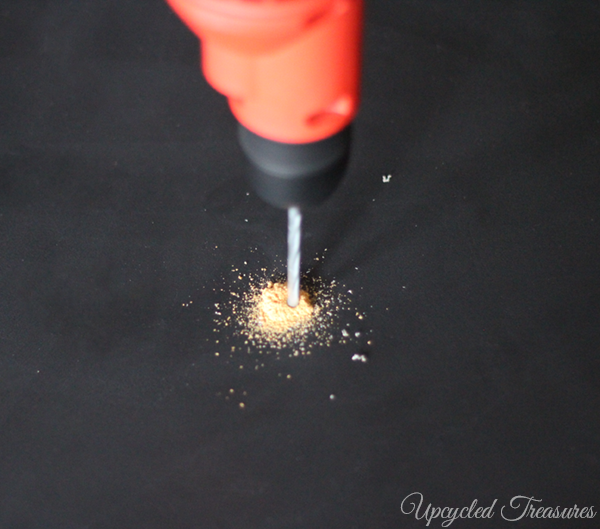
Afterwards I measured out the center point and drilled a hole for the clock kit to go through. However, drilling first would be much smarter and you won’t have to worry about touch-ups.
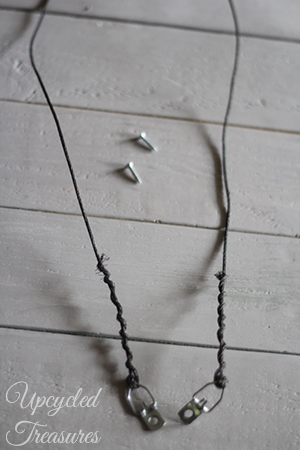
I then added a frame hanger to the back, which I already had on hand.
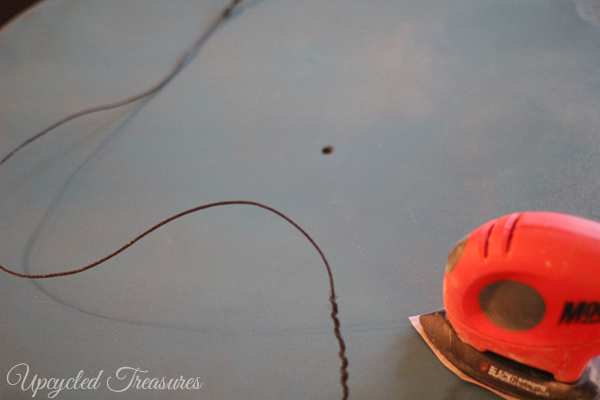
The clock kit tells you what size your clock needs to be for it to fit through. I realized I needed to sand the back of the tabletop down a bit to make the clock kit fit properly.
Afterward, I painted one more coat of chalkboard paint to the front of the clock to clean it up a bit.
Once it was dry, I seasoned it with chalk to avoid “ghost marks”. So I essentially rubbed chalk all over the clock, and then wiped it off with a rag.
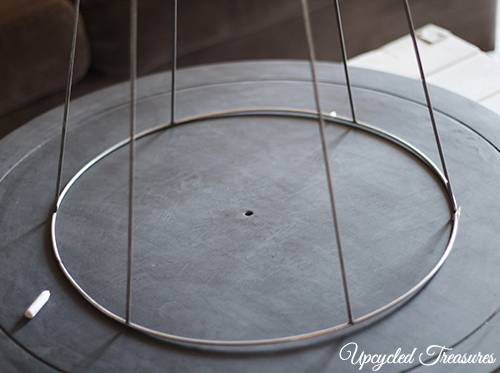
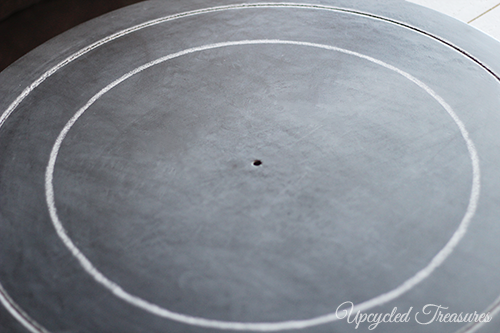
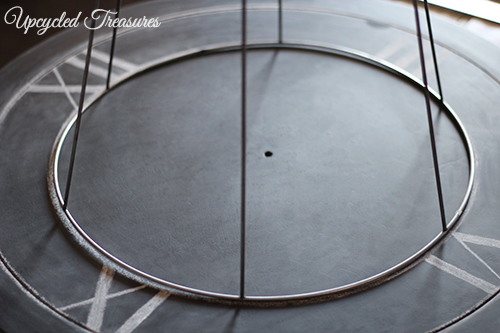
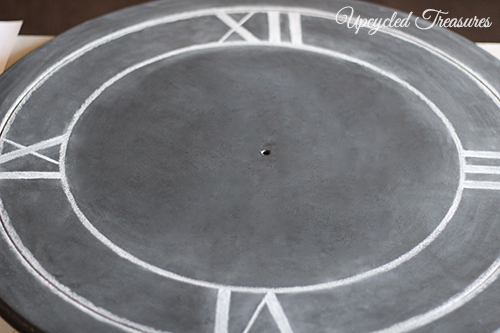
While working on this project I actually came across this Pottery Barn Clock which instantly inspired me. I wanted to embrace the indented circle that goes around the entire tabletop, and felt that double circles would do the trick. To create the inner circle I used a lampshade {thrift store find for a future project and I already removed the “shade” part}, placed it in the center and traced around it with chalk.
I then went over the indented circle with chalk.
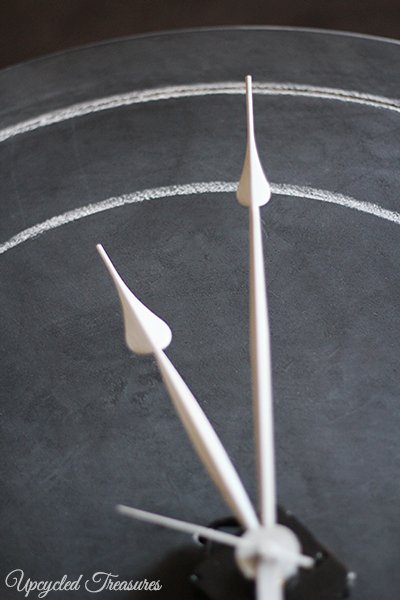
Since I needed more contrast with my clock hands I painted them with some Paris Grey chalk paint.
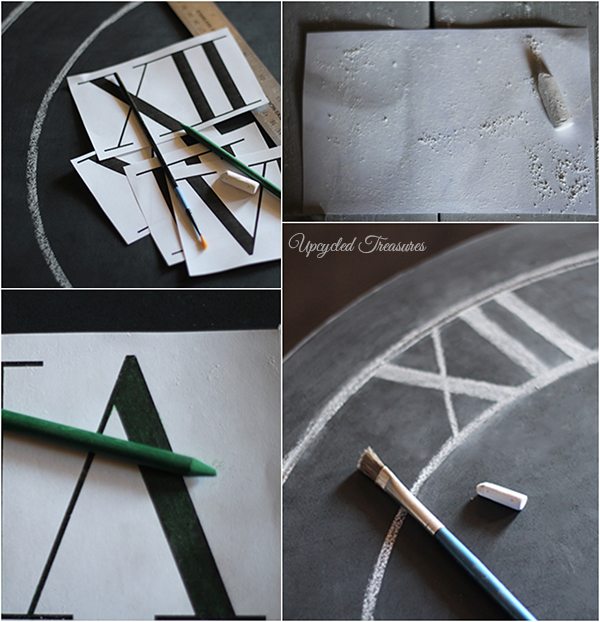
I then measured out and marked where to place my numbers. You could simply draw your numbers on with chalk, but I decided to use the chalk transfer method, which you can read more about here. I used a small, dry paintbrush to clean up the chalk a bit.
I then re-traced my circles.
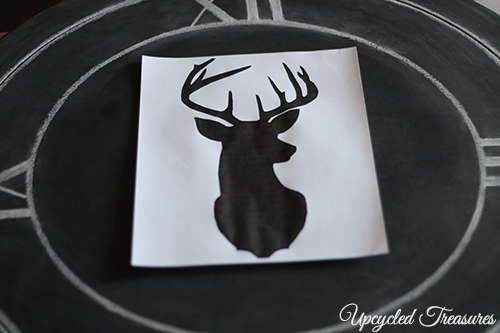
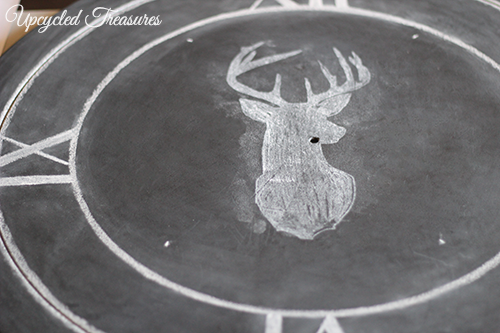
I knew I wanted to add something to the center of the clock, so I went with a deer silhouette using the chalkboard transfer method again.
This is what it looked like before I cleaned it up with a small, dry paintbrush.
To avoid the chalk smearing once I was all finished I sprayed it with a couple light coats of Aqua-net hairspray. I originally tested out some other hairspray I had but it came out in spritz and left marks on the chalkboard. So be sure to test your hairspray first! I stood about 12-15 inches away from the clock and sprayed a couple very light coats.
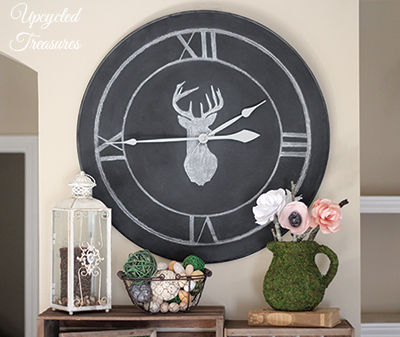
And here she is all finished and hung up, woo-hoo!
Here is the before and after of how to upcycle a table into a clock:
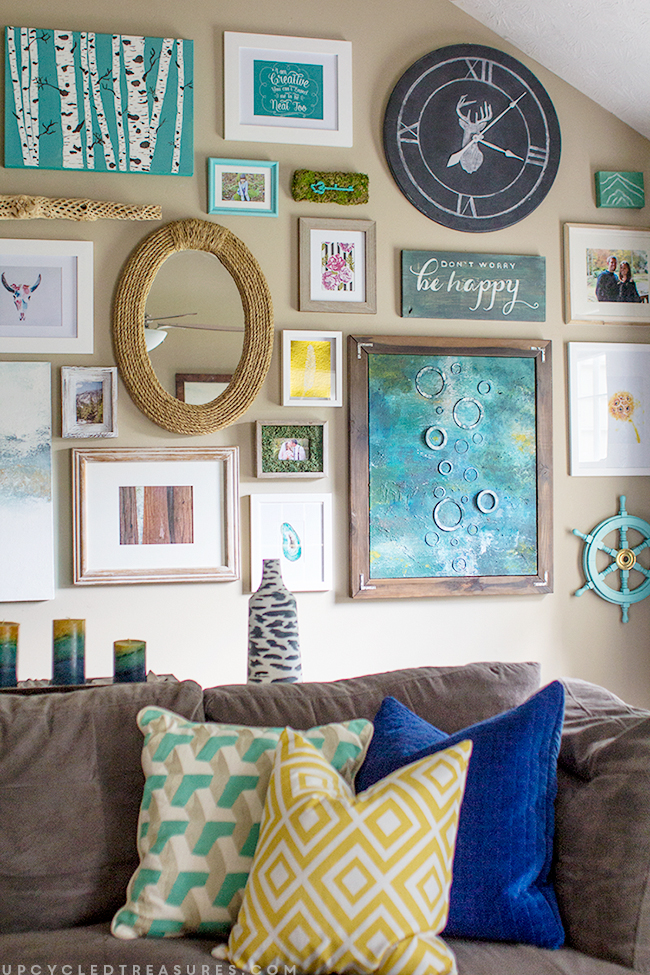
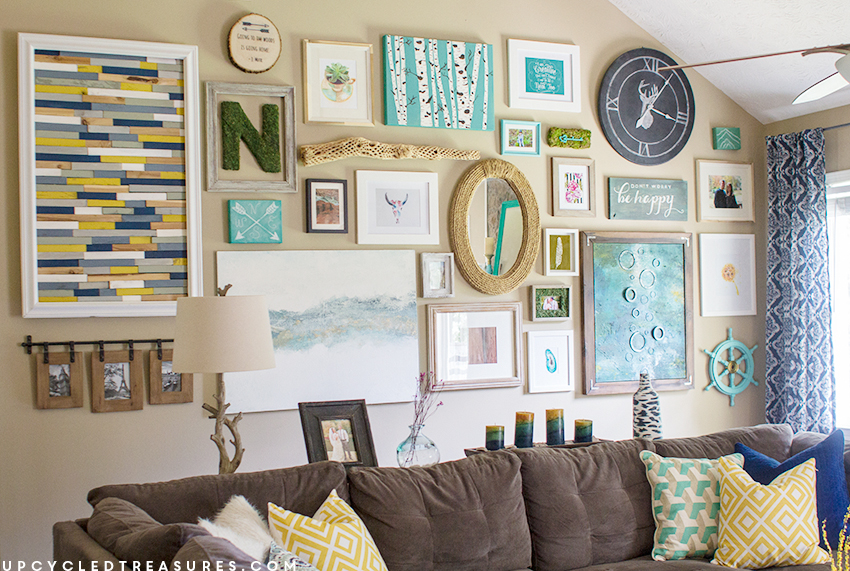
Here is an updated photo of it on our massive gallery wall nearly 2 years later.
So what do you think of how to upcycle a table into a clock? Have you upcycled something unusual into a clock?

What an interesting idea! Did you end up doing anything with the rest of the end table? Pinning
Hi Jamie! I actually did keep a lot of the scraps but haven’t done anything with them yet 🙂
My husband loves clocks. He will love this project. We had to compromise…he’s not allowed to buy any more clocks with a second hand, hahaha.
Haha, thanks for stopping by and checking it out Lydia! Have a great week!
Never would I ever think to do this! So crafty! Kind of wishing I had one of those 70’s tables lying around! Great job 🙂
This may be the one and only time I’ve heard someone say “I wish I had one of those 70’s tables lying around” haha,
I had no idea that you had used a table to make this clock! Skillz lady!
Thanks Amy! I was all about deers when I did the silhouette in the middle since it was Christmas time, but am already itching to change it up 🙂
How clever & resourceful! Love it, sharing on G+ 🙂
Thank you so much for sharing Lori, I appreciate it 🙂
What an awesome upcycle! I never would have thought of that. It looks great!!
Thank you so much Stephanie!
I swear I already commented on this but now I’m not sure… At the risk of looking stupid, I’ll just say it again. I think this is amazing. I keep coming back to look at it. I’m SO inspired to make one of my own!
Hahaha, well a month ago I had posted one photo and a link to the guest post I originally wrote so that’s why it looks familiar. You didn’t leave a comment before though so thank you!
I ADORE THIS! It is absolutely SUPERB in every way!
Awww, thanks Heather!
omg what a great idea! That thang is gorgeous! I love the dear in the center.. wow so creative!
this is fabulous!! thanks for linking up with us! pinning!Q
This is darling! I love the deer at the center and how you styled it 🙂 Off to pin!
What a beautiful piece, I absolutely love how it turned out.
This is pretty awesome! I don’t think I would have ever thought of turning that table into a clock!
What?! This is so awesome, Katie! I never would have guessed that it started as a table! Beautiful job, my friend! Thanks so much for linking up at Hit Me with Your Best Shot! Have a wonderful weekend!
~Abby =)
Thanks Abby! So happy you popped over to check it out. Have a great weekend!
Love the idea of a chalkboard clock! So cute!
Thank you Erin!
What a creative idea, Katie! I love it! Such a great upcycle!
Thanks Allison, so glad you stopped by to check it out!
Pinned! SO COOL! What a fantastic idea Katie! I’m definitely going to need one of these 🙂 Off to find a table to upcycle! Thanks for sharing. I would so love for you to link up with us this week at Thursday STYLE too. We really appreciate your support of our party! I absolutely love linking up at The Makers each week! So many fabulous ideas. Have a great weekend.
http://upcycledtreasures.com/2014/02/how-to-upcycle-a-table-into-a-clock/
Thanks Angela! Oh my gosh I have finally had time to start working on new projects and keep forgetting what day it is, lol. Where does the freakin’ time go? I just linked up, thanks for the reminder! I love linking up to your party every week too 🙂
Such a creative idea! Love what you did with it.
Totally Awesome Project!!! I’m featuring you as my personal fave tonight at Monday Funday! Thanks for linking!
I’ve been thinking of doing something similar for a while — thanks for the tutorial!
Katie, this is so cool!! I pinned this and I am featuring tomorrow. Thank you so much for sharing at Redouxinteriors!
Incredibly creative and stunning – once again Katie! Wow!! Shared:)
Hi Katie,
Your amazing clock is my feature tonight at Thursday STYLE 🙂 I absolutely adore this project! Hope to see you back again tonight at 8!
I love this clock so amazing what you did with it!