UPDATE: All new featured RV tours will be posted on my other website, Wanderful RV Interiors. Existing tours will slowly be moved to the new website, and anything already moved will automatically redirect.
Disclaimer: This post may contain affiliate links, meaning, if you click through and make a purchase we (or those featured in this post) may earn a commission at no additional cost to you. View our full-disclosure here.
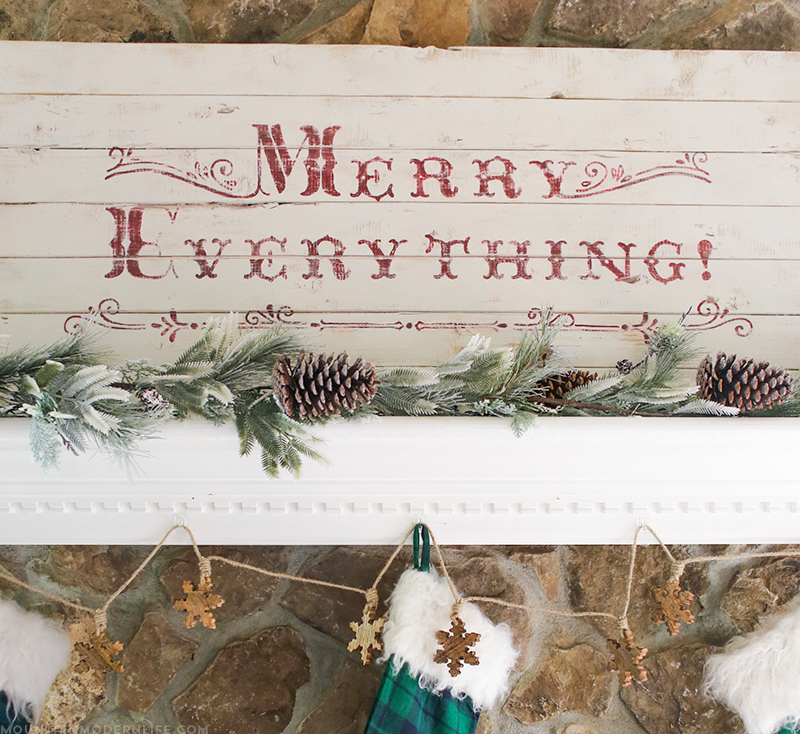
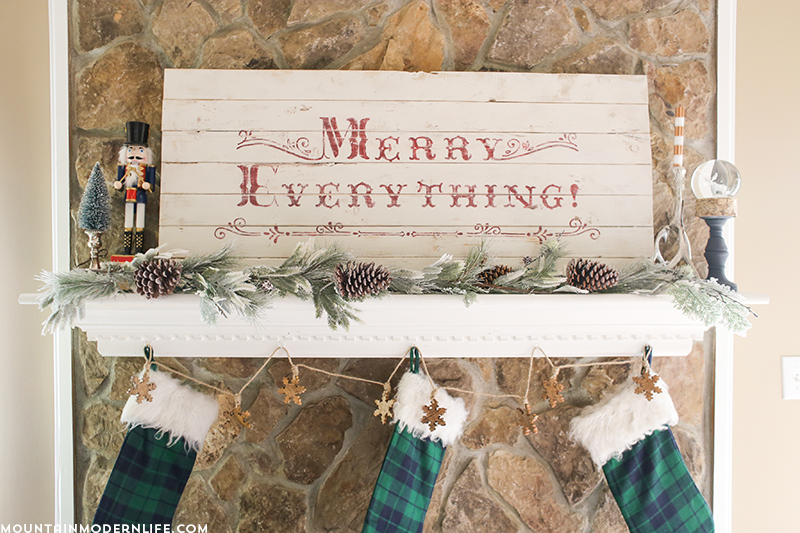
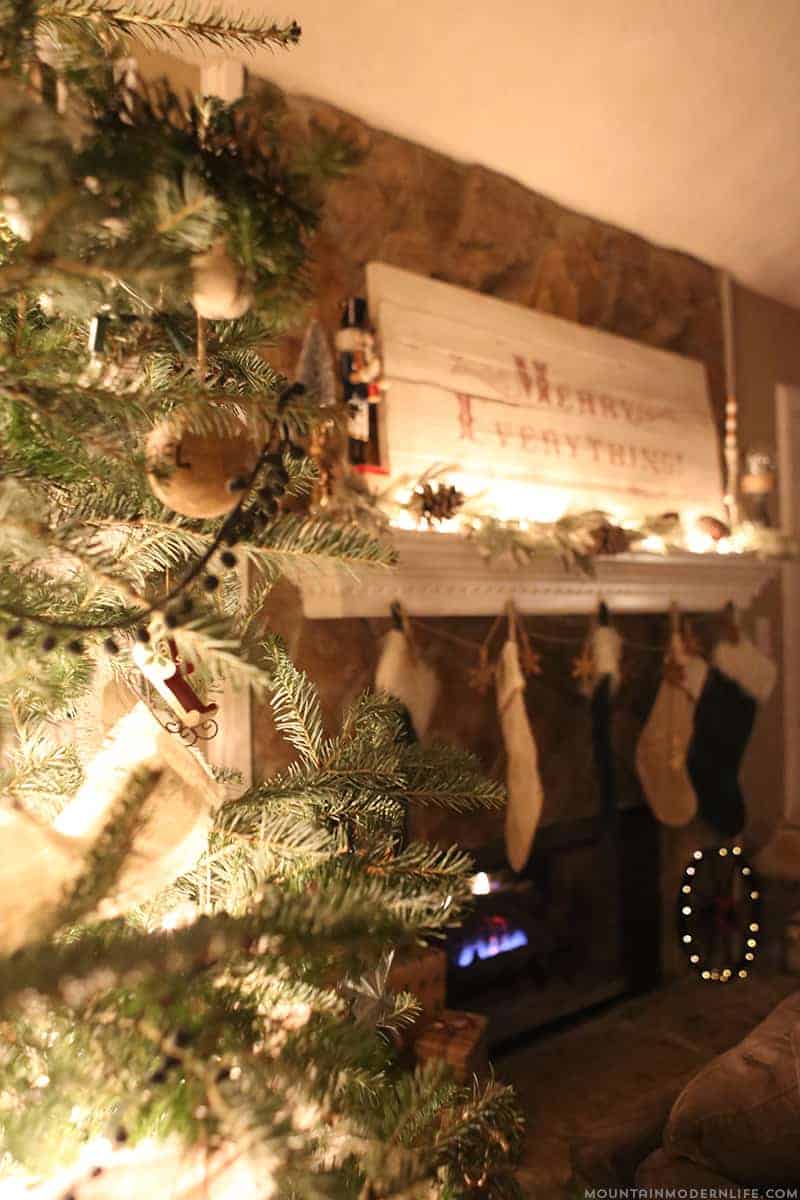
Christmas is around the corner and I just realized I never shared the vintage-style Merry Everything sign I created, which you may recall from my Christmas home tour LAST year. Umm…. where does the time go?
I really love how this sign turned out, and even used the same design on our Christmas cards this year.
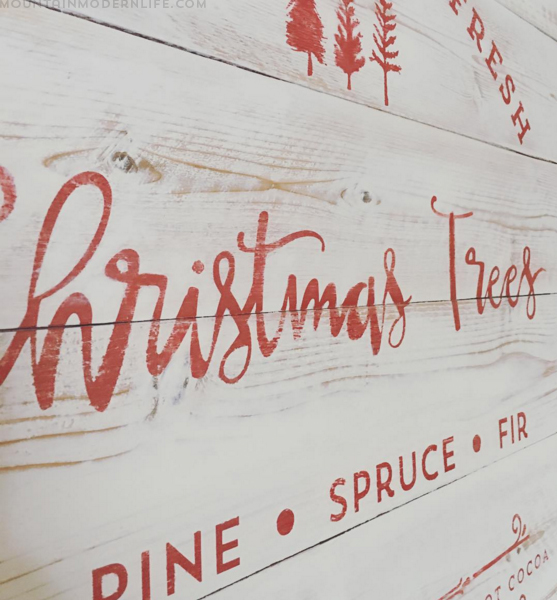
I also recently made a new Farm Fresh Christmas Trees sign with a few of the same elements. You may have seen a sneak peek if you follow me on Instagram:
In case you are new here, you will quickly discover how much I love to decorate our walls with handmade wall art and signs. I made this Christmas sign before I had my Silhouette machine, otherwise, I probably would have just created a stencil. The good news is that all you need to create a handpainted sign with the font of your choice is an inkjet printer. No fancy tools are necessary, although they can certainly make things easier.
There are several “old school” ways to transfer designs onto wood including the chalk method that you can see here.
However, for this sign, I used the same technique I did on our wood slice ornaments and several other projects you can find on this blog as well.
Although I’ll share a few photos during the process of creating this “Merry Everything” sign, you can get a more in-depth tutorial on how to transfer designs onto wood HERE.
DIY Vintage-Style Merry Everything sign
Warning: hand-painting large signs can result in some major hand cramps, but it is totally worth it!
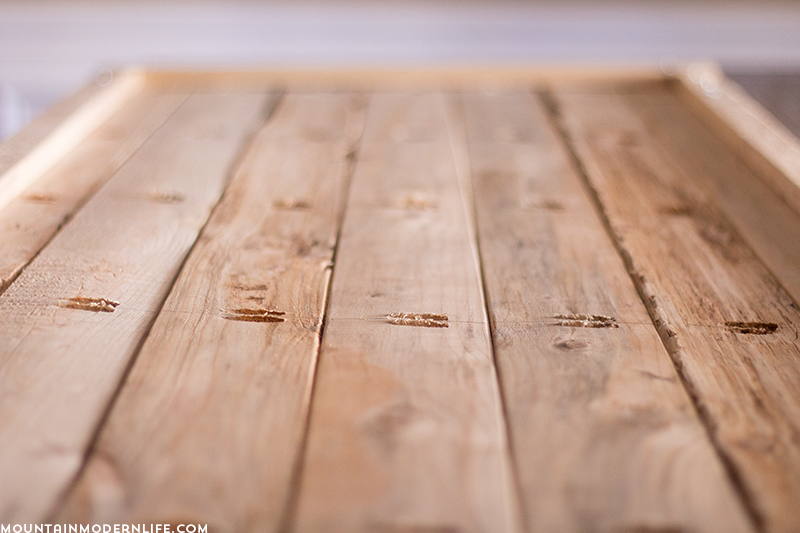
The first thing I did was scour our garage for wood to use for my sign. We had previously Kreg-jigged some wood (attached wood together using our Kreg Jig) for a marquee sign I had planned to make. I was feeling impatient so I scratched that idea and used the wood for this sign instead.
By the way, I actually created a marquee sign out of an old frame instead, which you can see here.
I even thought I may add marquee lights to this Christmas sign, but then we used the globe lights on the tree and well, yeah that didn’t happen either…
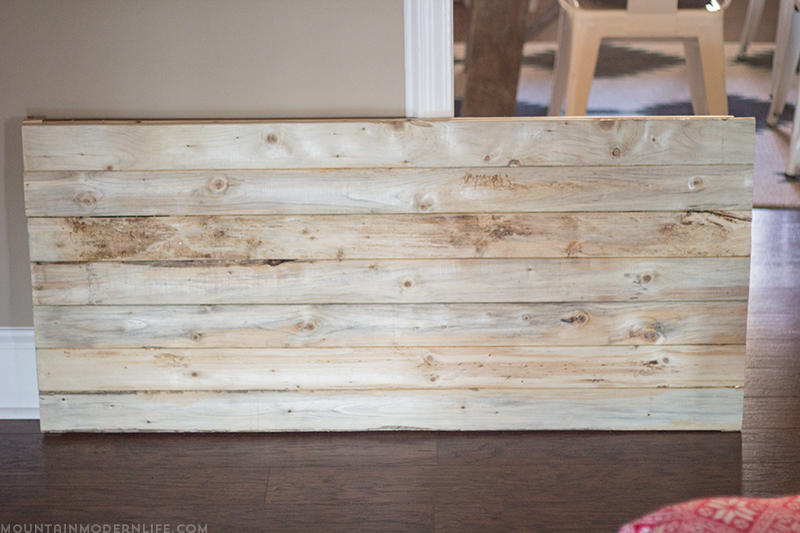
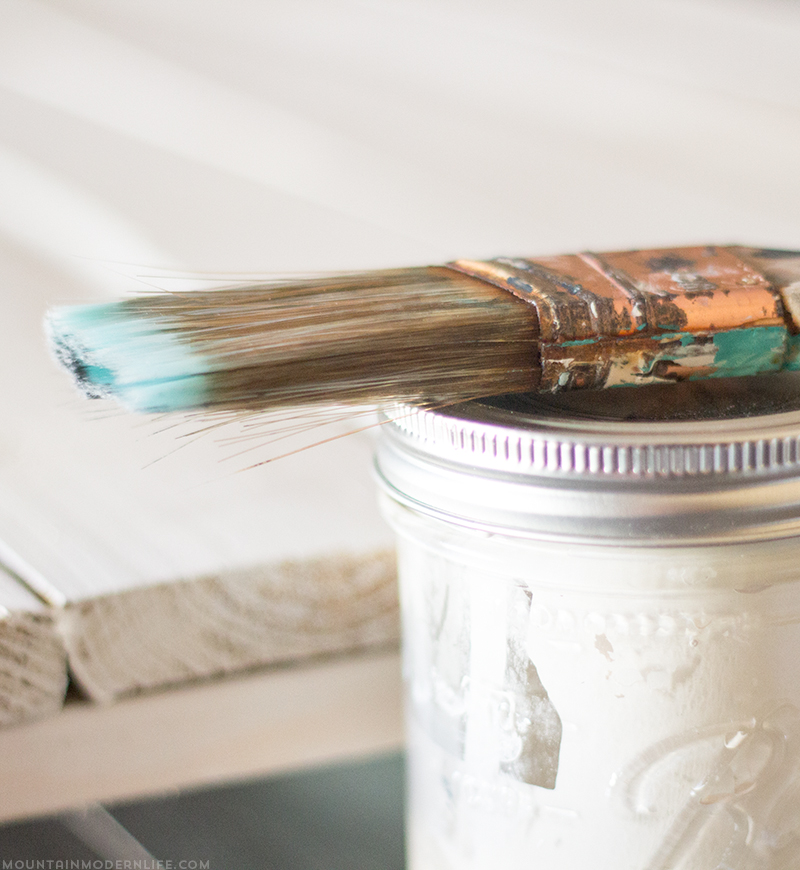
Anyway, once I had my wood-planked base, I decided to paint it white with some leftover sample paint I had in a mason jar. I brushed on a couple of coats, not too concerned about making it perfect as I had plans to distress it later on.
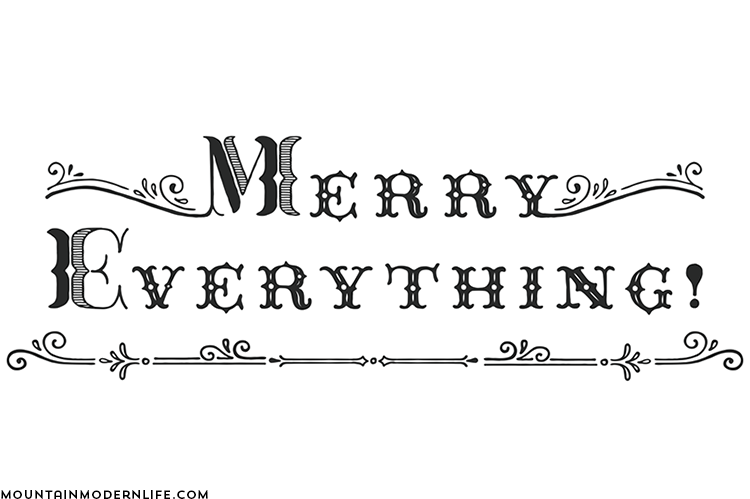
I created the “Merry Everything” design in Illustrator and based the size on the measurements of my wood. You can use a program like Word or any image editing software, including PicMonkey to create the design for your own sign.
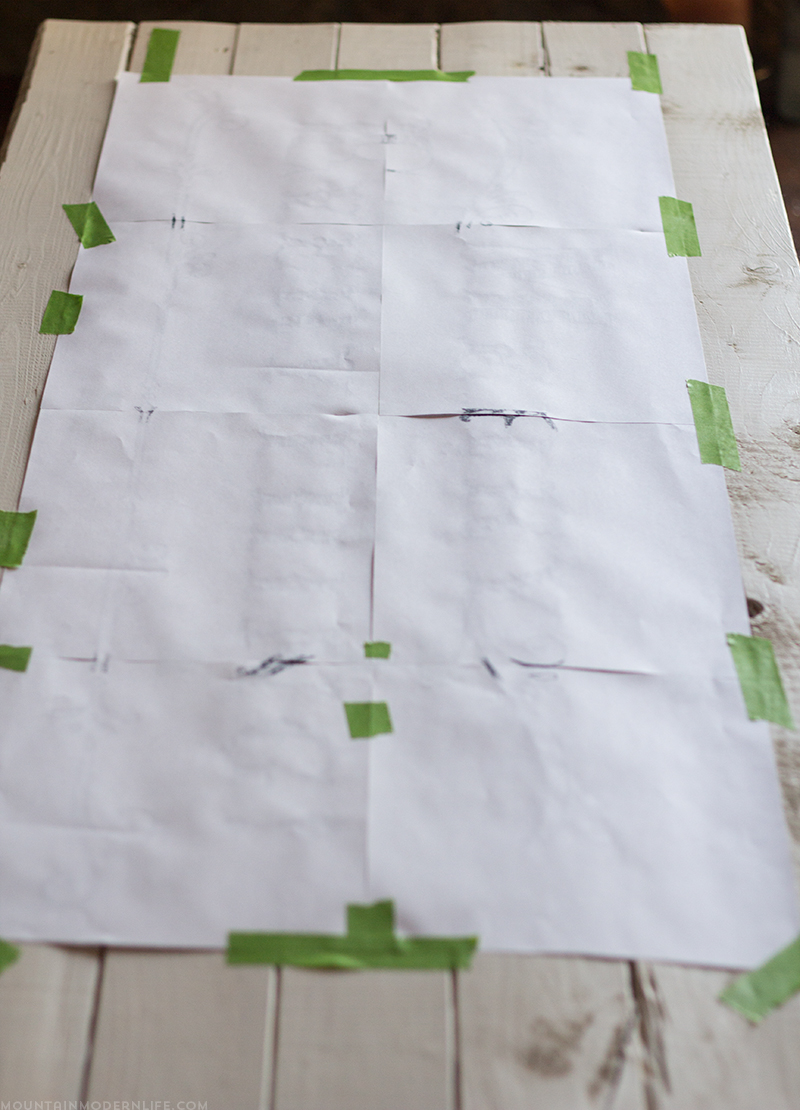
I then reversed the design before printing to ensure it would transfer over correctly. Since my design was so large I printed it in tile (or poser) format and then had to tape my pages together. I then taped the paper down onto the wood and began the transfer process.
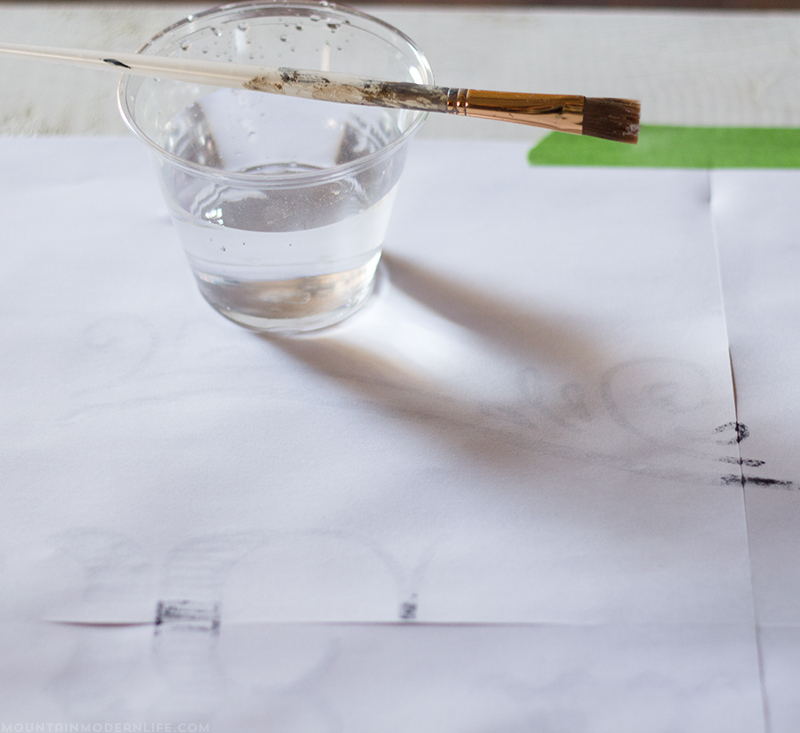
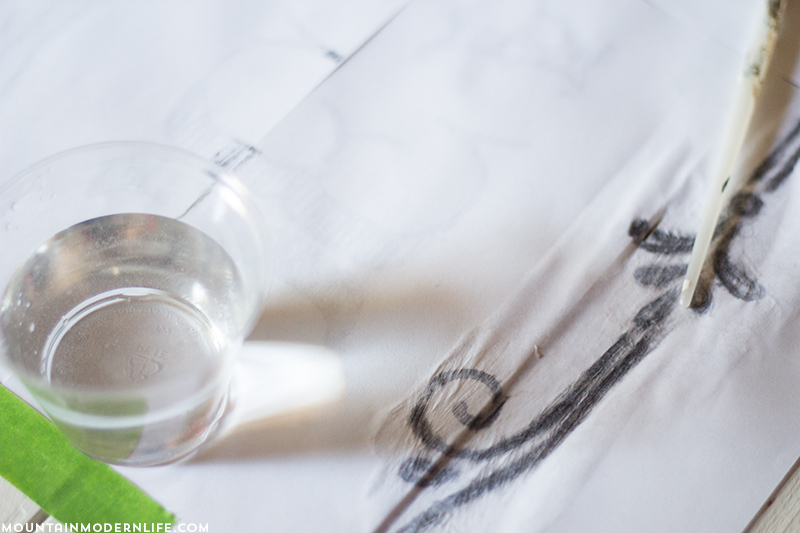
This basically means I dipped a paintbrush into water then painted it onto the paper, on the opposite side of the ink.
As you add water you will begin to see the ink bleed through the paper. You can then use the end of the paintbrush to “burn” or “rub” the design onto the wood.
A few things to remember when transferring printed designs onto wood:
Print from an inkjet printer
Use regular copy paper
Don’t soak the paper with water
Try not to tear the paper when “burning” the design onto the wood.
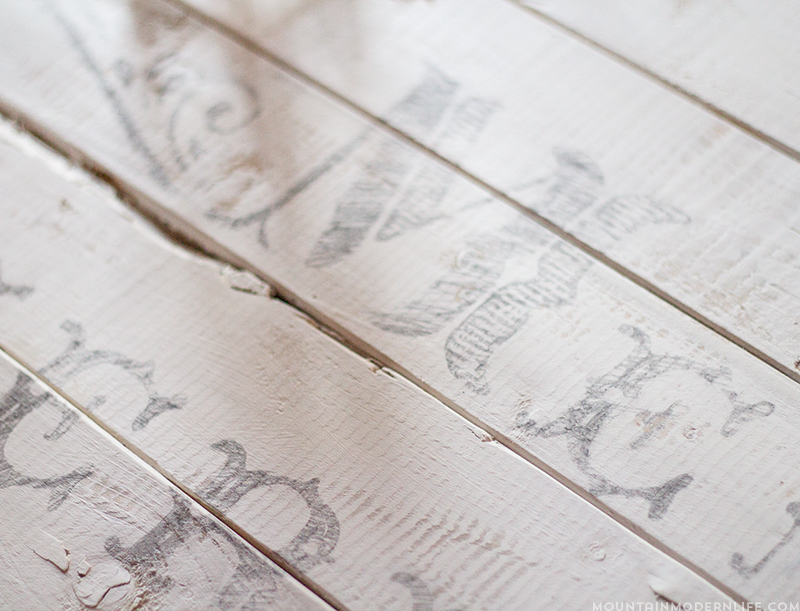
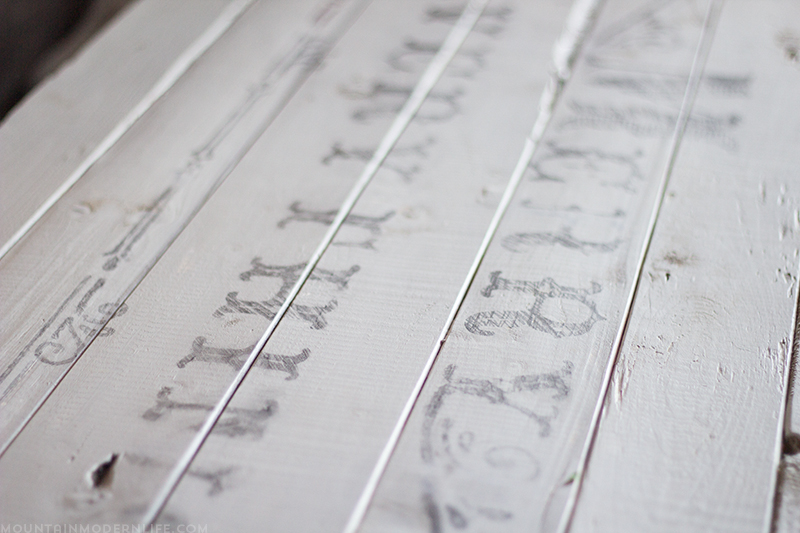
Here is what the design looked like transferred over:
It’s basically enough for you to see the design and trace over it with a sharpie, paint, or even a paint pen.
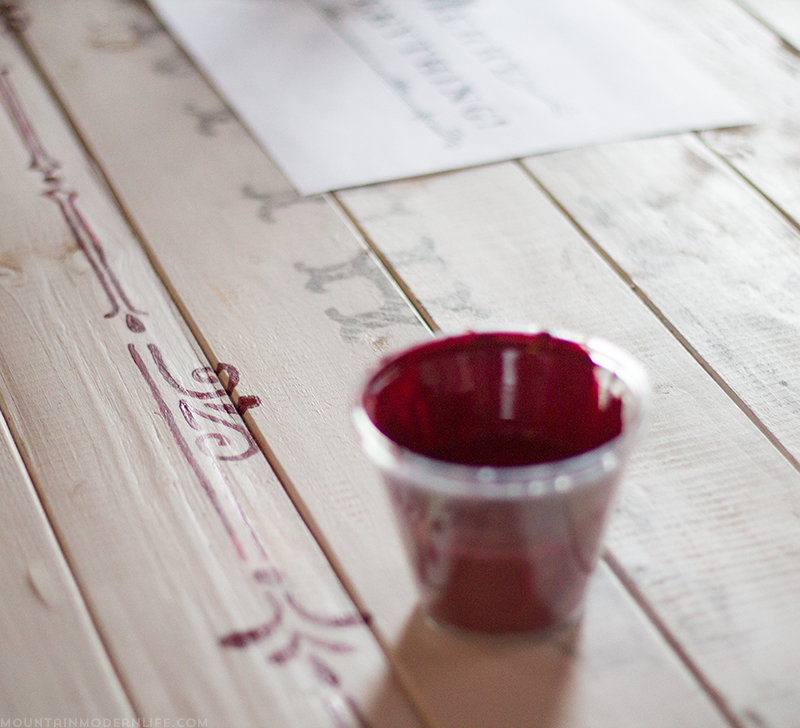
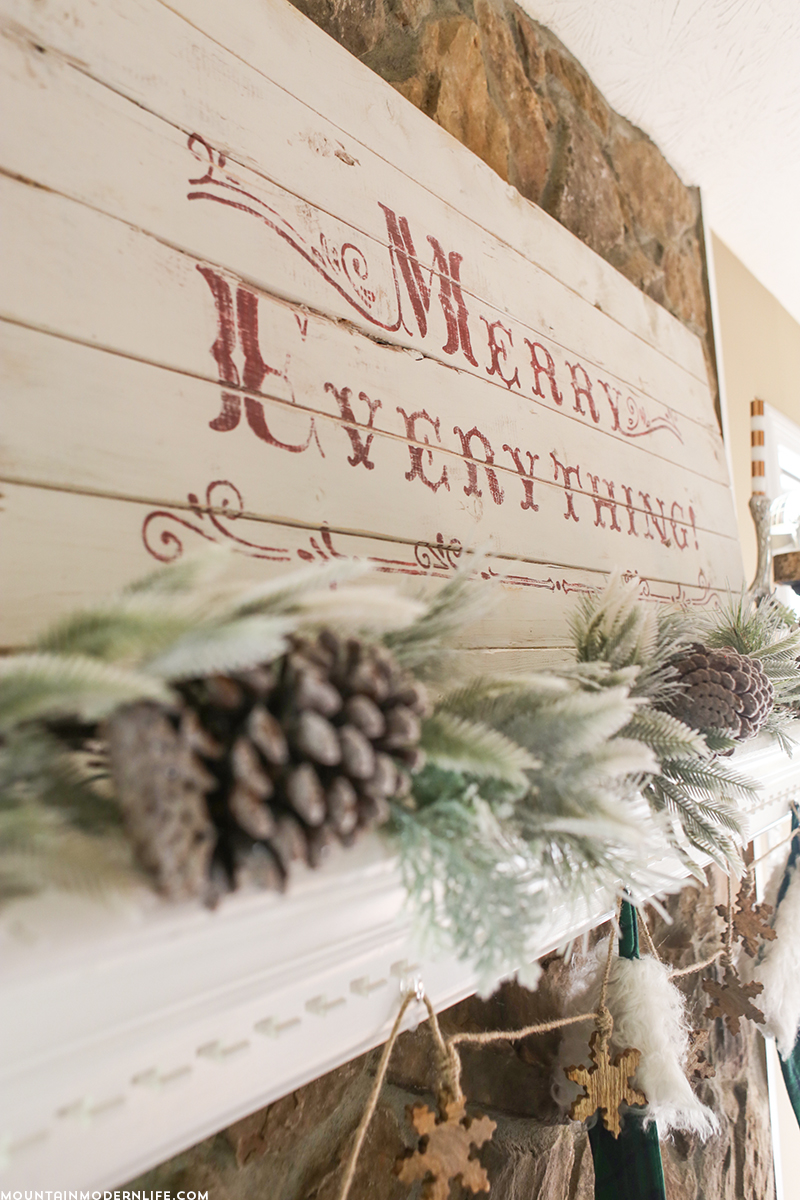
I went over it with some red sample paint I had on hand. To be honest, I’m not a huge fan of the color. It’s a bit too maroon-ish but I was too impatient to go get some new paint so I just used what I had. I think it works okay but honestly still may go over it one day with a different shade of red.
I think I went over everything 2 times with my detail paintbrush. Once it was completely dry I distressed the entire sign with 220 grit sandpaper to give it a vintage look and feel.
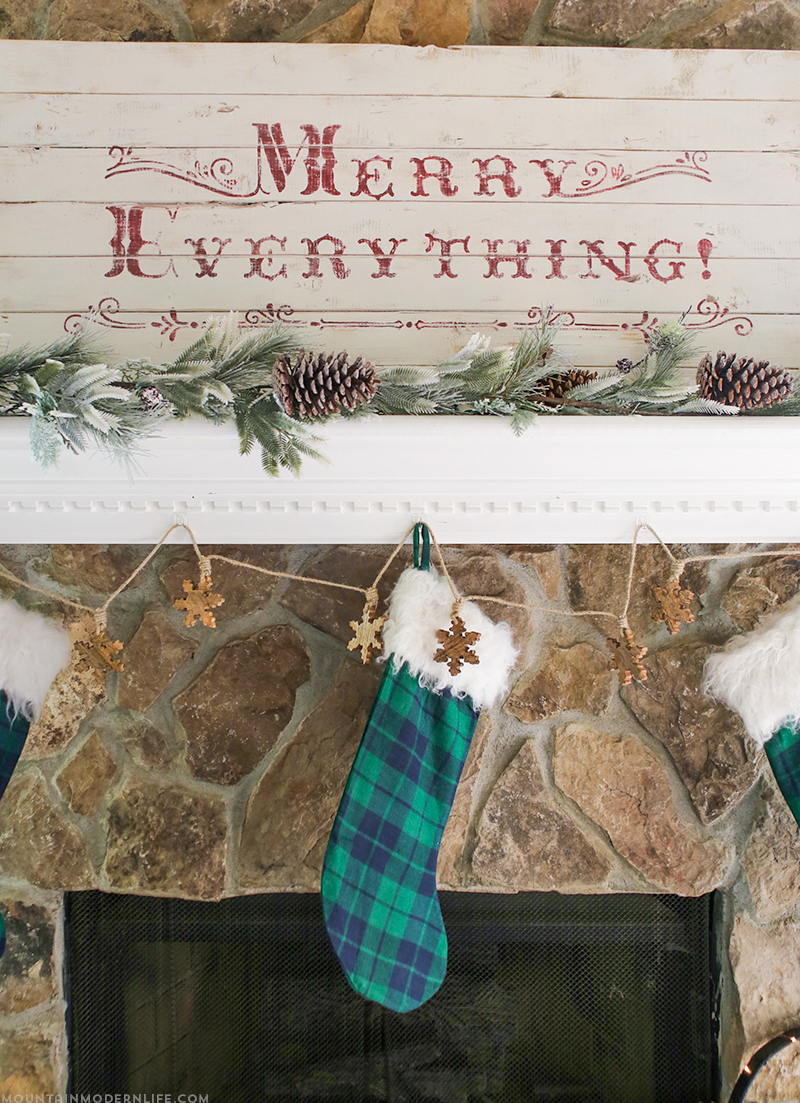
And here is my Merry Everything sign all finished and upon the mantel. I was only able to enjoy it for a week last year, so it’s been nice having it up all season this time around. It’s not perfect by any means by I still love how it turned out.
Since I used items I already had, this project actually cost me $0. Not too shabby for a large sign that brings some holiday cheer to our mantel.
So what do you think of the Merry Everything Sign? Have you made any custom holiday signs this year?
By the way, the font used is called Thankful and is available here if you want to buy it. I was lucky enough to snag it during an awesome font sale.

Love this and pinning for future projects!