UPDATE: All new featured RV tours will be posted on my other website, Wanderful RV Interiors. Existing tours will slowly be moved to the new website, and anything already moved will automatically redirect.
Disclaimer: This post may contain affiliate links, meaning, if you click through and make a purchase we (or those featured in this post) may earn a commission at no additional cost to you. View our full-disclosure here.
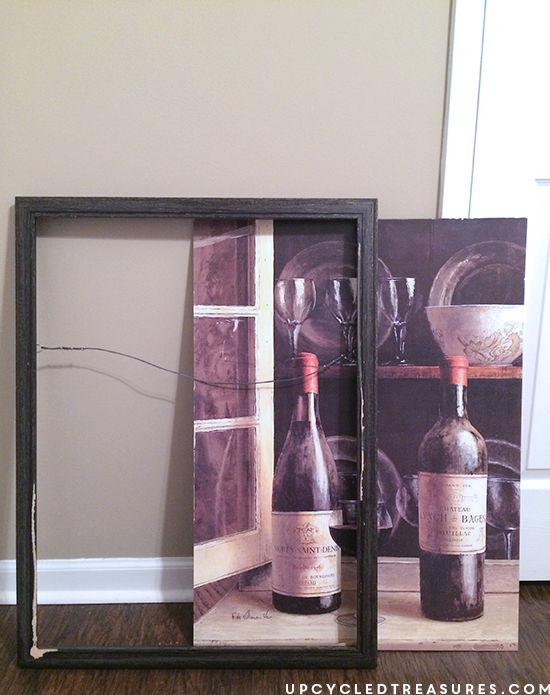
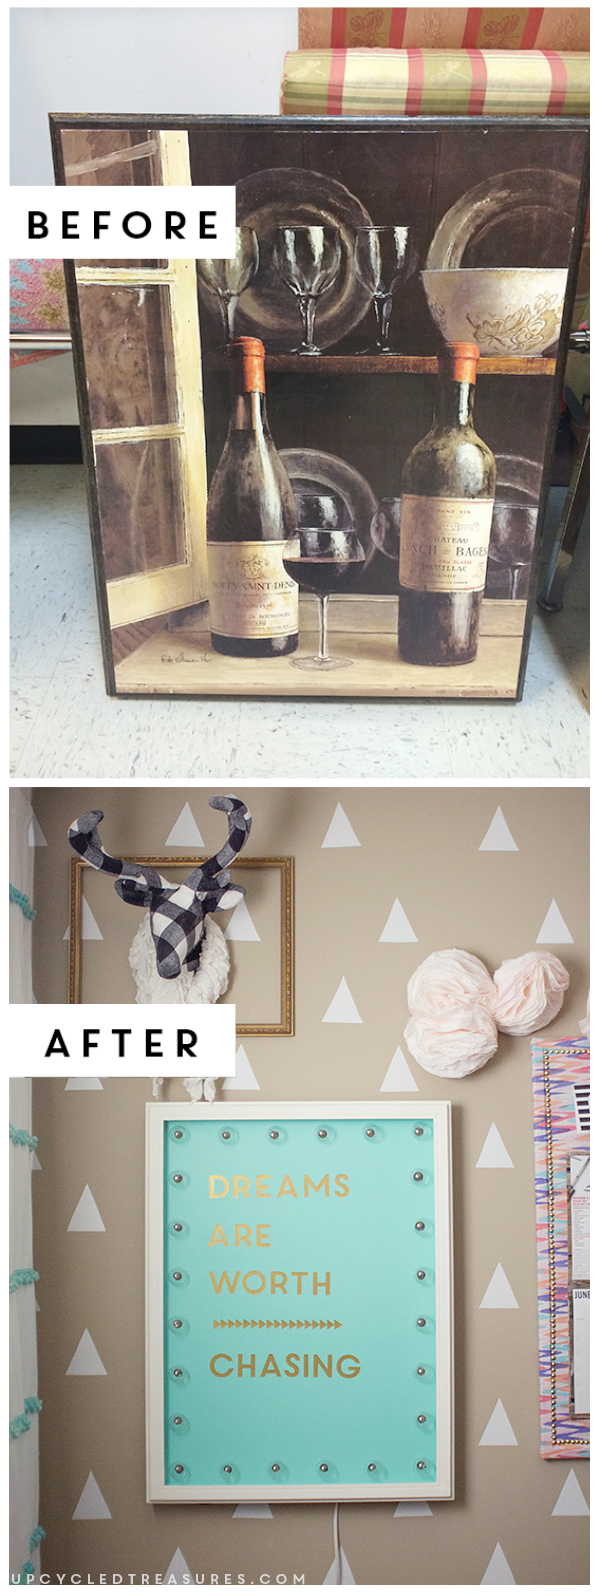
A few months ago while browsing the thrift shop aisles, I came across this framed wall art:
 While it wasn’t my taste I knew it would be the perfect candidate for the marquee sign I’ve been planning to make for 34583495345353 years. Well, maybe not that long, but longer than I can remember 🙂
If you follow my blog you may have realized that I sometimes have a difficult time making decisions when there are so many options. I’d like to think I’m getting better, but it still happens occasionally.
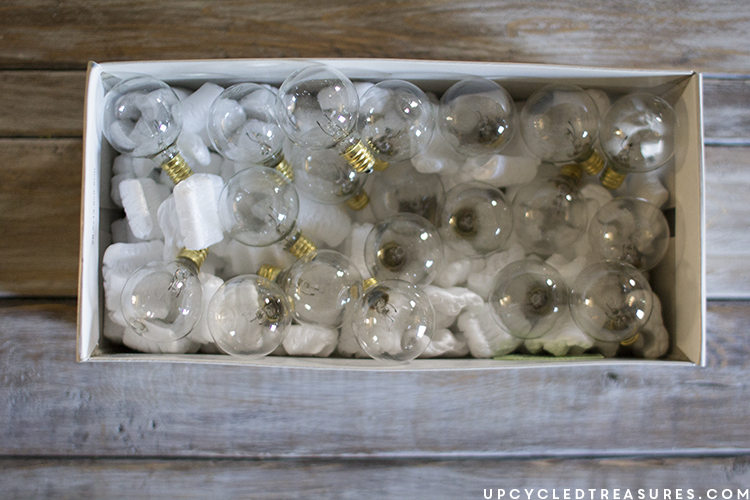
I purchased quite a few packs of globe lights at Target roughly a year ago with the intention of creating a large marquee sign. I used the same lights at our wedding reception {although I left them at the venue}, so I knew they would be the perfect way to light up a sign on a budget.
I then contemplated adding the lights to my Adventurer’s sign, or a large Bazinga sign, or to the wood I wound up using for a holiday sign, but instead, no lights were added to any signs. Although they were added to our Christmas tree.
Anyway, when I saw this thrifted frame for $12 I instantly knew I could deconstruct it, and turn it into a fun sign for my creative workspace.
You may have seen this guy {minus the lights} in my home office reveal last month. Again, my original intentions were to create a marquee sign but then when I started making my Upcycled Treasures sign I flip-flopped because I thought I may prefer that it lit up instead. Decisions, decisions…
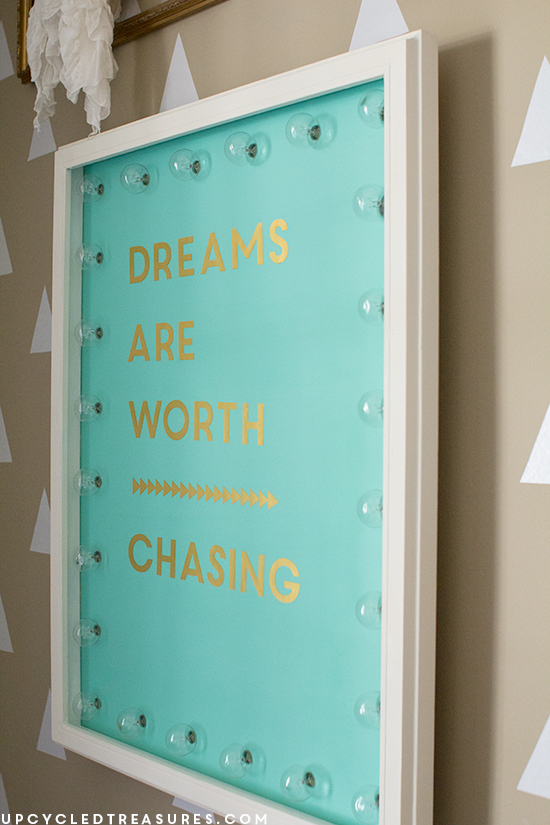
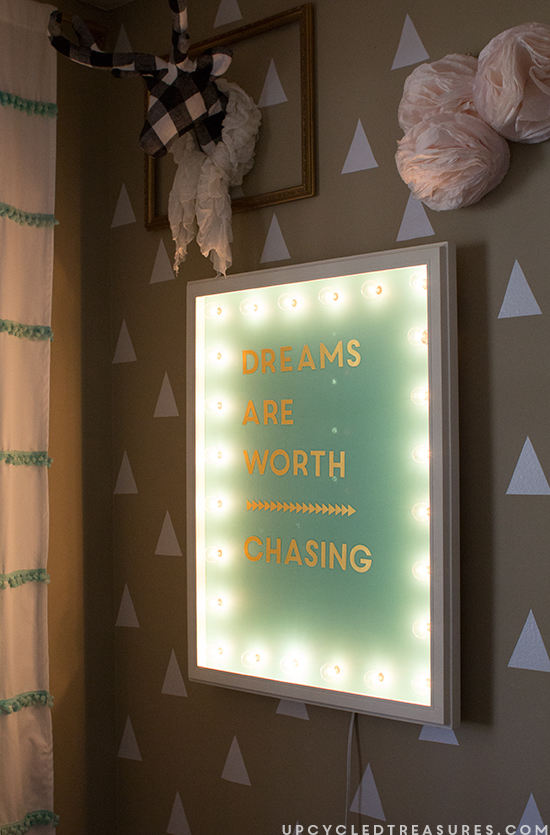
Long story short, I decided that this wall art that someone gave up was meant to be a marquee sign all along. The quote I decided to add was “Dreams are worth Chasing” which I saw in the background of a Dale Partridge video. Another quote that I was thinking of using is “Dreams don’t work unless you do”.

Thrifted Frame
Randomly mixed Turquoise Paint {for the background}
Annie Sloan Chalk Paint in Old White {for the frame}
Silhouette Machine + Gold Foiled Paper {for the letters}
![]()
Upcycled DIY Marquee Sign
The first thing I did was remove the art {which was made out of thin wood} from the frame. It was just glued on and it came off pretty easily. I did this because I wanted to take the image from the front of the frame and move it to the back, giving it more of a shadow box effect.
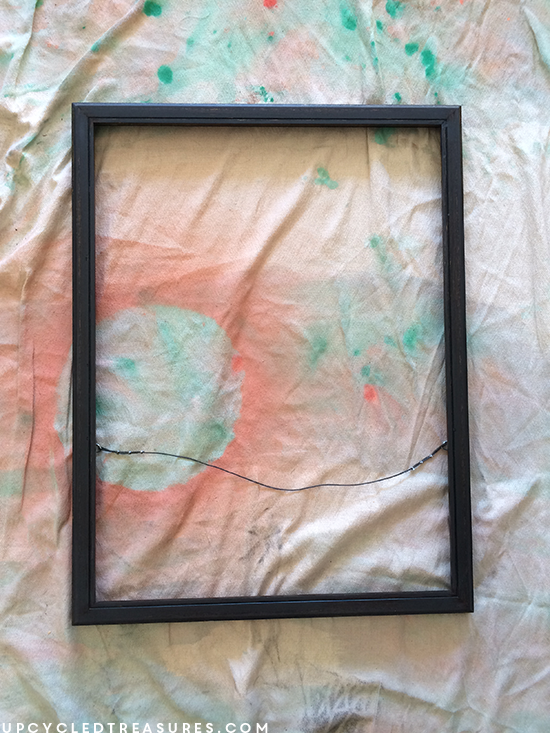
I gave the frame a light sanding and painted it with some white chalk paint, and then covered the image with some randomly mixed turquoise paint. Although you will want to wait to paint the background until AFTER you drill your holes.
We had also attached the painted board to the frame using our Ryobi Airstrike, but you could drill your holes and then attach it back to the frame. I didn’t mind attaching it first simply because it would be easier for me to see where I should place the lights.
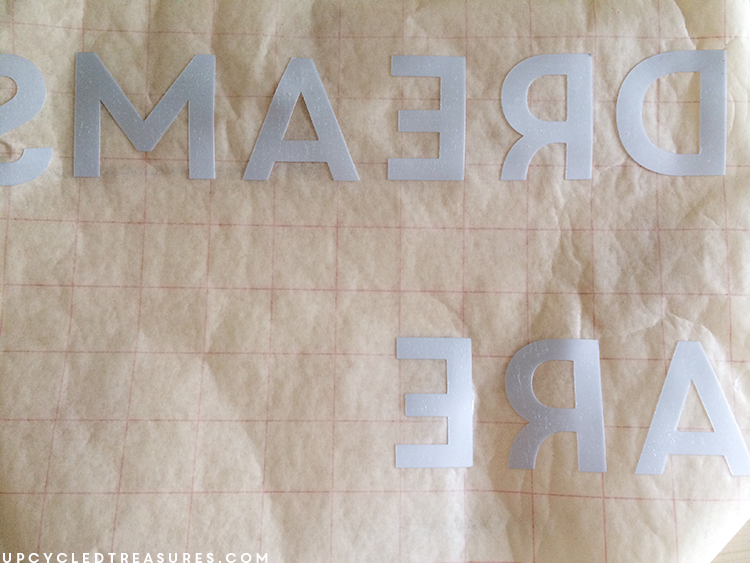
Also, since I already had the silhouette vinyl letters attached and knew I would have to re-paint the background, I simply used some transfer paper to remove the letters and to make it easier to move them back on later on. Again, this is an extra step I had to take only because I decided to add the lights AFTER I had finished the sign.
Figuring out how to space the marquee lights:
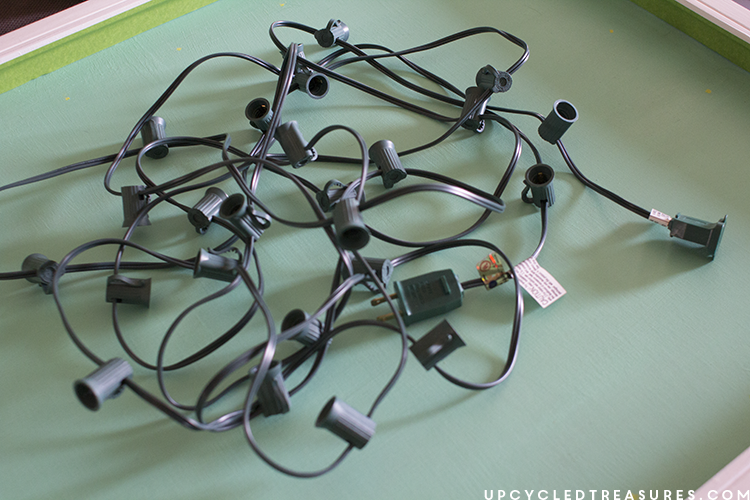
I decided to use just one box of marquee lights which comes with 25 bulbs so I needed to figure out exactly where to place them on my sign. By the way, if you purchase the glass Target globe lights, make sure to remove the bulbs before messing with the cord, otherwise, you could accidentally break a bulb.
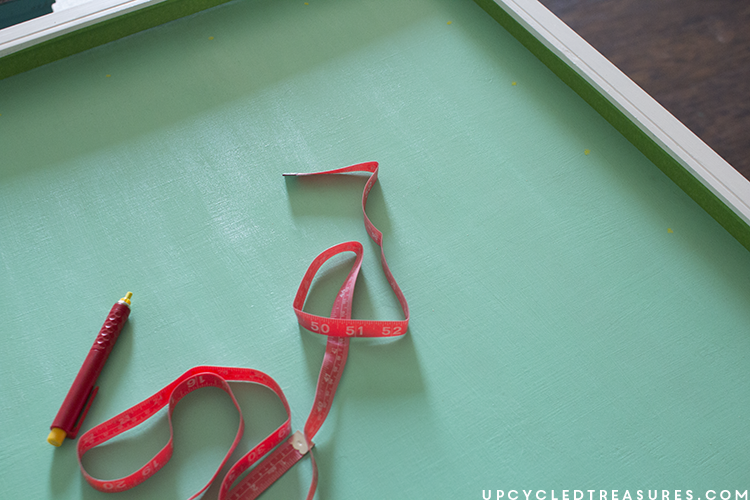
Figuring out the placement of the lights may be easy for most people, but I’m not a math person so I was extra proud of myself for figuring it out, haha.
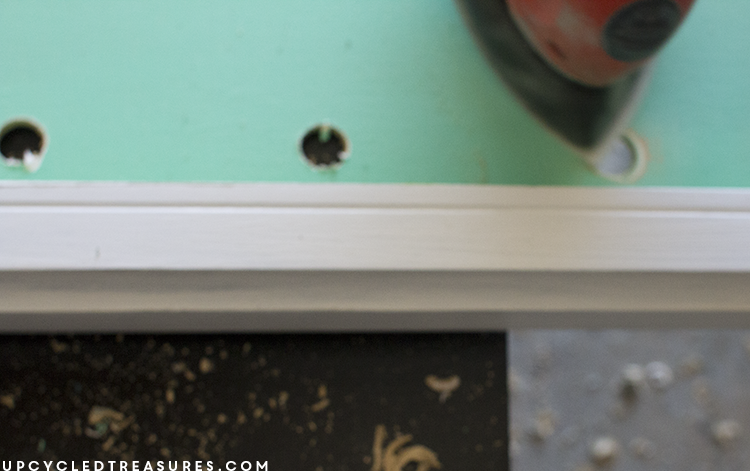
I decided that I wanted my lights to be 1.5 inches from the edge, making the dimensions 20 x 28. I added up the measurements for all the edges which were 96″ and then divided by the number of lights {25} which gave me 3.84. I just rounded that up to 4 to make things easier, meaning that each bulb would be placed 4 inches apart. I marked where we would need to drill with some chalk and then Eric decided to join in on the fun.
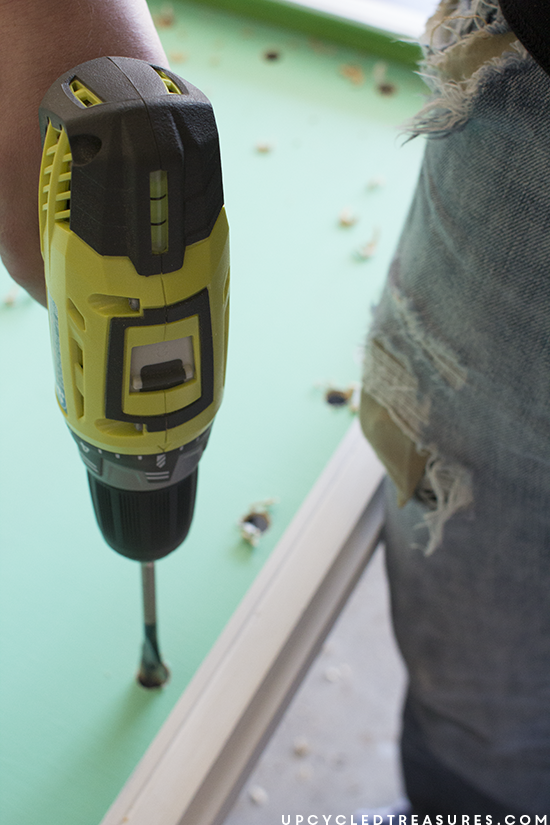
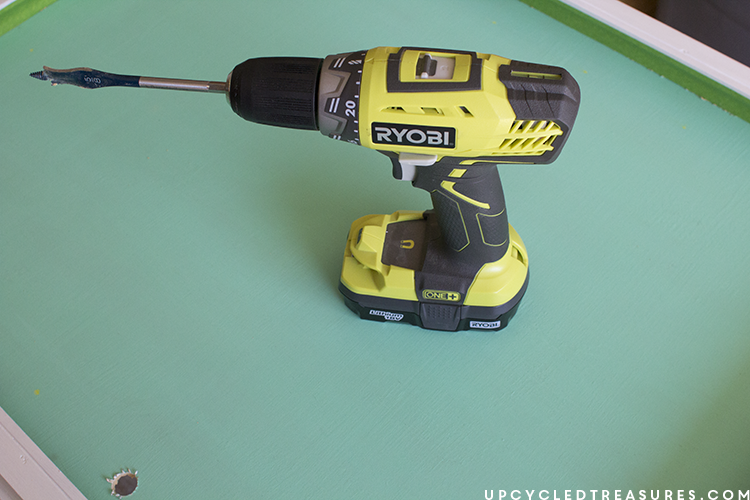
We used a 5/8 spade bit to drill the holes which worked pretty well.
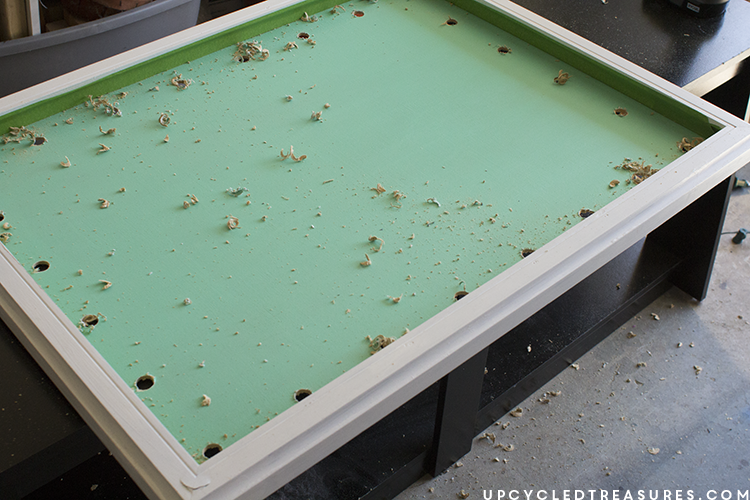
Then we sanded down the board and the holes. This is why it’s better to paint AFTER you drill.
This is what it looked like with all of the holes drilled. One of the holes was a little off but overall I think it turned out pretty decent, and it was super easy!
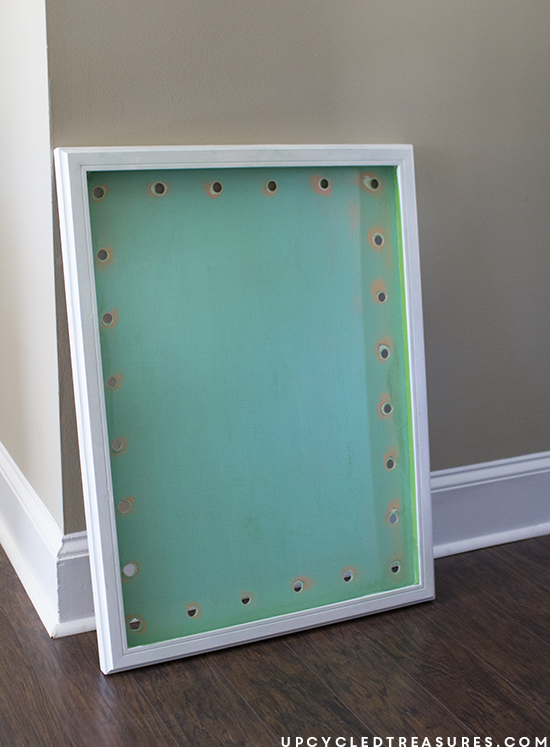
So then it was back to painting. You can see that the inside edge was taped off so that it would remain painted white when I painted the background turquoise again.

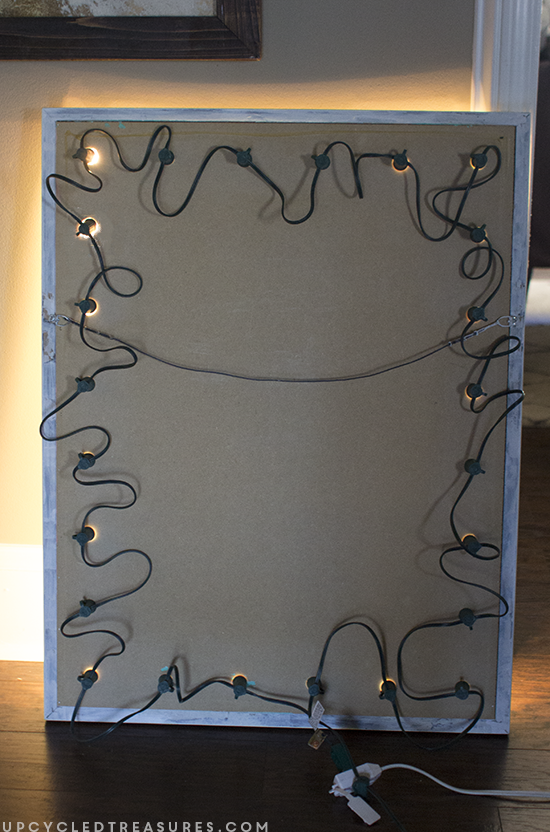
Once the paint was dry I began to add the globe lights, one at a time.
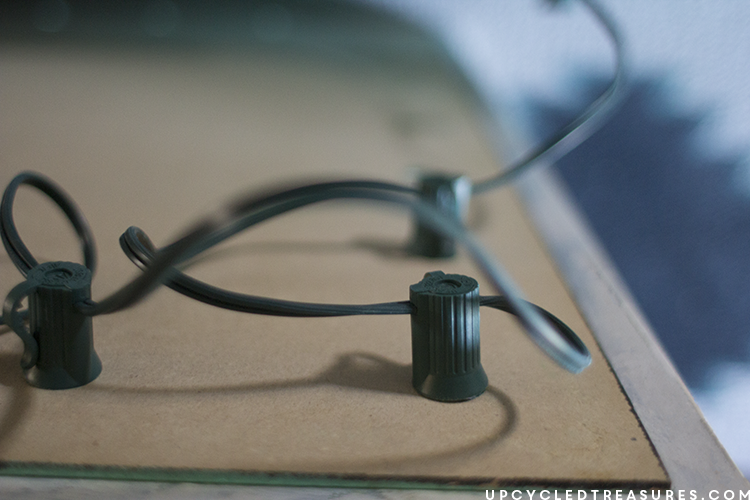
This is what the back looked like. Not the prettiest, but you can’t see it when it’s hung up anyway.
So then I went back and added my “Dreams are worth Chasing” letters that I had created with my Silhouette machine. If you don’t have one you could use stickers, pre-made vinyl decals, stencils, or paint them on using the same image transfer technique I used here. Of course, you’re not restricted to using a quote, you can add anything you want to the frame.
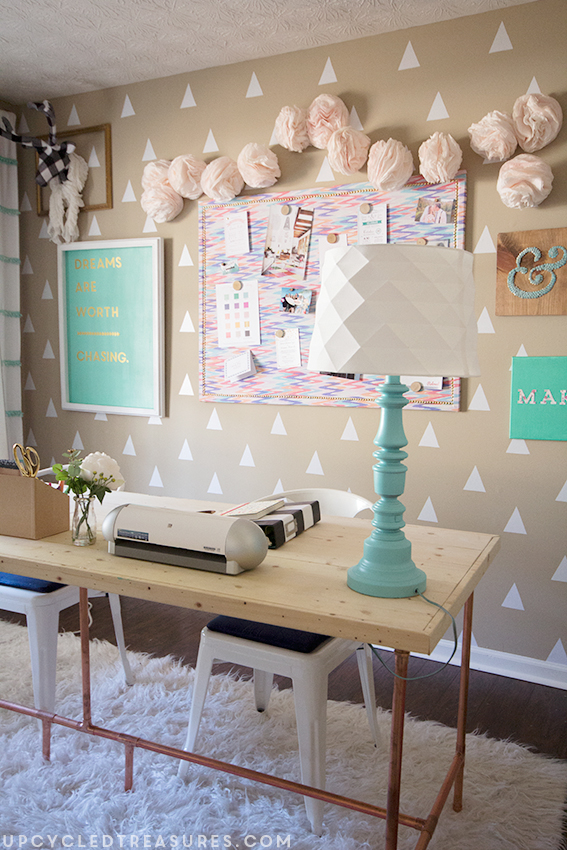
And here is our upcycled DIY marquee sign all freshened up and hanging in my office.
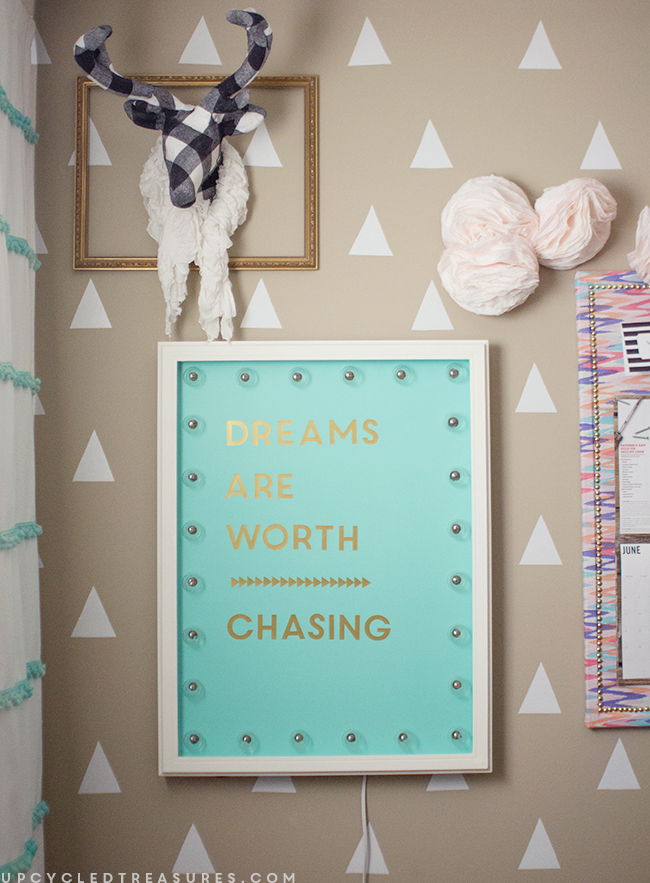
It actually makes for the perfect lamp behind my desk, which is awesome. Not to mention it makes the space feel even more special.
So what do you think of our Upcycled DIY Marquee Sign?
If you’ve been thinking about making your own upcycled DIY marquee sign, I’d say go for it!
I absolutely LOVE this! It looks beautiful! I too have trouble making decisions, especially when it is something for myself…..I am making over my office and I have one huge decision I keep going back and forth on, very frustrating!
Glad to know I’m not alone and I seriously love EVERYTHING you do, so I’m sure whatever decision you make, it will be the right one 🙂
~Katie
Love this!! It’s so perfect for the room as well! Want to come over and decorate my office?
Thanks Ashley! Haha, yeah if you’ll come over and help me decorate the rest of my house! 🙂
perfect directions to this beautiful idea
Thank you so much Dorothy!
I absolutely love this! I have a new dressing room/office in the works, and something like this would be perfect in it! Thanks for the simple tutorial. You make it seem doable.
Hi, Katie and Eric ~ I love this project! Partly because I’m obsessed with aqua/turquoise right now. :0) And that quote is perfect for an office. Hmmm, do I have any frames with old art downstairs? Thanks for the inspiration!
That is ridiculously cool! I can’t believe you could make that light up sign out of what you had in the before picture. Very creative 🙂
What a cute idea. I definitely have to make this ASAP.
Very cool project!! I love the outcome and everything else in your office! Thanks for sharing at the Creative Circle. Hope to see you this week. 🙂