UPDATE: All new featured RV tours will be posted on my other website, Wanderful RV Interiors. Existing tours will slowly be moved to the new website, and anything already moved will automatically redirect.
Disclaimer: This post may contain affiliate links, meaning, if you click through and make a purchase we (or those featured in this post) may earn a commission at no additional cost to you. View our full-disclosure here.
Looking for some natural options when it comes to sealing wood?
Once we decided to make the counters in our RV out of wood, I started researching sealing options. We wanted something natural, food-safe, and water-resistant. This led us to Tung Oil.
We’re all about using “greener” products, but the truth is, it can be a challenge when items are out of budget or inconvenient to access. So while we try not to over-stress about using all organic or natural products, we do try to use them when possible. Using Tung Oil seemed like the perfect opportunity to bring a “greener” product into our RV, vs. other sealers that include harsh chemicals and additives. Every little bit helps, right?
For those unfamiliar with Tung Oil, it’s been around for thousands of years and is derived from the seeds of the nut of the Tung tree. Although it apparently doesn’t affect those with nut allergies because it’s a drying oil (don’t quote me on this). Rather than sit on top of the wood to protect it, the oil is absorbed into the wood which helps protect it inside and out.
While I browsed woodworking forums, one discussion that seemed to be brought up quite often was the variance in the quality of Tung Oil brands. I had previously purchased Tung Oil from “big box stores” but had no idea there are extra “ingredients” in most of those products. Apparently not all Tung Oil is created equal.
That’s when I discovered The Real Milk Paint Company and their Pure Tung Oil (Chinawood oil).
They had glowing reviews, a ton of natural and organic products, and I really enjoyed their informative videos. They felt like a brand I could stand behind.
That’s when I reached out to them to see if they would be open to providing us with some products to use, which they did. Gotta love the perks of blogging 🙂
Natural Wood Sealer
We sealed our wood counters over 8 months ago, but have also used the Tung Oil they sent us on various projects throughout the RV including the sconces above our media cabinet, our reclaimed slide-out trim, the planked walls in our hallway and bathroom, the horseshoe shelves, and even our bathroom counter.
Needless to say, we’re kind of obsessed with Tung Oil and it’s now our favorite natural wood sealer. Not only does it enhance the beauty of the wood, but it’s super easy to apply, and smells decent. Oh, and a little goes a long way!
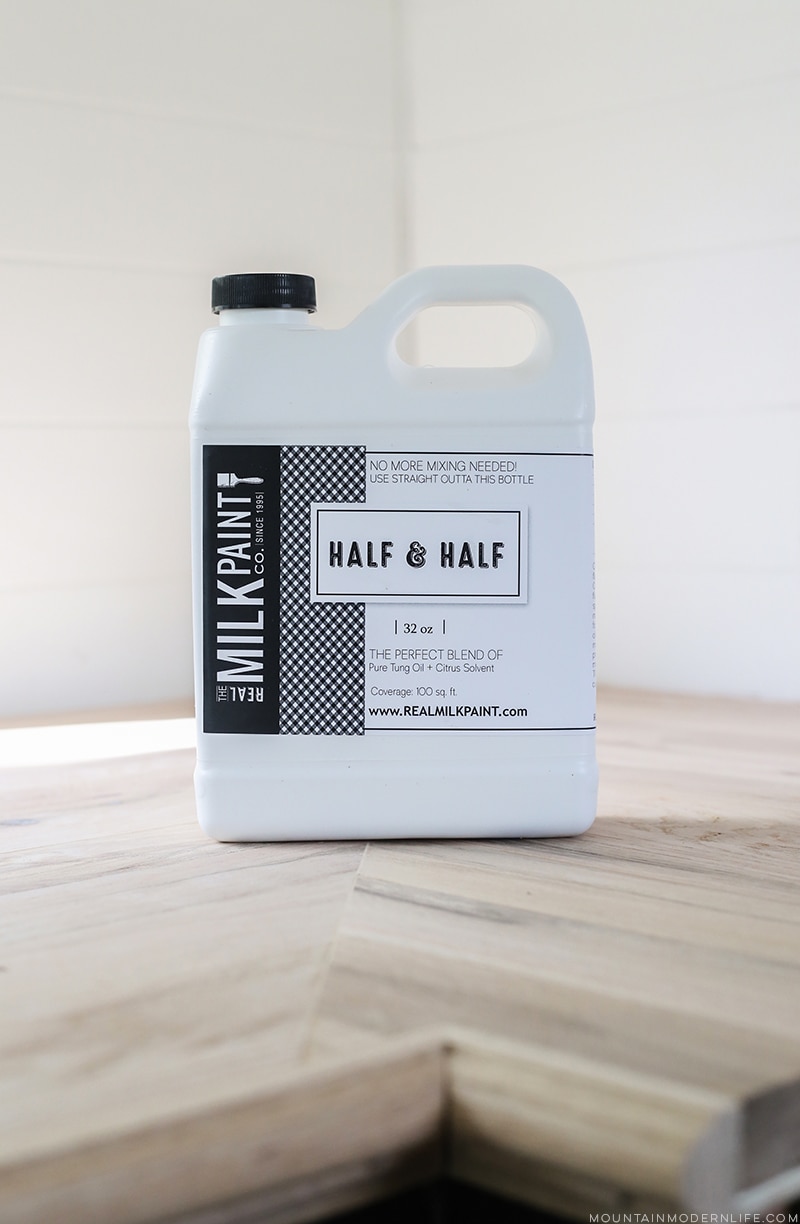
The Real Milk Paint Company offers the Pure Tung Oil and Citrus Solvent separately, but we decided to use the pre-mixed option to make things even easier.
Apparently Pure Tung Oil is generally too thick to penetrate wood surfaces, so Mineral Spirits or Citrus Solvent needs to be mixed in with it. What’s great about using Citrus Solvent vs. Mineral Spirits is that it’s all-natural and smells like oranges.
Side Note: We used the Pure Tung Oil + Citrus Solvent for our Kitchen Counters, but used the Dark Tung Oil + Citrus Solvent for our bathroom counter. The dark tung oil has a slightly darker shade in case you want a warmer wood tone.
- The Real Milk Paint Company Half & Half (Pure Tung Oil + Citrus Solvent)
- Thick Plastic Container
- Painter’s Tape
- Natural Bristle Brush
- Clean Rags
While we don’t have a video showing how we applied the Tung Oil (Half & Half) to our kitchen counters, we do have one showing the same process on our bathroom countertop, which I’ll share at the bottom of this post.
Here are the basics:
Step 1: Clean/Prep
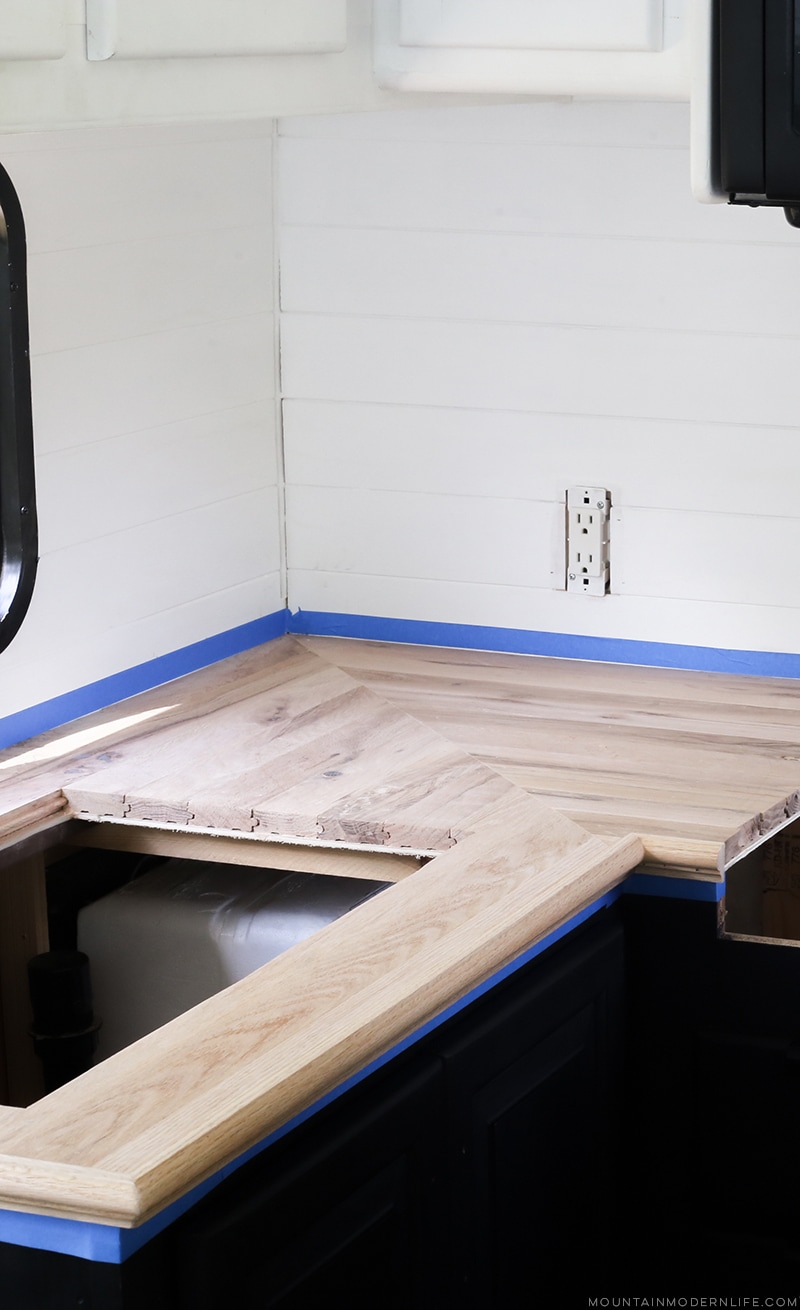
Make sure your wood is sanded, dry and free of dust and debris. It’s recommended not to use sandpaper finer than 150 grit as that can close the pores of the wood and not allow the Tung Oil to penetrate through. Use tack cloths or a vacuum to remove any extra wood dust and tape off any areas you don’t want to be sealed.
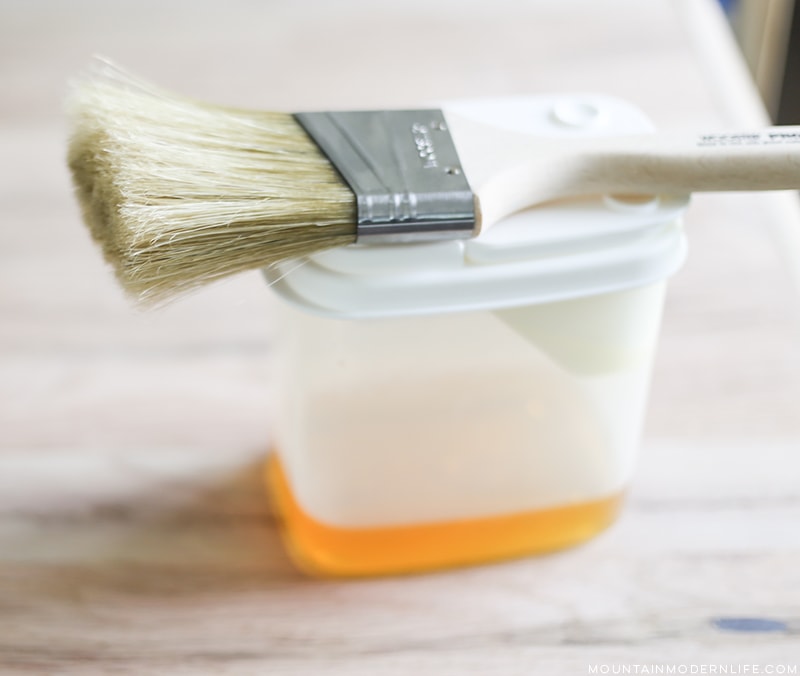
We poured a little bit of the oil into a thick plastic container to make it easier to apply. Just don’t use a plastic cup or Tung Oil will eat through it.
Step 2: Apply Tung Oil with a Natural Bristle Brush
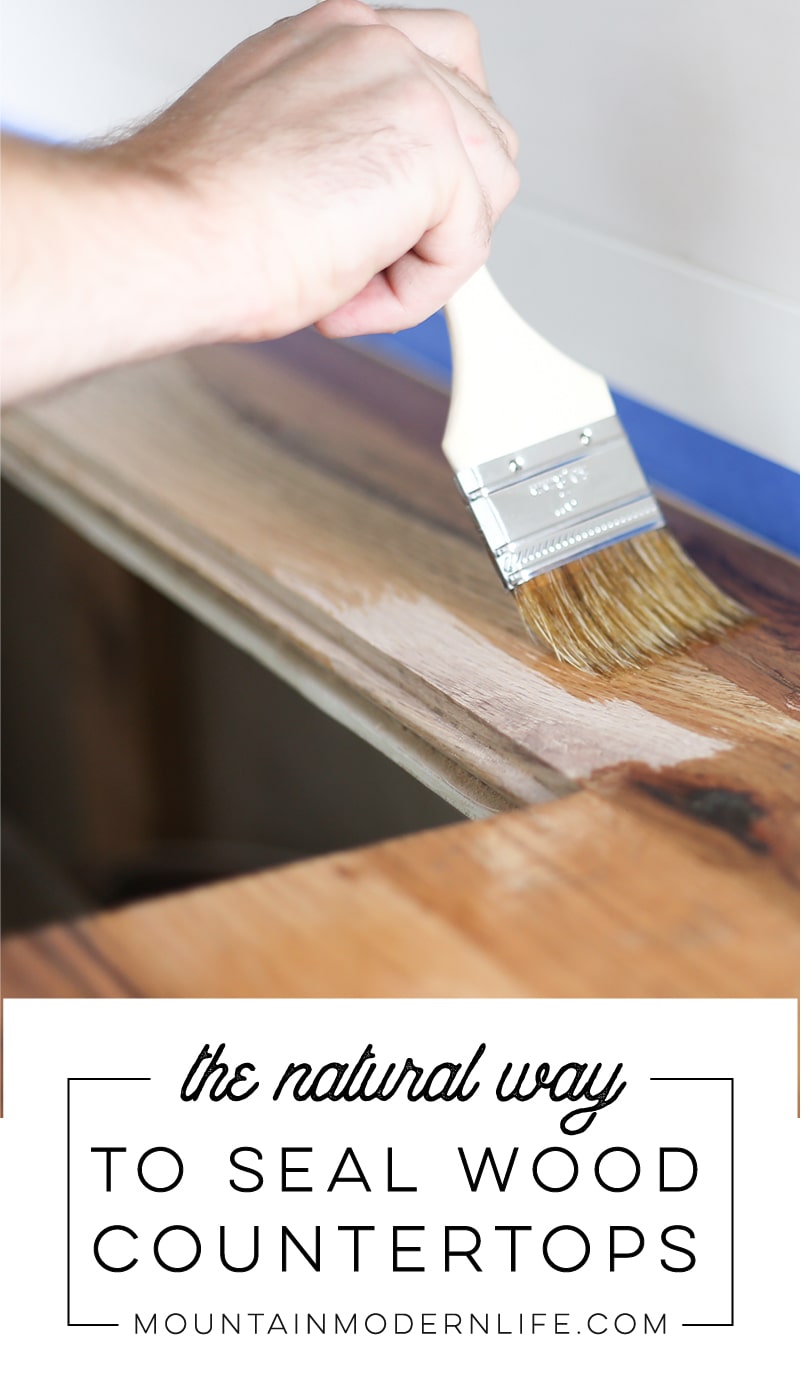
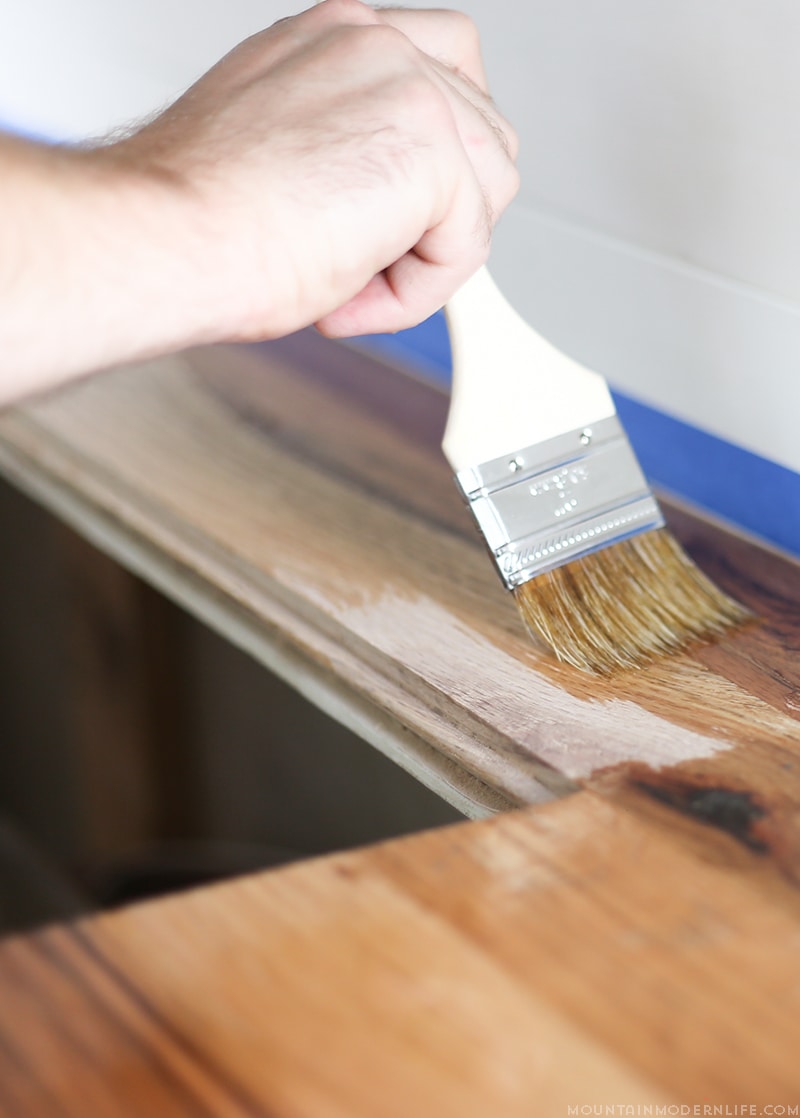
You’ll want to use a natural bristle brush to apply the Tung Oil (Half & Half) to the wood. I love Wooster and Purdy brushes and generally can’t stand the cheapo natural brushes because the little bristles come out. With that said, Eric and I used the Wooster brush and a cheapo brush to apply the Tung Oil and found that the cheapo brushes worked pretty decent. Just make sure you remove any loose bristles if you do go that direction.
You’ll want to continue to brush the Tung Oil onto the wood surface until it’s no longer being absorbed.
Step 3: Wait, then Re-Oil
At this point, you’ll wait 40 minutes to an hour, and then see if the wood has any dry spots. If so, go ahead and brush more oil to those areas and then keep repeating this process.
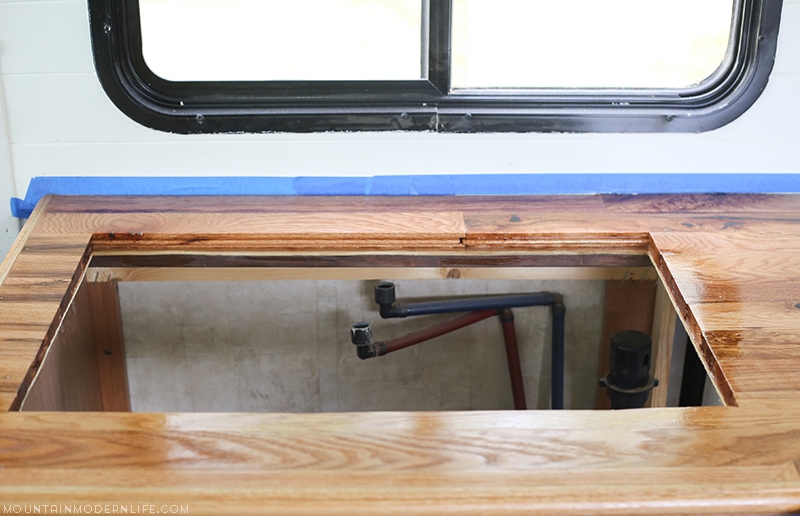
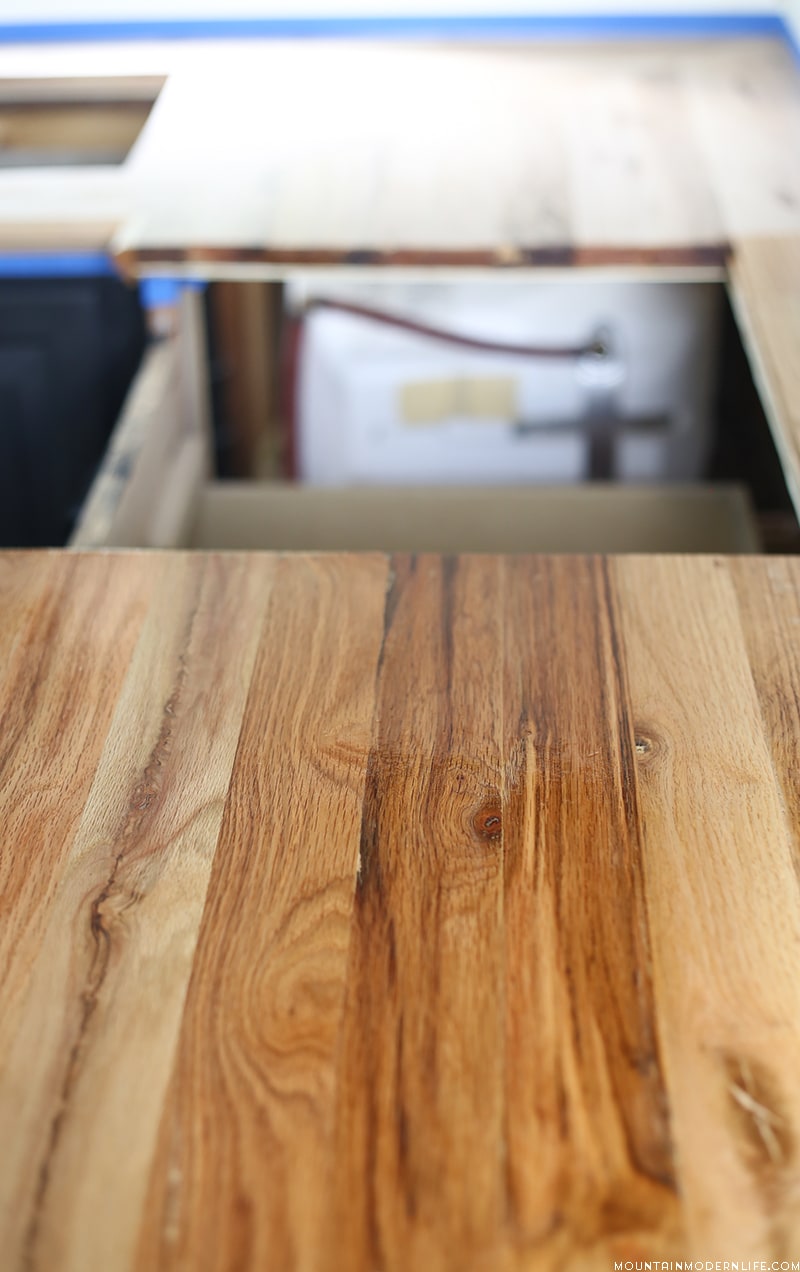
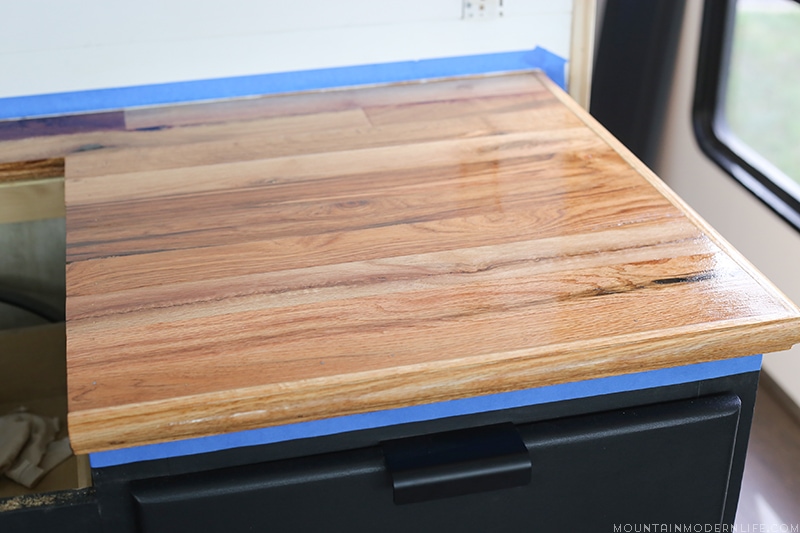
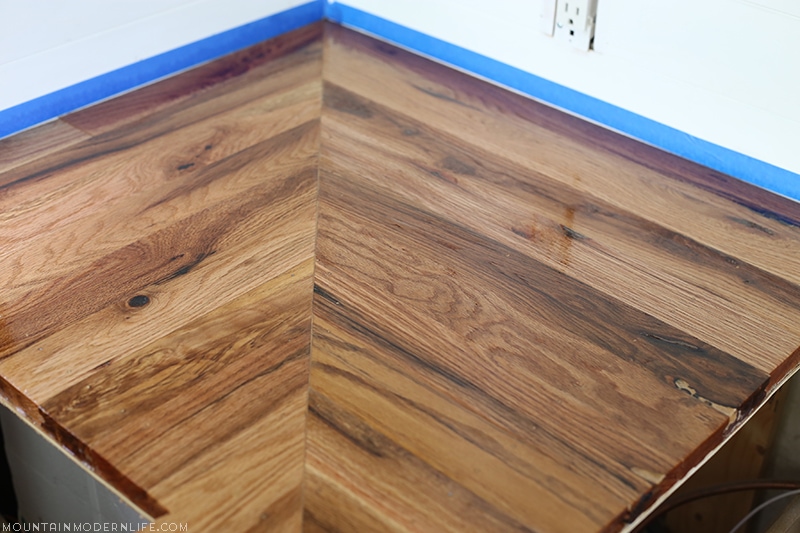
You essentially want to get the entire surface to look “glossy”. This typically takes 3-5 coats. For our kitchen counters, it was 3 coats, but our bathroom counter required more.
Make sure to add the oil to any edges and (if possible) you can also add it to the underside of the wood. This will help the wood absorb the oil and slows down expansion.
Step 4: Remove any Excess Oil
Once the Tung Oil is no longer penetrating the wood surface but is staying puddled on top you can remove the excess oil using a clean rag. You may need multiple rags depending on the size of the surface area you are sealing.
Step 5: Add one More Coat (the next day)
You’ll want to wait until the next day before brushing on more Tung Oil. When you see the oil puddling up you can take a clean rag and wipe off the entire surface again.
Keep an eye on the surface over the next 5-7 days and continue to wipe off any excess oil that seeps up. Then lightly buff the wood surface over the next week.
Cure Time
Tung Oil takes about 15-30 days to fully cure, so while you can use the surface, make sure not to leave anything on it for an extended amount of time until after the 30 days.
Maintenance
As with any wood/butcher block surface, you’ll need to re-oil the surface occasionally.
Watch the Video
Again, we don’t have a video showing how we applied the Tung Oil to our kitchen counters, but you can see the same process used for our wood bathroom countertop:
Our Take on Tung Oil
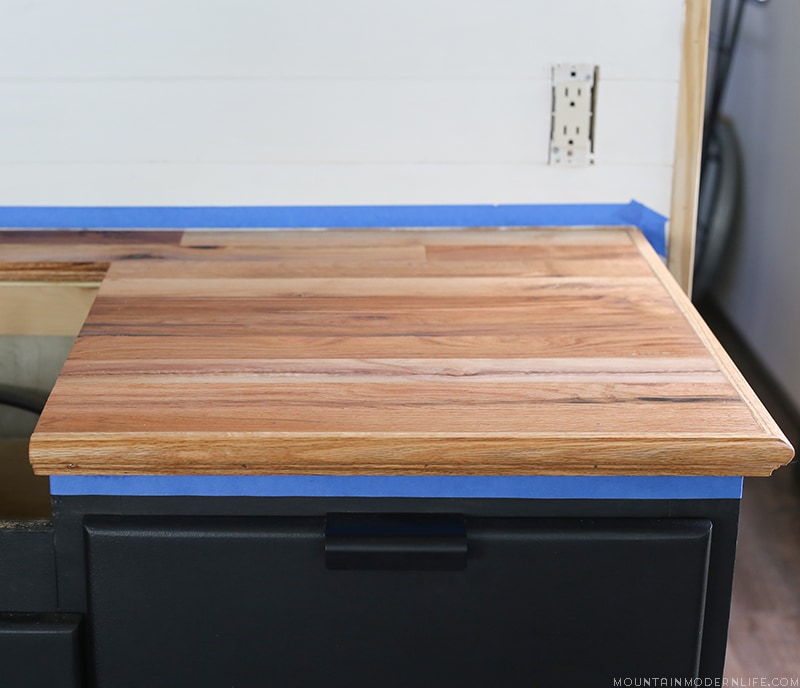
Are our wood counters perfect? Nope, but we kind of expected that after reading about the extra maintenance required of wood counters. Would we do it again? Absolutely! By the way, you can see the full reveal of our tiny RV kitchen here.
Not only is Pure Tung Oil natural, food-safe, water-proof, and easy to apply, but it helps bring out the natural beauty of the wood. We plan to try more “green” sealing products in the future, but for now, Tung Oil is our favorite natural wood sealer. Just be sure to check the ingredients included on the Tung Oil you use, because not all Tung Oils are created equal.
We’re really happy with the way our counters turned out, and I can’t wait to try more products from The Real Milk Paint Company. We only share products we use and love, and we highly recommend them!
Have you used Tung Oil before, or plan to use a natural wood sealer in your home or RV? We’d love to hear about your experience in the comments below!
The Real Milk Paint Company Tutorials & Videos
How to finish wood counters or Butcher Block | The Real Milk Paint Company
About Tung Oil (debunking myths) | Canadian Woodworking
Yellow Pine Flooring sealed with Tung Oil | Newly Woodwards




Your countertops look lovely! We have used various Tung Oils in the past but, after reading your post, would prefer The Real Milk Paint Company’s products from now on. I have used their paint before and really liked it! The fact that it is a natural product makes it preferable as does it’s quality. Regardless, I am really impressed with your progress on your trailer! You’ve done GREAT!!!
Thank you so much Teresa! We really went a little crazy with the Tung Oil over here because it’s just so darn easy and pretty! I can’t wait to explore more of their products 🙂
I am a fairly new reader and have really enjoyed your blog! This post came very timely as we are in a remodel and getting ready to seal our cedar beams. They were stained 80’s dark but we have sanded them down some leaving only the stain in the saw marks. I have been researching and am looking at using tung oil or possibly hemp oil to seal them and bring out the natural color of the wood. Obviously our beams are on the ceiling already. We have just cement slab underneath as the floors haven’t been laid yet. In your opinion do you think the tung oil would work for us considering the application necessary (in other words, gravity)? Also, what is the finish like. I was not wanting anything shiny. I would also be very interested in seeing side by side pics of the two colors that you used as well if possible. Thanks so much for your time!
Oooooh whatever you do I’m sure your beams will look beautiful! I’ve been wanting to try hemp oil, but haven’t used it yet so I can’t give you any feedback on that, but we do love the Tung Oil. We used it on our RV slide-outs and while those don’t hang over our head they are vertical – also it’s matte and not glossy. To be honest, I’m not sure how it would work on your beams since you kind of want the oil to puddle up. I would recommend reaching out to The Real Milk Paint Company and asking their advice. The owner is super friendly and I’m sure he’ll have some great tips for suggestions for you. Whatever you do, keep us posted, I’d love to hear about what you use and how they turn out!
I love Tung oil. I just completed a butcher block countertop on our island with red oak and applied Dark Half Tung oil from the Real Milk Paint Co and love the finish. It’s so natural looking and is a food safe product. I laughed when you said you went overboard on the Tung oil as I have been plotting other places I could use it. 🙂
Haha, yes I put it on EVERYTHING. I’m officially all out so I’m going to need to order more just so I have it handy. I’m so glad to hear you love the finish!
So glad I found your post! We are about to tackle DIY wood countertops and I really wanted a natural sealer! 1 question??? Did you use any other sealer for around the sink? Thanks!
Nope, nothing other than tung oil, well aside from caulking around the sink anyway. If you decide to go this route, keep us posted on how it turns out!
About how often would you say you have to re-oil it? We’ve got a large kitchen table we buoyant are hoping to use something pet and inside friendly!
Hey Marissa I’d say every 6 months to a year in order to maintain the fresh look. Though to be 100% honest we missed our deadlines quite a few times just because of, well life really. And even going a bit longer didn’t hurt it too much, I’m completely satisfied with how well it help up over the years. Since we’ve changed it up that’s a completely different story 🙂
Is your ting oil good for outdoor use ?
Thanks
Hey Kent Frantz, to be honest, we haven’t used Tung oil for outside use. We’ve used it in our bathroom and kitchen and while the kitchen countertops held up great the bathroom countertops did have some issues. I have heard of people using it for decks and boats, though I’ve also heard it will take a lot of coats and may be susceptible to mold. Sorry, I couldn’t be more helpful, if you do go this route please let us know how it turns out for you 🙂
How critical is it to sand full to the bare wood? i have a few oak doors that have dry spots on them that i’d like to touch up… would i have to sand the entire door?
Hi Cynthia,
It depends on the current condition of the wood you want to stain, and what type of finish you are looking for. If you add the stain on top without sanding it all down then it could end up looking uneven or patchy. But if you don’t’ mind if it has a more rustic touch, then it may not matter. We recently used the Tung Oil on reclaimed wood for our slide-out trim and didn’t completely sand down the wood to an even finish, but we didn’t mind the variation in tone for this specific application – whereas for the kitchen counter we wanted to make sure it looked smooth and consistent. If you have another piece of wood you can test it on, I’d definitely give that a go!
https://mountainmodernlife.com/hand-hewn-barnwood/
I hope that helps!
Katie
I’m wondering about using this indoors in the winter Do you think the smell will be too strong?
To be honest, I actually kinda liked the smell because it has a citrus scent to it (Eric didn’t care for it so much). It doesn’t have VOC’s so it’s much safer than typical stains, but I’d still crack some windows. Although you may want to check the temperature needed for it to dry.