UPDATE: All new featured RV tours will be posted on my other website, Wanderful RV Interiors. Existing tours will slowly be moved to the new website, and anything already moved will automatically redirect.
Disclaimer: This post may contain affiliate links, meaning, if you click through and make a purchase we (or those featured in this post) may earn a commission at no additional cost to you. View our full-disclosure here.
It feels like forever since I shared a DIY project as we’ve been pretty busy in the RV. On top of getting the motorhome up to the point where we can actually put it back together, I haven’t felt like starting any new home projects since we are in the midst of downsizing.
Although I’ll be creating smaller projects for the RV in the near future, I don’t want to start on those until we are a bit further along in the renovation. On the plus side, we are almost finished installing the new plank flooring, woo-hoo!
Well before we start donating, boxing up and storing some of our furniture and decor I want to make sure I post about the projects that haven’t made it to the blog yet. One of those projects is a super simple, rustic wood bench that we built nearly two years ago. Yikes, where does the time go?!
We originally built this bench to go at the end of our bed, but it quickly made it’s way to the entryway of our home. You may have even spotted it in some random photos I’ve shared on here in the past…
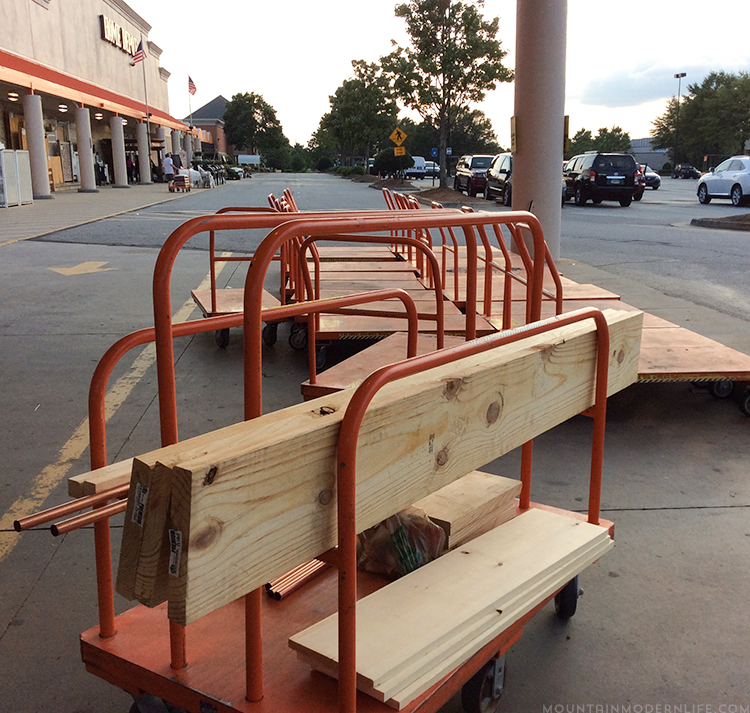
What’s funny is that this rustic wood bench was actually made due to a mistake on my part in picking out the wood for another project that didn’t quite work the way I had anticipated. I had originally purchased a few 2 x 6 boards to use as the top of my copper pipe desk, but after bringing it home I quickly realized it would probably be too heavy for the copper pipes. Oops.
It’s okay though because we decided to use one of the 2 x 6 boards to create the top of a new bench instead, and just so happened to have an extra 2 x 4 to use for the base.
We didn’t use any specific plan, I basically sketched out what I wanted and Eric did most of the work while I assisted.
Simple and Rustic Wood Bench
While this may not necessarily be a “how to build a rustic bench tutorial”, I hope you will feel inspired to look at any leftover wood and supplies from previous projects and see how you can make them work for a new project.
Wood Used:
2 x 6 Board
2 x 4 Board
This rustic wood bench was essentially created with a 2 x 6, a 2 x 4, our Kreg Jig and some screws.
The first thing we did was decide how tall we wanted the bench to be, taking into account the thickness of the 2 X 6 boards that would be the top.
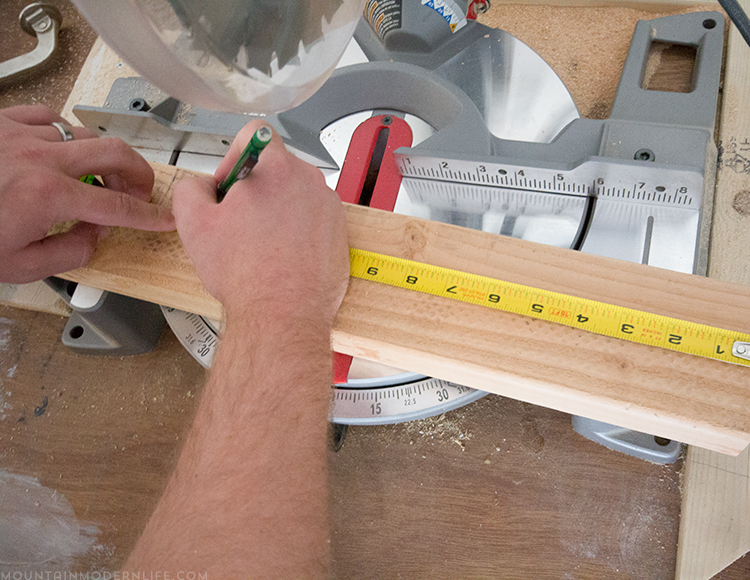
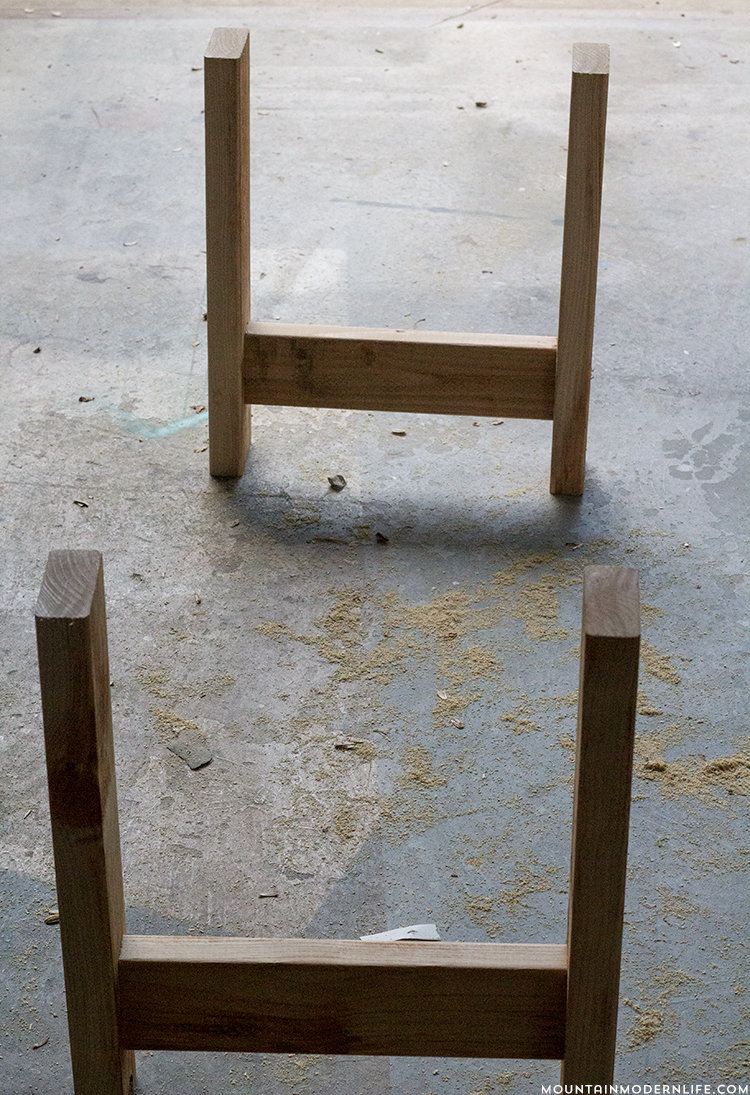
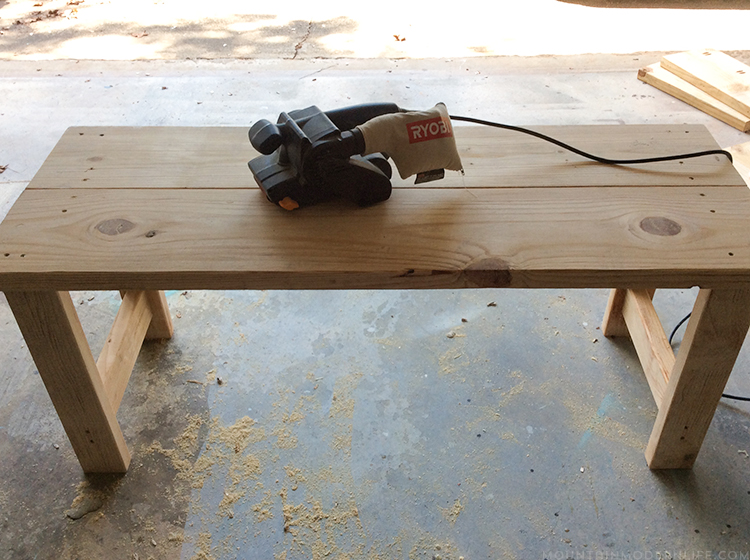
Eric cut some leftover 2 x 4’s into four equal lengths, which would create the legs. Each leg was then braced by a shorter 2 x 4 board, which can be seen in the photo below:
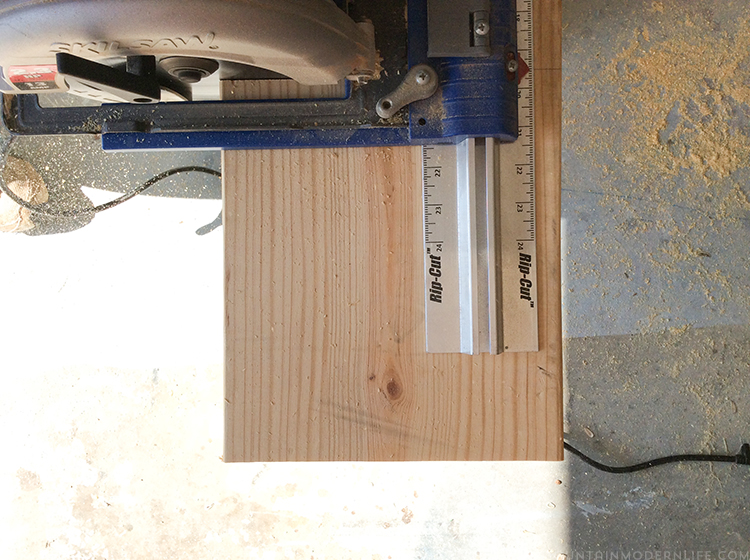
Once the legs were made we focused on creating the top of the bench by cutting one of the 2 x 6 boards in half and then connecting them with our Kreg jig.
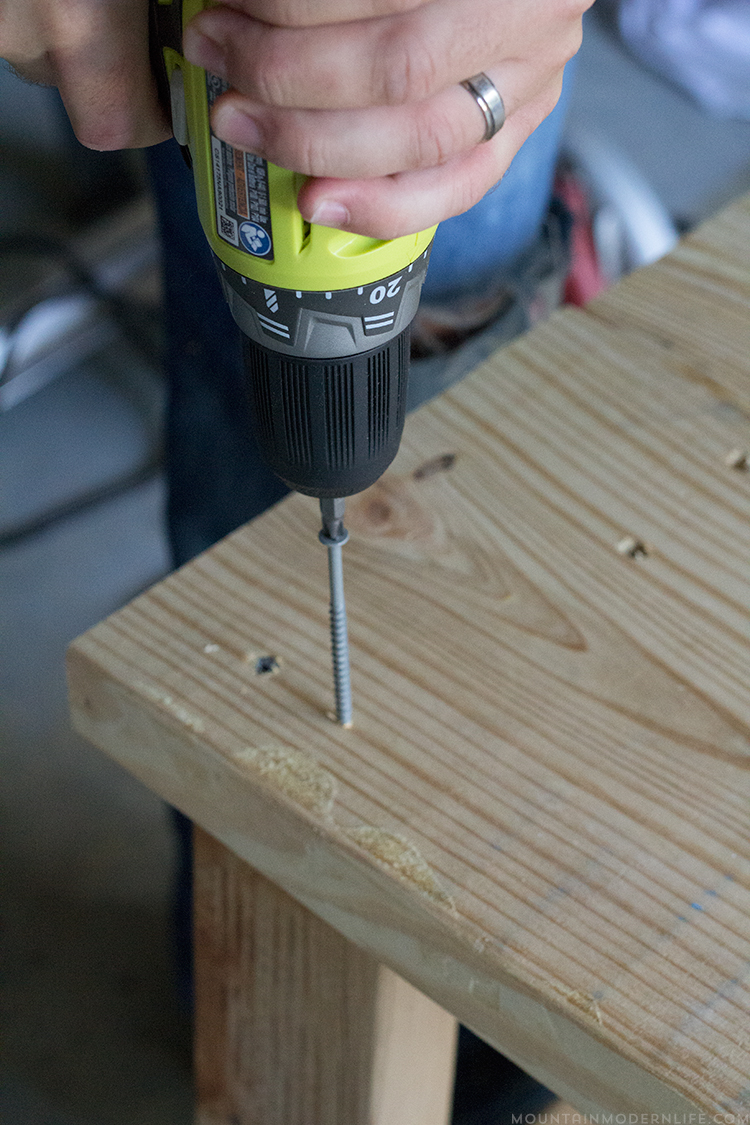
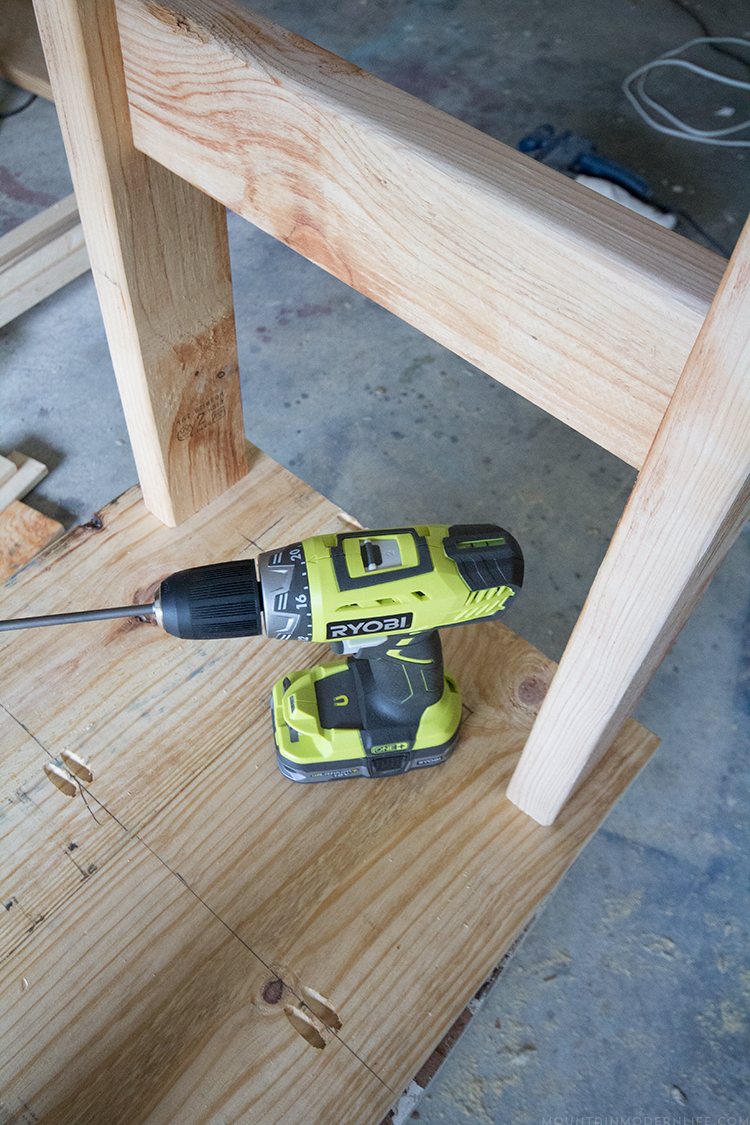
The top was then attached to the legs with screws.
I sanded the top down with the belt sander before staining it with a mixture of dark walnut and provincial.
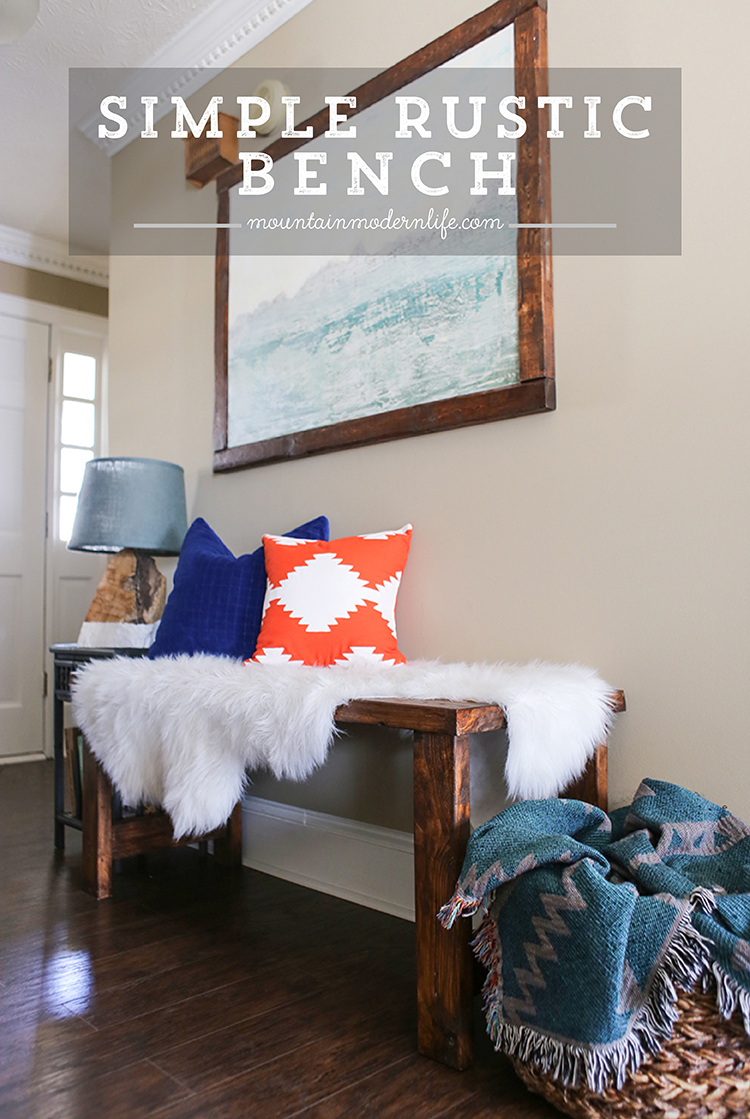
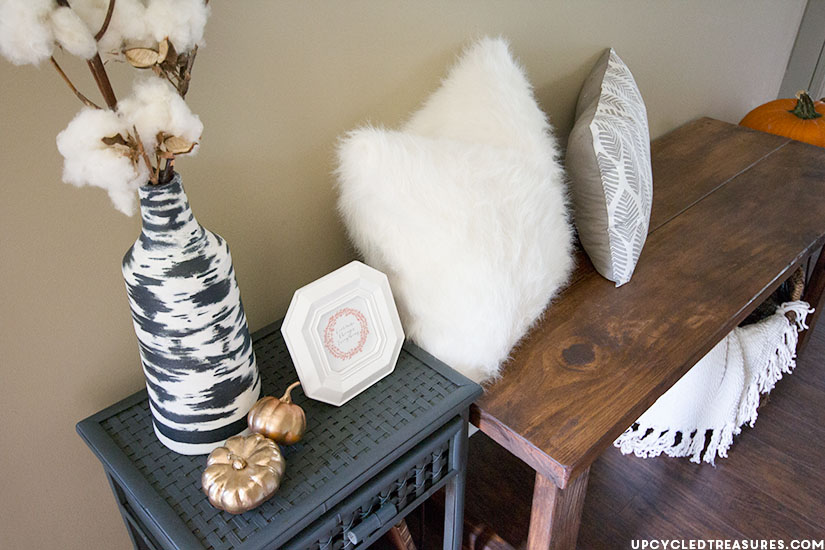
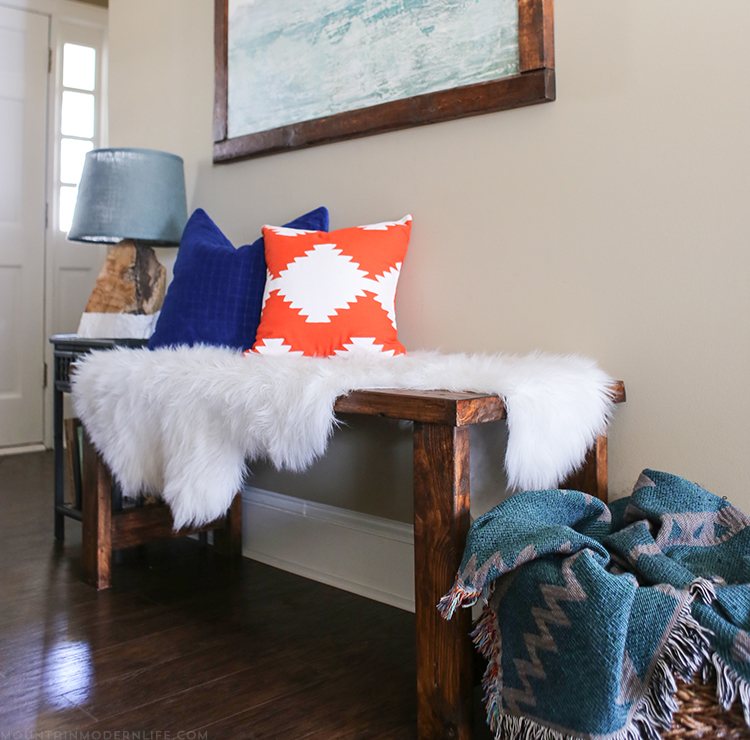
And here is the rustic wood bench in our entryway nearly 2 years later. It was super simple and I love how it turned out. Not too shabby for something we made using lumber that didn’t quite work out for the project it was originally intended for.
DIY Abstract Wall Art / Rustic Modern Lamp / White Faux Sheep Rug & Indigo Velvet Pillow – HomeGoods / DIY Orange Kilim Pillow / Basket – Target / Woven Blanket



Fantastic use of ‘spare’ wood!! I really want my own drill – dont think my husband trusts me though! Really my blog should reference him, but I just take all the glory 😉
http://www.homemadebyhail.blogspot.com
gorgeous stain color on the bench. and I LOVE the wooden frame above it, too.
thanka for sharing you are so talented what finish did you use, an oil or topcoat to get that beautiful shine? from diana in toronto