UPDATE: All new featured RV tours will be posted on my other website, Wanderful RV Interiors. Existing tours will slowly be moved to the new website, and anything already moved will automatically redirect.
Disclaimer: This post may contain affiliate links, meaning, if you click through and make a purchase we (or those featured in this post) may earn a commission at no additional cost to you. View our full-disclosure here.
There are many reasons why someone would want to install RV engine insulation in their rig. Maybe when you are driving down the road you can feel the heat seeping up through the floorboard. Or maybe when you’re driving up a hill it becomes extremely difficult to hear your partner though they are only a few feet away.
Whatever your reasons, we hope the information below will help you accomplish your goal.
How to Install RV Engine Insulation
Side-note: This post will highlight how we installed heat and sound insulation in our 2008 Tiffin Allegro Open Road 32la. Almost every RV is different so please use what you can from the information below to complete your task, but understand that some steps may be different depending on your specific model.
Through all of our research in the past, we had noticed a lot of concern surrounding heat and sound insulation in the front of gas-powered RVs. Since we were going to be replacing the flooring we figured this was the perfect opportunity to address this issue.
We hadn’t experienced a problem with heat coming up in the front however we had noticed that it was hard to speak to one another when our engine was really working. So we looked at the floor near the front of our RV once we had all of the carpet removed and noticed the padding that was in place didn’t cover all of the subfloor.
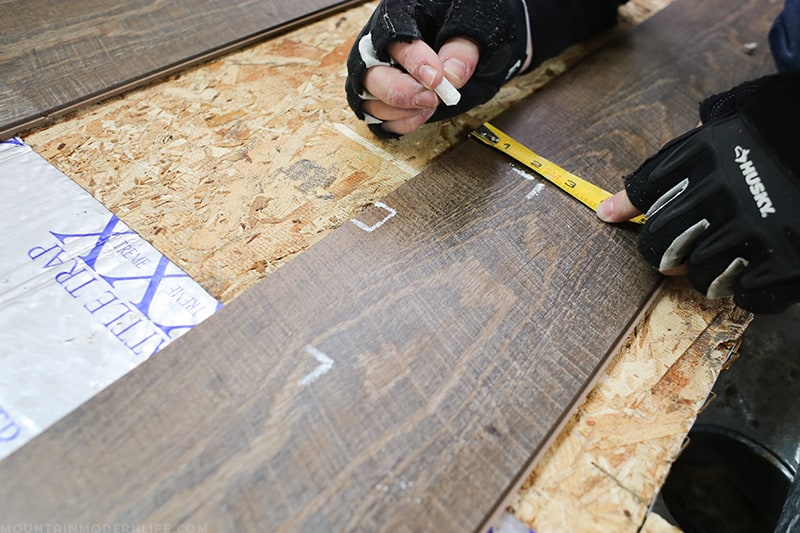
At that point, we decided to go ahead and replace what was there with new heat and sound insulation. We might as well handle the concern we have before we put all the new flooring in place and create an even tougher job. Update: You can now see how we installed the flooring in the RV here.

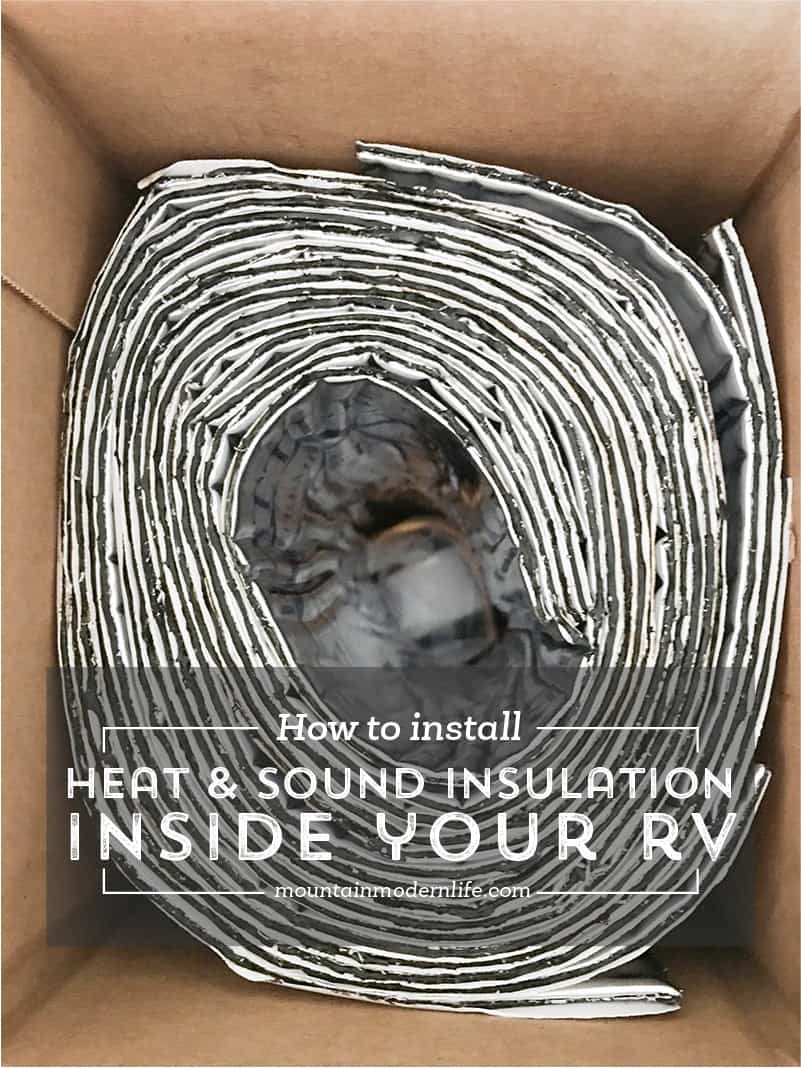
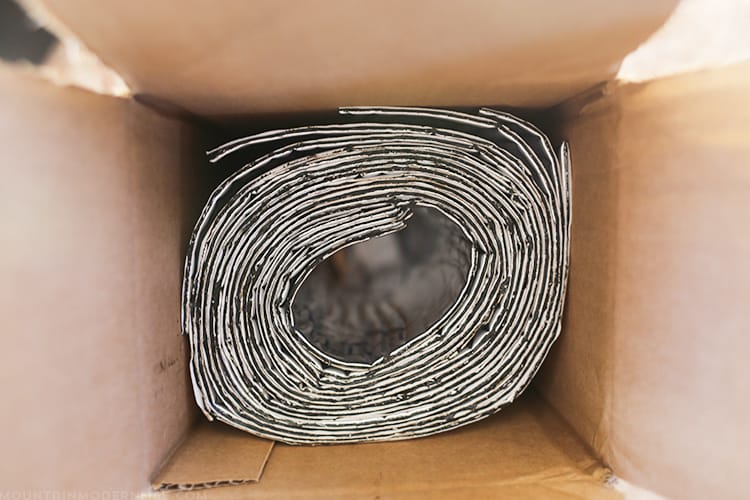
FatMat Rattle Trap Extreme Insulation

Removing the RV “doghouse”
The first thing we did was unscrew the RV engine cover aka “Doghouse” to make it easier to remove the carpet and clean. This may not be necessary for you, but we figured it would make the process easier and wanted to measure it out for our new engine cover anyway.
You can watch a video on how we removed the RV “doghouse” below:
It’s a good idea to keep a vacuum handy so you can easily clean up as you go.
Cleaning up the RV Engine Access Cover aka “Doghouse”
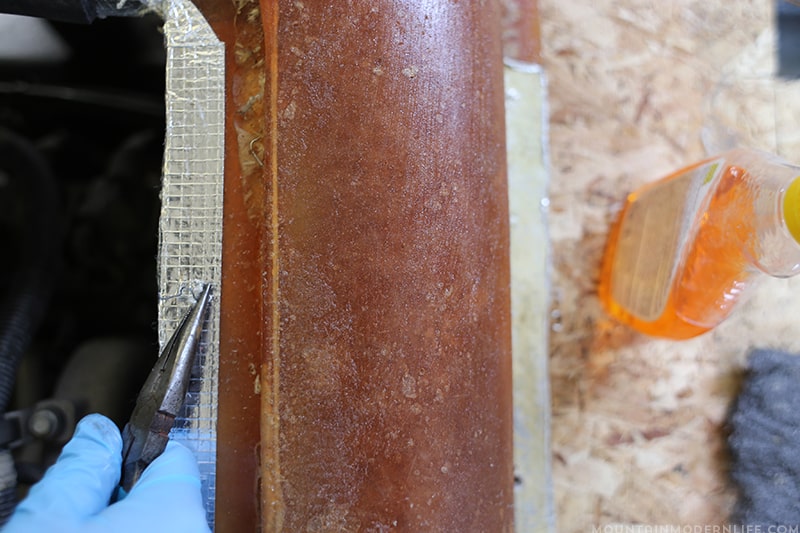
We used Go-Gone to remove any of the sticky residue left behind by the glued down carpet, which was then cleaned up with some warm soapy water. Using TSP can also help remove the gummy residue.
Be sure to wear gloves during this process as the fiberglass could have some splintery areas.
Once it was cleaned up we gave it a light sanding. This will help create a much smoother surface for your new insulation to stick to.

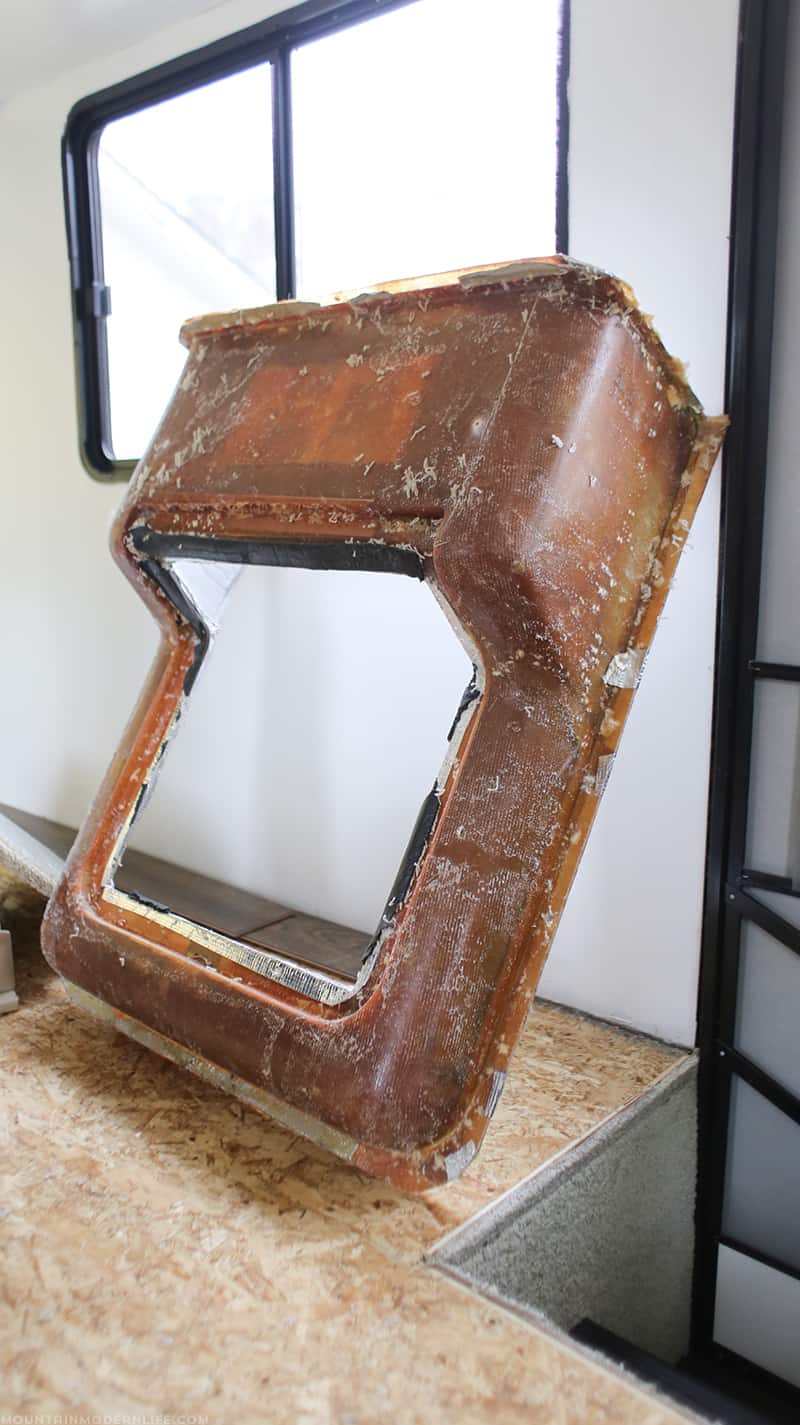
Now you will want to remove any old insulation that may be un-level.
We toyed around with the idea of leaving some of the old padding in place but decided it would be best to start from scratch. Besides, the new insulation is much thinner which we figured would be better for our new flooring anyway. Here’s a photo with most of the padding removed:

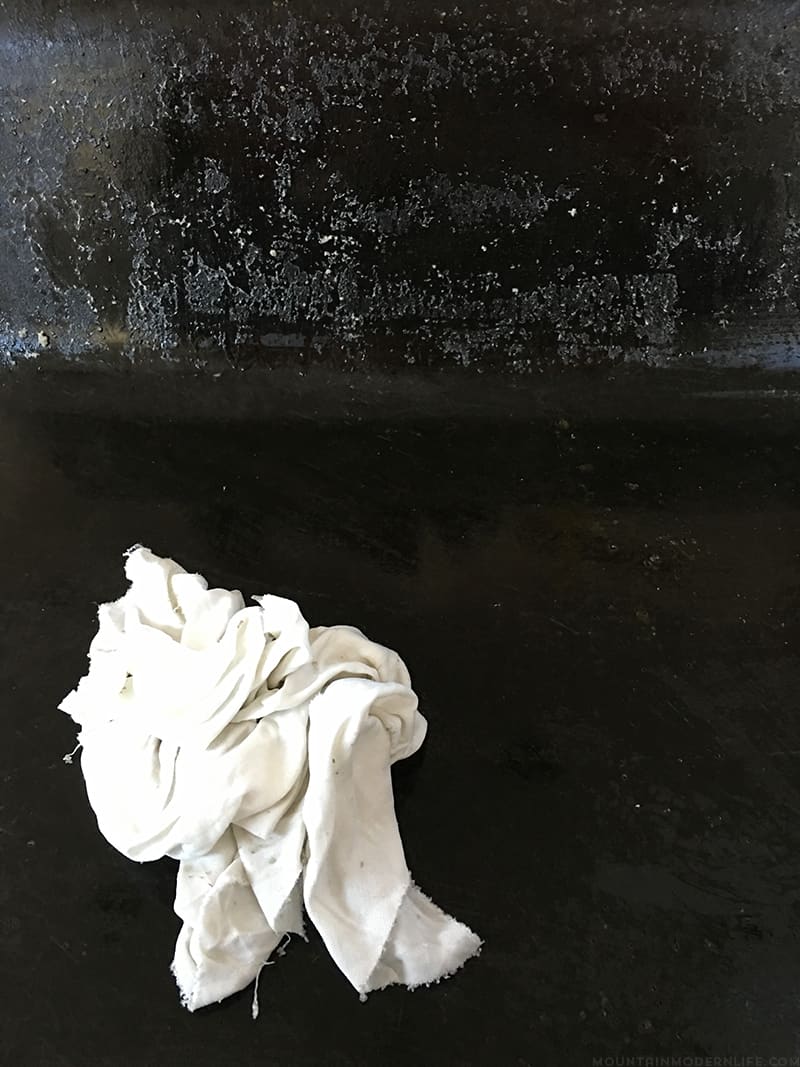
At this point, you will need to sweep up (or vacuum) to make sure that the subfloor and doghouse are clean of debris. This is an important step because it will ensure that your new self-adhesive insulation will stick.
Onto the RV engine insulation…
For our RV we decided to go with the FatMat Self-adhesive Rattle Trap Extreme insulation. Katie did a ton of research into the different insulations, and after all the looking we decided to use this one. It seemed to be in the middle of the pack price-wise, and had a ton of great reviews. I must say it is very easy to work with. We spent roughly $100 and had just a little bit left over when we were finished.
Once you have your insulation ready to go, it’s a matter of measuring, cutting, and placing it down.
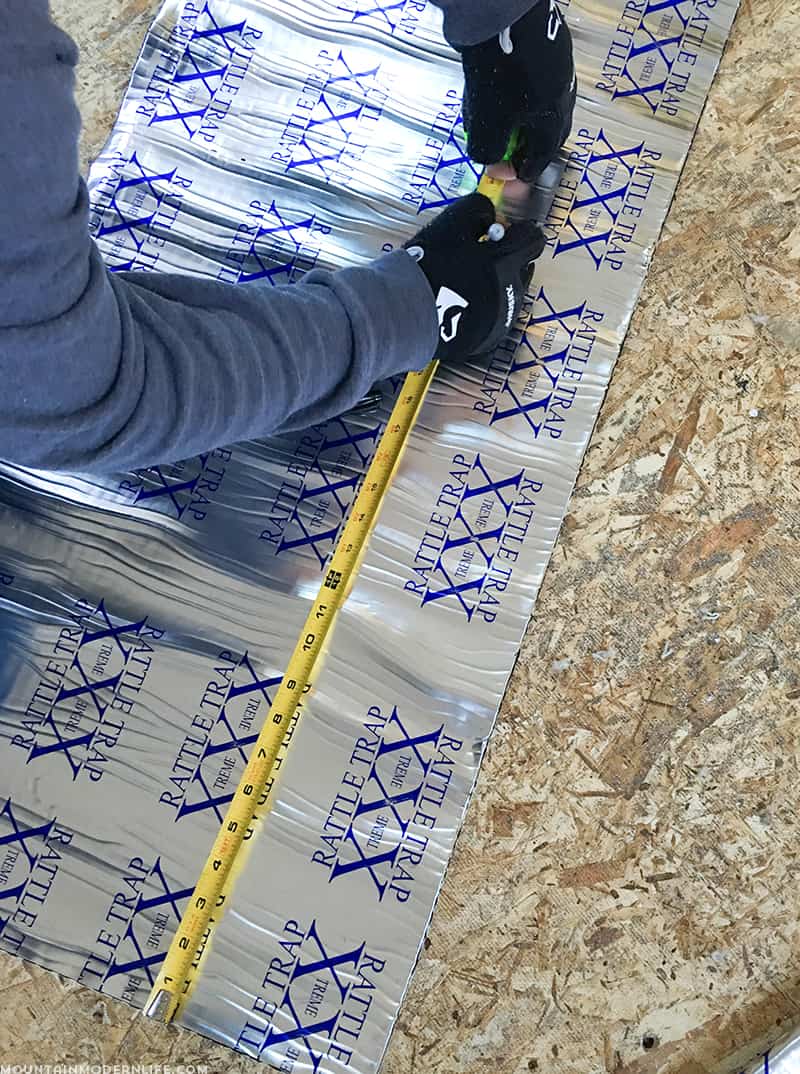
You can begin on whichever side of the doghouse you would like, I choose the front right corner. You will likely need to cut holes in the insulation for any bolts or electrical cables such as those for the captain’s chairs. Regardless of what it is you should take these obstacles into account.
Watch the RV engine insulation video:
I didn’t get many photos of this because we took a video instead, which you can watch below:
When I needed a piece cut to fit I would place the entire piece down. The objects you need to cut around should push up on the insulation, giving you an idea of where the hole needs to be cut. At this point, I took a Sharpie and marked the point where I could see the object pushing up on the insulation.
Then you simply cut the hole. You may make the hole to big or too small, don’t worry too much about that. If the hole is to small you can easily cut it bigger, if it is a little too big it should be ok.
Now that you have your holes cut you can go ahead and begin to place it down.
When placing the insulation down peel back a bit of the white sheet of paper, then slowly pull it further back as you guide the adhesive backing to the subfloor.
Once you place a sheet to the ground you will need to roll over the insulation. This, in turn, will create a stronger bond between the adhesive on the insulation and the subfloor. The FatMat insulation kit comes with a roller, but it is on the lighter side if you would like to apply more pressure you may want to use a Steel J-Roller.
I repeated the same process until my insulation reached the doghouse. At that point, I needed to cut the last piece so that it would line up close against the doghouse.
After that, I moved to the driver’s side following the same steps as above.
Covering the doghouse with the insulation is a bit more tricky. I don’t know how your doghouse looks, but ours is very round and has curves.
I thought it best to use a full sheet of the insulation and try to cover the largest section of the doghouse. This way I could make it as seamless as possible. I found out quickly that it is very difficult to place the insulation in larger sheets around the doghouse. I was able to place a full sheet on the top section of it.
For the rest, I ended up having to cut and splice smaller pieces in order to make sure the entire doghouse was covered.
Lastly, I covered the top of the doghouse lid with new insulation.
Don’t insulate the underside of the engine cover…
We would suggest reaching out to your warranty or manufacturer before you cover the underside (or engine facing side) of the doghouse lid. We have read that some people’s warranties could be voided if they placed insulation on the engine side of the doghouse. In this case, it is a much better idea to ask before you do!
Anyway, this is what it looks like with the RV engine insulation in place.

It may not be perfect, but it has definitely made an impact on deafening the sound from the engine. Once we have the chairs installed we can give you a better idea of how the heat resistance is holding up, but so far, so good.
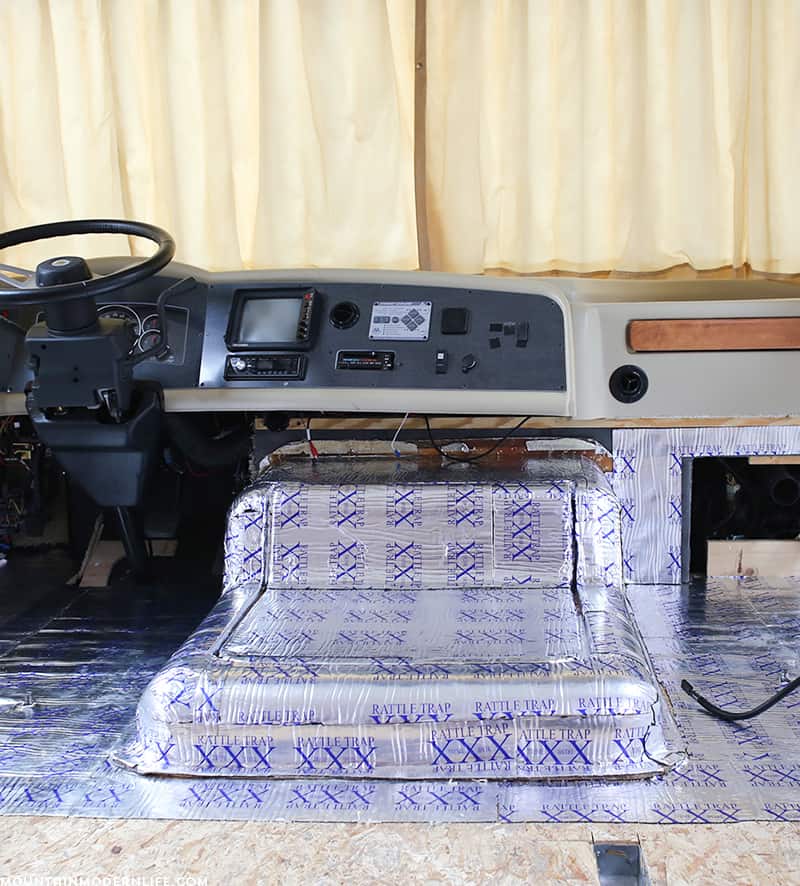
Not to mention it’s much thinner than the previous insulation, which made it easier to install our new flooring on top.
So what do you think? Have you installed RV engine insulation in your coach or plan to in the near future? If so we would love to hear about it in the comments.
Hi Katie and Eric!
I was wondering how you feel about the FatMat? We are renovating our RV and we have a lot of heat and noise to consider. Now that you have used it, would you recommend it for your viewers? Thanks a lot!
Devin
Hey Devin!
We have been completely satisfied with the FatMat insulation. We haven’t noticed any heat coming up from the engine while driving, and the noise has been drastically lowered while driving (we do have a front end gas engine though so the noise is still there). We also added a custom doghouse cover and new flooring up front so we think that adds a little extra too, but overall we are happy with the product. Hope this helps!