UPDATE: All new featured RV tours will be posted on my other website, Wanderful RV Interiors. Existing tours will slowly be moved to the new website, and anything already moved will automatically redirect.
Disclaimer: This post may contain affiliate links, meaning, if you click through and make a purchase we (or those featured in this post) may earn a commission at no additional cost to you. View our full-disclosure here.
Here’s an update from Eric on what we’ve accomplished in our RV renovation this past week.
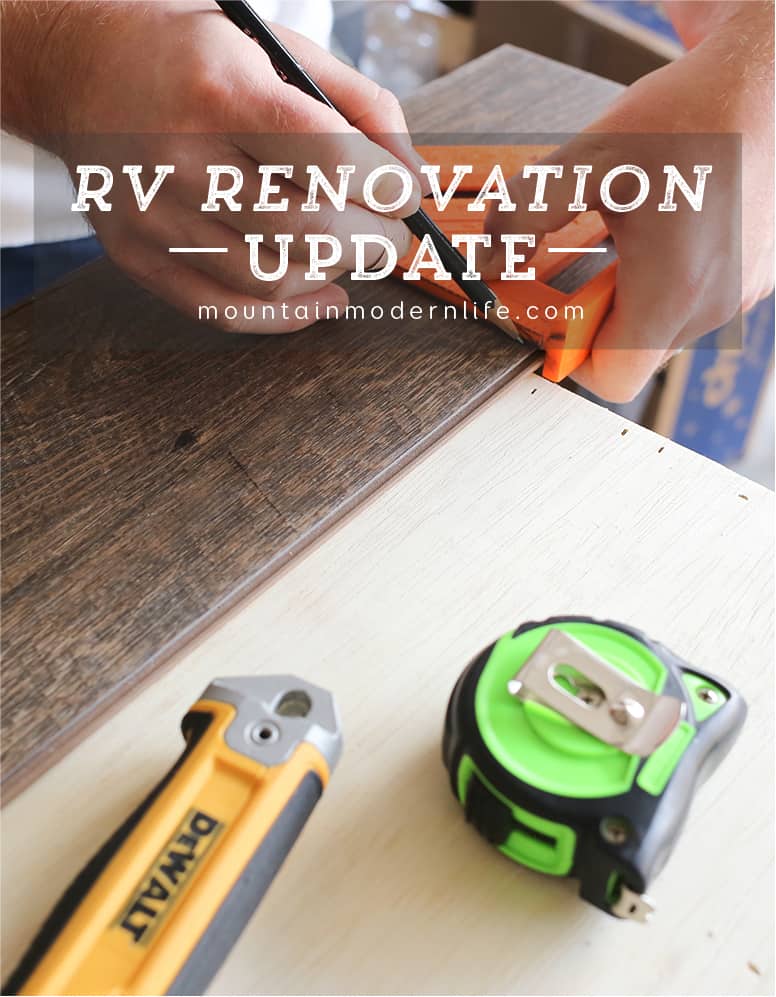
RV Renovation Progress Week 5
I don’t know about you but this week has flown by for me. We were able to spend a decent amount of time in the RV and were able to put the finishing touches on a few projects.
As we have pushed forward in our renovation project, one common theme seems to be rearing its head. That theme is every task you do will undoubtedly take twice as long as you would expect, especially when those tasks are finishing touches or something you are attempting for the first time.
You may remember last week we mentioned we had finished staining the trim we were planning to use for the slide-out. Well, we realized it was too short for what we needed, so we had to get a larger piece of outside corner moulding, and repeat the process of applying it to the slide-out.
Though we may have made many passes over the same tasks, we enjoyed the process and look forward to accomplishing more next week.
Check Out Our RV Renovation Progress Week 5 Video Below:
That’s enough about that, let’s move onto our RV renovation progress week 5.
Nailing the Trim for the Flooring Down
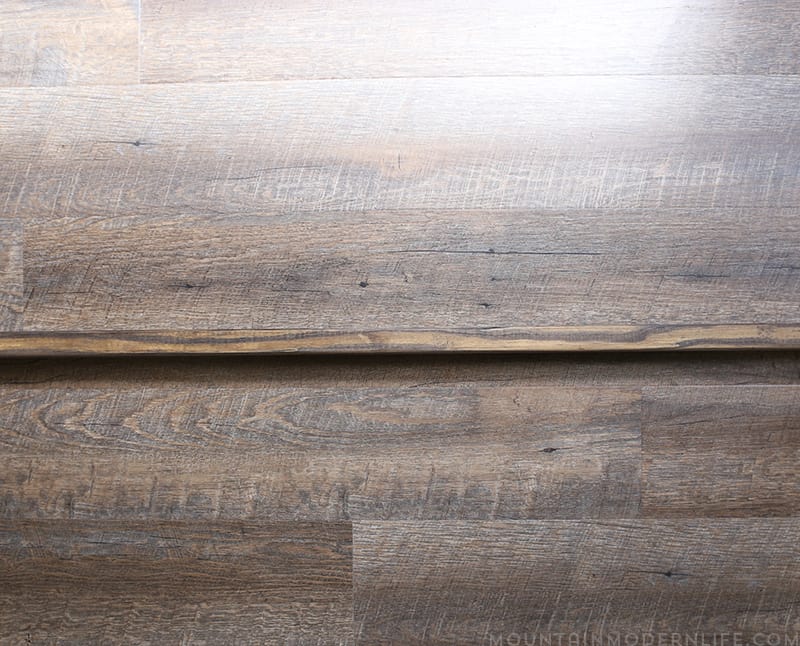
This ended up being one of those tasks that seemed really easy, then actually ended up being really easy. It sure is nice when that happens, isn’t it? We had originally considered using a smaller wood trim but decided to go another route. That’s when we ended up buying the quarter-rounds from Floor and Decor that matched the Handscrapped Ashen Oak NuCore flooring. In case you missed it, last week we shared how we replaced the flooring in our RV.
Once we had the quarter-rounds it was a matter lining them up and cutting them to size. After we had them cut down we used our nail gun to fasten them tight to the wall. Of course, you will want to use caution whenever screwing in or nailing items inside the RV. We used smaller nails along the edge of the walls and it seemed to work just fine.
At this point, we haven’t placed the trim throughout the entire coach. The main reason being we have a few custom pieces of furniture we are going to be building and would like to get them in first.

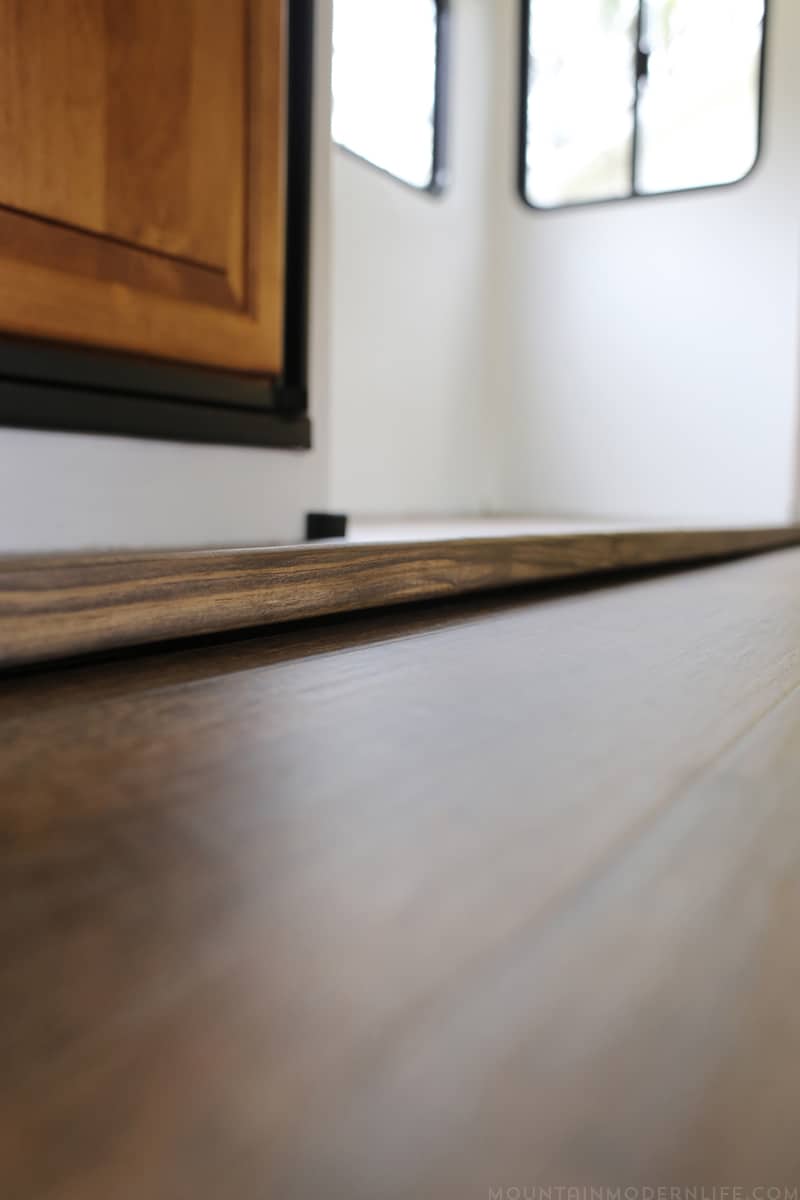
Adding the Finishing Trim on the Slide-Out
This was one of those tasks that took a little extra effort. Last week we had picked the trim to use and even had it all stained. Then we took it to the RV and realized it was a bit short for the overhang (it basically allowed you to see underneath the slide just a smidge). We ended up grabbing a larger piece of outside corner moulding instead, and when we tested it, it worked great.
Though to be honest I cut my 45 degree angles a little short on the longer piece of outside corner moulding, so I ended up having to shed about a 1/8 of an inch off the last two pieces of flooring to make it fit, ooops.
You may want to check out our video for tips on replacing flooring in an RV Slide-Out.
Finishing up the Doghouse Cover
Onto the doghouse. The custom doghouse box was a bit trickier than all the rest. It is a tight squeeze to fit it in the front of the coach and attaching the flooring and trim to it was a heck of a task, but the end product was well worth it.
I won’t go into much detail now because later this week we will be sharing more information regarding how we built it. Make sure to check back because we will be sharing a few mistakes that you will want to avoid, :).

That about wraps it up for RV Renovation Progress Week 5. Next week we have some unique things we are going to tackle, and we hope to see you back.