UPDATE: All new featured RV tours will be posted on my other website, Wanderful RV Interiors. Existing tours will slowly be moved to the new website, and anything already moved will automatically redirect.
Disclaimer: This post may contain affiliate links, meaning, if you click through and make a purchase we (or those featured in this post) may earn a commission at no additional cost to you. View our full-disclosure here.
Eric and I did a happy dance earlier this week because we finally installed our new RV windshield roller shades, woo-hoo!
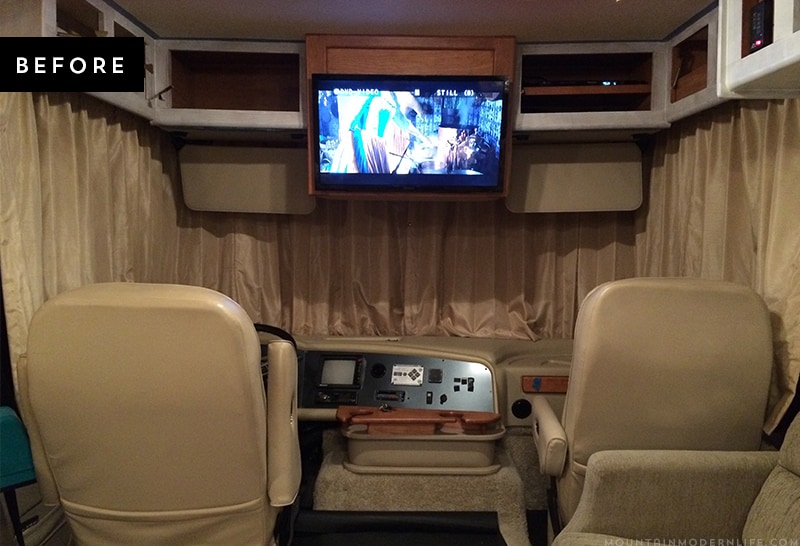
Before I show you our new shades, let’s take a stroll down memory lane and see the awful, 70’s looking curtains that came with our RV when we purchased it. The photo below is actually from one of our first trips. You can see that we had painted one coat of primer on the upper cabinets. Sadly it was several months later before we actually finished up that paint job, haha.
You’ll notice that this was before we made some updates to the front like painting our dashboard, creating the custom engine cover and painting our captain’s chairs.
Seriously though, how awful are those curtains?! Not only were they bulky, and a pain to open and close but talk about an eyesore. Do you have this type of window treatment in your RV? If so you’ll be happy to know that they can easily be replaced.
We’ve purchased shades in the past, but have never dealt with odd size windows like those in our RV. With the windshield being over 90 inches we quickly realized that custom shades were going to be our best option.
It seems anything meant specifically for RVs can often come at a premium so I wanted to look at some other options. Whether you are looking to upgrade the shades in your home or RV, we hope you’ll find this post helpful.
Goodbye 70’s Style Curtains, Hello Roller Shades
After doing some research online for affordable yet high-quality shades, I reached out to my friends at Blinds.com who provided us with the RV windshield roller shades, along with roller shades for the driver and passenger windows. By the way, if you’ve never been to their website they have tons of options and helpful tips and videos. They are almost always running some sort of promotion or sale so you’ll definitely want to keep an eye out!
Let me first say that I had no idea how many blinds, solar shades, and roller shade options are out there, holy cow! It was super exciting to see all of the color, texture and privacy options but it was also a bit overwhelming. Luckily, the reps over at Blinds.com were super helpful in helping me narrow down what type of shades to use.
What I was looking for in roller shades for our RV:
- Modern, clean lines
- Would keep the RV light and airy
- Would allow light to come through
- Would provide privacy
- Cordless
- Affordable
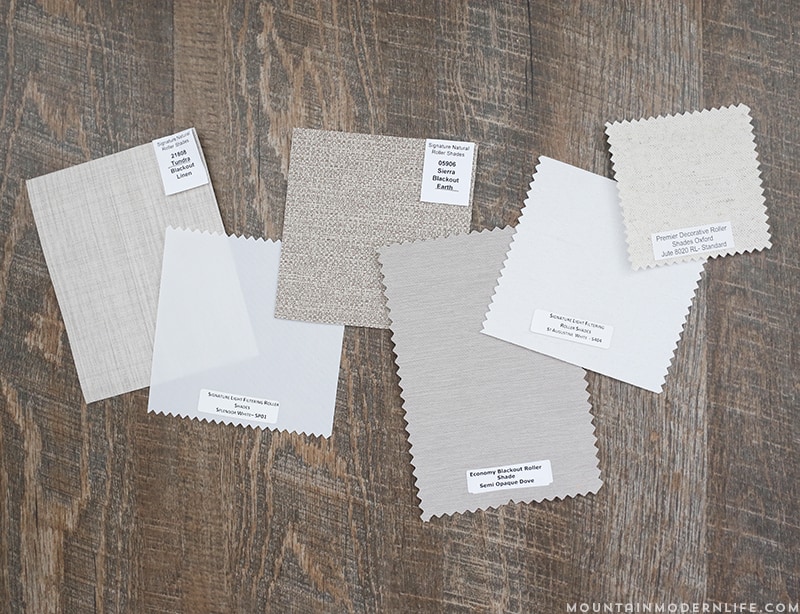
I went back and forth between getting white or a more textured, linen, or jute style shade. The first thing I did was order samples in a variety of shades and style options (which are free). This is a must since the color and texture can vary greatly from what you see on screen so whatever you do, don’t skip this step!
We decided that the Signature Light Filtering Roller Shades would be our best option because they allow light to come in, while still providing privacy.
I loved the woven textures but ultimately chose to go with Splendor White, as it seemed to be the best value. (In the samples it’s the 2nd one from the left)
We also figured it would allow the maximum amount of sunlight, which will be extra helpful when we need to take photos inside the RV.
The dreaded measuring
Measuring the windshield seemed like such a daunting task that we kept putting it off. I did research trying to figure out the best approach but every RV is different, every windshield is different and needless to say we probably measured about 10 times. Even so, our shades do show some slight gaps on the edges but since you can’t see them from the outside it doesn’t bother us.
RV Windshield Measuring Tip: I had read that using a telescoping pole like a curtain rod can help you measure the windshield better than a measuring tape. I can’t remember where I read that but I’ll update the post with that link when I find it. However, I didn’t have one that would reach past 90 inches at the time so we just used our measuring tape. A couple of days after ordering the blinds I did order this telescoping curtain rod that extends up to 108 inches.
Measuring the driver and passenger windows was pretty straight forward. Despite them looking the same size we measured each just in case. Then it was onto the windshield… Our main concern was that it’s curved and the top of the windshield is slightly wider than the bottom. On top of that, we weren’t exactly sure how much space we would have for the mounting brackets that we would need to install into the ceiling. So we measured, then measured, then measured again and actually went slightly smaller than we thought since we figured we would rather go slightly smaller than too wide. By the way, Blinds.com has information on how to measure for both inside and outside mount installation and they do also offer a SureFit guarantee.
Then roughly two weeks later, our new shades arrived, yay!
We received cordless roller shades for the driver/passenger windows but our windshield shade does have a cord. This is because the specific roller shades we ordered needed to be less than 78 inches in order for them to be cordless. However, they do offer additional shade options (that cost a bit more) than can be wider than 78 inches AND still be cordless. We had also considered using two separate shades for the dashboard but prefer to have a more seamless look. Besides, it’s not like we will be lifting the shades up while driving anyway so it won’t be an issue.
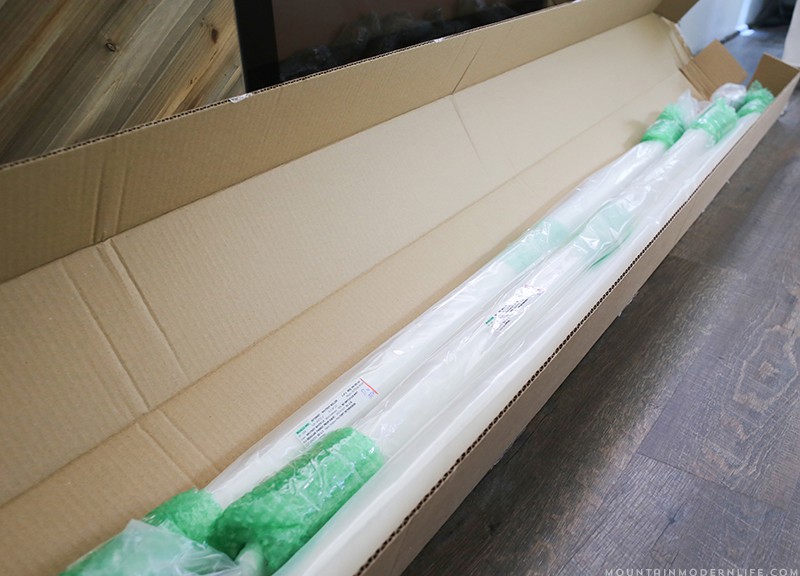
You can watch the unboxing video below:
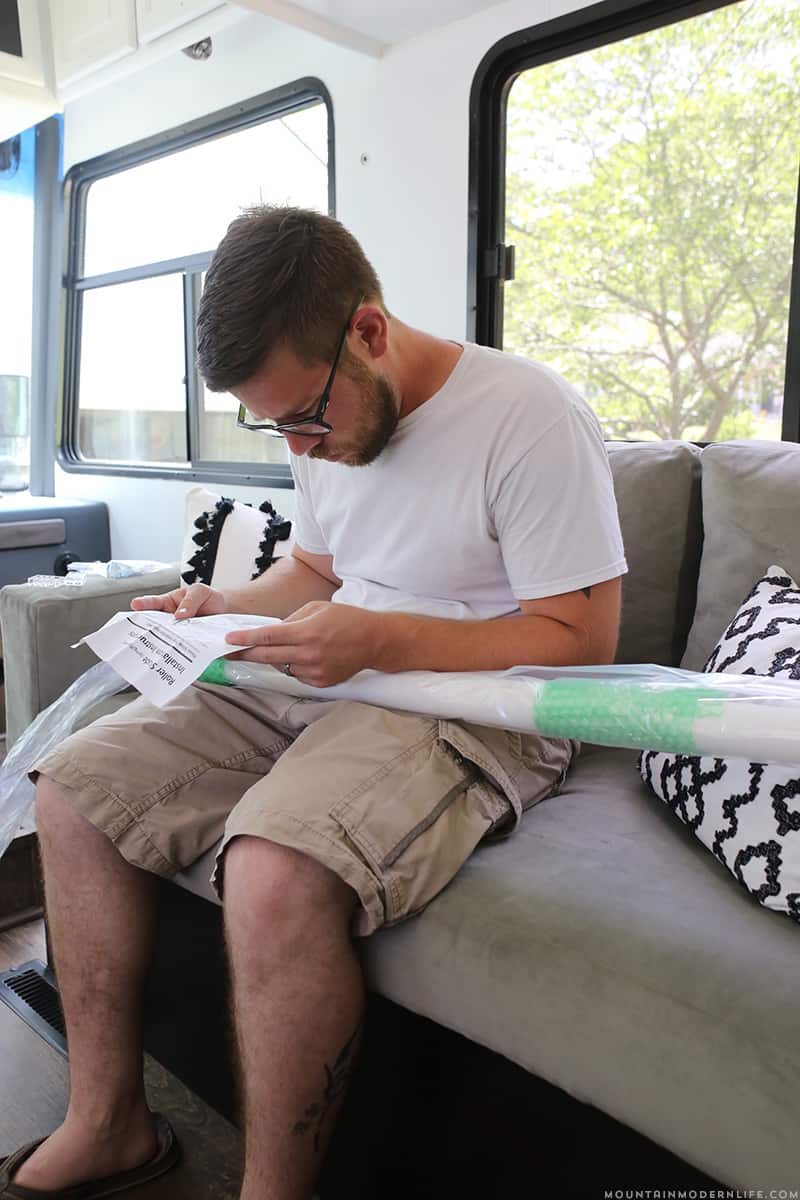
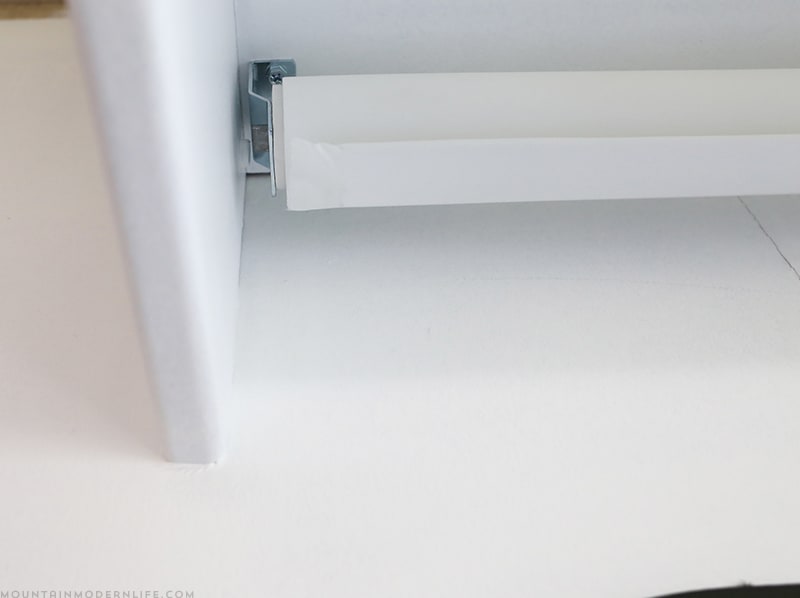
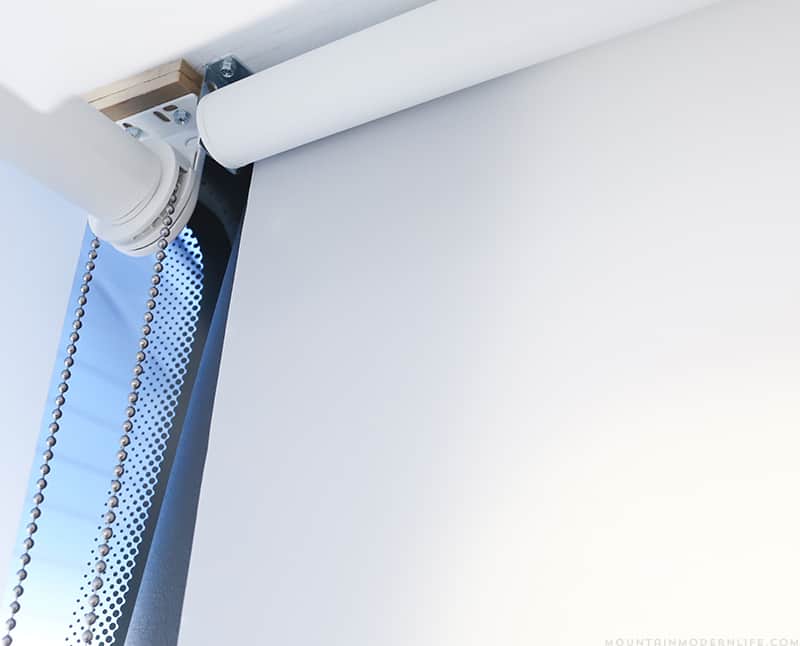
As far as installation goes it was pretty easy and took less than 10 minutes for us to get both the driver and passenger roller shades in place. We basically screwed the brackets that came with the shades into the ceiling and then slid the spring-loaded shades onto them.
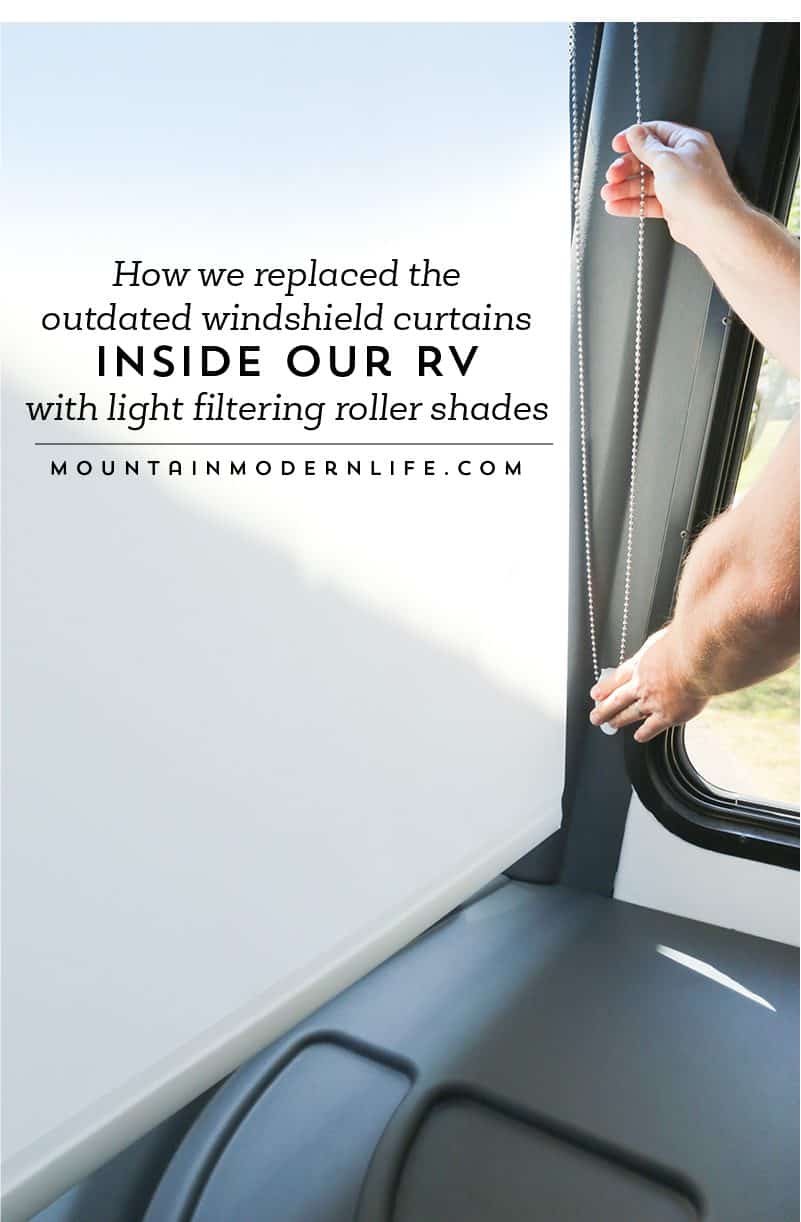
Here’s a close up of the driver roller shade installed.
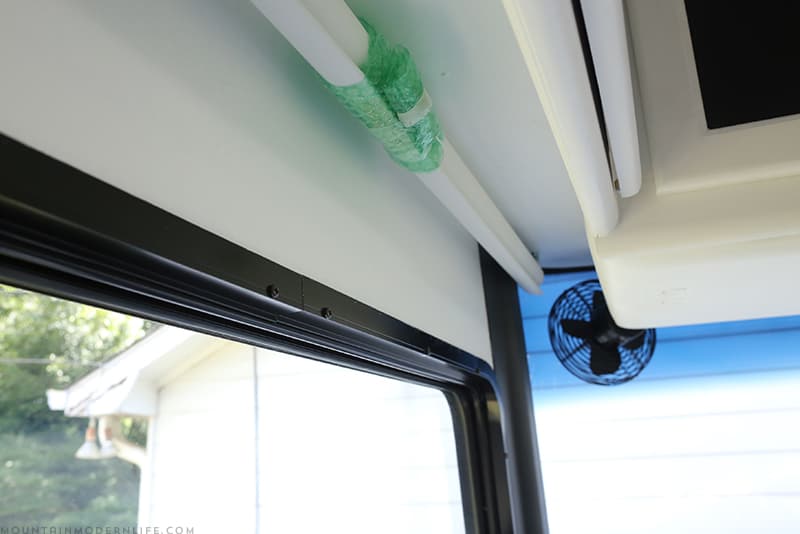
Despite being cordless there is a small cord that comes attached in the center (it’s wrapped up in the green bubble wrap you see in the photo below) in case you want to use it. We didn’t need it so we removed it with a screwdriver.
Of course, an RV project wouldn’t be the same without hiccups
If there’s one thing Eric and I have learned, it’s that nearly every RV project will take longer than expected or will have hiccups, and this was no different.
As it turns out, the fans installed in the front of our RV were in the way so we had to remove them. To be honest, they didn’t do a very good job anyway since they didn’t come down far enough, so we have plans to relocate them to another area of the RV. As far as we’re concerned it may have created more work, but it will be well worth it in the end.
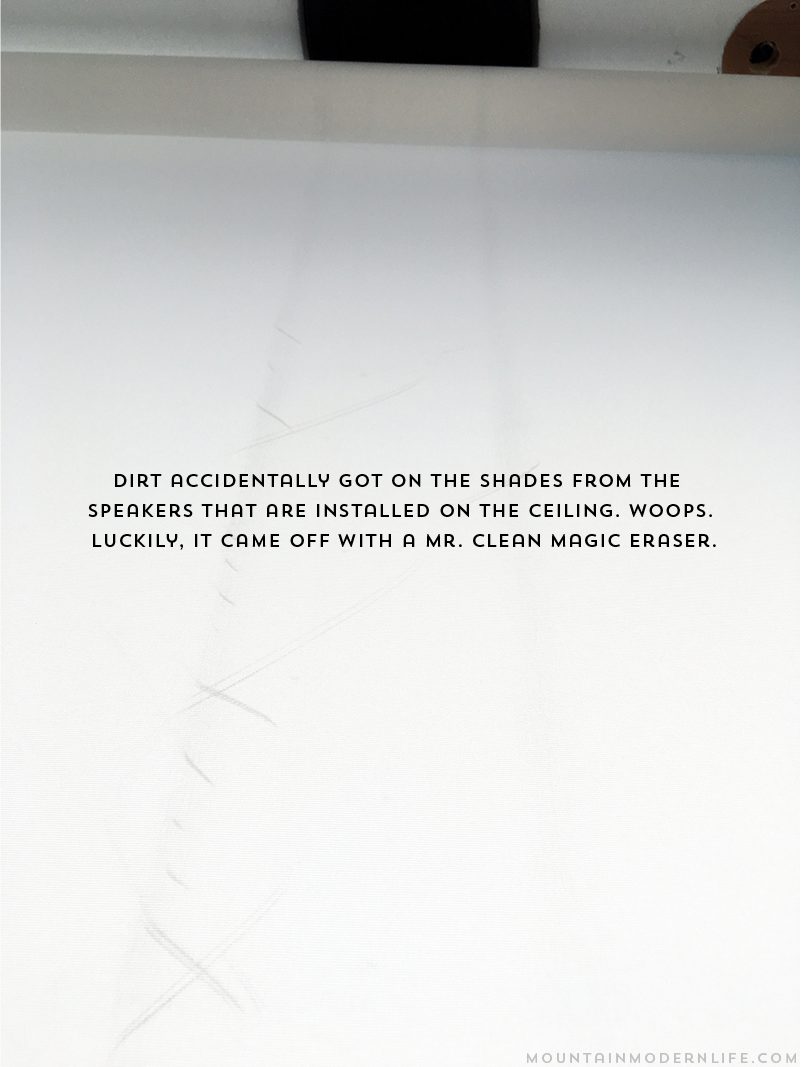
Once we removed the fans we got the windshield roller shade up in a matter of minutes and were so excited! That is until we rolled the shade down and noticed some black streaks coming down on both sides. Boooooo!
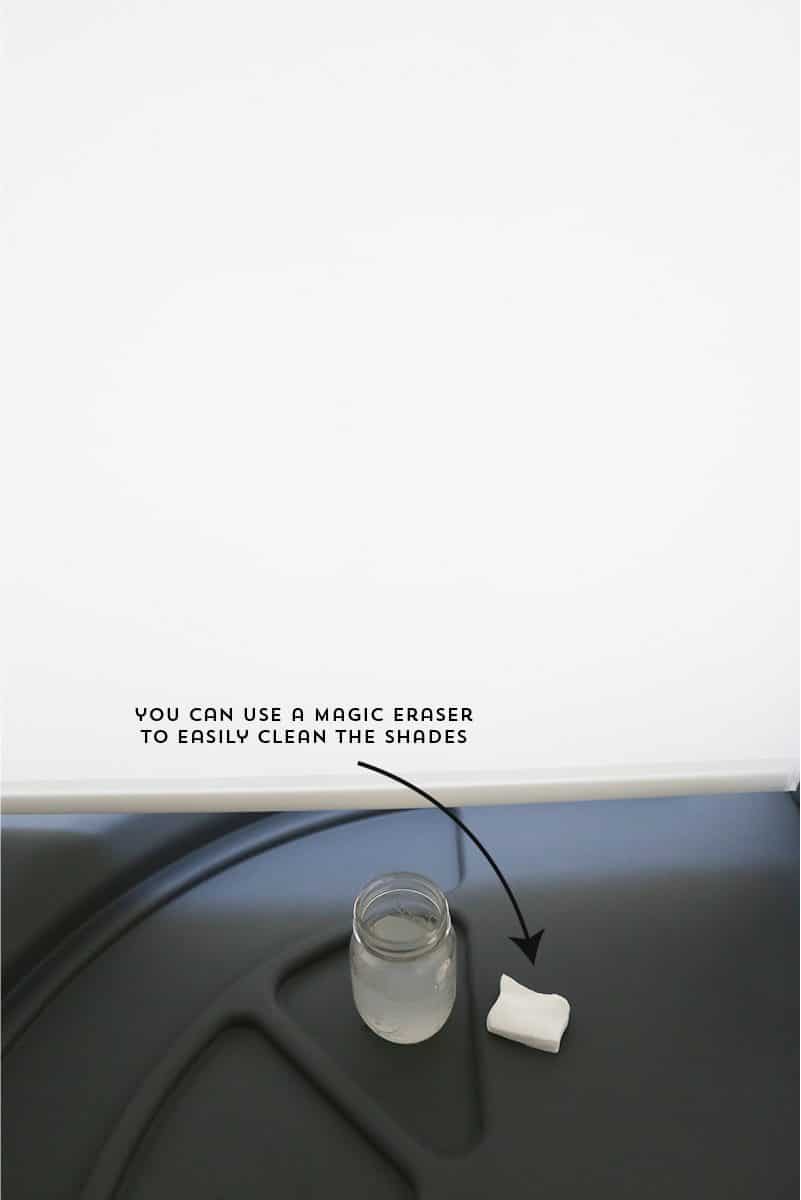
I reached out to Blinds.com to see if they had any suggestions on what to clean the shades with. They recommended a magic eraser, and it worked like a charm, whew!
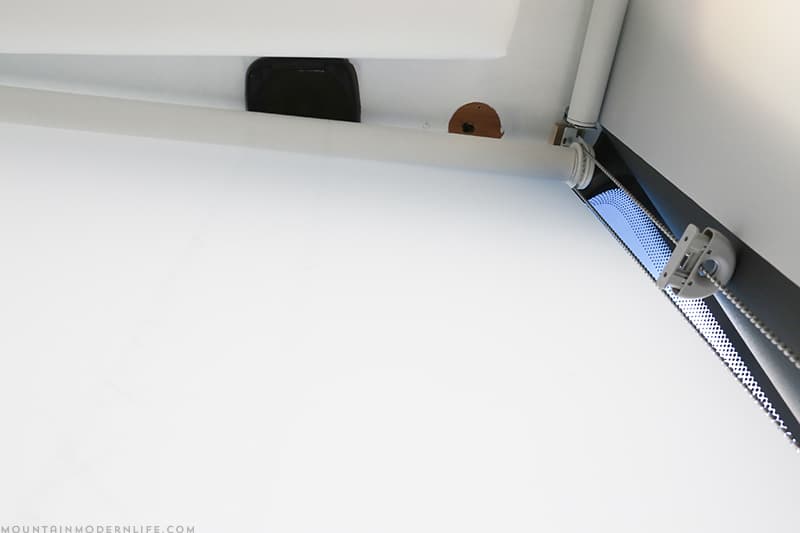
As it turns out, the speakers installed in the ceiling must have been dirty or something as that’s what caused the issue. We cleaned those off but added some scrap wood as a buffer so that the shades are installed roughly half an inch further down.
And now the shades work perfectly and don’t get dirty when we roll them up and down. It’s good to know that they can easily be cleaned with a magic eraser, should we need to clean them later on though 🙂
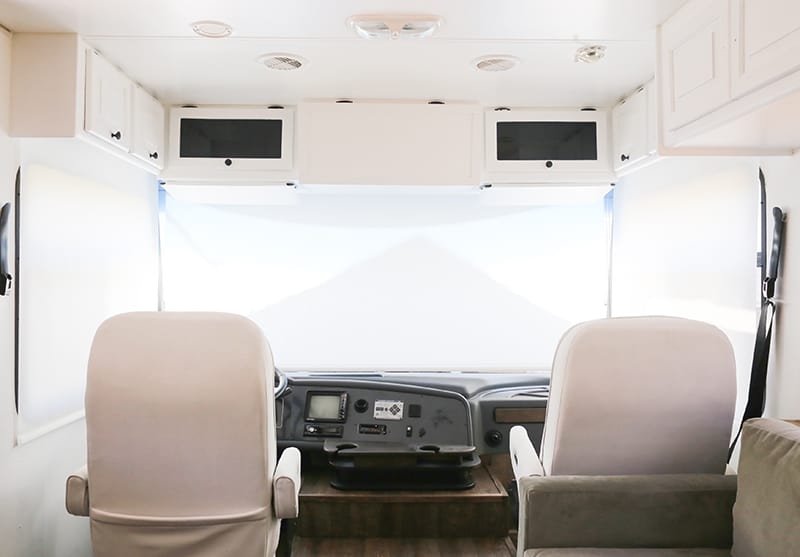
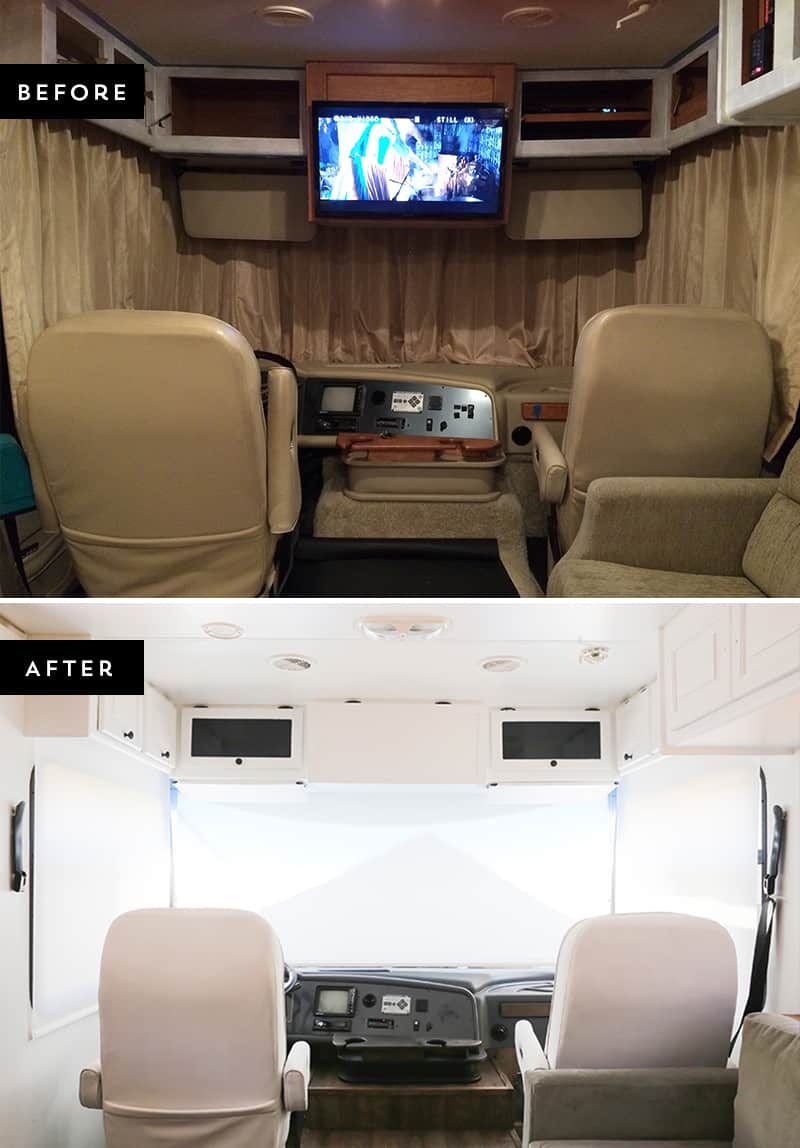
Here is what our new roller shades look like installed in the front of our RV. We still have a couple of small projects to finish up which will bring a bit more personality to the space, but I can certainly say it’s a HUGE improvement to the bulky, beige curtains that were there before. Don’t you think?
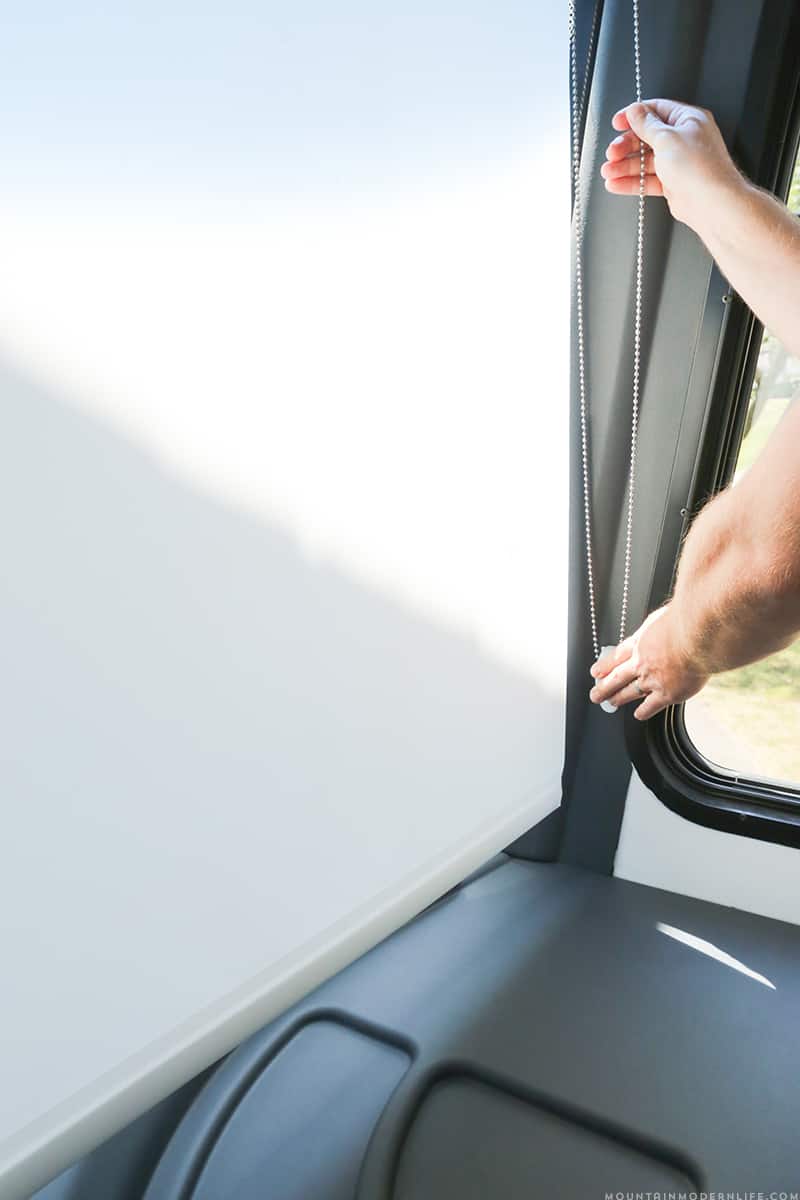
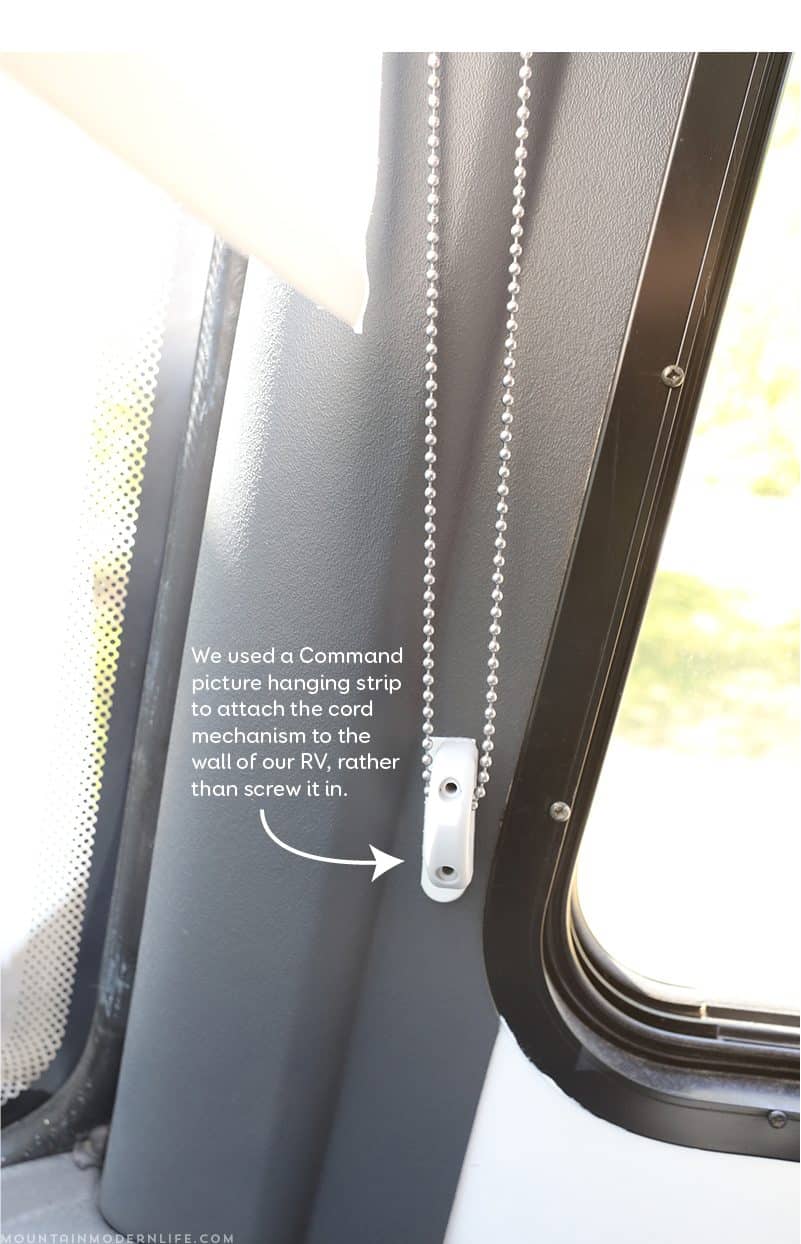
You’re supposed to screw the cord mechanism into the wall but we decided to use a command picture hanging strip for now. We just have to hold down the button while we pull on the cord but that’s not an issue.
The cordless shades for the driver passenger windows are awesome! This will make it so much easier to safely pull them up or down while we’re on the road.
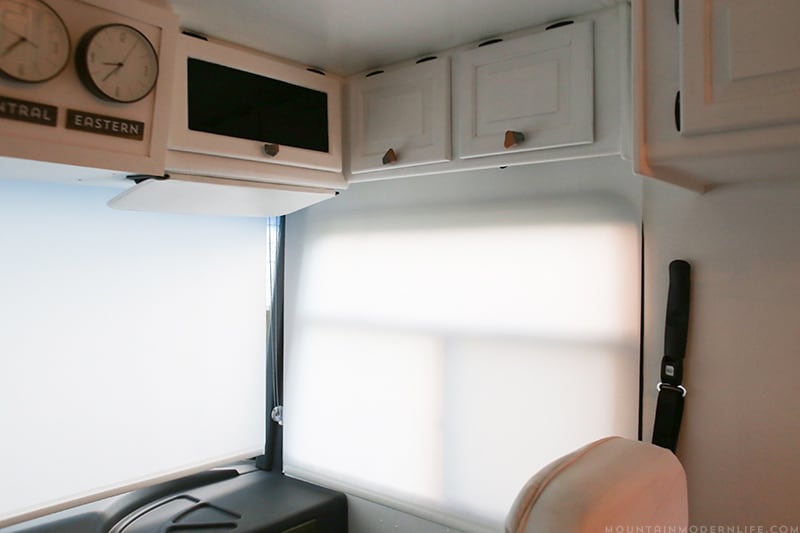
You can see how they provide privacy while still allowing light to come in:
Here’s the before and after:
Watch the Video to see our new RV windshield roller shades in action!
3 Year Update on our RV Windshield Roller Shades:
These shades have held up great so far! With that said, if you plan to work in the front cab area of your RV I highly recommend adding solar shades or some sort of insulation. We don’t generally hang out in the cab area unless driving so it’s never been an issue. We also have curtains right behind the captain’s chairs that we can open or close to help insulate from extreme heat or cold. This summer was pretty hot AND I tried to work upfront and that’s when I realized how hot it can get if the shade is down – plus the bright white can be blinding (opening the shade pretty much solves this). I don’t actually work upfront anymore, but if you can afford to add insulated backing, I’d recommend it.
Looking back, I wish I would have gone with a more natural or woven texture just because the white is kinda blinding and feels pretty cold and stark. I’d like to eventually add some sort of fabric lining to it just so it feels a bit warmer. We have a lot of windows and I thought we may want the white to keep it bright inside, but it’s overkill. Anyway, just my thoughts after having it for a few years, although the quality has held up great!
Budget-Friendly Roller Shades – See how we covered up the rest of the RV windows
DIY Burlap Roller Shades – See how we transformed our budget-roller shades into custom Burlap Roller Shades
If you’ve updated the window treatments in your RV, or are thinking about it, we would love to hear about it in the comments below! And as always any tips you can share would also be helpful for anyone thinking about doing something similar.
Thank you so much to Blinds.com for providing us with beautiful roller shades for our RV! As always, all opinions are 100% our own and we only mention products that we use and recommend.


Wow! You two are amazing! It’s getting close to Roadtrip Time!!
So how much for these blinds as you have them. Looks like you have a class A motorhome, like ours. Just want to know if they are beyond our budget,.
The shades for the windshield, driver and passenger windows was roughly $300, and for the large custom size and quality we are super happy with them and feel the price was worth it. As for the rest of the shades in the RV we went with basic white roller shades from our local Lowe’s because we were running low on time and needed to find some we could have custom cut on the spot. While the quality of the others isn’t nearly as nice, they get the job done – we’ll be sharing an updated post about our blinds in the next week.
How did you release the old drapes and remove the slide in side the slide strip
Hey Chree, We removed these a while ago but if my memory serves be correctly we were able to remove the hooks (that were attached to the curtains) from the slide rail. Then after the curtains were removed we found that the sliding rail was actually held in place by little screws that went all the way around the windshield cabinets. After that it was a matter of removing the screws and taking the slide rail out of the RV. Most all RVs are different so I hope this helps with your task. Best Wishes, Eric
Looking to do blackout on our windshield and front driver and passenger. This gives me some great ideas.
Awesome, keep us posted on what you end up using!
It’s really a nice and helpful piece of info. I’m happy that you shared this helpful information with us. Please keep us up to date like this. Thanks for sharing.
Was very interested in your curtains but you have one of those annoying pop-up ads that you can’t close so I can’t even see your website so I will look elsewhere. Get rid of the Annoying pop-ups and make your website user-friendly
Hey Daniel, thanks for letting us know, we try very hard to make sure our ads don’t affect the user experience on our website. Sometimes things change and you guys the readers will see it before us, we’ll check into it.
Hello. Can u lead me To the tutOrial for painting the chairS? Ours are aweful! Thx.
Hi Jackie,
Here’s the link, but to be honest…. we don’t really recommend going this route unless it’s the absolute last resort. We explain why at the bottom of the post:
https://mountainmodernlife.com/updated-rv-captains-chairs/
Katie
Thanks for your great videos! I’m about to install roller shades, and am skeptical about screwing the brackets into the wall, not knowing for sure whether they will hold with the daily tugging to raise and lower the blinds. Looking as closely as I can at yours, it looks like you installed yours on the cabinets above. 👍Where did you find those brackets?
Hey Lois we were worried about that as well. Fortunately, with ours, we were able to see the cabinets we screwed into were thick wood (1/2″) so that made us a bit more comfortable. With that said every RV is different so you’ll want to find the most secure place to attach the brackets, at the same time you can always use anchors as well. The brackets we used actually came with the shades we purchased, though we did have to add a couple of spacers to make it fit where it needed too. Anyway, I hope this helps but feel free to let me know if you have any other questions.