UPDATE: All new featured RV tours will be posted on my other website, Wanderful RV Interiors. Existing tours will slowly be moved to the new website, and anything already moved will automatically redirect.
Disclaimer: This post may contain affiliate links, meaning, if you click through and make a purchase we (or those featured in this post) may earn a commission at no additional cost to you. View our full-disclosure here.
I hope everyone had a great weekend. I had an AMAZING weekend and one I will never forget. My boyfriend of 5+ years proposed to me along the Chattahoochee River, when we took our dog for a hike on Saturday. It was beautiful and perfect and I am so blessed that I found him because he is the most compassionate person I know, my best friend, and I would be lost without him.
What’s crazy is how quickly the wedding obsession has already hit me! We have decided on a September/October wedding in the Smoky Mountains and would like to rent out a large, secluded cabin/lodge to hold the wedding and reception, which we plan to keep small with 50 max guests.
I also want to keep expenses down so it will be a mostly DIY wedding and I plan to share my wedding inspiration and DIY projects on here as well. I definitely welcome any suggestions for a rustic/vintage/modern farmhouse style wedding as well as places we could hold it.
DIY Stenciled Coffee Table
Now onto my recent project… a coffee table we had in our storage closet. We recently sold the coffee table I redid here since it was too long for our living room and also too grey against our sofa. I am a fan of our new coffee table but think I would like to keep an eye out for a round one in the future. I figure we can foster this one until I find the right one for us to keep long-term. Yes, I have a furniture obsession but at least I don’t have an issue selling furniture either so we won’t end up on hoarders. That’s what I tell Eric anyway every time I buy a new piece to redo…
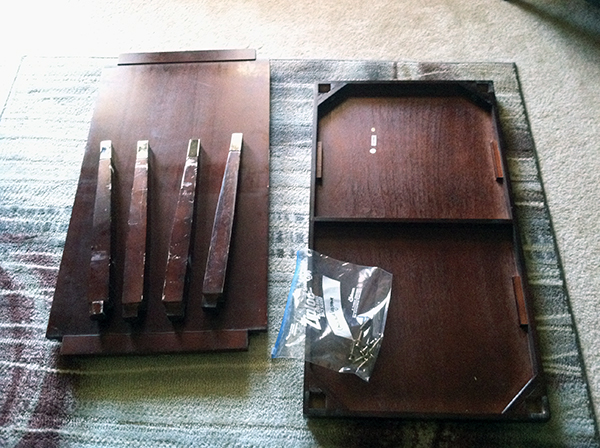
Here are some before photos of the coffee table, which had quite a bit of dings in it from being stored away. My mom picked it up at a thrift store a few months ago for a great price and knew it could use a makeover.

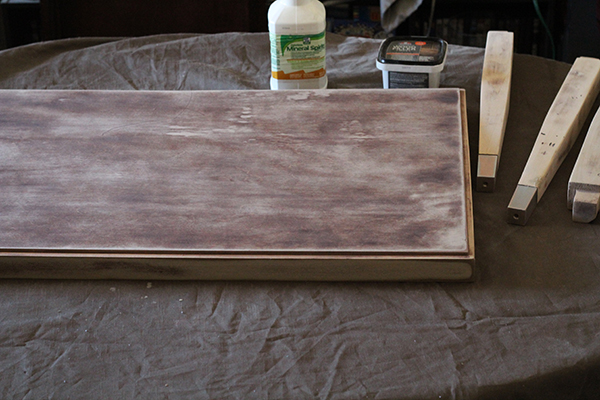
Since this table could easily be disassembled I decided to take it apart and paint each piece individually. Afterwards I wiped everything down with Mineral Spirits. If you don’t have Mineral Spirits I highly suggest you pick some up! It’s amazing at cleaning furniture inside and out and also wipes away pencil marks if you are measuring something out and don’t want smudgy eraser marks.
After the pieces were wiped down and dry I began sanding everything. I knew I was going to be painting and not staining this table so I was more interested in light sanding just so the paint would stick. I used 120 grit sandpaper and then 220 grit afterwards. I had also used wood filler to fill in the dings/scratches and then sanded over them to smooth it out.
The bottom section of the table legs were chrome and although I now wish I would have kept them as is, I decided to paint them the same color as the top. The paint I used was a beige-taupe color that I had picked up in the Oops paint pile at Home Depot for $0.50. Woot-Woot!
I then painted the actual legs and bottom of the table white. I wanted to add a third color to make it a little more interesting and decided to paint the table edge a deep blue color of Oops paint that I had.
I did 3 layers of paint with light sanding in between and after everything was dry I put it all back together. Oh yeah and I had completely forgotten that this table came with 2 drawers for the middle which were also in the storage closet. I got a little too excited and forgot to take photos of the before but due to the ridges I opted for beige, homemade chalk paint since I figured they would be difficult to sand. I kept the chrome drawer handles the same though. Here she is all done…well almost anyway.
Gotta love Kobe for getting in the shot – I actually have to try and shoot around him most of the time because he apparently just loves the camera, haha.
After I had moved the table back in the living room I felt like it needed something more. I went through a bunch of Martha Steward stencils I had and decided to paint a stencil along the edge. I’m not gonna lie, this was much more difficult than the stencil project I did here. I think it’s because I wasn’t looking down on the part I was working on so I had to try a few different brushes before finding the tool that worked the best. At first I used one of the Martha Stewart stencil brushes that I had picked up over the weekend with a 50% off JoAnn Fabrics coupon.
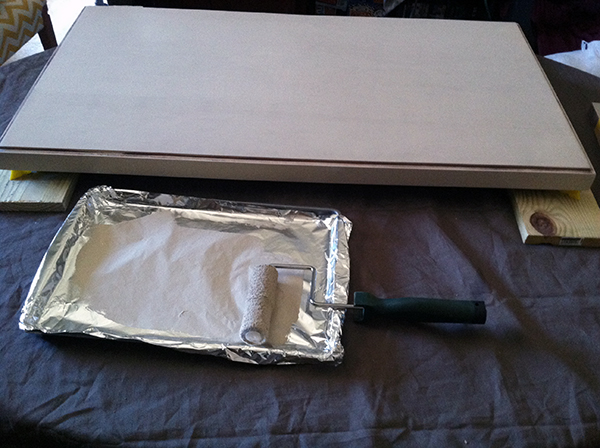
That didn’t look so hot and the paint bled a little so I then tried a roller but it was kinda difficult because the roller I used was larger than I needed. Finally I went with a foam brush and that seemed to work best. I would dip the foam brush in the paint, then dab it on some paper towels so it wasn’t dripping with paint, and then dabbed it on a little bit at a time.
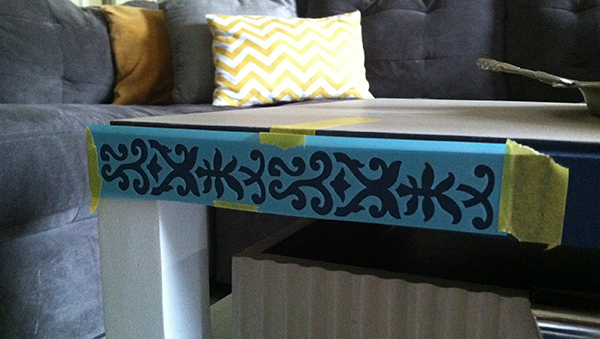
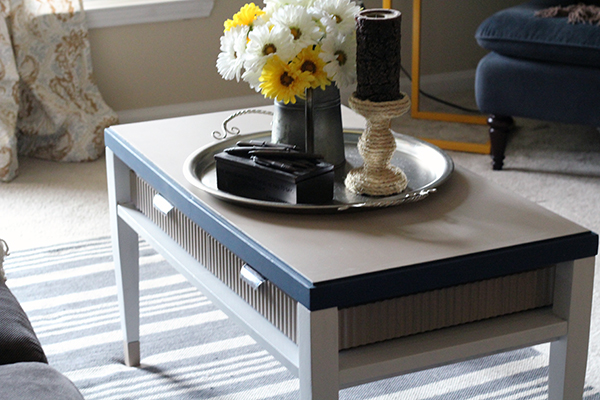
And now here is the table all done with the stencil and boy am I glad I added that detail. I may have spent too much time searching for wedding venues so the waxing will have to happen later this week so that it’s protected. I’m sorry this photo is so terrible but I’m still learning how to use my camera and deal with bad lighting.
Have you stenciled any furniture projects and have any tips?