UPDATE: All new featured RV tours will be posted on my other website, Wanderful RV Interiors. Existing tours will slowly be moved to the new website, and anything already moved will automatically redirect.
Disclaimer: This post may contain affiliate links, meaning, if you click through and make a purchase we (or those featured in this post) may earn a commission at no additional cost to you. View our full-disclosure here.
Today’s post is short and sweet, and goes to show that a little bit of spray paint can go a long way especially when taking on a lamp makeover!
Thrifted Lamp Makeover
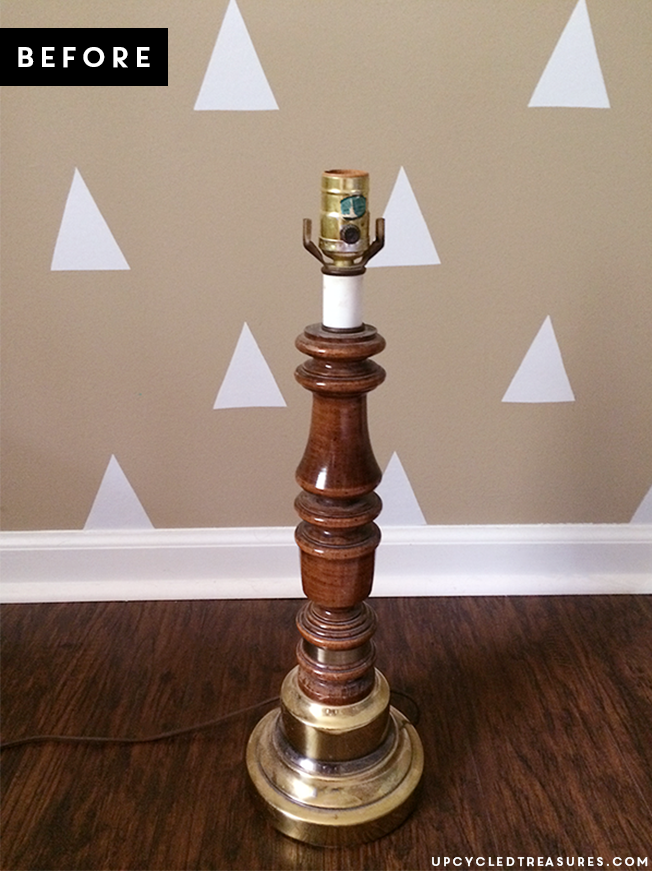
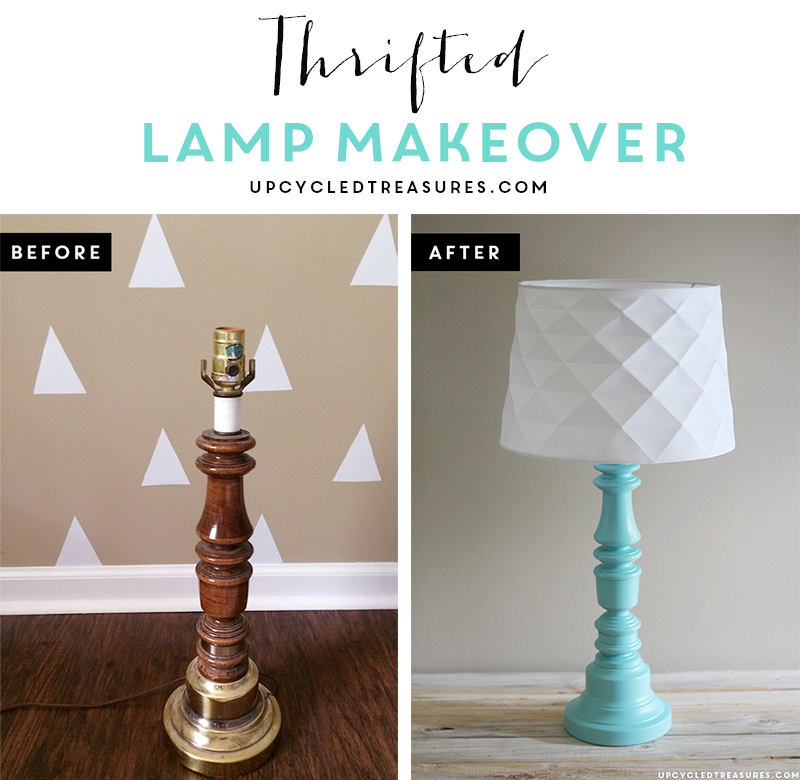
I found this little guy at a thrift shop a while back for a mere $2. I sorta have an obsession with lamps . . . and lampshades. I just can’t get enough! What can I say, I love lamp. Come on, we all knew that was coming.
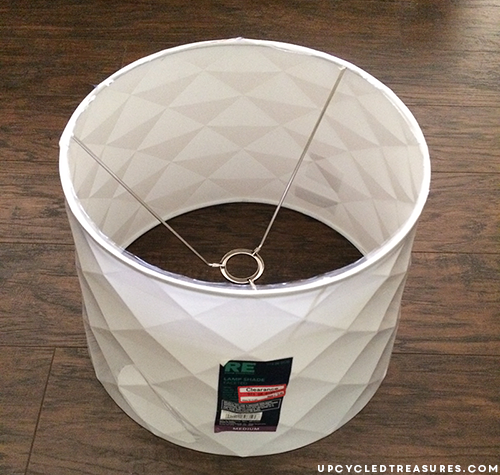
It was hanging out in the garage with its lampmates until I came across this nifty little lampshade on clearance at Target for $5 a couple of months ago! I love how it’s faceted, don’t you?
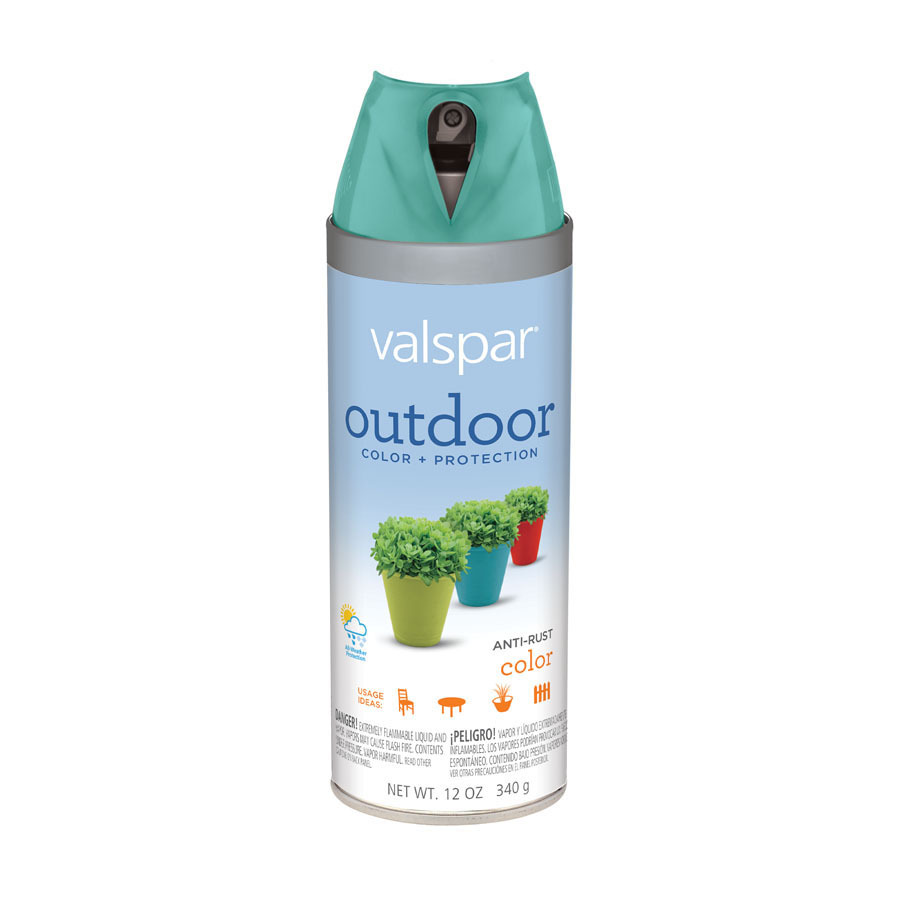
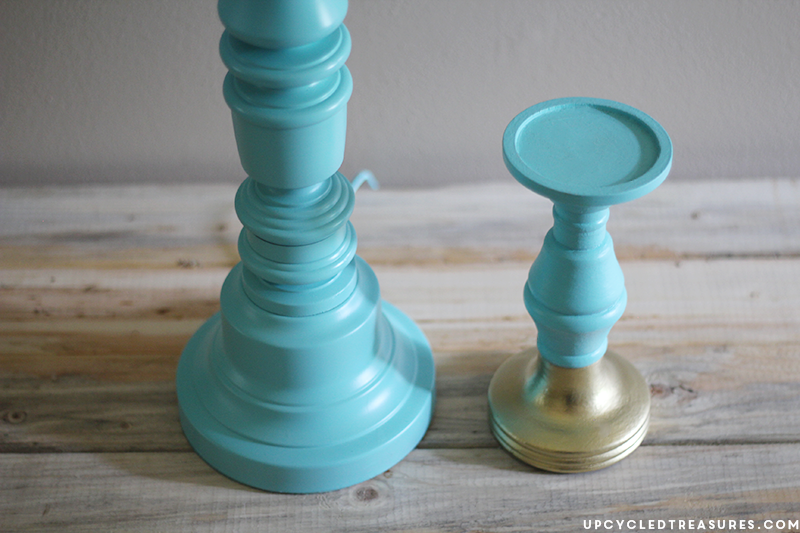
So I then added a couple of coats of spray paint, which I had leftover from my turquoise and gold pillar candlestick holders.
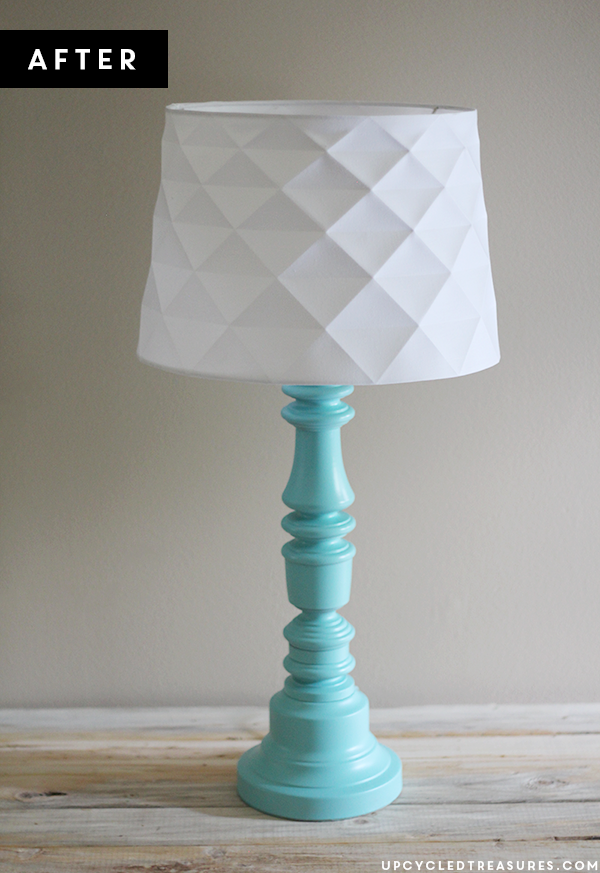
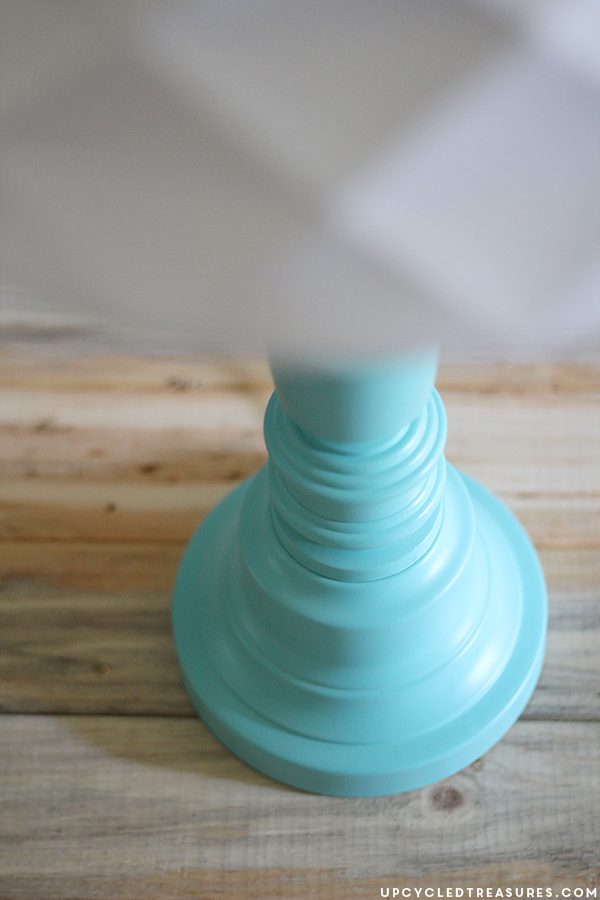
The color is more of a minty turquoise in person. I <3 this color! I think it’s interesting how the shape of the lamp and the candle holders even look similar now, and I’m even considering adding a bit of gold to the lamp. What do you think?
And here is the thrifted lamp makeover completed with the new lampshade:
I just love mixing old and new, and it’s not too shabby for $7, eh?
Isn’t it amazing what a little bit of spray paint can make? So the next time you are cruising the thrift store aisles, I hope you won’t pass up a super dated lamp. It could just become your next favorite light source 🙂

I love it! I say definitely add the gold!
Seriously, spray paint is a miracle. I’m always a fan of adding gold, but it does look fantastic just the way it is right now! You chose a gorgeous lampshade, too.
Love this Katie and in so jealous that that shade went on sale near you! I was keeping my eye on it for forever!
Love Target and thrift stores. Your lamp looks great… Turquoise is my favorite color.
I love it, and I love that lampshade – it compliments the shape of the lamp itself so nicely. Gorgeous!
Gorgeous, gorgeous, gorgeous!! That color is so fresh and fun!! I’ve been looking for 2 lamp stands to makeover for our nightstands so I was very intrigued by your post!! Awesome makeover!!
Katie, just sending you a massive virtual high five 🙂 This makeover is perfection! Love how the blue makes the lamp base pop–and totally updates its fun shape.
I bought those shades on sale at my local Target store as well!! I Love them – your lamp looks great!!
So fun! That shade is PERFECT with the turquoise lamp base!
Just perfect. Love that color, too. And oh my that lampshade!
That is some lampy perfection Katie – the shade was a steal!
I love it!!This is a great makeover!!!
I have never used this type of paint before,will definitely try this!!Thanks for sharing:)
This lamp makeover is awesome. Love the turquoise color. We would love for you to share this at the Caffeinated Crafters Link Party here: bit.ly/UJkY7m
This is SUCH a fun colour Katie! LOVE it! Can’t wait to share it with my faves from the week this Friday morning at http://www.makingitinthemountains.com!
happy to see so many spray paint addicted! Lovely and super fast DIY, well done 😉
Oh how I love a great lamp makeover- this is awesome Katie and such a fab color!! Pinned and stumbled. Hope you are doing well and enjoying summer!
BEAUTIFUL colour! Looks great
Sarah @ EDEA Smith
http://www.edea-smith.co.uk
I think it turned out great, Love finding deals at Target too! If you get ready for a change after awhile you could just remove the paint off the bottom of the lamp because it was brass right? If it is too bright gold,sanding brass will give it scuffed old vintage look instead of shiny gold brass that was so popular in the 1980’s. Just keep sanding in the same direction around the base for a uniform look.