UPDATE: All new featured RV tours will be posted on my other website, Wanderful RV Interiors. Existing tours will slowly be moved to the new website, and anything already moved will automatically redirect.
Disclaimer: This post may contain affiliate links, meaning, if you click through and make a purchase we (or those featured in this post) may earn a commission at no additional cost to you. View our full-disclosure here.
I’m excited to share a super easy project today as part of Scarf Week! That’s right, while some are celebrating sharks this week, a few of us bloggers got together to celebrate scarves!

The second annual Scarf Week is being hosted by Lauren of The Thinking Closet and Vanessa of Tried & True, and there have been TONS of AH-MAZING scarf inspired projects shared all week long, which I will link to at the bottom of this post.
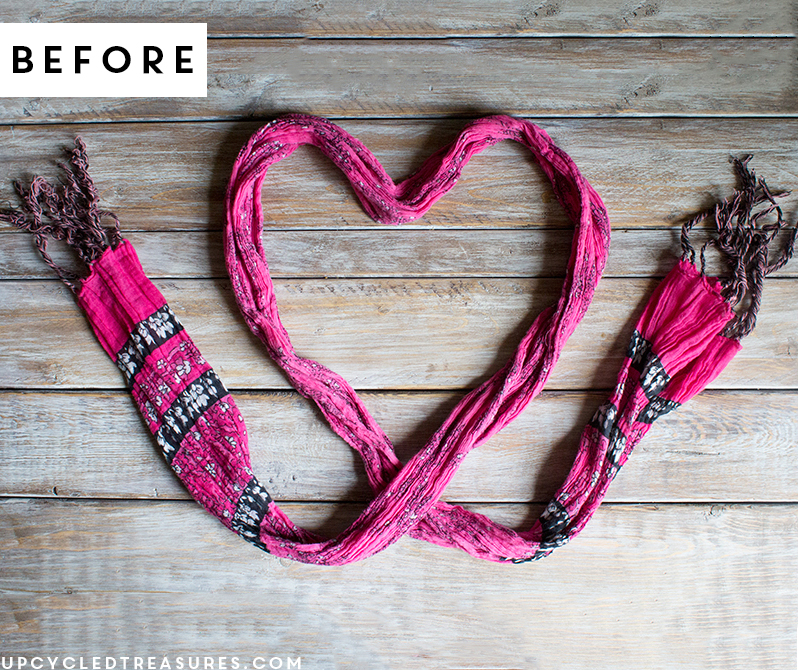
If you follow me on social media you may have caught a glimpse of this scarf last week:
I love the bold color and fun pattern on this scarf and was excited to re-love it as something new. I’ve had it for about 8 years now, can’t remember the last time I wore it. #hoardermuch?
It was actually sitting in a bin of clothes I planned to donate, but I snuck it back out for this project.
Upcycled Scarf Planter
I’ve seen fabric covered planters floating around the internet for quite some time now and have always wanted to make my own, so alas I did!
Scarf
Iron/Ironing Board
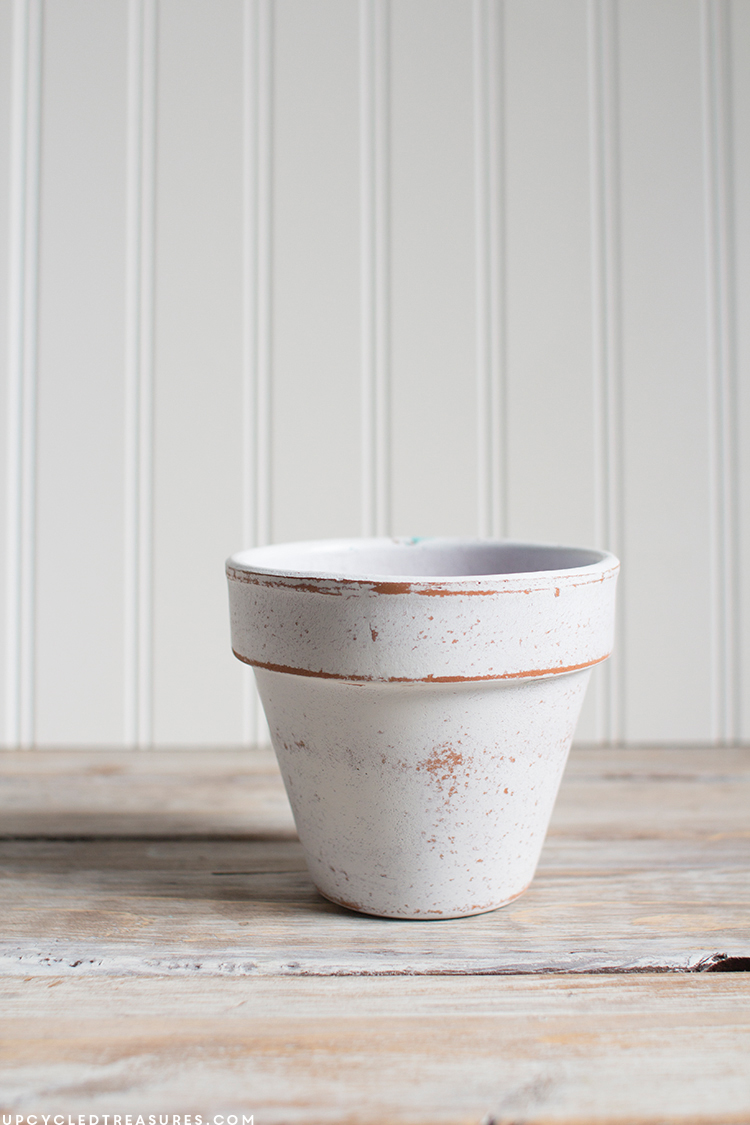
Step 1: Grab a Clay Terra Cotta Pot
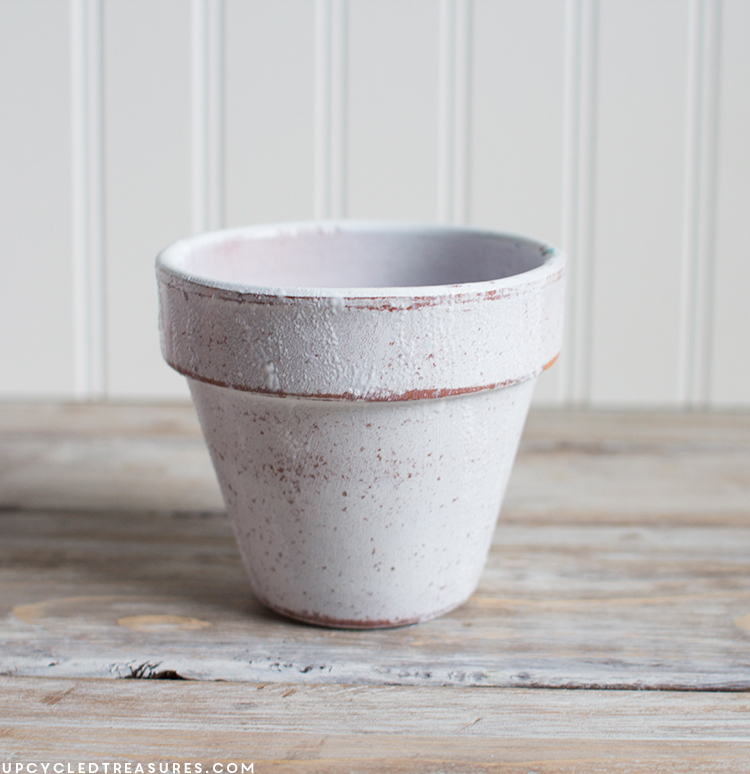
Grab a terra cotta pot you want to recover. I used a 6″ planter I had purchased at Walmart last year for about $1, which had previously been painted and slightly distressed.
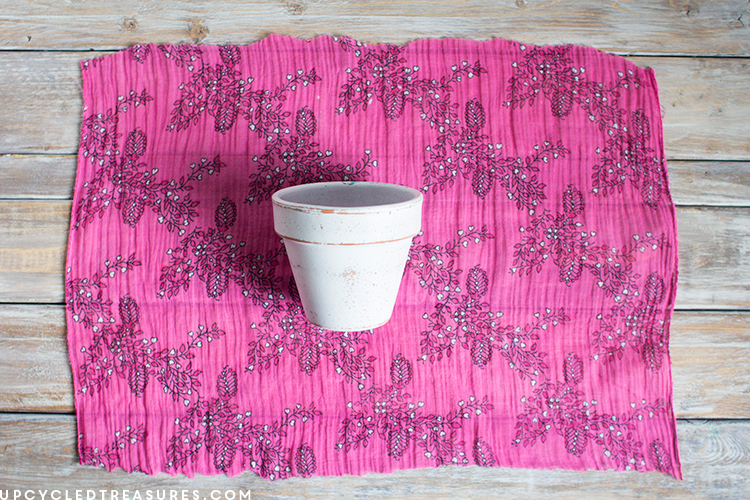
Step 2: Cut your scarf down to size
Cut your scarf fabric into a smaller rectangle to make it easier to work with. I can say that the amount of fabric shown in the photo below was still more than I needed and I simply cut off excess fabric as I went along.
Step 3: Iron the Scarf
If your scarf is super wrinkly {like mine} you will want to iron and press the fabric first. You could also do this before cutting the fabric down, as you will notice you have more material once the fabric is ironed out.
Step 4: Apply Mod Podge to the Terra Cotta Pot
Generously cover your planter with Mod Podge using a foam brush. You may find it easier to work in sections. I actually covered the entire thing with one {not as generous} coat and then added more in sections as I went along. If you plan to use this planter outside I’d recommend using their Outdoor version.
Step 5: Wrap the Scarf Material around the Pot
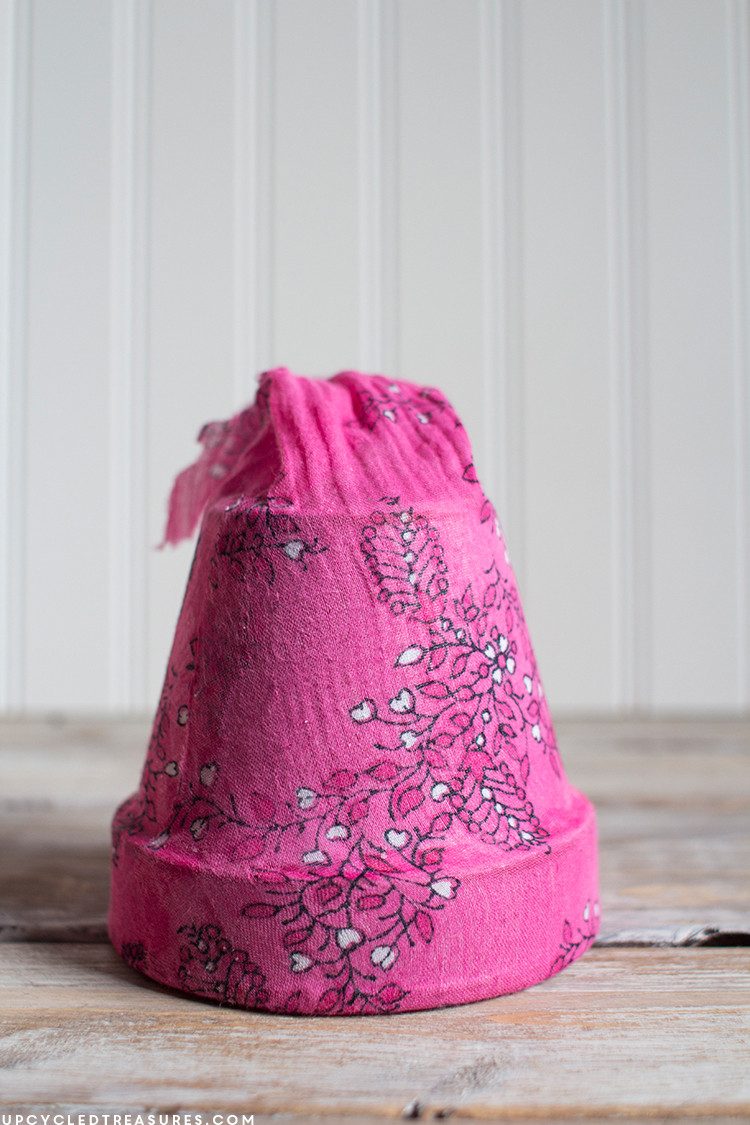
You will want to slowly begin to wrap the material around the pot, applying Mod Podge to the pot as you move along. Make sure to pull the material tight which will also help remove any wrinkles in the fabric. I promise I ironed mine first! Guess I could have steamed it but you’ll see that it still turns out okay. Side Note: If you are working with thin material, just be sure not to pull the material too tight, as you will see some of the marks created from overstretching in my finished planter. It’s not a huge deal, but something I realized once I was finished.
Step 5: Cut off Excess Fabric for seams and bottom
You can cut off excess fabric as you pull the material around the pot. For the seam, I just folded one side on top of the other and brushed extra Mod Podge underneath and on top of the fabric. For the bottom of the pot, I cut off excess fabric {leaving about an inch} and then flattened down the remaining fabric onto the bottom and pressed it down, again brushing more Mod Podge underneath and on top of the fabric.
You will find that the Mod Podge is super forgiving so you can always lift the material back up, brush more on and then press the fabric back down.
Step 6: Cut off Excess Fabric for the Lip of the Pot
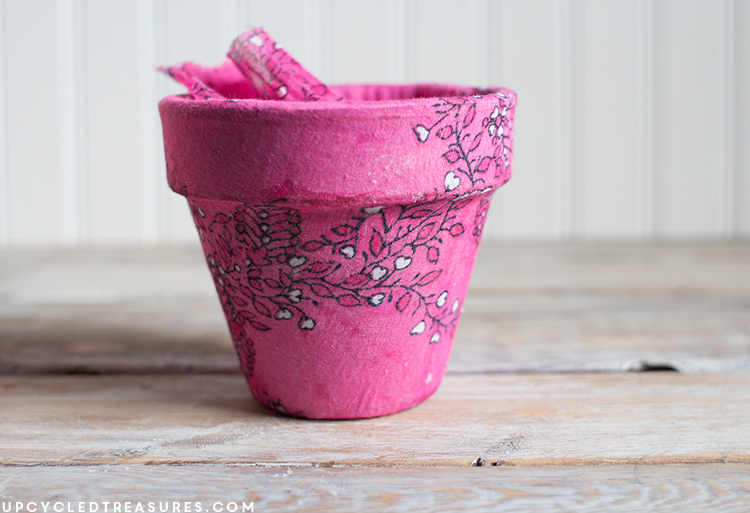
For the top lip of the pot, I cut off excess fabric {leaving about an inch} and cut a few slits a couple of inches apart to make it easier to fold the fabric down straight. You can then smooth the fabric down, brushing more Mod Podge underneath and on top of the fabric.
It doesn’t need to look perfect on the inside, although you could always line it with fabric tape or ribbon. Once you place your plant inside you won’t be able to see the inside lining anyway 🙂
Step 7: Smooth out any Wrinkles and “Paint” a Layer of Mod Podge on top of the Fabric
Once the fabric is all adhered to the pot you can give it one last look over to see if there are any wrinkles that need smoothing out. You can then brush another generous coat of Mod Podge on top of the fabric which will help seal it in place. Don’t worry about the white filmy color, it will disappear once it’s fully dry.
Step 8: Place Plant or flowers inside
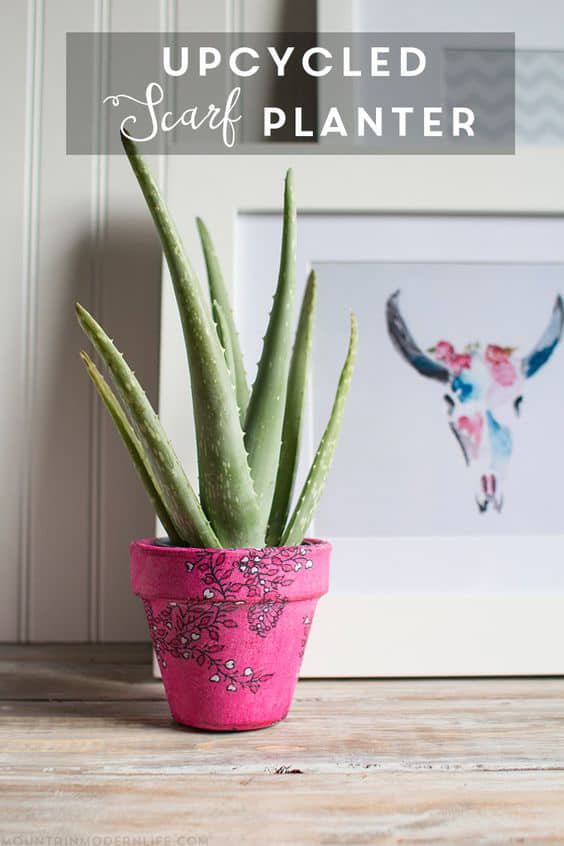
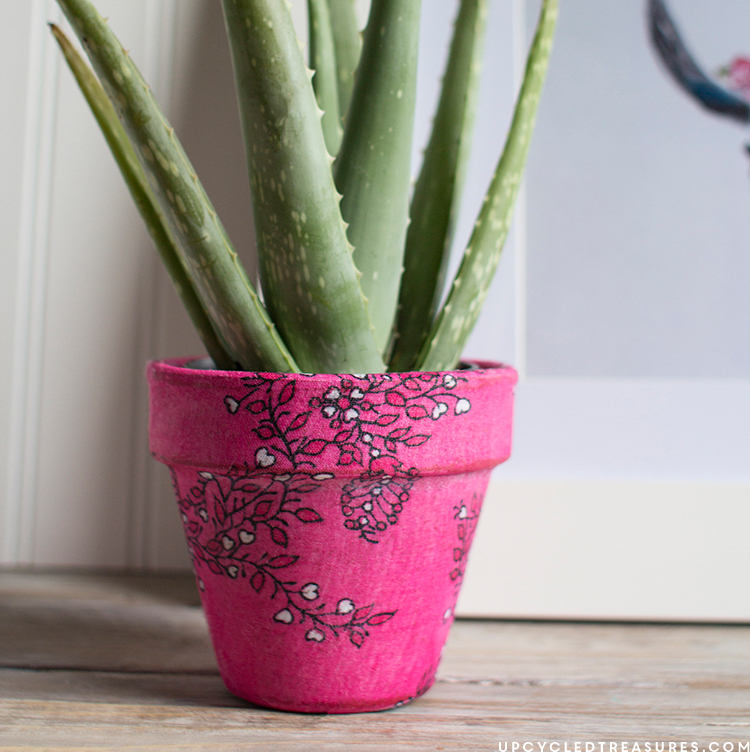
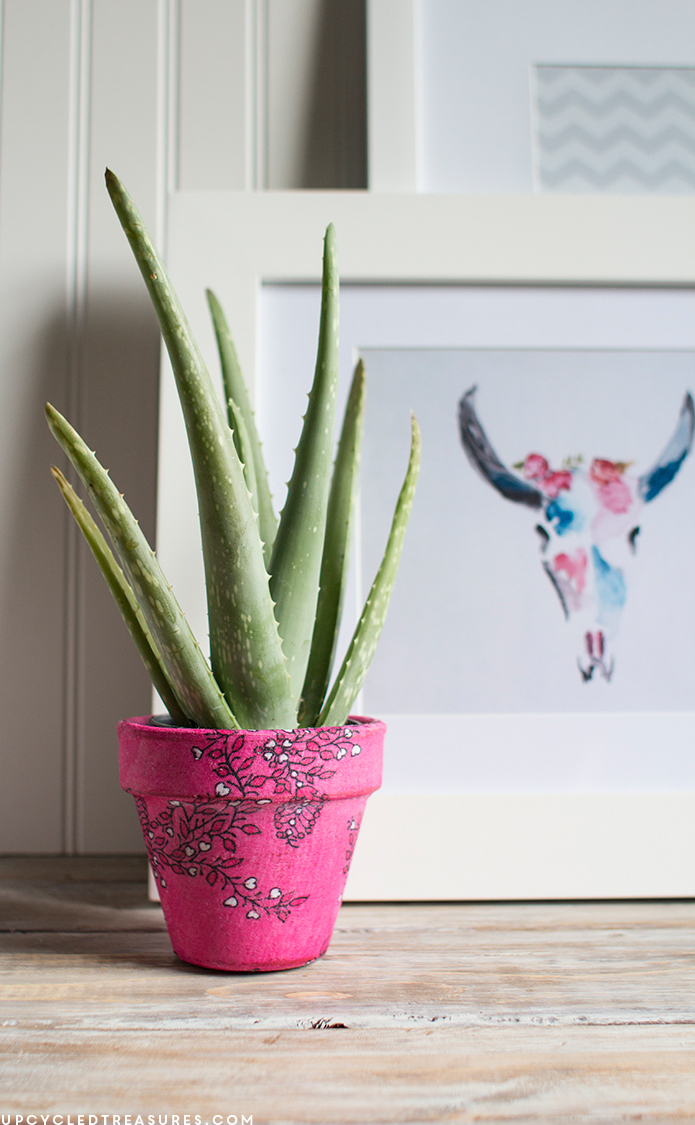
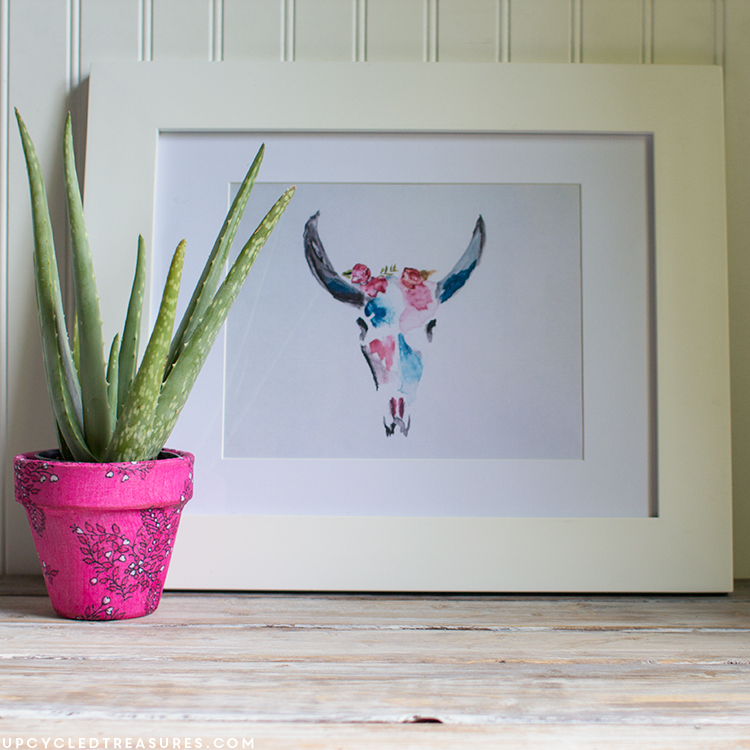
Place a plant inside and enjoy your new upcycled scarf planter! I had the perfect baby aloe plant to place inside and I love how the green of the plant contrasts with the vibrant pink from the scarf.
Here is my finished upcycled scarf planter, yay!
So what do you think of the Upcycled Scarf Planter?
By the way, that framed watercolor painting is from the super talented Aniko of Place of My Taste, and she sells the print in her shop.
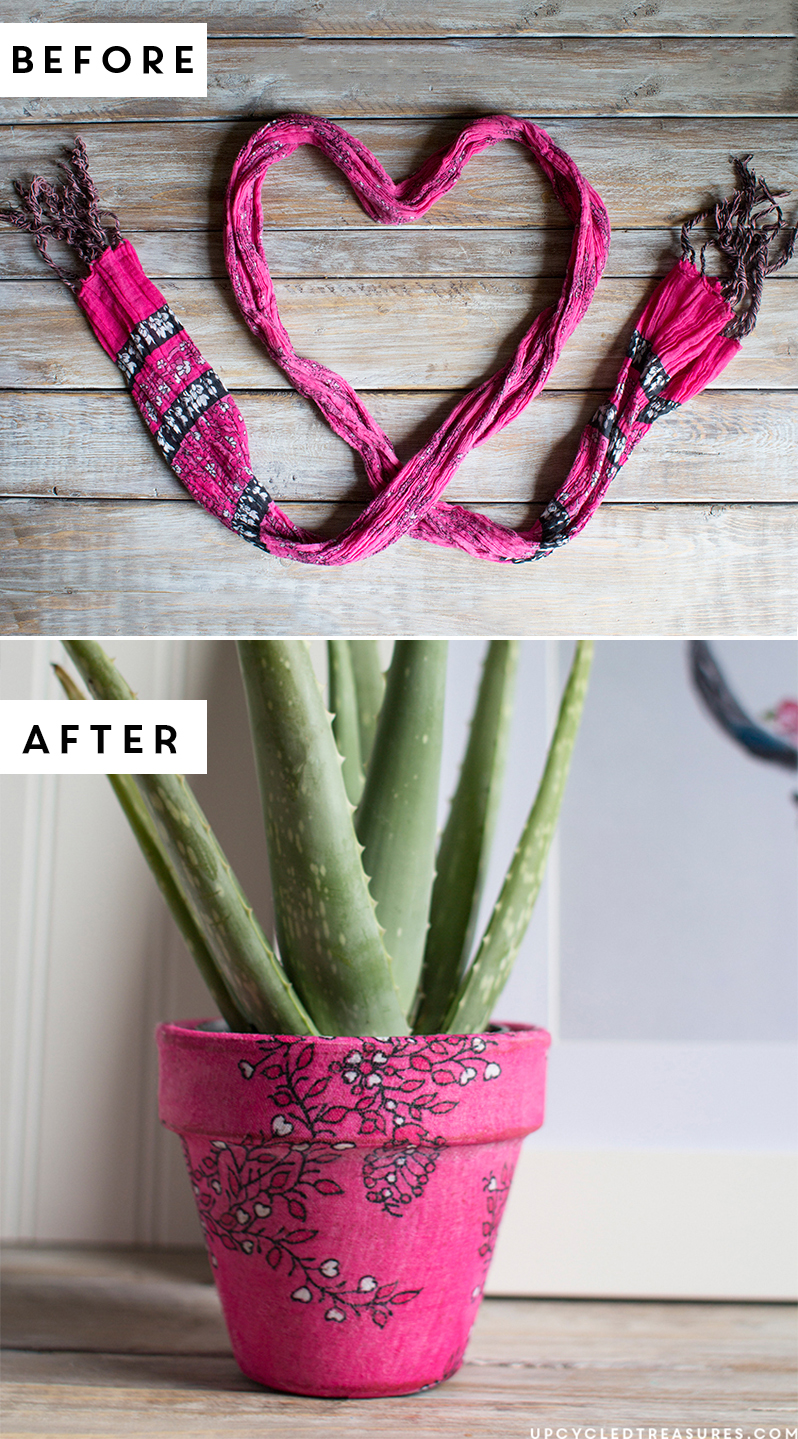
Here is the Before and After of the Upcycled Scarf Planter:
Want More Scarf Week Inspiration?
The scarf refashion fun has only just begun! Be sure to chomp those shark scarf teeth into each of these inspirational D.I.Y. projects hitting the blog-o-sphere today.
Click the links below to check ’em out.
1. From Childhood Memorabilia to Wall Art by It Was Weekend
2. A Vintage Boho Reading Nook: The Ceiling by The Gathered Home
3. Pom Pom Tassel Bag Charm by Ciburbanity
4. DIY Scarf Tray by Confessions of a Serial Do-It-Yourselfer
5. How to Turn Your Scarf into a Vest by Burlap & Babies
6. Turn a Vintage Scarf into a Lumbar Pillow by The Silly Pearl
7. Inexpensive Framed Scarf Art by Crafty Bonds
8. The Scarf: A Necessary Item in Every Child’s Dress-Up Box by Apron Strings & Other Things
9. Upcycled Scarf Planter by MountainModernLife.com
10. DIY Sparkling Infinity Scarf Refashion by The Crafting Nook
11. PJ Pants to Scarf Upcycle by Southern State of Mind
12. Furoshiki Book Bag by Tried & True
13. DIY Scarf Camera Strap by The Thinking Closet
Scarf Week-at-a-Glance
Well, we’ve reached the grand finale of Scarf Week with today’s theme of Scarf Refashions, and grand it most certainly was! If you’re just tuning in, this was just one of five inspirational themes from this week. And you can check ’em all out by visiting our co-coordinators, Lauren from The Thinking Closet and Vanessa from Tried & True. And you can also explore all of the creative projects we’ve been sharing on social media by checking out our hashtag, #ScarfWeek2015.
This week has just been wave after wave of killer inspiration, no fish-bones about it! Thanks for coming along for the ride. It has been JAW-some.
Until next time…stay scarfy.


Clay pot – check
mod podge – check
sponge brush – check
old scarf no one wears – check
I’m totally taking on this project!
I think thats’s one of the best things about this project, most people will already have most of the supplies needed, yay!
It turned out so cute! I’m loving all the inspiration from this blog hop – now I need to do a scarf decoupage project!
Thanks Brynne! Guess I’m glad I held onto this for 8 years, haha.
Wow this is gorgeous! Love the color and print. I never would have thought to do this with a scarf!
Thank you Steph!
Very pretty. Is the fabric really soft? I’m just wondering if it would work with a stiff fabric. I love how the colour pairs with your watercolour.
Hi Al, I’ve actually seen these made with all sorts of fabric and would think stiff fabric may even be easier because it would’t over stretch as easily. I’d definitely give it a try!
What a fun way to dress up a plain pot! Love the color!
You never fail to leave me inspired with ways to unlock beauty in everyday items…and this Upcycled Scarf Planter is no exception. It also gets me excited to bust out the Mod Podge which has been tucked away in my craft drawers downstairs for too long. “Hang tight, M.P! I’m comin’ fer ya!”
Katie, thanks so much for sharing this project in our Grand Finale of Scarf Week 2015. While I’m sad to see it end, it certainly went out with a bang thanks to you gals. Virtual hug comin’ your way. Now, I’m off to pin!
Thank you so much Lauren, your words are always so encouraging!
Love it! Saw you on craft gawker and hope you’ll join my weekly linky party, Craft Schooling Sunday, full of great contributors from around the world, and we all love a good upcycle! Hope to see you there!