UPDATE: All new featured RV tours will be posted on my other website, Wanderful RV Interiors. Existing tours will slowly be moved to the new website, and anything already moved will automatically redirect.
Disclaimer: This post may contain affiliate links, meaning, if you click through and make a purchase we (or those featured in this post) may earn a commission at no additional cost to you. View our full-disclosure here.
Although I purchase and use craft/acrylic paints I have recently realized that most of the small projects I create are made using BEHR sample paint. At first, it was because I had become a slight hoarder of “oops” paint, and a majority of those were sample paints. However, as time has gone on I’ve discovered that using sample paint can also be a more cost-effective way to paint your projects.
For example, a typical small bottle of acrylic paint is 2 fl oz. and cost $1-2 on average, and an average container of BEHR Sample Paint is 8oz and costs $2-3. Not to mention the color options for sample paint far exceed those for acrylic paint and you can even have custom colors made. Oooooh, the possibilities!
In fact, my recent abstract art was created using some of the sample paints I had purchased before deciding on a white paint color for our bedroom, and our wood slice art was also created using sample paint:
Using Sample Paint in Craft Projects
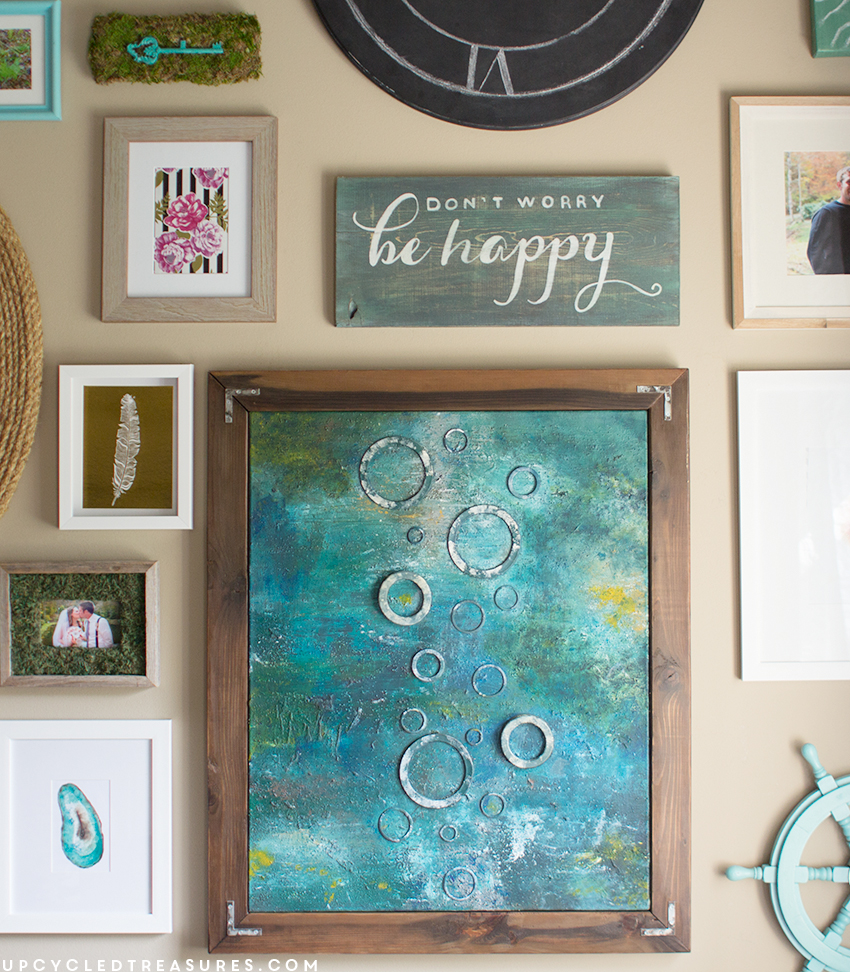
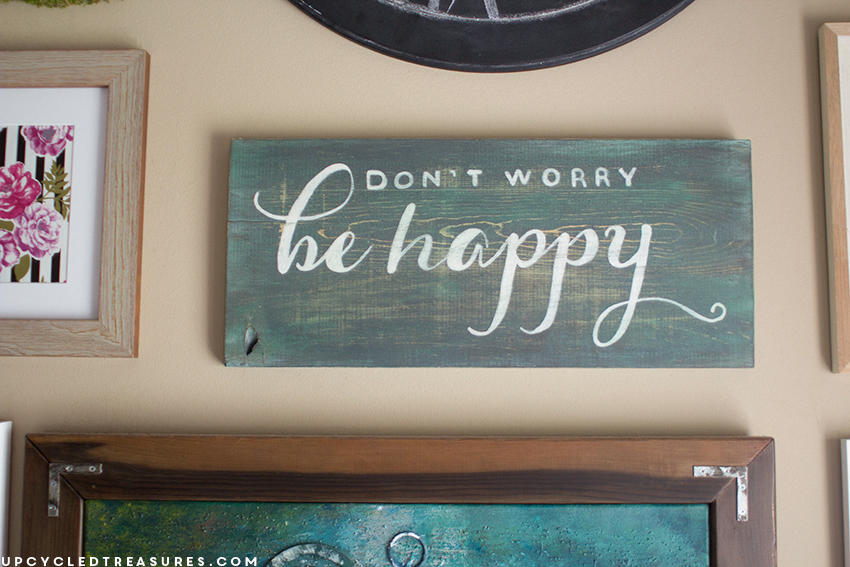
Today I’m sharing another project that’s been up on our wall for nearly a year now that was created using sample paint and a piece of scrap wood. It’s the hand-painted “Don’t Worry, Be Happy” sign and I love how it looks on our gallery wall. I can’t help but be happy when that song comes on, so I figured why not make a sign with the lyrics as a reminder? 🙂

Scrap Wood
Paint Brush/ Craft Paint Brushes
![]()
The sample paints used for this sign were Starless Night, Turtle Creek, and Pure White. A couple of these I had previously purchased to test on other projects.

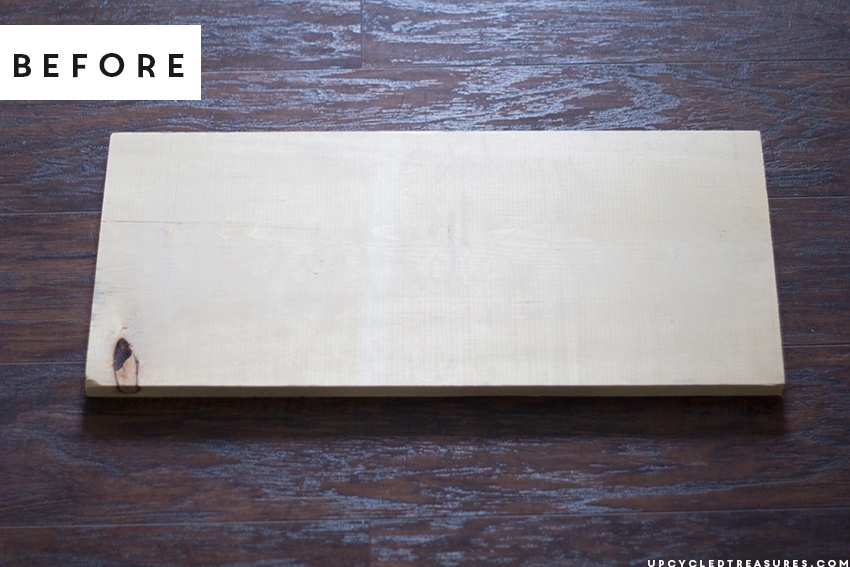
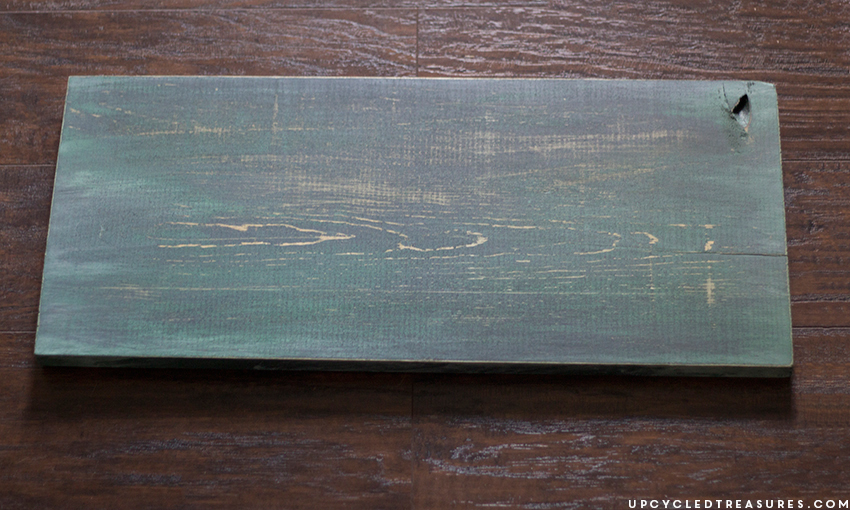
We have a few bins of scrap wood in the garage so I went through to find a small board that would fill an empty spot on our gallery wall. Here is the before photo of the scrap wood we had leftover from a previous project:
Painting the board:
I wanted my board to have blues and greens in it, but be distressed. So the first thing I did was paint the board with the dark blue paint, starless night. Once that was dry I went over the board -somewhat randomly- with the green paint color, Turtle Creek.
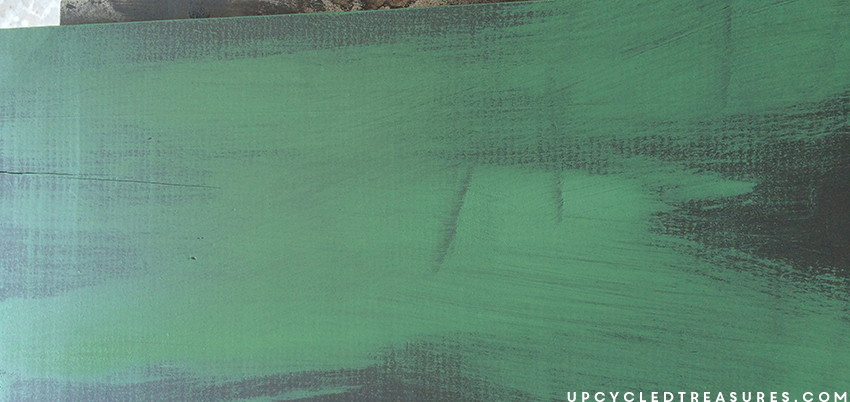
Once that was dry I distressed the board a bit with some 120 grit sandpaper. This way the dark blue paint {Starless night} would peek through some of the green paint {Turtle Creek}. Afterward, I white-washed the board using 50% water and 50% pure white paint. After a minute or 2, I wiped the paint off with a rag. This gave the board a someone faded, aged appearance.
I then did a little more sanding until I had the board distressed the way I wanted it.
Adding Text/Design to Wood:
Step 1:
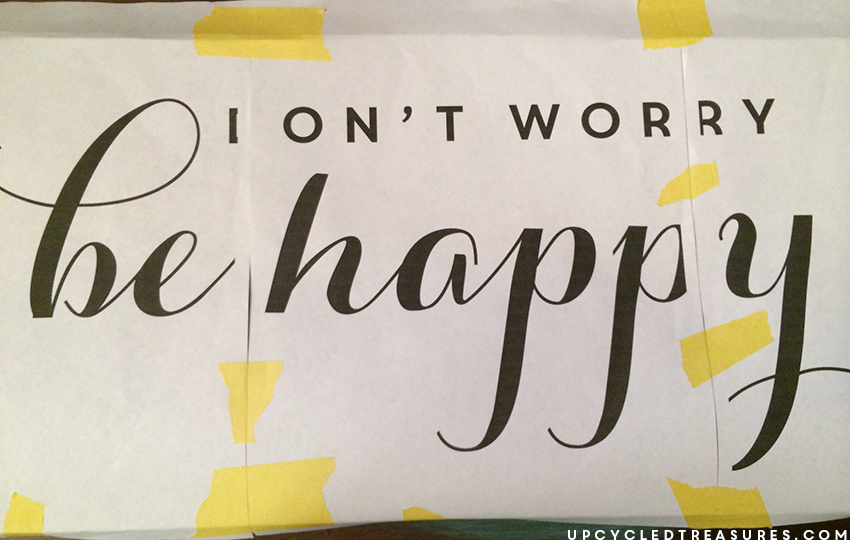
Once you have your board all ready to go you can create the quote/design you want on the computer. You can use any image/text software for this, including an online editing program like PicMonkey.com. I made the size of the document the same size as the board I was using so that I would get a better idea of how the words would use on the exact size. The fonts used were Core Circus and Great Vibes.
Step 2:
Print your text/design out onto regular copy paper. The words took up 3 pages I just taped the pages together. When I tiled the paper to print onto 2 pages, sone of the letters got cut off as you can see in the image below. I just looked at the text on the screen as a reference and then filled in the part of the letters that didn’t print.
Step 3:
Flip the paper over and rub chalk all over the back of it, making sure to cover where the letters are – this is what will help get the outline of the letters to transfer onto the board. I’ve used this technique several times in the past, including on my “Let’s be Adventurer’s” sign, and it’s one of my favorite ways to transfer designs onto wood.
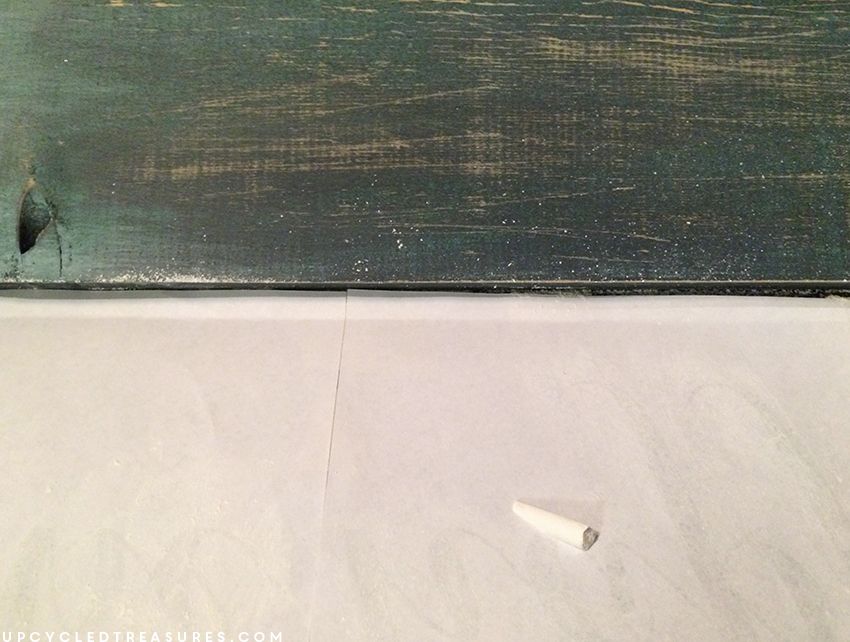
Step 4:
Flip the paper back over, tape it into place onto the board and then go over each letter with a pen or pencil. I only go over the outline of each letter because you will be painting in the letters so as long as you have an outline, you will know where to paint.
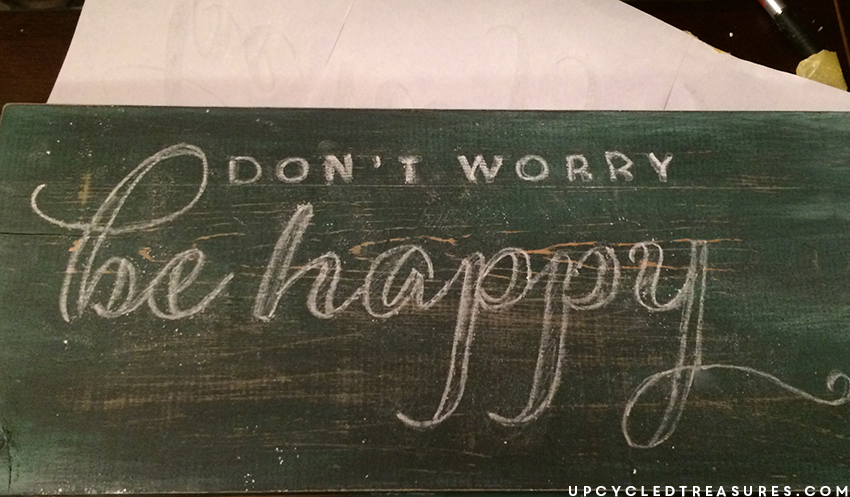
This is what my board looked like once I was finished going over each letter on the paper with a pen, and then removed the paper from the board. I did this carefully so I wouldn’t smear any of the chalk. You can also carefully blow or wipe away any chalk residue.
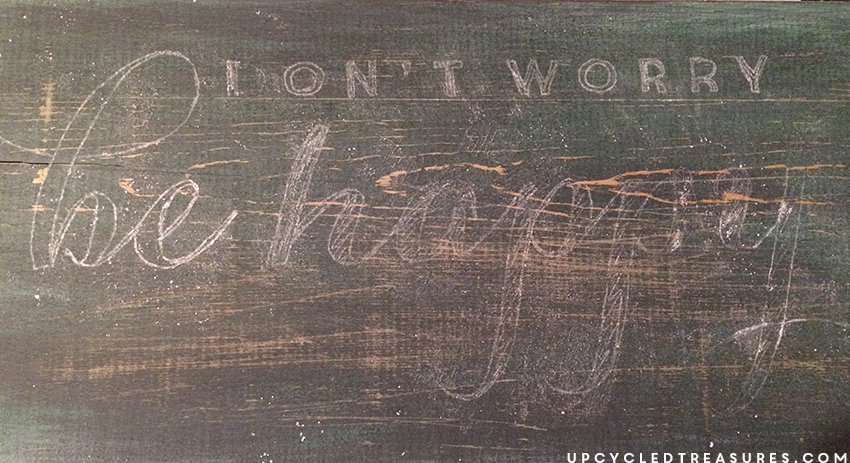
Step 5:
At this point, you can go over the chalk outline with a chalk pencil to make it easier to read, which will also make it easier to see and paint over.
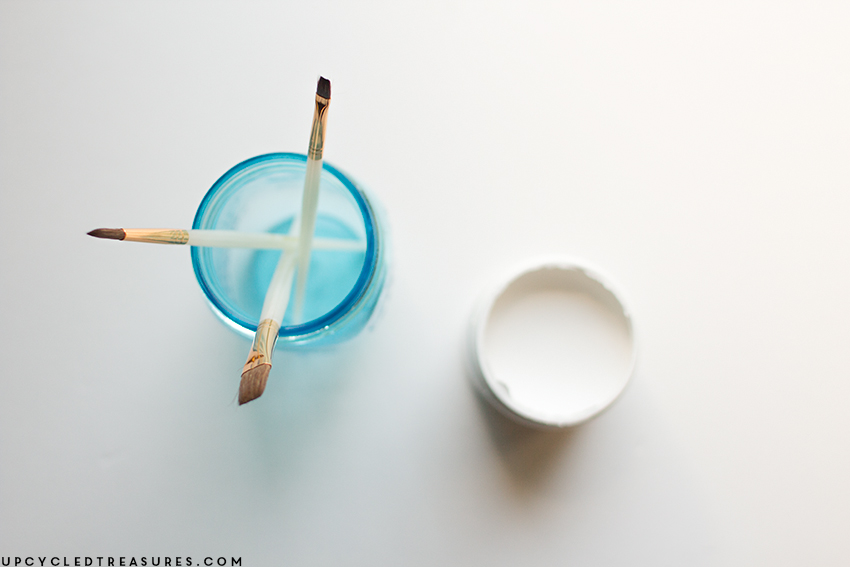
Step 6:
Use a detailed craft brush to paint over your chalk letters. I have found that mixing some of the paint with a little water can make it easier to paint on.
Step 7:
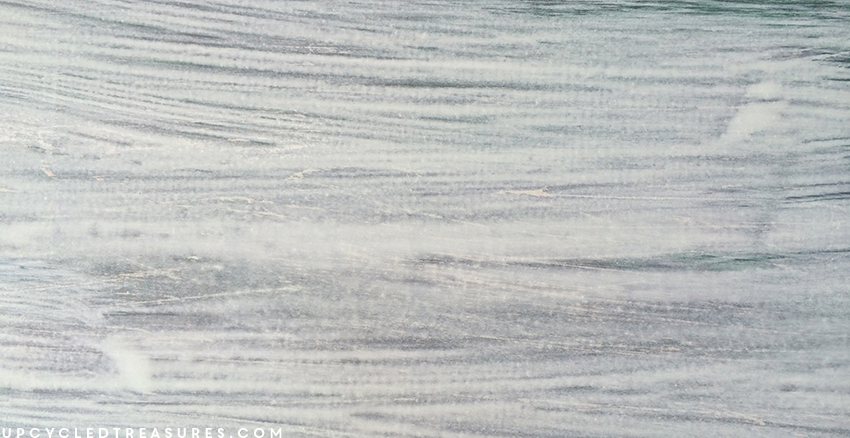
Once dry you can distress the letters by going over the board with sandpaper. I just lightly sanded over the board with 220 grit sandpaper to make it appear a bit weathered.
Here is a close up:
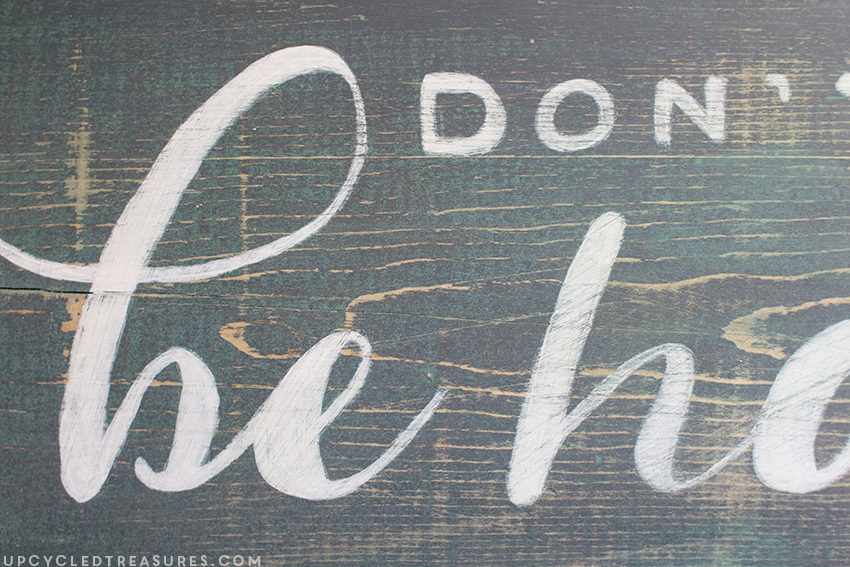
Step 8:
At this point, you can add some spray sealer, wax, or polyacrylic to the wood to protect it. Once that’s dry you can add hanging hardware to the back and you’re done!
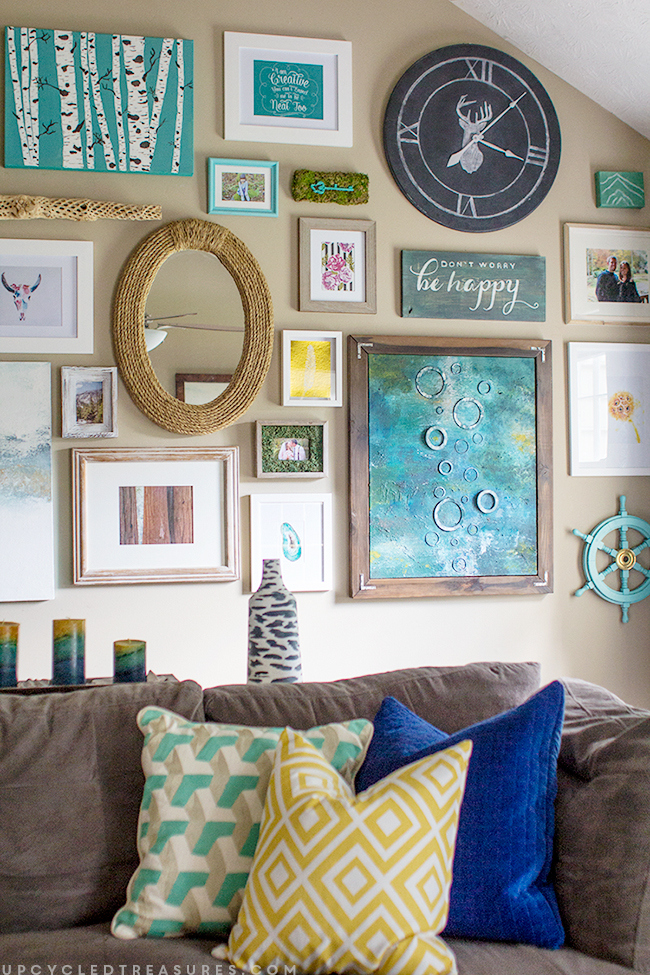
Here is the hand-painted sign hung up on our wall:
Will you be using sample paint in your smaller DIY/craft projects?
This post is sponsored by BEHR, but all opinions are 100% my own. You can read more about my disclosures here.
I love this project on so many levels. The techniques you used with both the paint and chalk are great! And this is such a good reminder to use sample paints. Thanks!
Thanks so much Julie!
That wood slice art is too cool! And you are so right about using samples (or any leftover paint) for other projects. I keep everything on-hand and we use it all the time. I’ve actually been thinking about picking up some squeeze bottles (like clear versions of the ketchup and mustard ones at the dollar store) to store old paint and label for use.
Thank Kim! I use squeeze bottles when I’m working with abstract art, and I have larger ones for my chalk paint, but using them to store paint is a brilliant idea!
Love it & the painting below it too. I have a whole cabinet of sample paints. It’s the perfect amount for my projects because by the time it’s gone I’m usually on to the next fun color obsession. Only once have I gone back to buy more of the same color. But I had to stop going into Lowes for those perfect little sample containers because my cabinet is overflowing & I now can’t use it fast enough before it dries out. Sigh……..
Haha, I know what you mean. I have become a paint hoarder and feel like I’m constantly rearranging my paint shelf.
Yes!! All the time! Love grabbing little samples of paint for just a few bucks and they seem to last forever! Your sign is darling 🙂
I agree, that little can really can go a long way!
Love this post just as much as I love paint samples!! Besides this being an amazing DIY project that I want to get started on right away, I’m smitten by your gallery wall! I am also a fanatic of Behr paint samples until recently. . found out that Sherwin Williams sells their paint samples in the quart size for the same price!! Year. Made. http://bit.ly/1ISYVwz