UPDATE: All new featured RV tours will be posted on my other website, Wanderful RV Interiors. Existing tours will slowly be moved to the new website, and anything already moved will automatically redirect.
Disclaimer: This post may contain affiliate links, meaning, if you click through and make a purchase we (or those featured in this post) may earn a commission at no additional cost to you. View our full-disclosure here.
Have you ever wondered how to easily accomplish a chalkboard lettering transfer? Here is a tutorial to show you how I made a DIY Chalkboard frame out of a thrift store find, and then transferred a design onto it using my inkjet printer. Talk about super easy DIY chalkboard lettering!
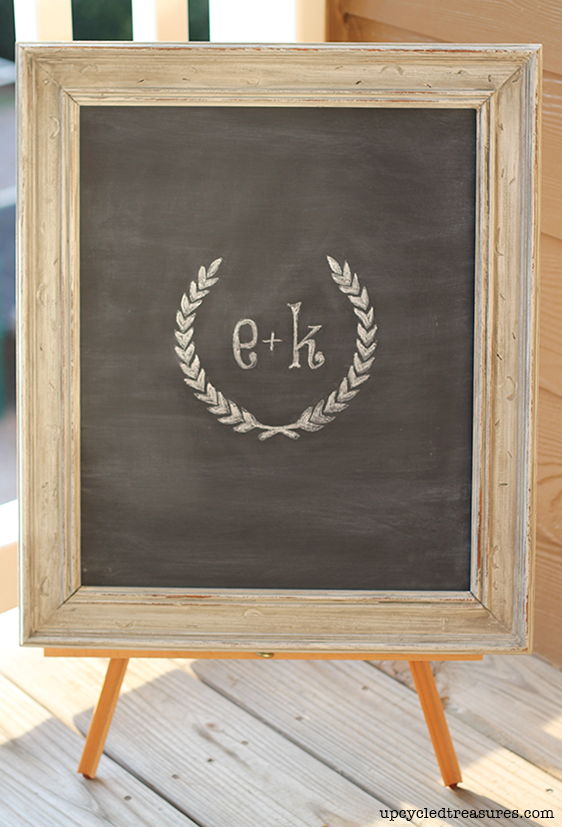
Easy Chalkboard Lettering Transfer
I worked on A LOT of chalkboard projects over the weekend after having a nightmare that it was the day of our wedding, and I realized I had forgotten all of the chalkboard signs {among other things}. I have been collecting some frames over the last few months for wedding chalkboard projects and this dream was the perfect motivation for me to get started on them.
You may remember my moss monogram frame that I posted a few weeks ago. Well, I just so happened to find the exact same frame at a different thrift shop and snagged it up right away. I painted it the same way I did the monogram frame and then turned the mirror into a chalkboard.
How to turn glass into a chalkboard
Here is how I turned a glass frame into a chalkboard:
Step 1:
The first thing I did was remove the glass from the frame and clean it.
Step 2:
Afterward I sprayed 2 coats of primer onto the glass, letting it dry at least an hour in between coats. I used Krylon Dual Paint + Primer in classic gray – you can use whatever color you want but make sure it says it can be used on glass.
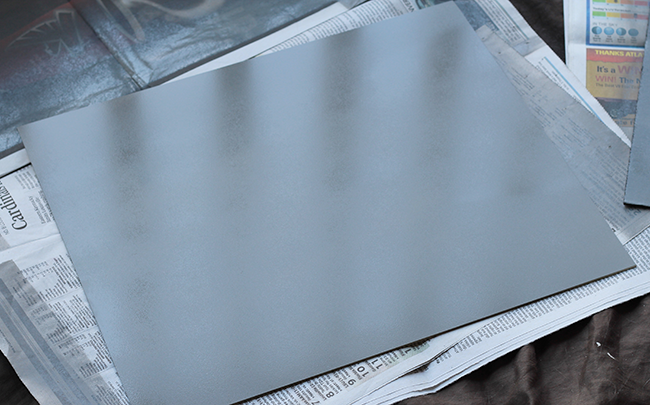
Step 3:
I then painted 2 coats of chalkboard paint onto the glass – the first coat going horizontally and the second coat going vertically. Make sure you let the 1st coat dry before adding the second coat.
Side note: If you have a frame missing the glass but that has a flat cardboard insert then you can follow steps 2-3. I did this for one of the frames and it worked great as well!
That’s it! I rubbed chalk all over the glass to “season it” and then decided to try out the chalkboard letter transfer technique I learned about from Indie Craft Parade, which is AWESOME!
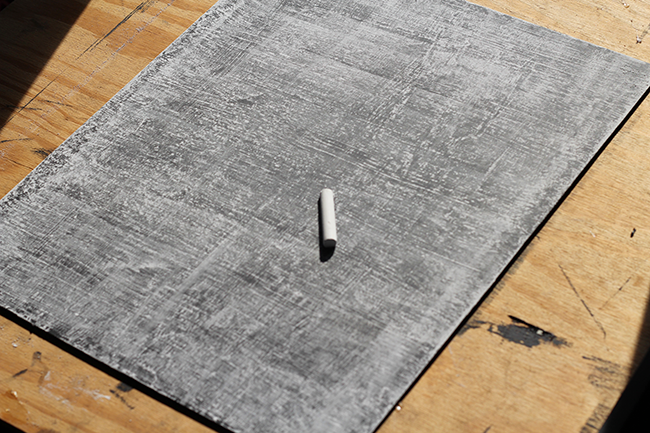
How to Transfer letters onto a chalkboard
Here are some quick steps on how to transfer graphics/letters onto a chalkboard:
Step 1:
Print out the image/quote you want to put on your chalkboard. I used an inkjet printer and a sheet of copy paper. For testing out this technique I decided to use a very simple graphic that was on our wedding invitations enclosure card.
Step 2:
Rub chalk ALL OVER the back of the sheet of paper. Make sure to use a little elbow grease.
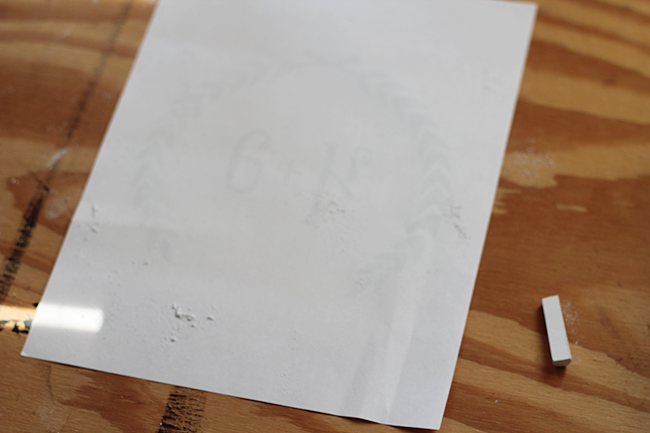
Step 3:
Flip the paper back over and place it where you want it to show up on your chalkboard.
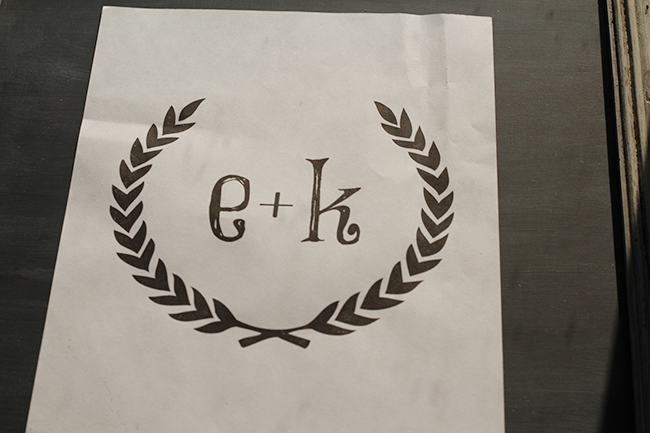
Step 4:
Using a pencil trace over each letter/image. I used a colored pencil.
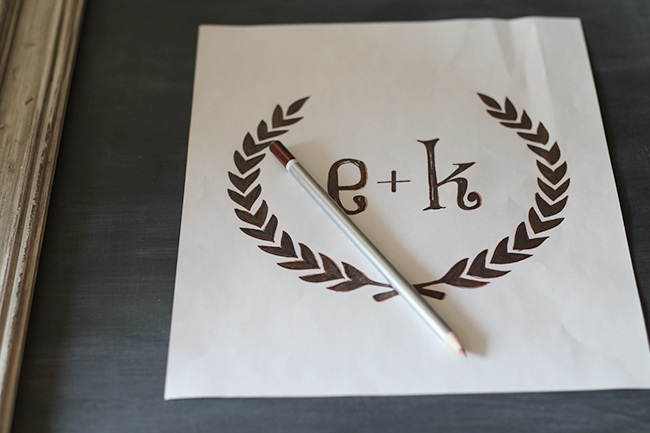
Step 5:
Remove the paper and look at that transfer which was so easy! You can fill in any spaces necessary with a sharpened piece of chalk or chalk marker, and use a rag or small paintbrush to “erase” anything you don’t want.

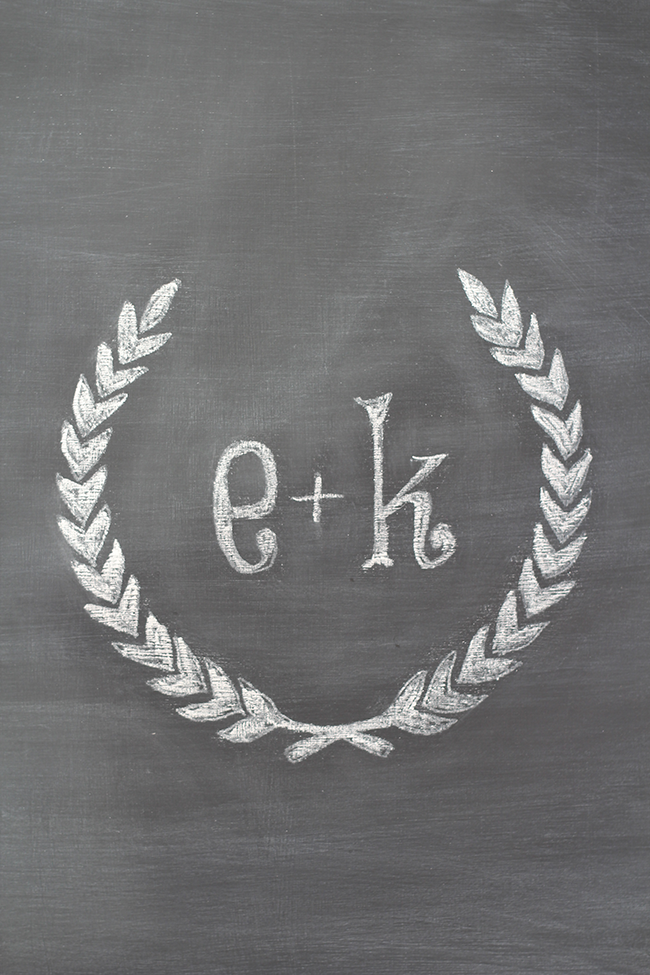
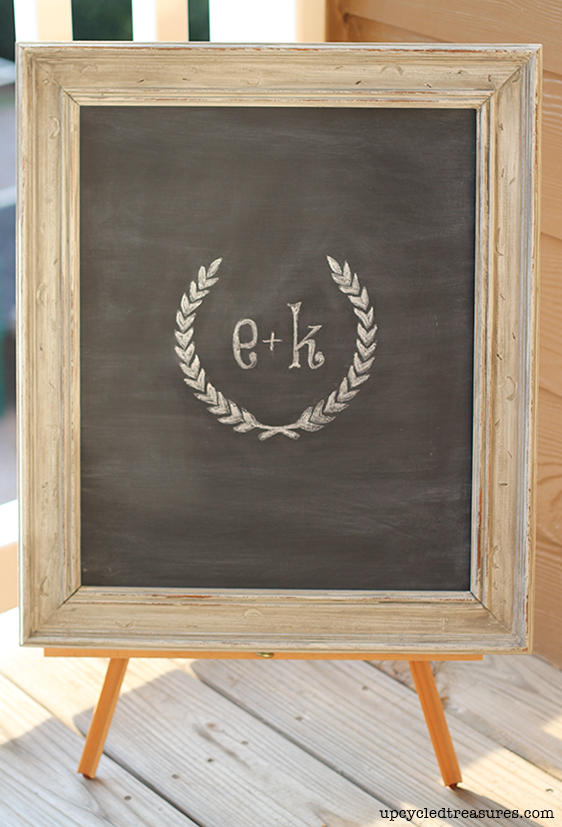
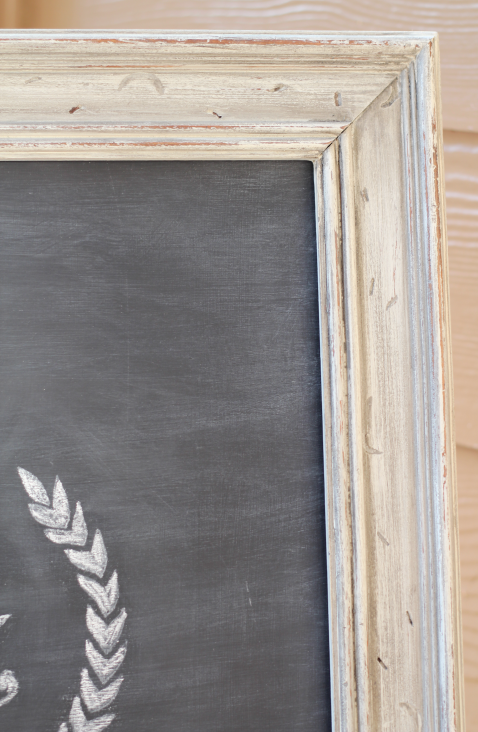
That’s it! Pretty easy huh? What do you think of the Chalkboard Lettering Transfer?
I know my letters are a bit sloppy but I did a super quick job and even still, I think it came out pretty good. I plan to make a cute Fall or Autumn printable in the next week or two and then transfer it onto my chalkboard. I will probably use this specific chalkboard to display our signature drinks during our wedding reception.
