UPDATE: All new featured RV tours will be posted on my other website, Wanderful RV Interiors. Existing tours will slowly be moved to the new website, and anything already moved will automatically redirect.
Disclaimer: This post may contain affiliate links, meaning, if you click through and make a purchase we (or those featured in this post) may earn a commission at no additional cost to you. View our full-disclosure here.
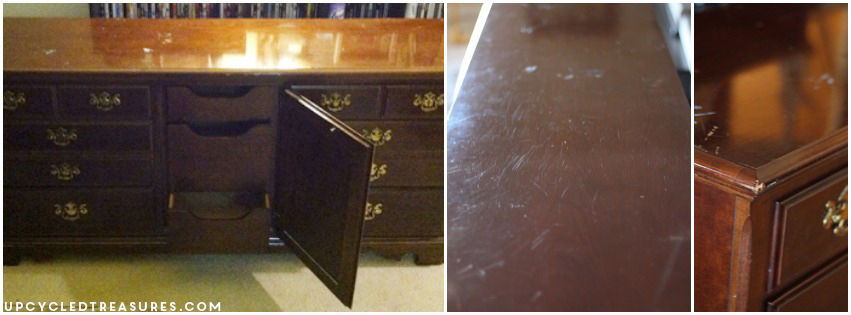
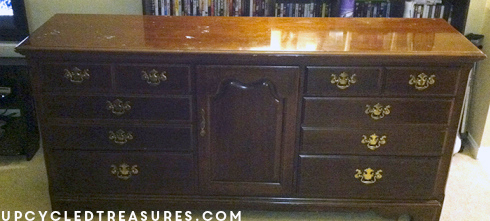
Today I will be sharing my DIY coastal cottage dresser makeover. I’m in the middle of changing up our bedroom and ended up selling the dresser and nightstands I previously redid. I’m going for more of a coastal-cottage feel without being too theme-y. I have this Thomasville dresser but it wasn’t the right color so I couldn’t wait to paint it for our bedroom. Here are a few photos of the dresser before.
Some of these photos are so dark but they were taken with my phone. I need to get a new lens for my camera so I can take photos of large furniture pieces without being so far away.
DIY Coastal Cottage Dresser
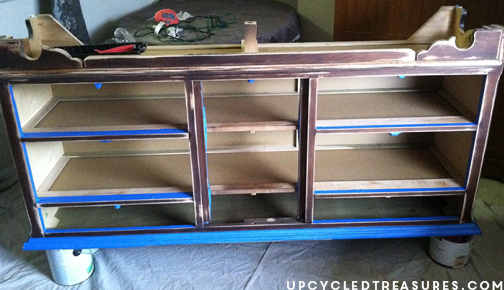
The first thing I did was remove the middle door and then put all the hardware in a ziplock bag. I then sanded the dresser down with 120 grit sandpaper and then with 220 grit sandpaper. Since I was going to be painting and not staining the dresser I just had to rough it up so the paint would stick. I wanted to paint the top a different color (I ended up mixing 3 paint colors for a more custom color) so it was easier to flip the dresser upside down before I started painting. I hate getting paint on the inside of drawers, especially when the inside is in such great condition like this dresser, so I taped everything off before painting.
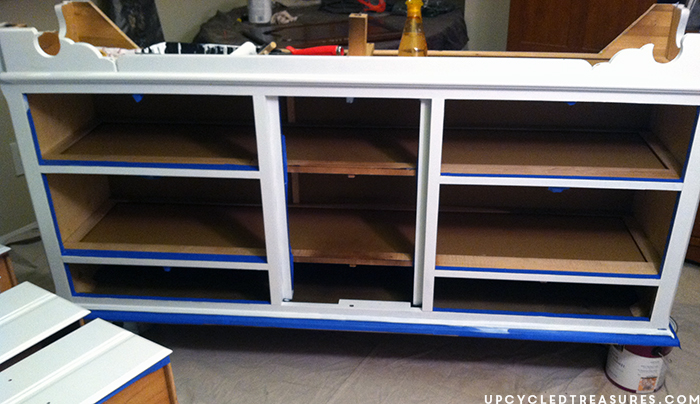
Here she is all painted white – I think this may be coat 2 but I actually did 3 coats of white, with light sanding in between.
After the paint was dry I then flipped the dresser back over, taped off the edge and painted the top.

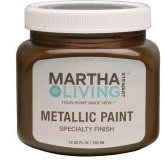
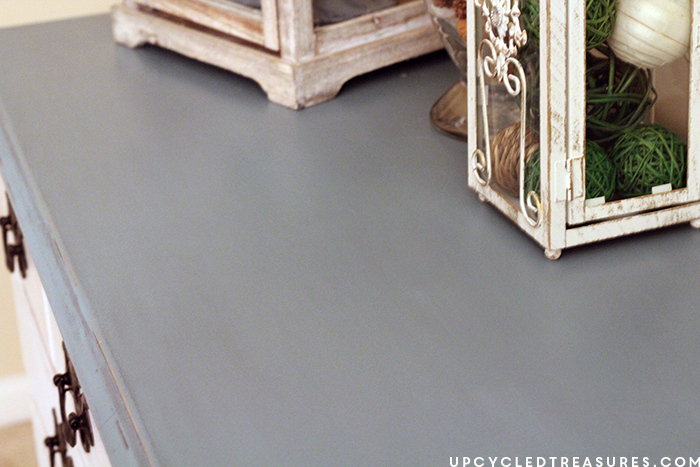
I wanted to give this dresser an older, weathered, been hanging out at the beach and roughed up look so I decided to do some glazing and distressing. I used a dry paint brush and dipped it into some Martha Stewart bronze glaze (I bought this a while back for less than $5 at Home Depot) and painted it on the top of the dresser. I like to also use a water squirt bottle and spritz the area I’m working on to help spread the glaze easier and then wait a minute and wipe it off with a dry, clean rag (I usually go through SEVERAL rags when glazing).
I work on one surface area at a time so I went over each side of the dresser and then did the drawers last. Glaze stays open longer than paint so it’s much more forgiving since you can usually wipe it off with water after a minute or two if you don’t like the way it looks. There are different ways to glaze, most people use a wet or dry paint brush, wipe it on the furniture and then wipe it off with a rag. You can read more about how I glaze furniture on this previous dresser post. After the glaze was dry I started sanding down the edges to give it a more distressed look. Of course I was a little too excited to finish and forgot to take a photo in-between.
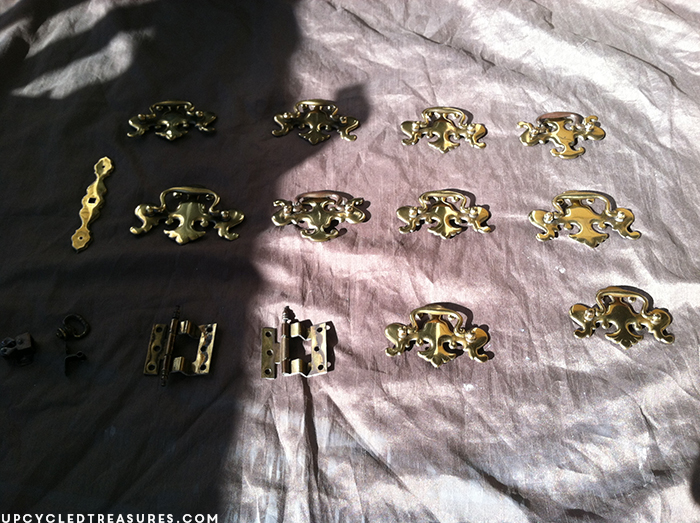
I have been wanting to test out the Rubbed Oil Bronze spray paint (about $8 at Home Depot) and knew these brass knobs would be the perfect experiment. I actually decided to do a lightly sand them down a little before spray painting them. The first photo is before I sanded them and the second photo is after I sanded them.
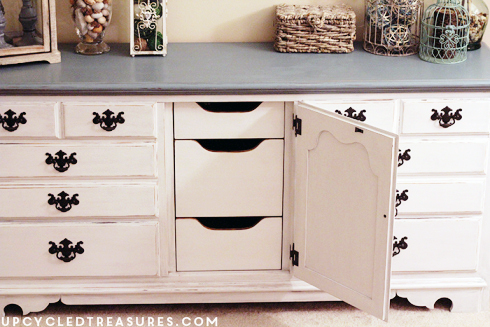
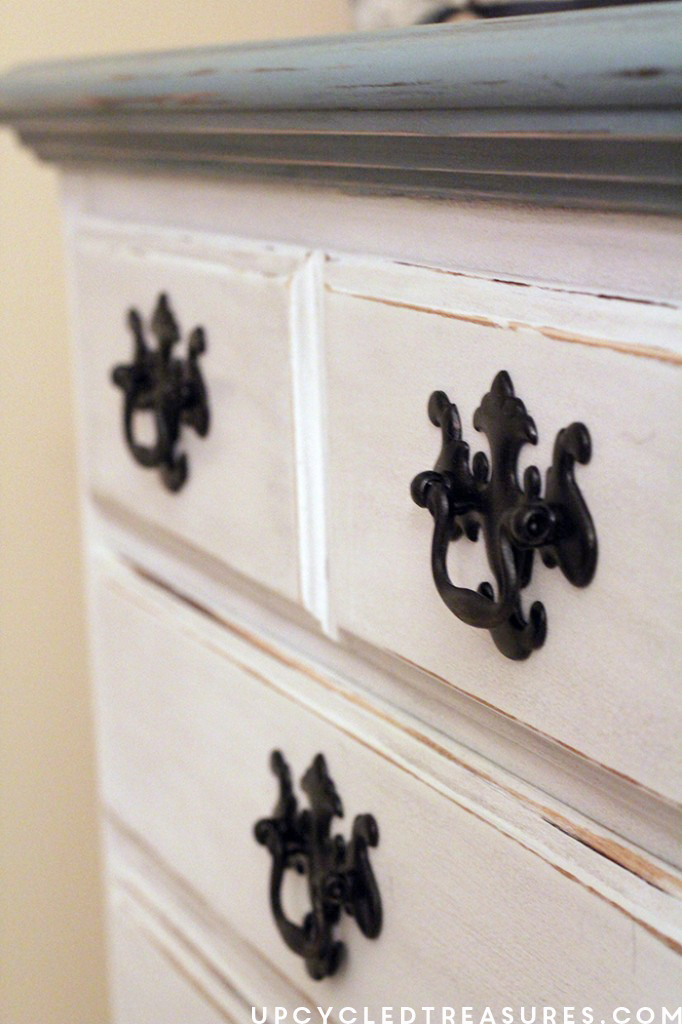
So after the knobs were dry – I did 3 light coats to avoid drip marks – she was all ready to be put back together and waxed. Here is my new coastal cottage dresser all finished, woo-hoo!
Here are the finished photos:

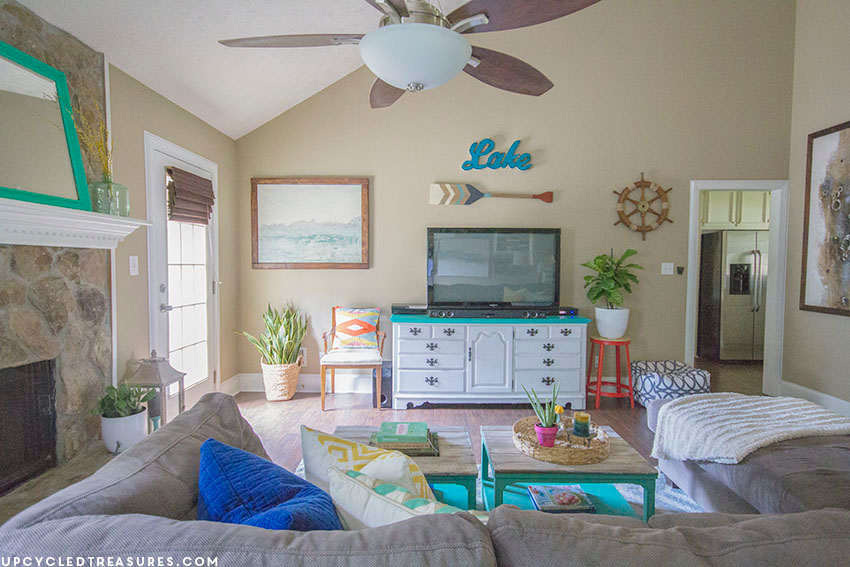
Update:
I painted the top of this dresser in Annie Sloan Florence Chalk Paint, and it’s currently being used as a media console in our family room:

I am very happy with the outcome and now just need to be on the lookout for some new nightstands to refinish. What do you think?
I love the combo of the blue top and white base! I don’t think I have seen that before.
Great job!
Thank you so much Susan!
Beautiful transformation – love the colors you chose!
XOX
I luv how you painted the top blue, it looks really beachy and fresh with the white base!
Thank you Bonnie, that’s exactly what I was going for 🙂
~Katie
Talk about a transformation, this is terrific! I bought a similar piece at a yard sale, but my redo is nothing compared to yours. I particularly like what you did to the pulls. I’m going to add that to my redo. Thanks for the tip.
Thank you Linda! Yes, the rubbed oil bronze is like my new best friend. I don’t know what I did without it, lol.
~Katie
I love your dresser, especially that beautiful top! Great tutorial!! I’m loving your entire blog, too. 🙂