UPDATE: All new featured RV tours will be posted on my other website, Wanderful RV Interiors. Existing tours will slowly be moved to the new website, and anything already moved will automatically redirect.
Disclaimer: This post may contain affiliate links, meaning, if you click through and make a purchase we (or those featured in this post) may earn a commission at no additional cost to you. View our full-disclosure here.
I recently shared how you can create large scale wall art on a budget, and today I’m sharing how to frame plywood wall art with a rustic modern feel.
Framing Options for How to Frame Plywood Wall Art:
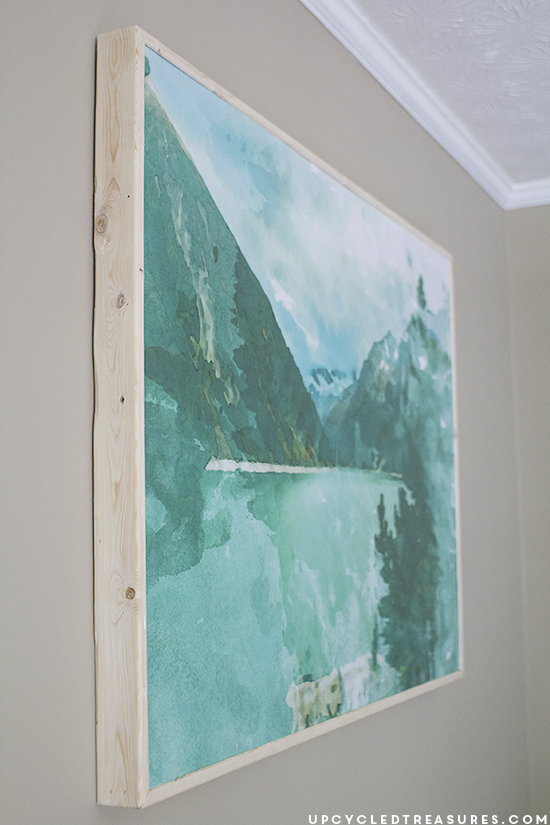
There is more than one way to frame a piece of art, but I knew I wanted a very clean frame that was wide on the sides and yet was visible around the entire picture.
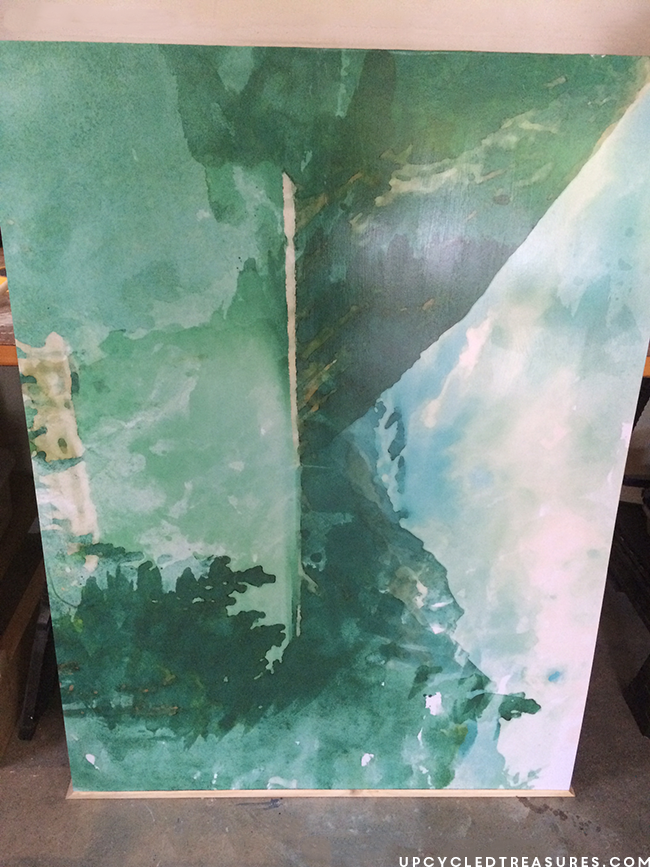
As you may know, I originally planned to add this watercolor mountain print to canvas, but the size I had was a couple of inches too small so we used plywood instead to save some cash.
Framing Canvas to create a similar effect would have been much easier because the canvas is generally thicker on the edges than the plywood we used. We also could have purchased thicker plywood but we wanted to keep this large scale art as light as possible.
So here were the options we considered:
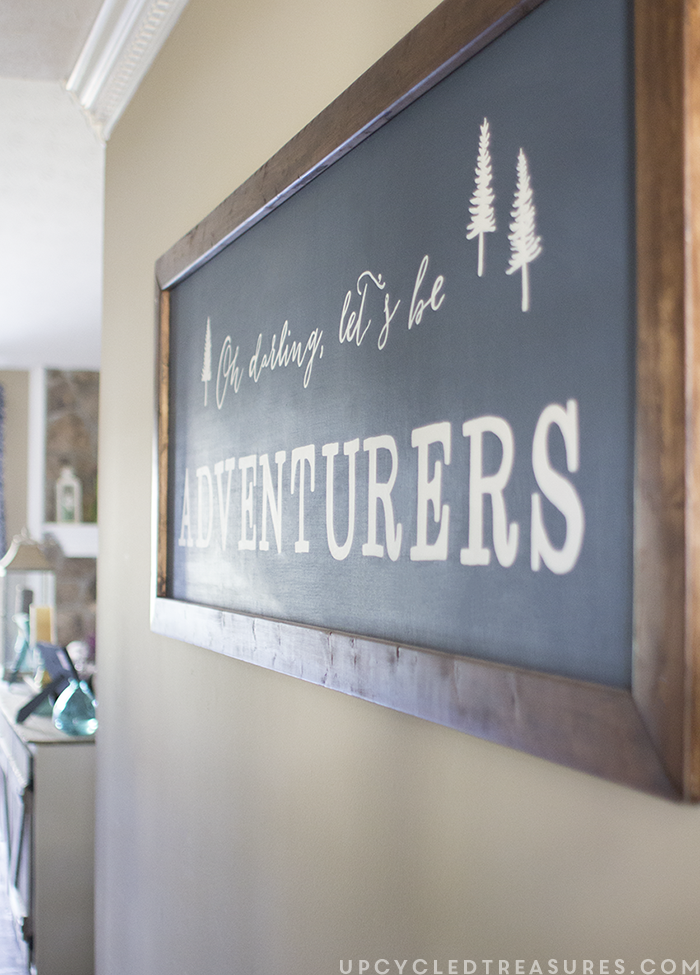
1. Create a frame to add on top of the plywood, like we did for my wood slice art, bear art, or Adventurer’s sign, but I really wanted this picture to extend off of the wall the way that a thick canvas would.
2. Create the frame and then nail the plywood on top. Although I may do this for a future project, I liked the idea of the raw wood showing from the front of the picture, and not just on the sides.
3. Make the wood frame base and then attach crossbars that sit down about a quarter of an inch from the top that we could glue or nail the plywood on top of. I wasn’t too sure how I felt about nailing into the picture though.
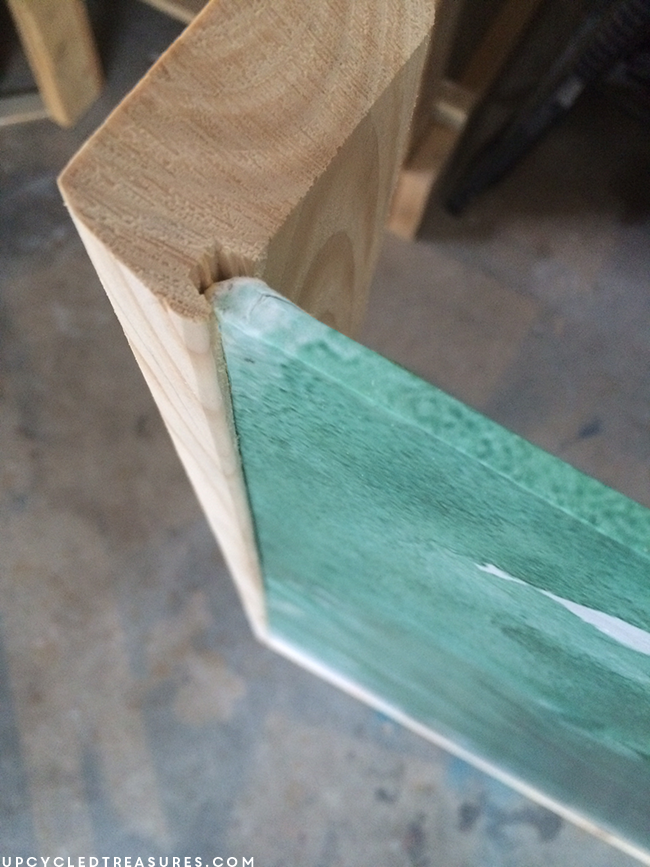
4. Create a lip/groove towards the front of each piece of wood for the frame and then slide the plywood into the grooves and add some extra support to the back.
Now that we have the options the question is, how to frame plywood wall art? In the end, we opted to go with option number 4.
How to Frame Plywood Wall Art
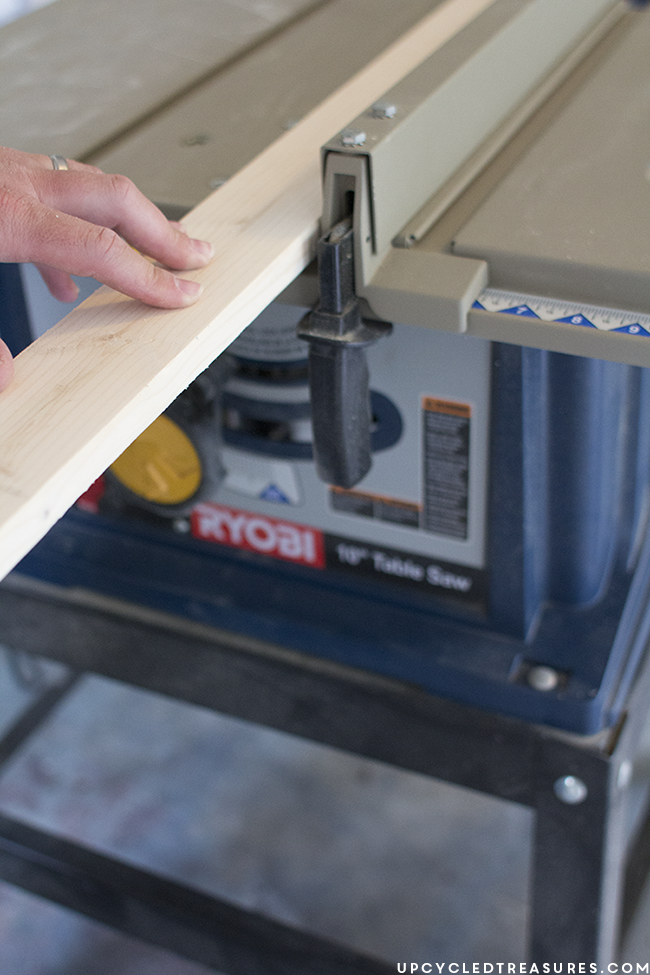
My dad had given us his Ryobi table saw a few months ago so we figured this was the perfect time for us Eric to practice creating a groove on the inside of the wood. This way we could slide the plywood into the groove. We planned to do this to customize a plain mirror I purchased a while back, which is still on our never-ending to-do list…
{2} 1 x 3 boards cut down to size
Scrap wood {for the extra support on the back of the frame}
Screws
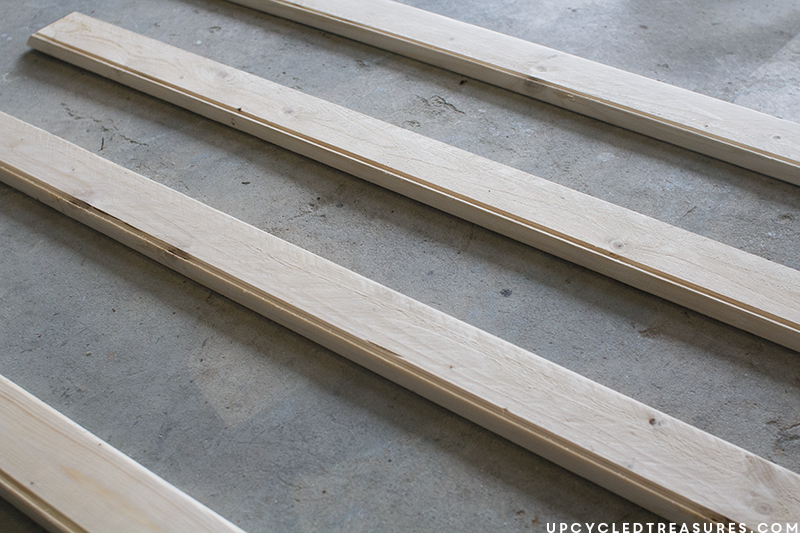
So after cutting the 1 x 3 wood down to size at a 45-degree angle {and practicing adding the groove into scrap wood}, Eric then added a groove into each of the pieces of wood.
By the way, you can always use wood scraps to make your frame, but since I wanted to use raw wood we purchased a couple of 1 x 3 pine boards.
Eric passed each board through the table saw a few times to ensure the groove was wide enough for the plywood to easily slide in. He also made sure each grove was close to the top of the wood.
We then gave each piece a quick sanding before attaching them to the plywood.
After trying to do this with the plywood laid flat we decided to stand it up instead. We added some glue along the groove of one of the boards and then gently slid the plywood into place. This was much easier as a 2 person job so that we could keep things lined up, and prevent shifting while it was set up.
We had it propped up against a table and let it sit {err stand} for about 30 minutes before we slowly rotated the plywood and slid in another board.
Once we added the second board we used our nail gun to nail the edges of the 2 pieces of wood to keep them in place and then continued adding the last 2 pieces of the frame, adding glue to the grooves and nailing the edges as we went along. I had to hold everything straight while Eric nailed away so it was difficult to take photos in between.
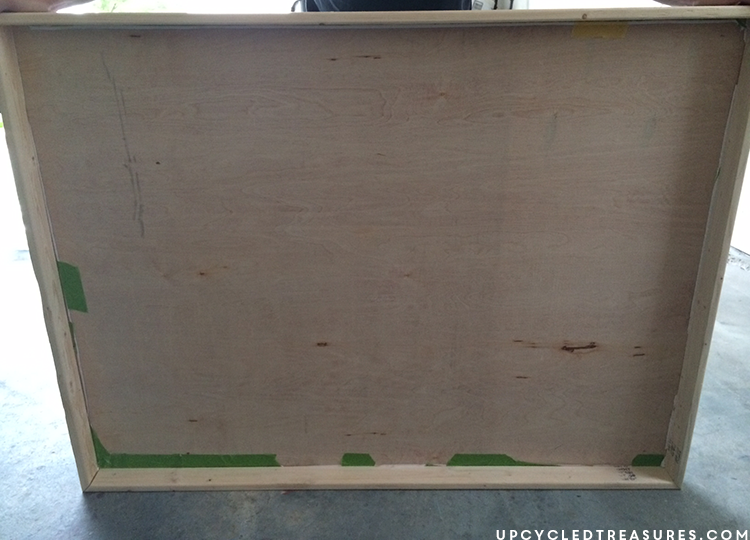
This is what the back looked like once we were finished adding the boards. You can see some of the tape I hadn’t removed yet from when I taped the print onto the plywood.
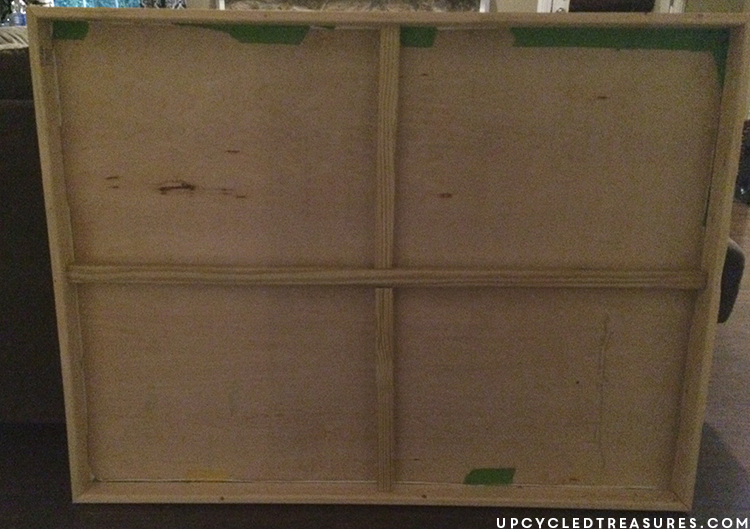
For some added support we cut some scrap wood and attached it to the back with screws. Again, you can ignore the tape. I could remove it but since you can’t see it I decided just to leave it there in case I accidentally tore the edges of the paper it was holding down.
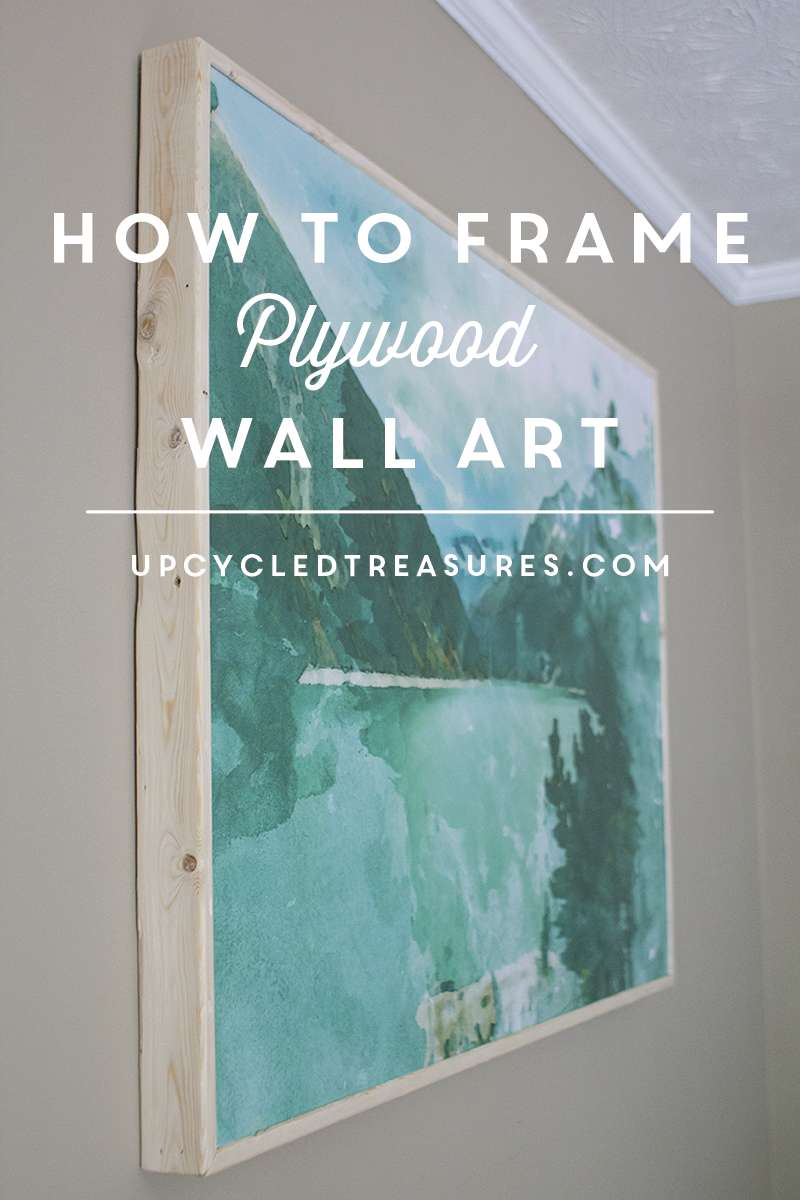
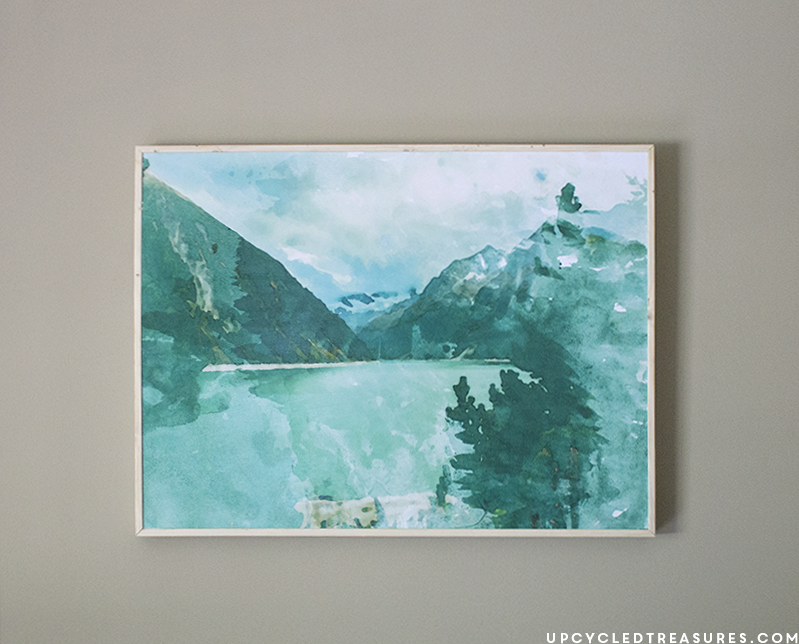
And here is what it looks like all finished and hanging on the wall:
It may have taken a bit more time to create the frame, but the end result just goes to show it was well worth it. I love waking up in the morning and seeing this beautiful framed print. 🙂
So what do you think of how to frame plywood wall art?
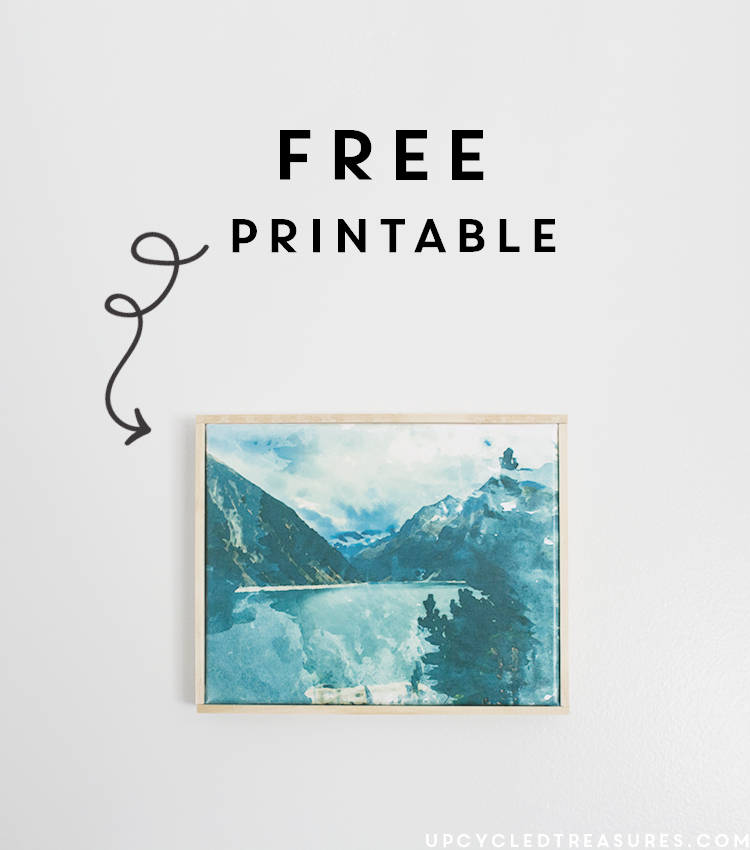
Don’t forget to check out this easy tutorial on how you can create a smaller version of this art using a canvas and paint sticks. Plus there is an 11 x 8.5 FREE Printable.

