UPDATE: All new featured RV tours will be posted on my other website, Wanderful RV Interiors. Existing tours will slowly be moved to the new website, and anything already moved will automatically redirect.
Disclaimer: This post may contain affiliate links, meaning, if you click through and make a purchase we (or those featured in this post) may earn a commission at no additional cost to you. View our full-disclosure here.
Sometimes the fun and messy world of creative projects means needing to remove my wedding ring. In fact, I once left my ring on underneath my gloves while staining some wood, but when I went to clean the brush I was no longer wearing the gloves, and the stain sorta dripped down onto my ring. Yikes! I nearly had a heart attack, but luckily it was nothing a little vinegar and a baking soda couldn’t fix-up.
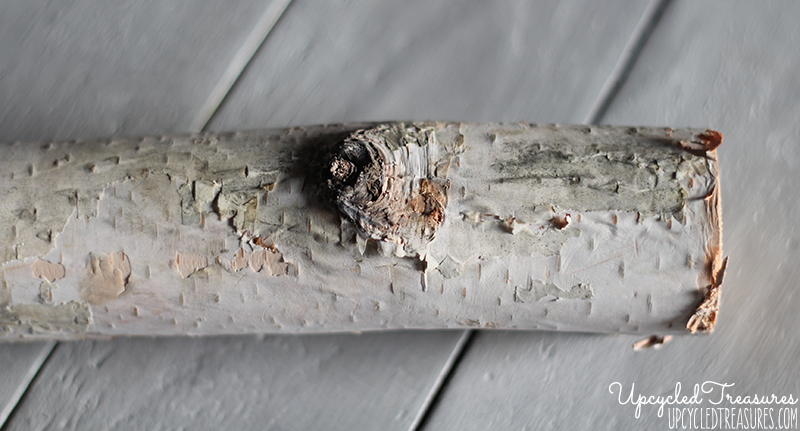
I wanted a special place to store my rings and being that I’m all about rustic decor, I decided a birch branch jewelry box would do the trick. I had a branch leftover from another project so I decided to use that for this rustic ring box, but you can use a fallen branch from your backyard or even buy birch branches online or at craft stores.
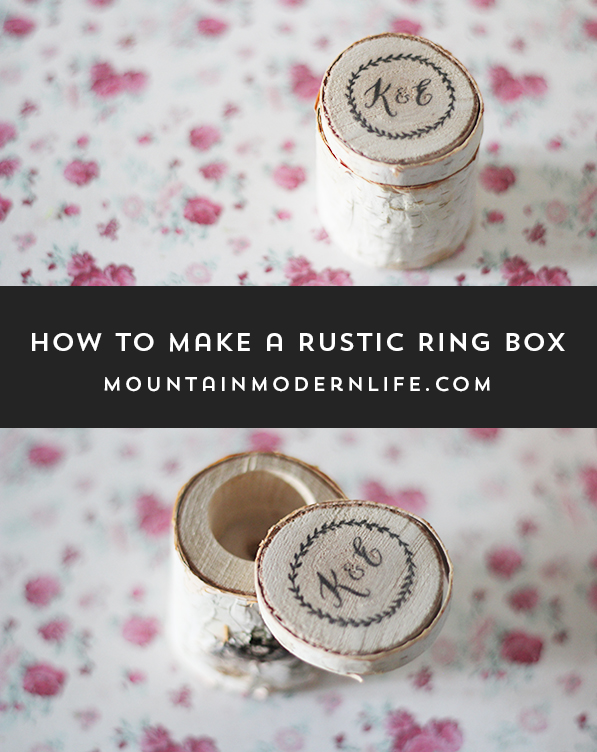
How to Make a Rustic Ring Box
Whether you are looking for a place to store your ring or are on the hunt for a rustic ring box alternative, this birch branch jewelry box just may do the trick.
And in case you are planning a rustic or woodland-inspired wedding, I am including a FREE printable design at the bottom of this post for you to add to you your wedding ring box.
Materials Needed for Rustic Ring Box:
- Branch
- Saw
- Spade Bit (or Forstner Bit)
- Design Printed in Reverse from ink jet printer {see free design at bottom of post}
- Wooden Dowel
- Gorilla Glue
- Pencil
- Chalk
- Fine Sandpaper
- Clear Sealer
I wanted my rustic ring box to be just a few inches tall since it was only going to hold my wedding ring and band, but you can make yours as tall as you want. Using a pencil, I marked off where I wanted it cut.
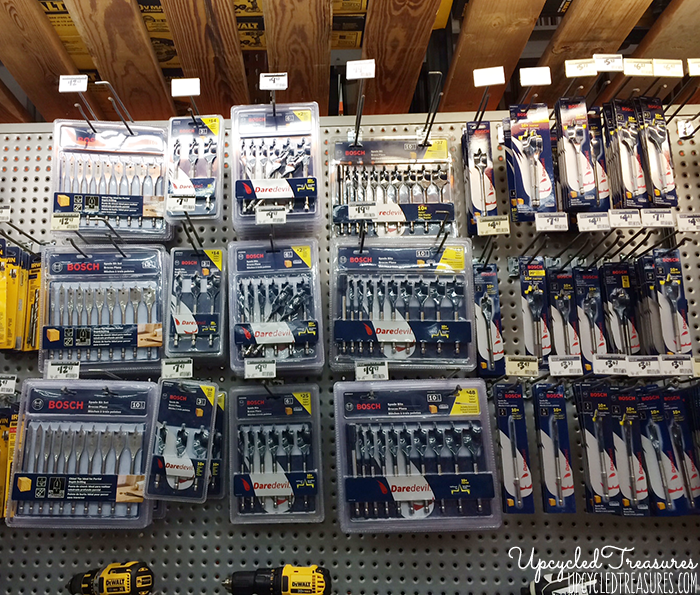
Being that Eric likes any excuse to use our new miter saw he jumped at the opportunity to slice the wood for me. We decided to pick up a pack of spade bits to make it easier to create the center hole, plus we figured they would come in handy for future projects.
Update: A Forstner Bit would have been easier, which is what we used in our rustic tea light candle holder.
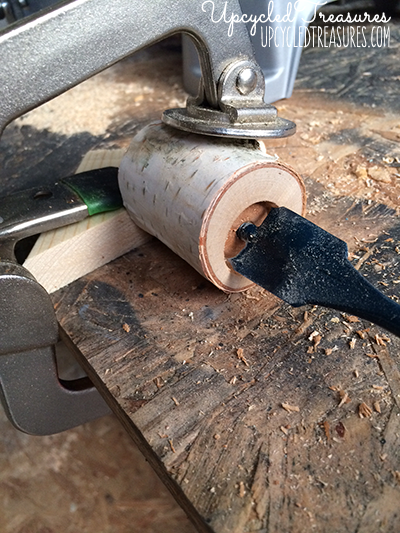
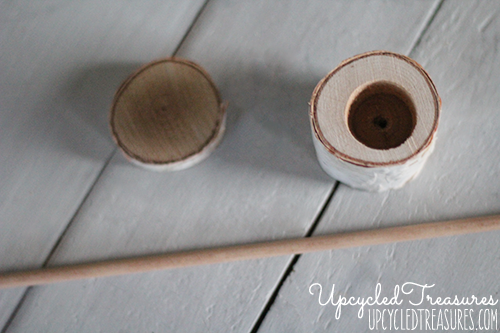
I have seen people hold their project while drilling into it with these bits, but we decided to clamp the branch down. I had marked where I wanted the hole with an X and then we used the 1-inch spade bit to create the hole, which Eric drilled about 1/3 of the way down. We also made sure there would be enough space on the side of the hole to drill a spot for the wooden dowel that would hold the lid.
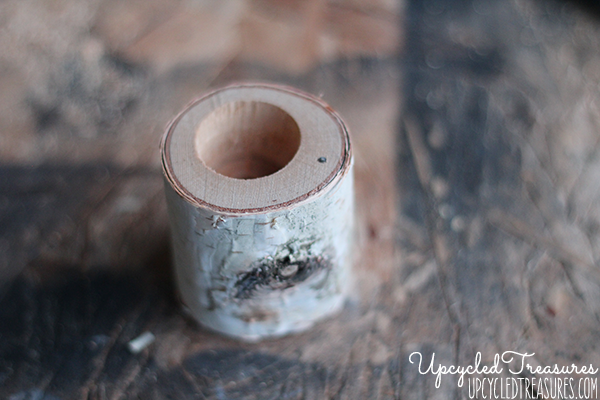
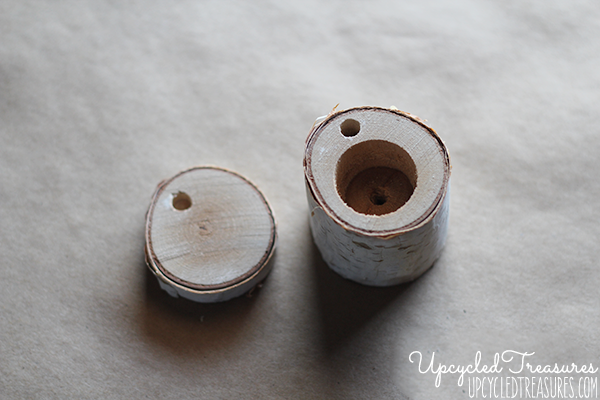
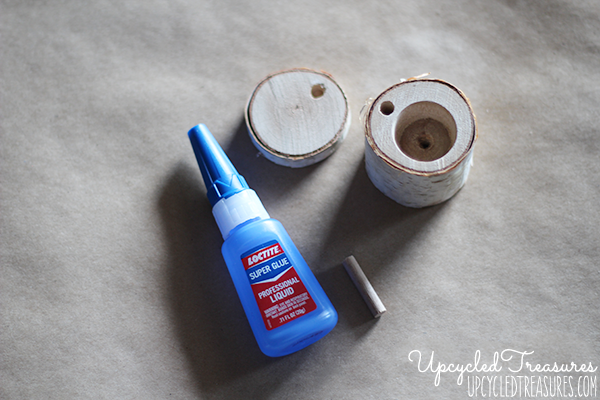
Here is a photo of the hole drilled into the bottom of the birch branch. I was going to use a pre-cut wooden dowel to hold the lid in place {you’ll see what I mean a little later}, but wound up cutting off a small piece of a wooden dowel we had leftover from our DIY wedding wands project.
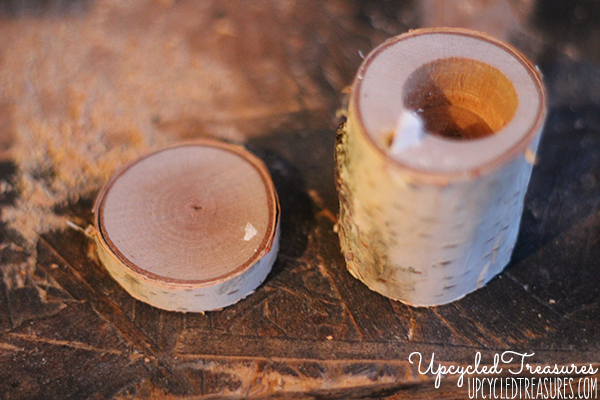
I marked the spot to place the wooden dowel and then afterward placed a small, sharpened piece of chalk inside and put the top on it to mark where to drill on the lid. I hope this makes sense. I’m sure we could have measured it out on both, but the chalk method worked pretty well.
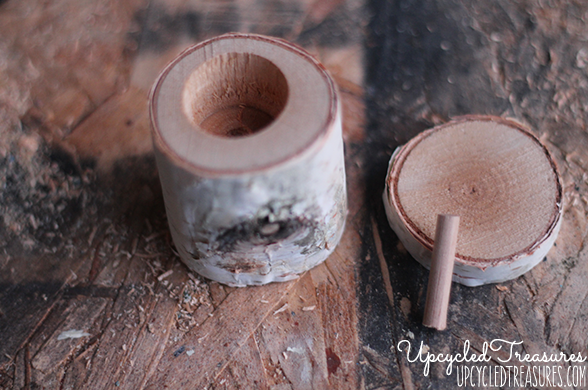
Here is a photo showing the bottom and lid of the jewelry box with the holes drilled in for the wooden dowel to go into.
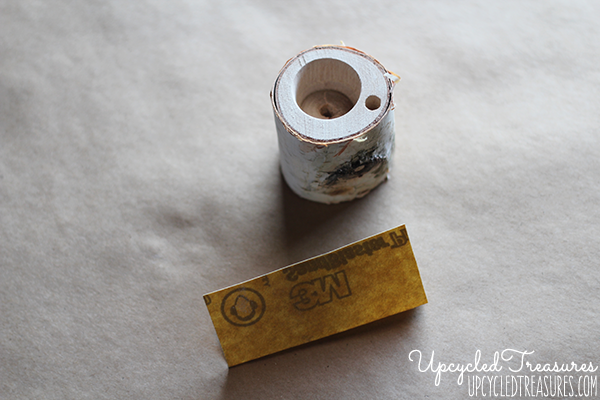
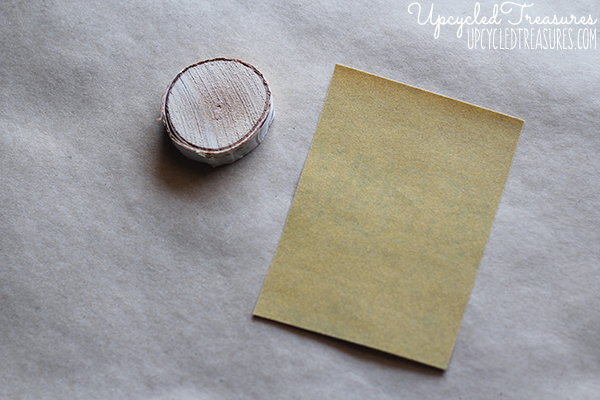
I used some 220 grit sandpaper to sand around the edges of the inside as well as on the top of the lid.
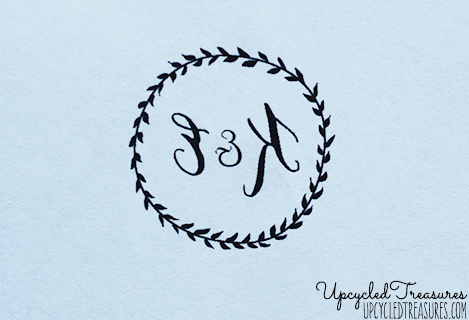
Once the lid of my birch jewelry box was sanded, I printed out a design of our initials that I wanted to go on top {in reverse!}. You could also use a wood-burning tool, but I really like how the wood transfer comes out and it’s super easy too! All you need is an inkjet printer and some regular copy paper, but make sure to print your design in REVERSE so that when you “burn” it into the wood it comes out correctly. I have used this technique several times, including on my “Love you to the Moon & Back” and family established wood signs.
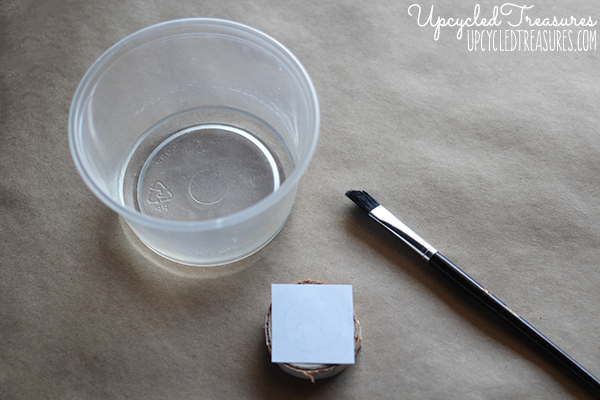
Once you have your design printed you can cut it out, place it design side down onto the wood and then dip a small paintbrush into some water. Don’t get your paintbrush too wet and don’t let it drip either.
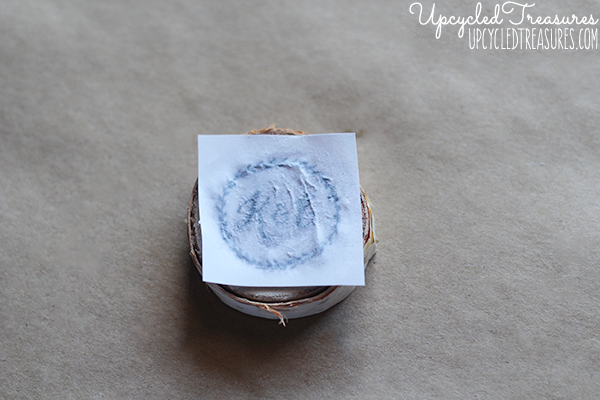
Holding your design into place with one hand, use your other hand to brush the water over the design. As the water seeps in you will start to see the image come through. Then you can take the other end of the paintbrush to “burn” the image into the wood. Basically rub over the design {careful not to move the paper or smear the design!} and make sure you cover it completely so it transfers all the way over.
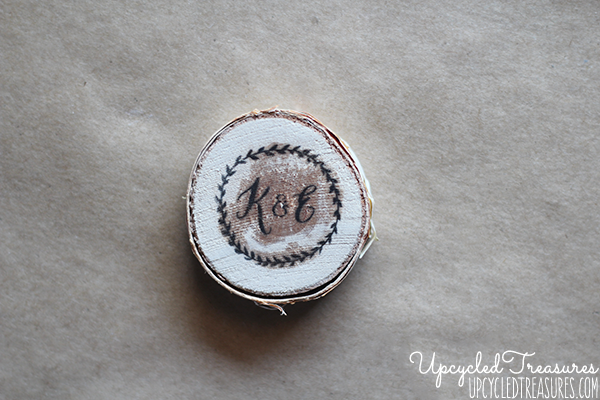
Here is what mine looked like afterward. The wood was a little wet so I then went over it with a blow dryer because I’m impatient.
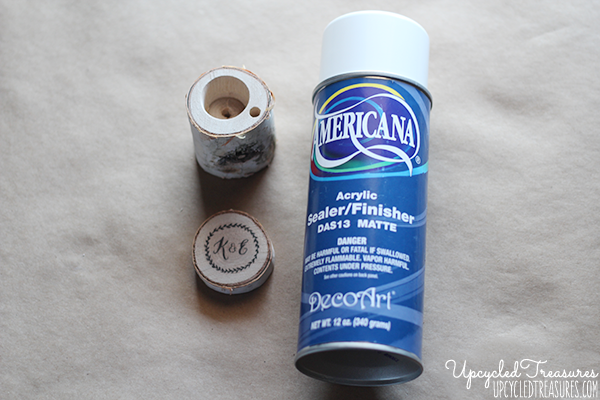
Once my design was dry I sprayed the entire branch with a clear sealer. You could also go over yours with beeswax or danish oil, but I didn’t have any on hand.
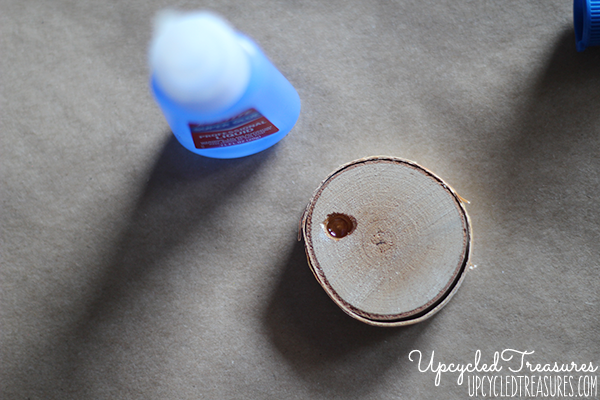
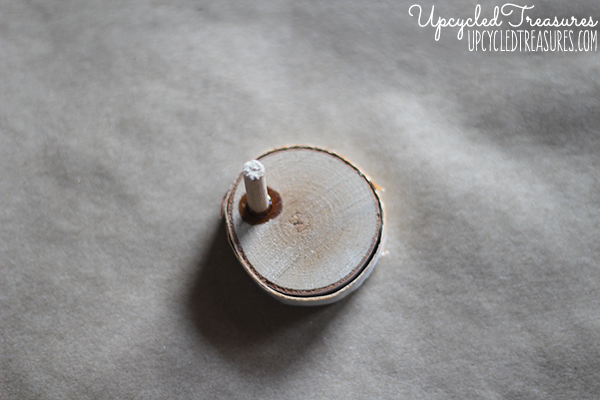
I then put a couple of drops of super glue into the hole we had drilled into the lid and set the wooden dowel inside for a few minutes to make sure it was dry.
I must have gotten a little glue happy and used a bit more than was necessary, woops.
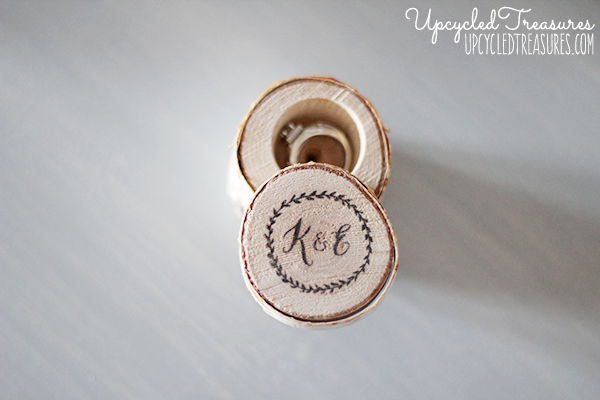
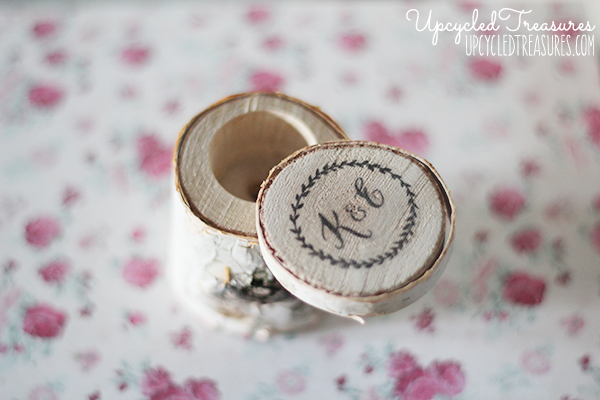
After that I simply placed the other end of my wooden dowel into the bottom of the rustic ring box and it was good to go, yay! The lid now spins off so I can open or close it, and can even take the lid off completely if I wanted too.
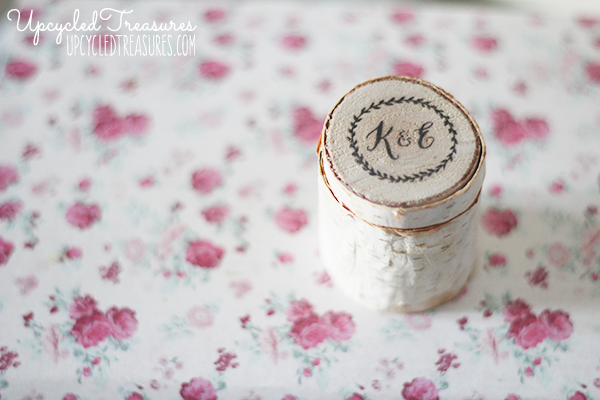
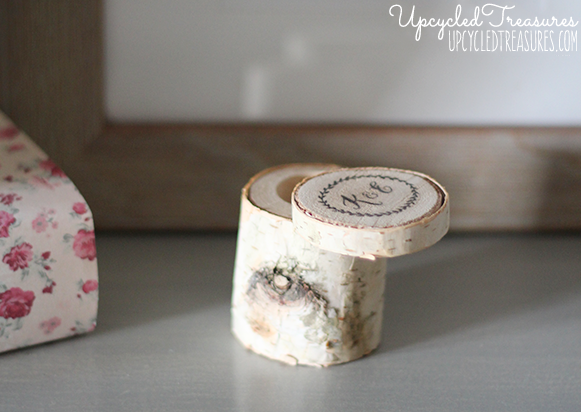
Here are some more of the after photos:
What’s so great about this rustic ring box is no two will be exactly the same, you can personalize it, and it would even make for a unique gift or ring bearer box. Or what about a unique proposal ring box?
I think it’s adorable and just love the way it came out! I was nervous about the outer layer of peeling bark, but have actually removed it since writing this post and think it looks even better! I’ll have to add a couple updated photos here soon.
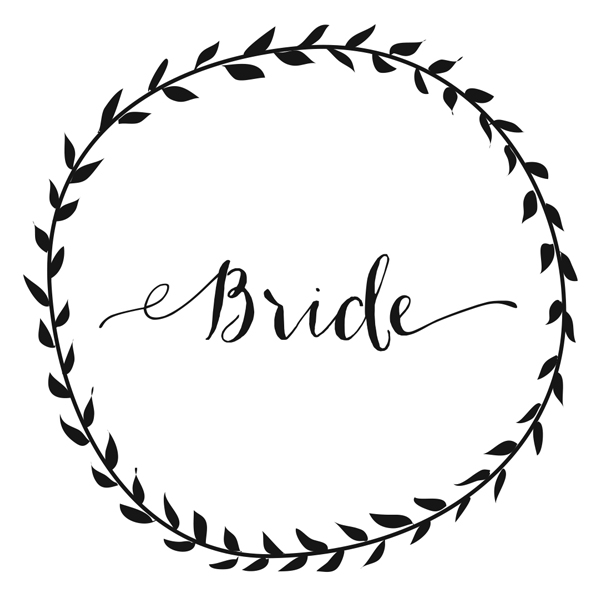
If you are thinking of using this idea for a rustic or woodland inspired wedding, I have free design printables you can print out and use to transfer on top. You can get them by clicking on the download button below.
There are 3 separate sheets, each has a different design in 3 different sizes. The options are “Bride”, “Groom” & “Best Day Ever”. Click on the download button under the image you want. I have already reversed the images to make it easier for you.




How lovely, beautiful post!
Thanks Cate, so happy you liked it 🙂
Adore this!!!!
Thanks Irene!
This is adorable!! 🙂 what font is that? I really want to make one with initials, like yours! 🙂
Thanks Kris! The font I used is called Ondise – I love it! Thanks for stopping by and have a great weekend!
Thank you so much for sharing! We are using your design for my brother-in-law wedding in Holland!!
Hi Katie!
There are adorable! I’ll be using the DIY Save the Dates and the Rustic Invitations for my upcoming wedding in November. I was wondering if I could use this template for the rustic wood slice “stamp” and make the needed changes(i.e. adding the save the date line, as well as the date) in the website you suggested (pic something another – sorry can’t remember right now. Do you think that is a possibility? If so, would I follow the same tutorial for customizing the rustic invites?
Hi Katie,
I’m having a hard time getting my image to transfer. I’m following the instructions step by step, wetting it enough, see the image coming through, “burning” with the end of my paintbrush, but it doesn’t transfer. Any suggestions?
Hi Janae,
Are you using an inkjet printer and regular copy paper? Those are 2 of the most important things. You may also want to try using the end of a sharpie instead of the paintbrush and see if that burns it better for you. It should definitely work so if it’s not transferring at all I’m sorta at a loss as to why not. The biggest hurdle people generally have is not getting the ink to smear. Is the wood sanded?