UPDATE: All new featured RV tours will be posted on my other website, Wanderful RV Interiors. Existing tours will slowly be moved to the new website, and anything already moved will automatically redirect.
Disclaimer: This post may contain affiliate links, meaning, if you click through and make a purchase we (or those featured in this post) may earn a commission at no additional cost to you. View our full-disclosure here.
I love trees and I don’t care who knows it! Seriously though there is something so serene and beautiful about trees, and I’ve always had this fascination with them. My favorites are the redwoods, evergreens, and sequoias which is why I think I’m so fond of the West Coast.
Eric and I actually just got back from a short trip up near the Chattahoochee forest, where we finally spent a couple of days in the RV (check out our new RV video channel here). Although we’ve had it for a few months now, we keep the RV in storage and so far every trip has been to visit family. It was nice to have our first trip with the “baby” all to ourselves, and really take everything in.
They may not have been my evergreens, but as soon as we were enveloped by the towering trees, it was like time stopped and nothing else mattered but the present moment. You may be thinking I’m a total weirdo, but hopefully, you can relate that there’s nothing like nature to make us slow down, and remember what’s important.
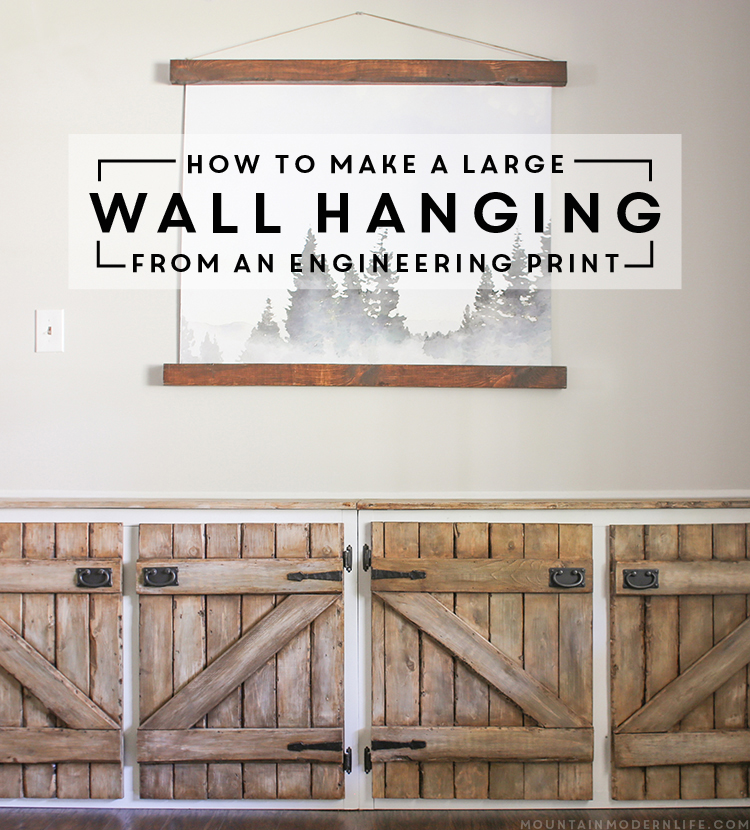
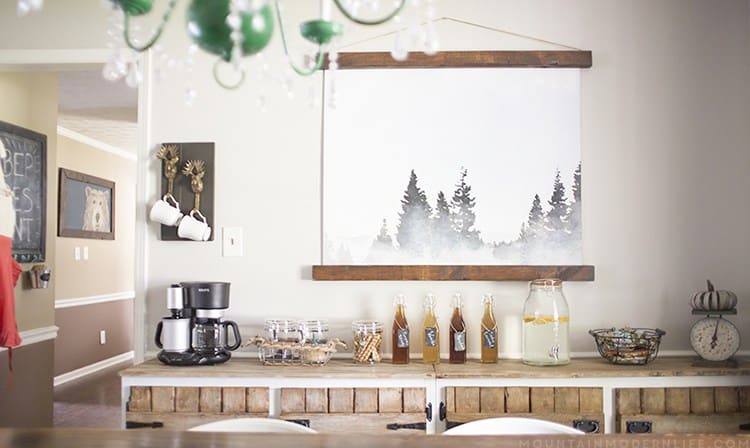
I think that’s why I love this large wall hanging in our dining room so much. I have received a lot of questions about how it was made, so today I’m sharing just how easy it was to create, along with a few tips I learned along the way.
How to Make a Large Wall Hanging from an Engineering Print
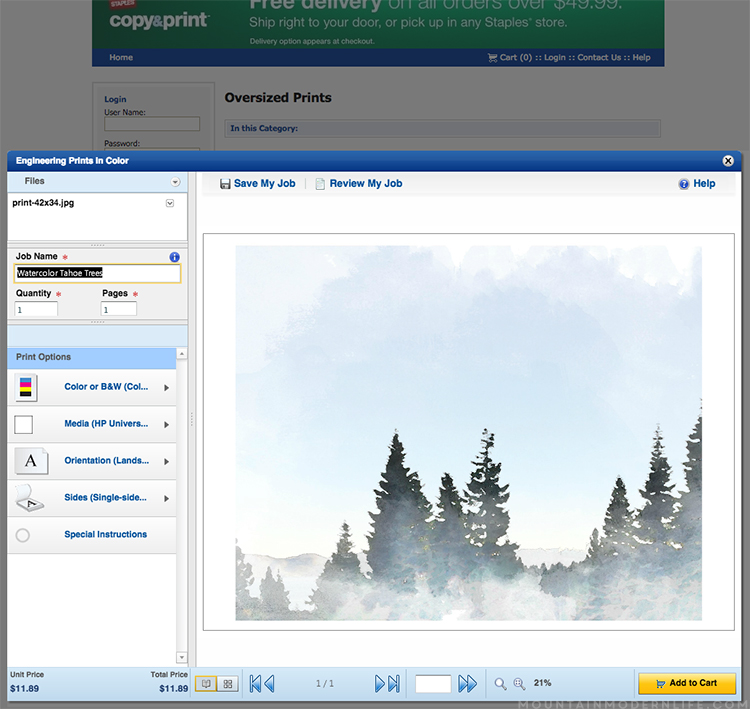
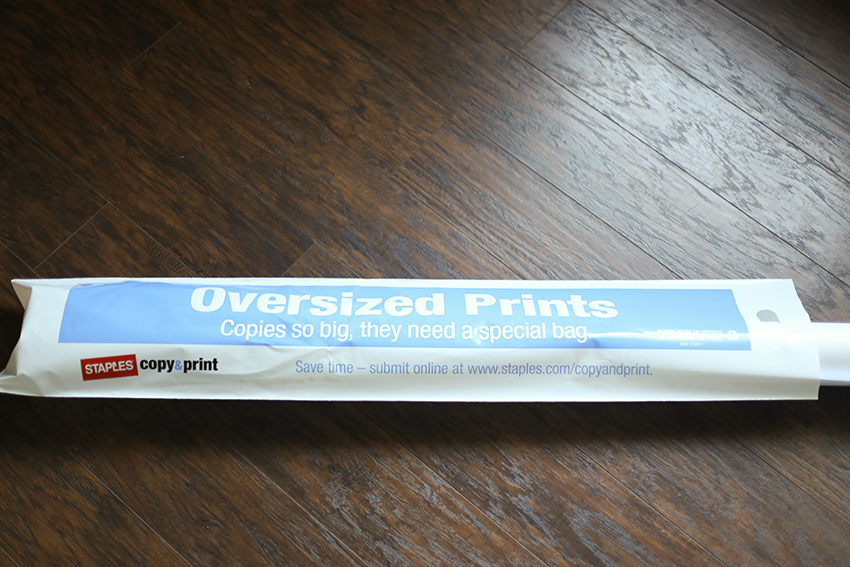
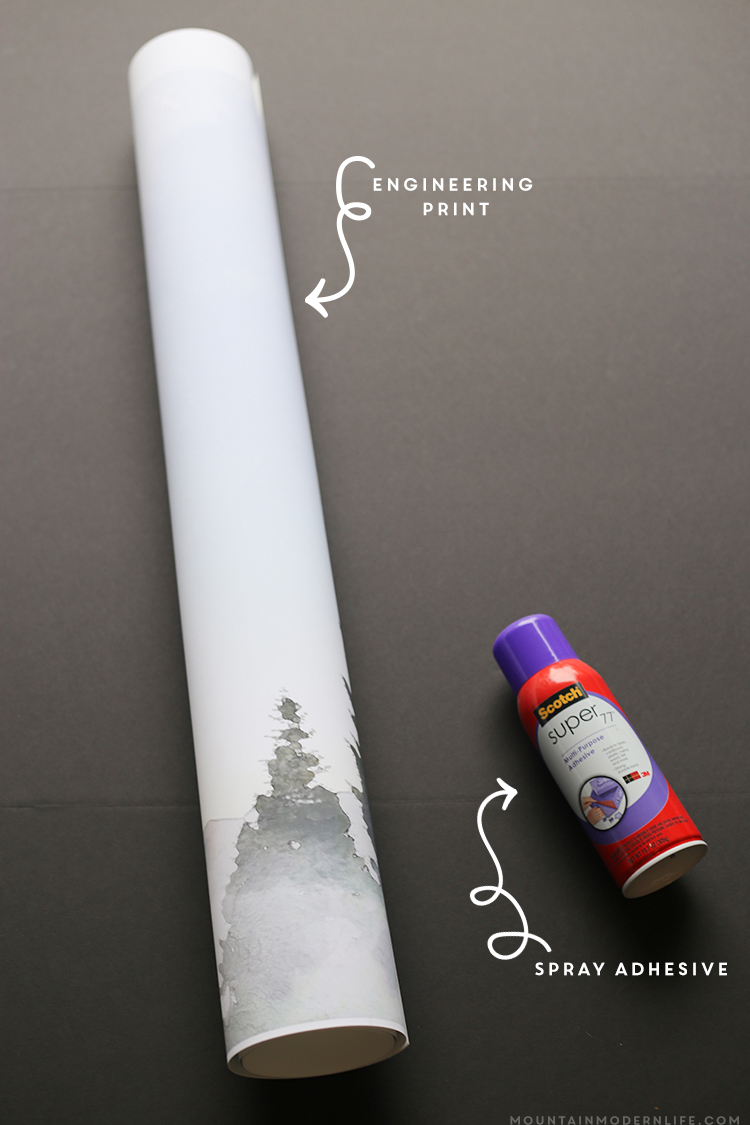
Are you familiar with engineering prints? They are essentially oversized prints used for line drawings or architectural plans, but they can also be your BFF when it comes to creating large wall hanging. The three sizes available at Staples are 18 x 24, 24 x 36 or 36 x 48 and range from $2-8 for black and white copies and $6-24 for the color versions!
Despite the fact that these are technically not suitable for photographs, I’m always impressed with the quality of my oversized family and travel photos.
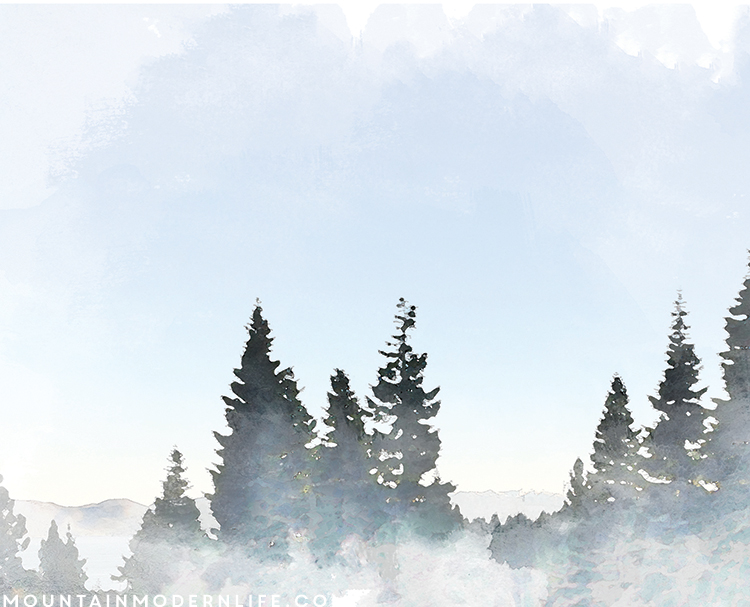
The photo I used for this project was taken on our last trip to California when we decided to spend the night in Lake Tahoe on a whim, after spending the day in a nearby town. What’s funny is that I took it from our car while we were driving. We were on our way to the hotel and I was snapping photos on my phone, all while knowing they would be blurry since we were in motion. I did it anyway.
The next day something came up and we left before we could get a hike in. Boooooooo. Now I’m happy I took this photo.
Yes, the image was a bit blurry and sure I would have preferred a crisper image taken from my DSLR, but ya know what? After a little bit of cropping and watercolor magic, I LOVE how my large wall hanging turned out!
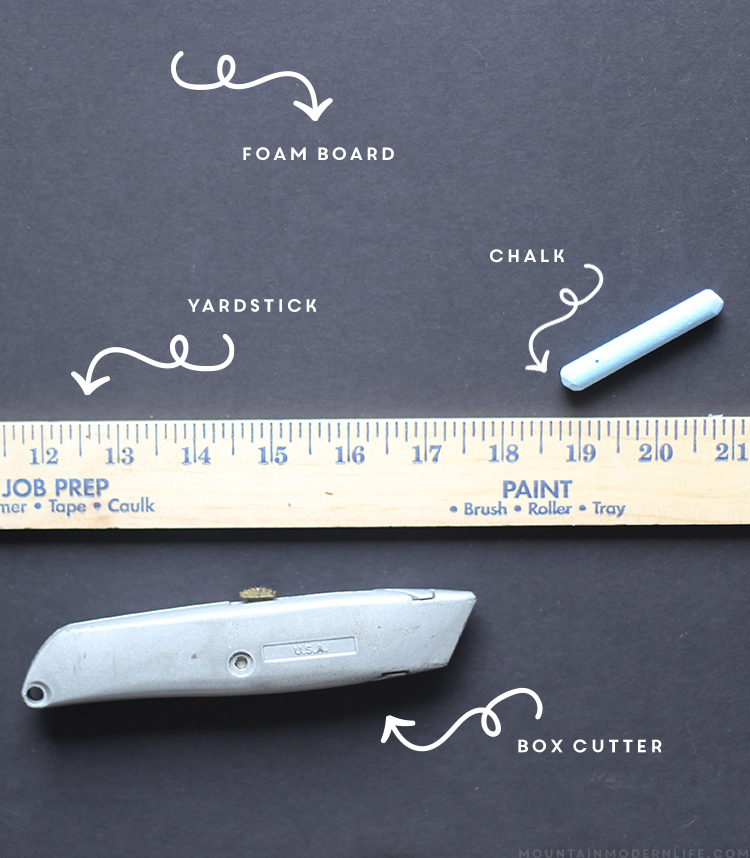
It may look like a lot of supplies but you may already have a lot of these items on hand. The only supplies we had to buy were the foam board, engineering print, and hanging strips so all in all this project cost us less than $30.
36 x 48 Engineering Print (you can purchase the Lake Tahoe image I used HERE)
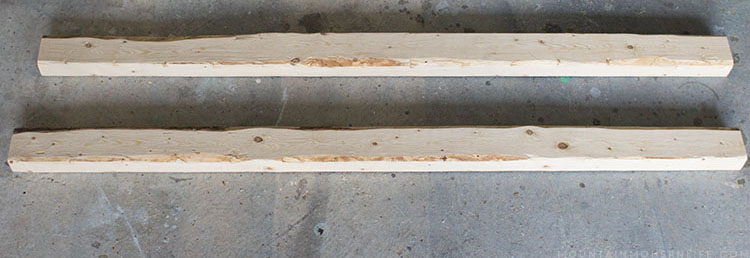
{2} Boards cut to 51″ long (if using a 36 x 48 print) – We used 2 x 3’s.
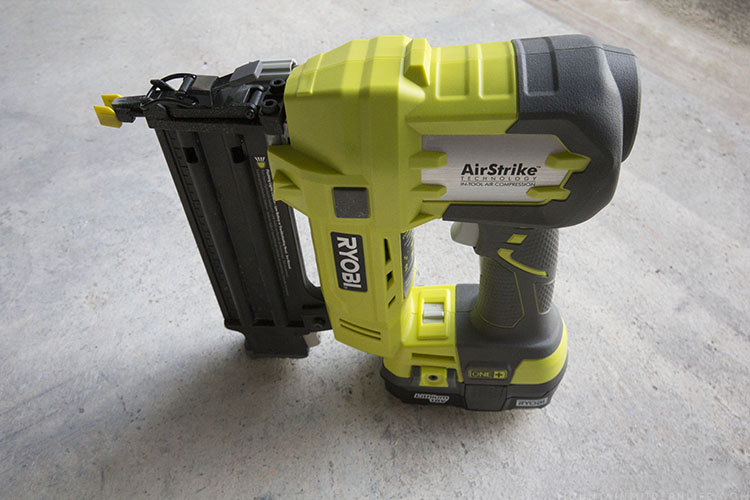
Nail Gun or Heavy Duty Staple Gun
Credit Card/Back of Spoon
Additional Supplies if creating a custom size:
If I knew then what I know now
Just a heads up, this post is LONG, however, the steps are all very simple so don’t feel overwhelmed. I just wanted to share what I did, and also what I would do if I make this project again.
To sum it up, if I make another wall hanging in the future, I would use a different size than the one I used in this post. I had my image printed in a different size (34×42) because I was originally going to use some leftover plywood with these measurements as my backing, just as I did in this post about the large scale wall art in our bedroom. I also prefer plywood for future large scale projects (like I did here), unless I’m using foam board that doesn’t fold.
However, I later decided that I wanted to test a different material, especially since we will need to find lightweight wall art options in our RV.
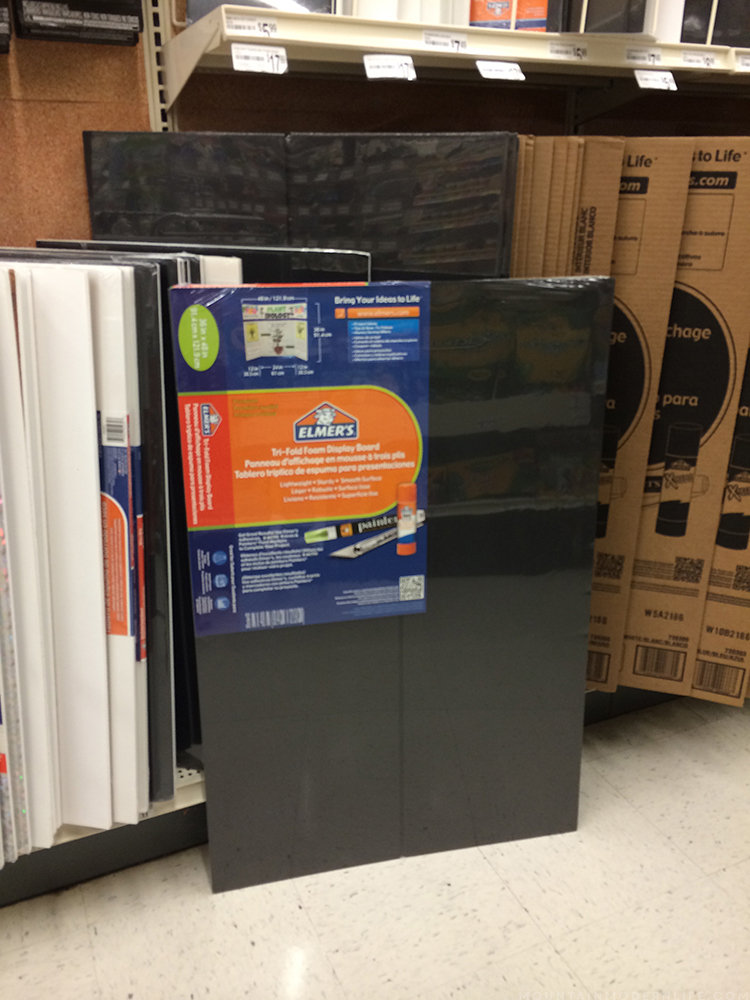
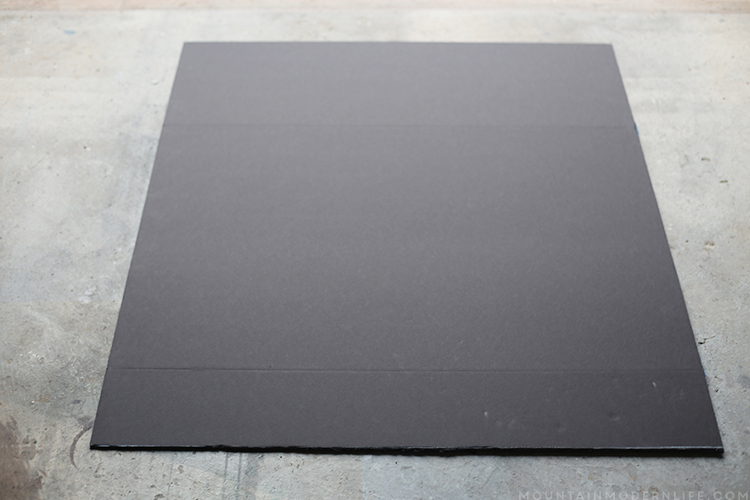
I had a 36 x 48 tri-fold corrugated display board but knew it wouldn’t be thick enough to support the wood I wanted to add to the top and bottom. So instead I headed to my local craft store where I picked up a 36 x 48 x 3/16 tri-fold foam display board. After a 50% off coupon, it set me back about $9. Not too shabby.
The concern? Would it be sturdy or flat enough for my print? There’s only one way to find out! The answer: yes 🙂
TIP: My advice to you would be to print a 36×48 engineering print unless you want a custom size. This wall hanging was already ridiculously easy to make, but had I made my print the same size as the foam board, it would have been even easier!
Step 1: Create an Engineering Print from an image.
The first thing I did was crop the image onto a 34 x 42 document in Photoshop, knowing I could send it over to Staples to be printed as a color engineering print. You should be able to do this in any image editing software, or even PicMonkey.
Even though I created a custom size, I had to order the 36 x 48 engineering print, knowing the paper would be larger than my image and I would have to trim the paper edges. It cost about $12.
Again, I recommend you use a 36 x 48 photo if you are going to use the 36 x 48 foam board.
Afterward, I used the same Watercolor Photoshop app I used for our bedroom wall art. This is totally optional and not necessary. Using the watercolor effect allowed me to create a large image that wasn’t all pixelated. Just make sure whatever image you use is high resolution.
Once you have your 36 x 48 image saved as a JPG you can put it on a flash drive and take it to Staples to be printed, or order it online here.
TIP: If you order a print online for store pickup you generally have to pay extra to pick it up the same day. However, if you call the Staples ahead of time and ask if they can have it ready the same day, they generally can and they won’t charge you extra either 🙂
Step 2: Tape the creases in the tri-fold foam board
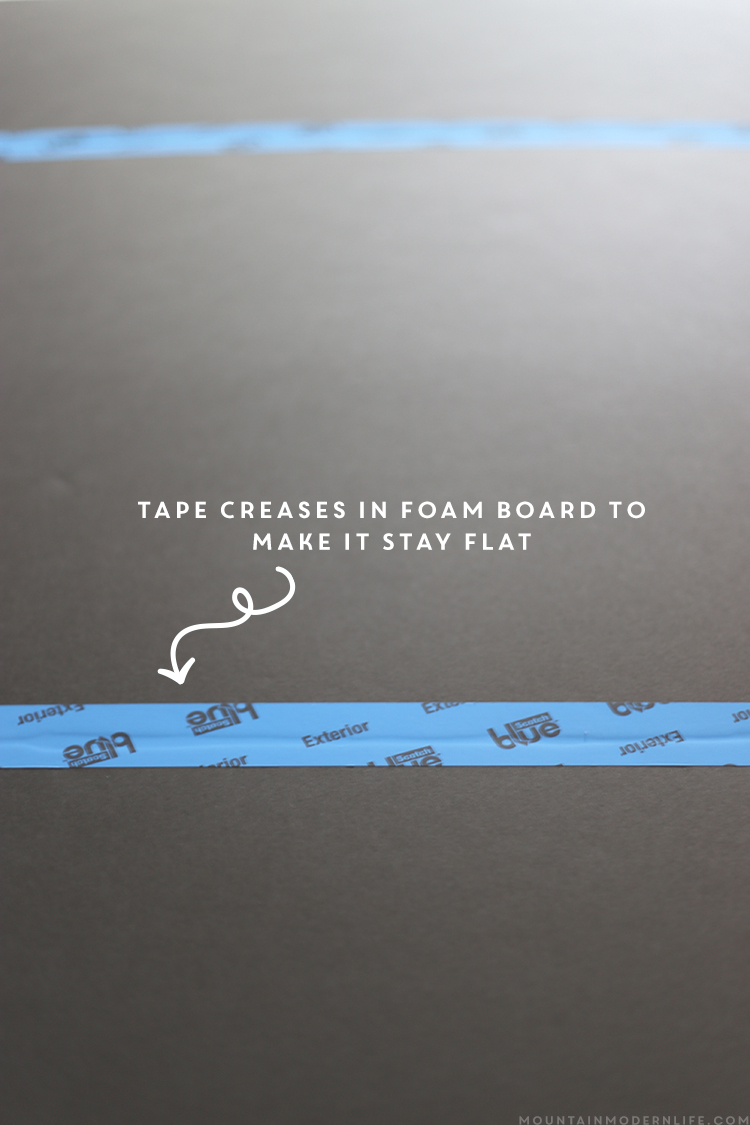
The next thing you will want to do for your large wall hanging is to tape the creases on the back of your tri-fold foam board to make it stay flat. I would recommend a heavy-duty tape, like packing, duck or gorilla tape but we didn’t have any so I just used some exterior painter’s tape. I added two layers of tape to each crease and it seemed to do the job.
Update: I definitely don’t recommend using painter’s tape as it’s not strong enough. After about 3 months I started to notice creases where the tape was coming a bit loose on the back and not staying sturdy. Heavy-duty tape most likely would have fixed this issue. Whoops.
Step 3: Cut the foam board (if using a custom size – skip if using 36 x 48 print)
Afterward, you can flip the foam board over. If you decided to make a custom size like me (that is not available in foam board sizes) then you will want to cut your board down to size. I just measured with a yardstick and then cut my foam board with a box cutter down to 34 x42 to match the size of my print.
If you have a 36 x 48 print and a 36 x 48 foam board, then you can skip this step.
Even though my image was 34 x 42 and I ordered the 36 x 48 engineering print, the paper was actually 36 x42. I’m guessing this is because they cut the paper down a bit. The white edges on the sides were uneven but I wasn’t too concerned about it because I knew I would cut those off anyway.
I will say that I didn’t cut my foam board or paper perfectly, which at first drove me nuts. It wasn’t off by much but there was a little more of a white border on one side of the print than on the other. When everything was finished you really can’t tell unless you know and start inspecting the edges carefully. I am learning to let go of the perfectionist I want to be…
Step 4: Attach the image to the foam board
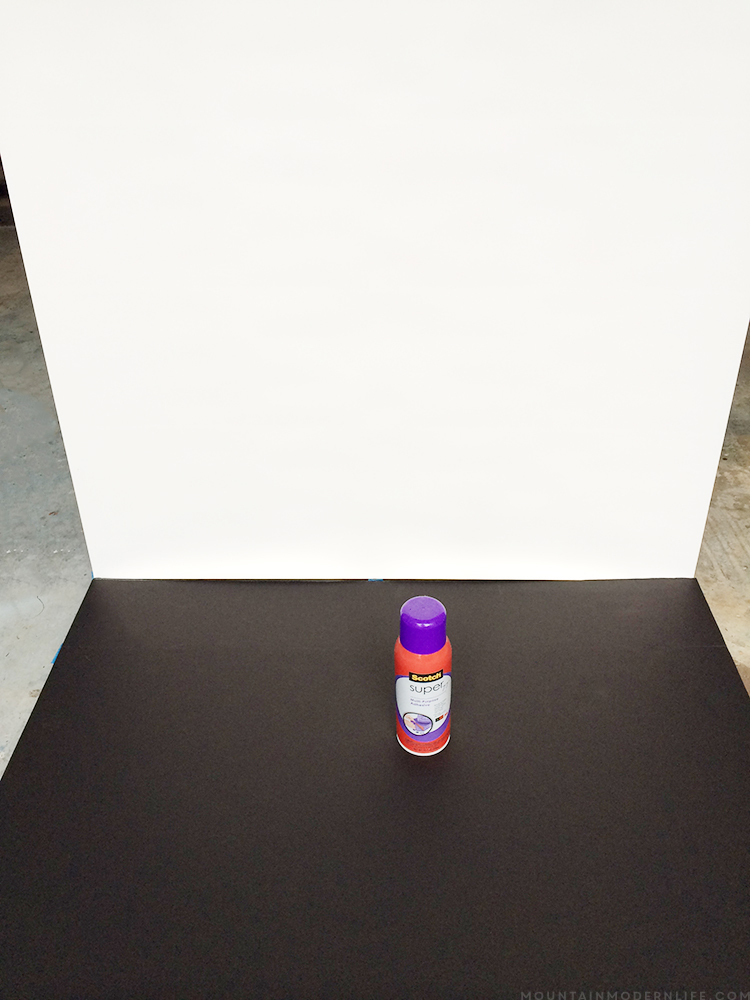
Once your print and foam board are the size you want you can attach the image to the foam board using spray adhesive.
UPDATE: After a few months I noticed areas where the paper was lifting from the foam and think I may have not used enough spray adhesive. I used the same spray adhesive with this large print and have had no issues which is why I think the amount used may have been the problem… or it may be that this was foam and not plywood.
The other thing I did differently with that project was seal the top with Modge Podge, so you may want to consider doing that to this project as well. However, I think using a stronger spray adhesive since you are sticking it to foam, or using extra adhesive should solve this issue. If you notice creases in the photo later on you should be able to gently smooth them out with a credit card, just be super gentle as not to create any creases. If you create this project on folding foam I’d love to hear how it’s holding up in the comments below!
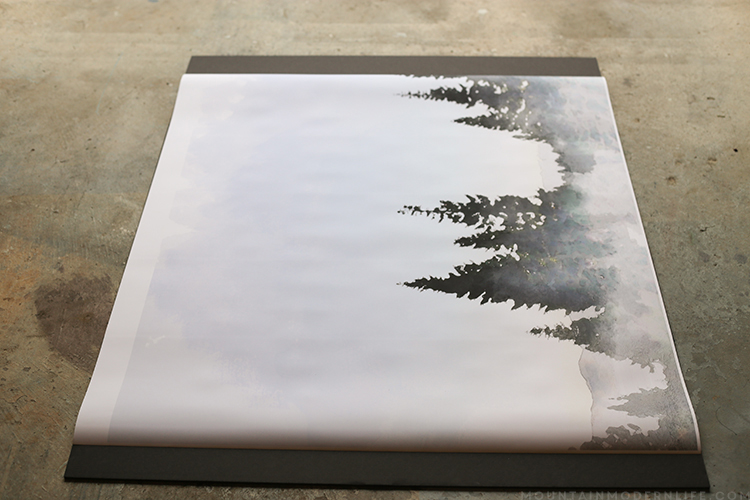
To attach the print to the foam board you will want to center the paper onto the board and then tape one edge of the paper to the back of the board with painter’s tape. You can then spray the foam board with spray adhesive and have someone help when rolling the paper down to prevent it from shifting or getting wrinkles. Afterward, be sure to smooth the paper out as much as possible starting from one corner and working your way out.
My sister helped hold the paper up while I sprayed the adhesive, and then helped me slowly move the paper down into place. I used the scraper from my Silhouette to gently smooth the paper out, but you can use a credit card or back of a spoon.
I didn’t add a sealer on top like I did on our large bedroom art, and so far so good.
Step 5: Adding the wood to the top and bottom of the foam board
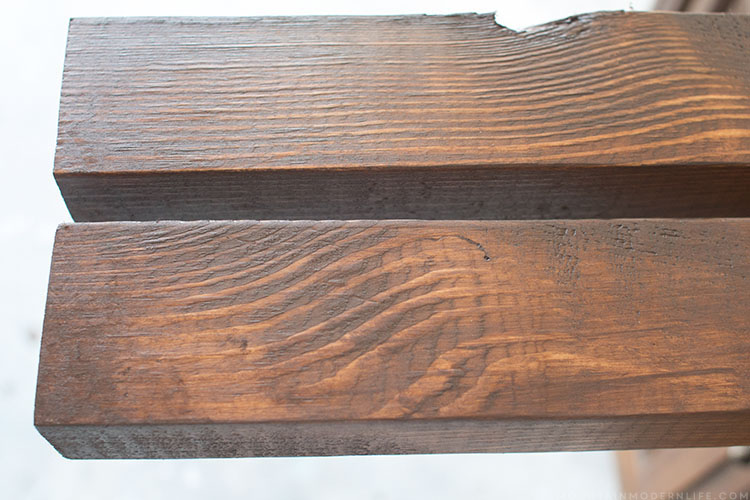
Once the print was attached to the foam board we got out 2 pieces of wood and used our nail gun to attach them to the foam board. We had cut and stained some wood a while back when I planned to frame out two of my abstract paintings. We wound up framing one (which you can see here) but then hung the other one on our gallery wall without a frame (which you can see here). That stained wood finally came in handy as 2 pieces were the perfect size for this wall hanging, yay!
You can obviously use thinner wood but I opted to go for what we had on hand. Whatever wood you use, I would recommend that it’s at least 2 inches longer than the size of your print (an inch longer on each side). Our boards were actually 3 inches longer than the print – so 1.5 inches longer on each side.
We attached the wood to the foam board by placing the wood flat on the garage floor, placing the foam board on top {image facing down} and used our nail gun to attach the foam board to the wood.
We used A LOT of nails. The back may not look pretty, but you can’t see it anyway and the wood and the print are definitely attached. If you don’t have a nail gun you should be fine using a heavy duty stapler.
For some reason I didn’t take photos at this point, or they magically disappeared from my computer, so I hope this makes sense.
Step 6: How to hang your large wall hanging art
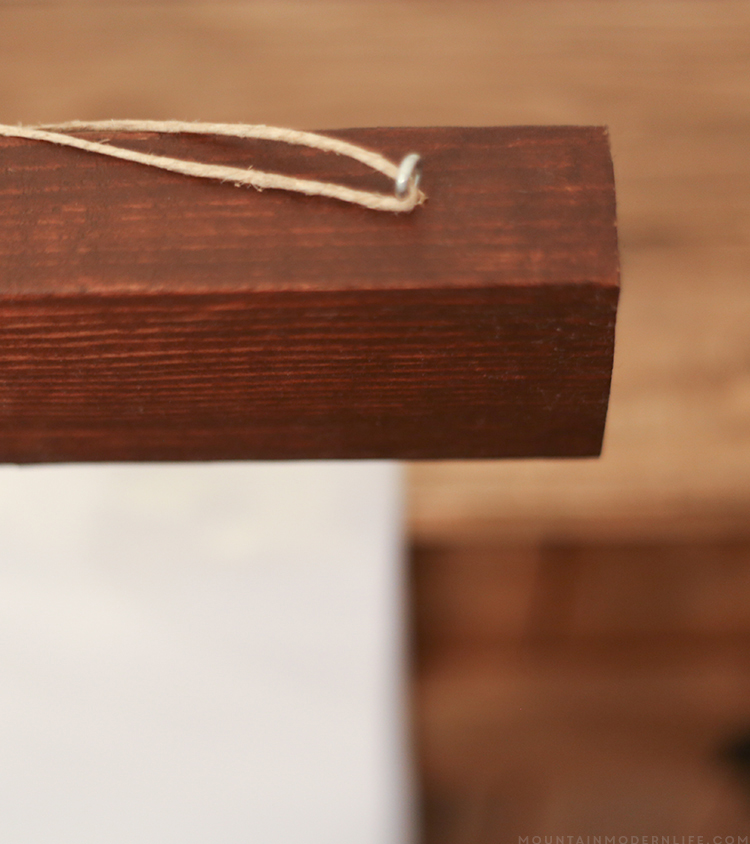
I added two eye screws to the top piece of wood, each just a couple inches from the edge. I then wrapped some twine through the eye hooks and tied a knot when I figured out how long I wanted the twine and how far I wanted the print to hang.
TIP: Use a thumbtack to make the hole before inserting the eye screw. It will make it soooo much easier to go in.
We then hung the twine from a heavy-duty nail, but you can get creative and use knobs. I was even thinking of gluing a wood slice to the end of the nail.
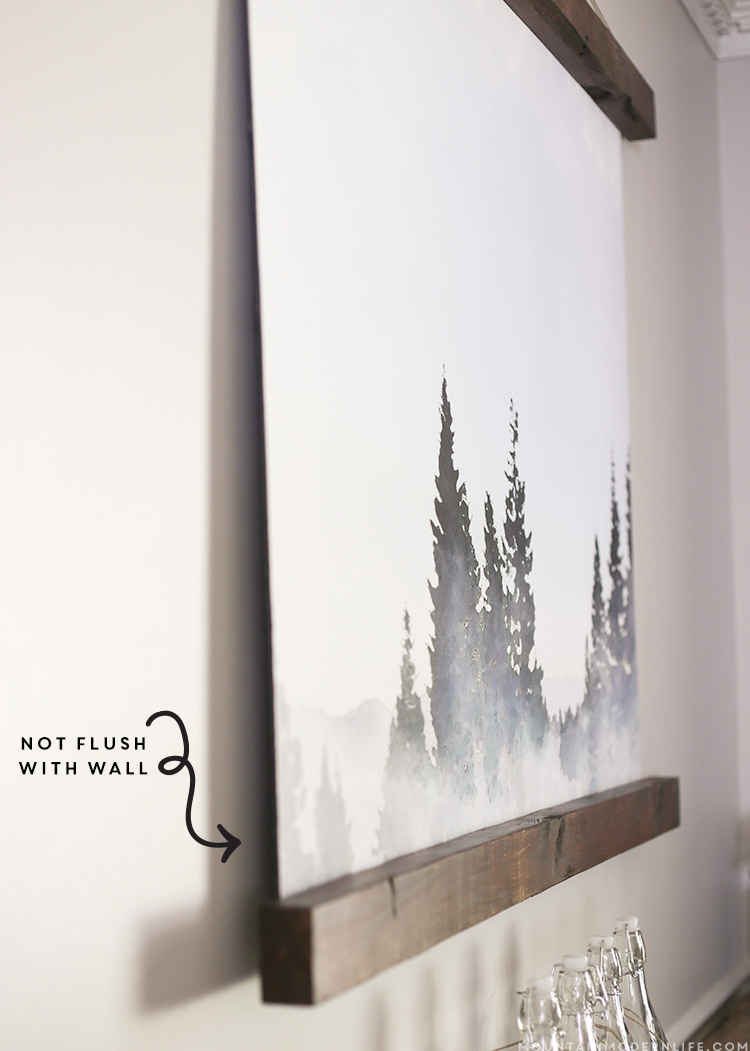
However, once the wall hanging was up on the wall, the bottom wasn’t flush with the wall. That’s not gonna fly.
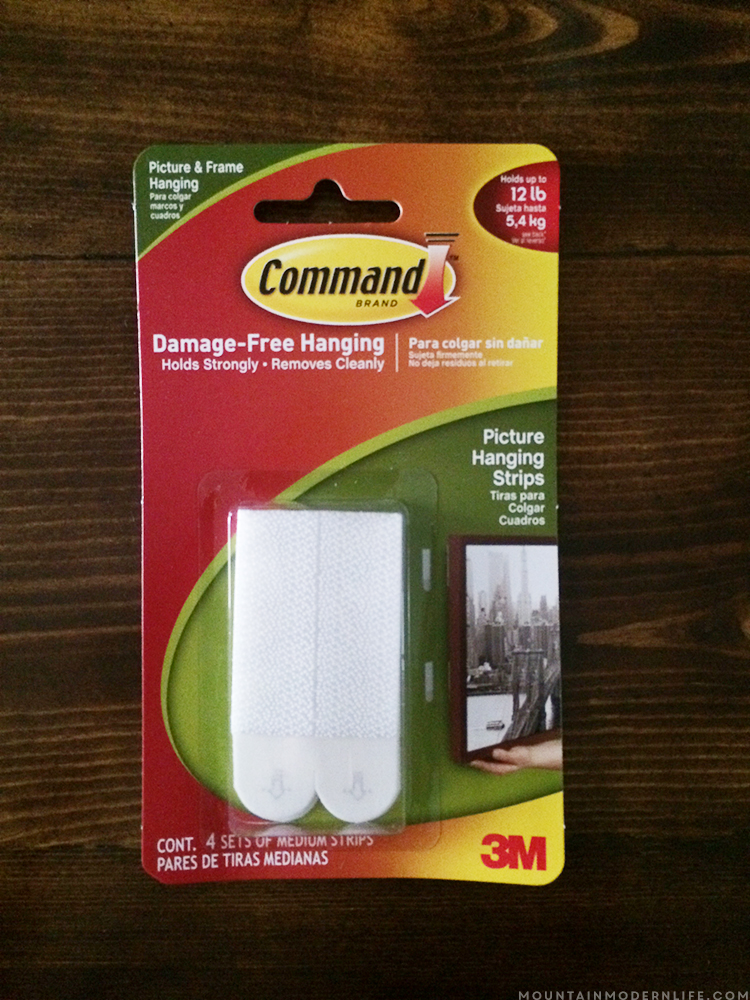
No worries though, we just added a couple of picture hanging strips to the back of the foam board – where the wood and foam board meet – and voila, it’s now flush!
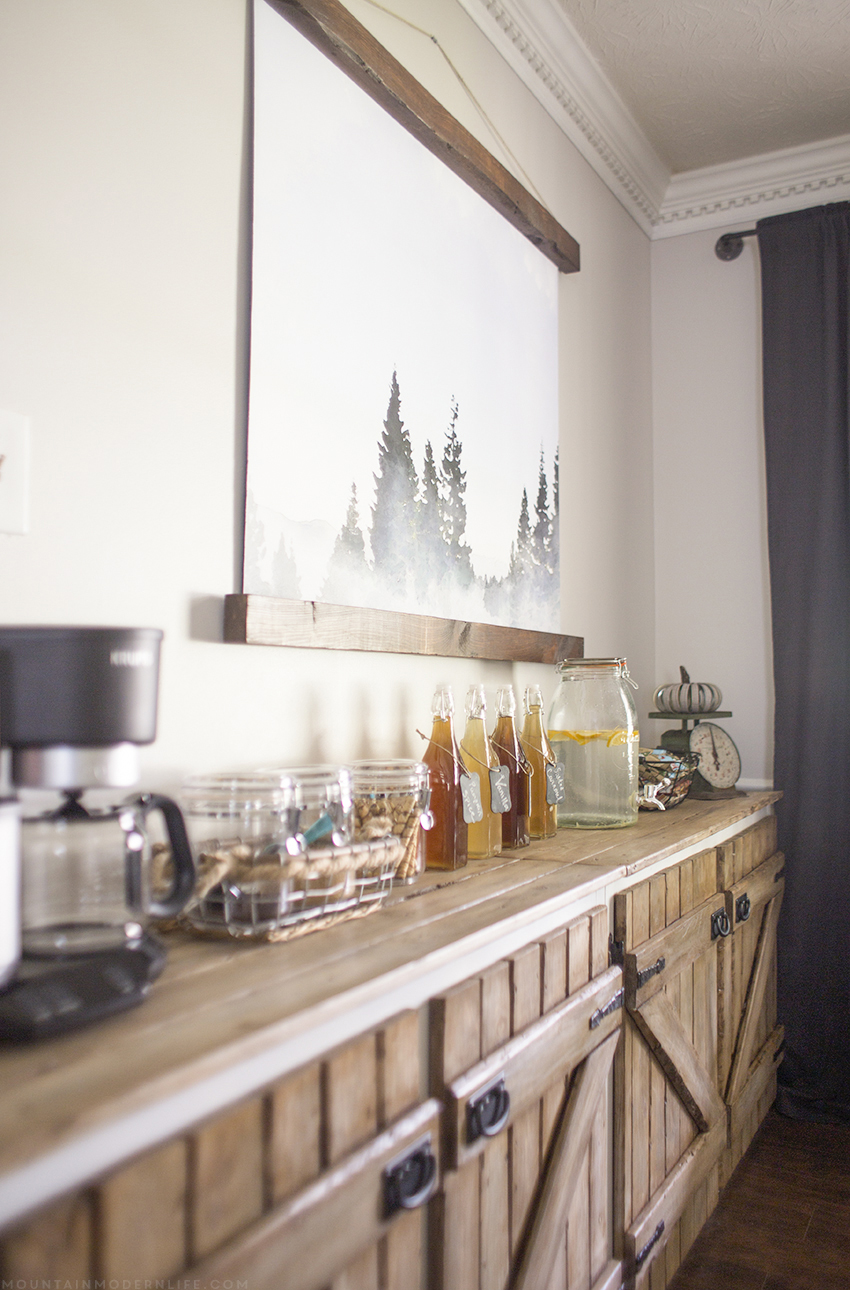
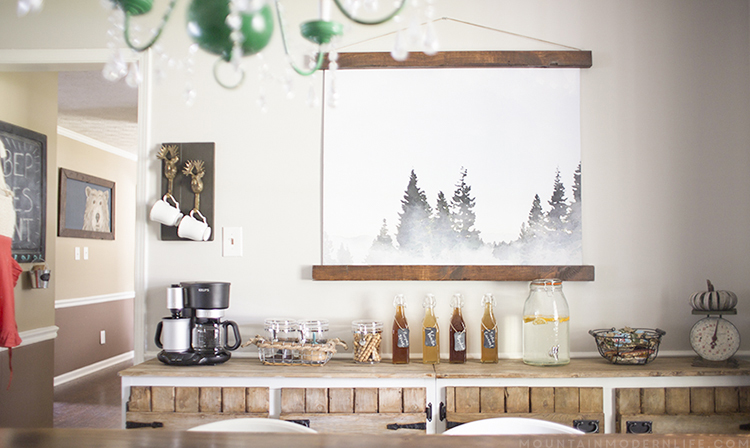
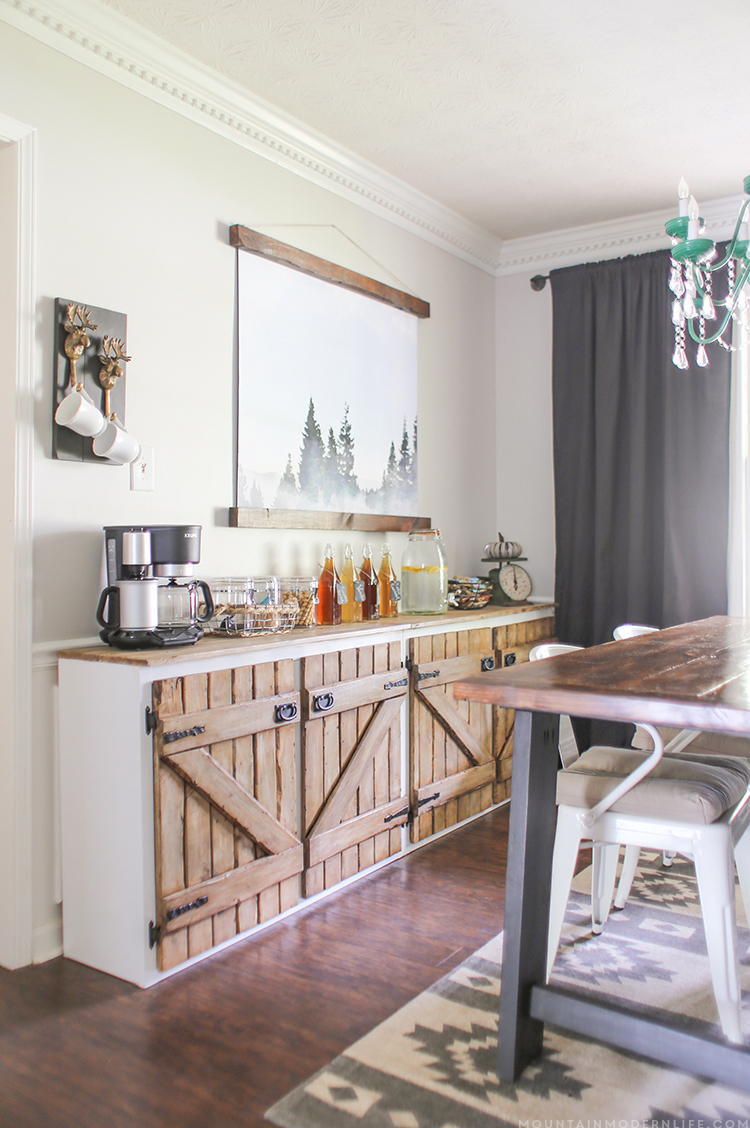
Here is the large wall hanging in our dining room, which you may have seen in this post about the 2016 color trends, or our upcycled barn wood style cabinets.
So what do you think of the large wall hanging art?
This is such an easy way to create a large wall hanging art using some of your favorite travel, family or wedding photos, and it would also make a great gift for the holidays, don’t you think?
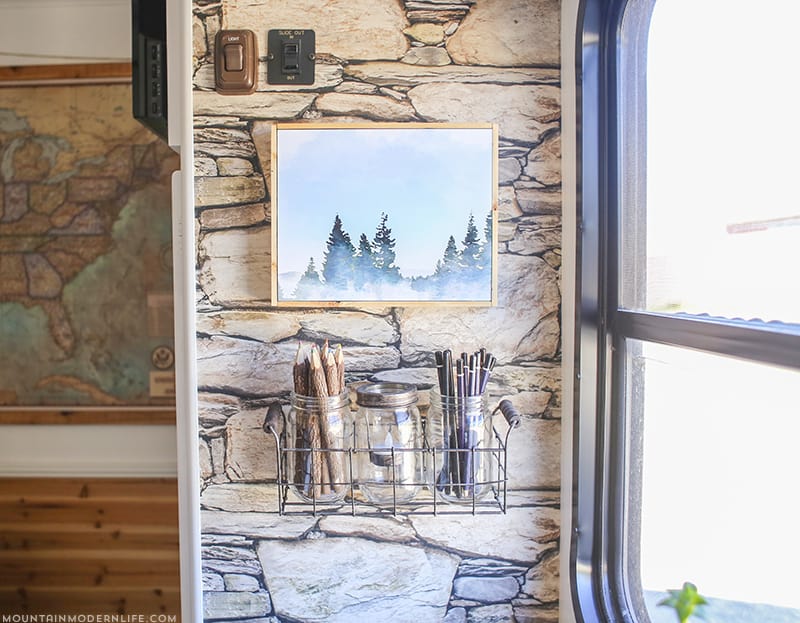
I recently made a smaller version for our RV and noticed it printed out a bit more blue. That could be because I had this one printed from Walgreens on a wooden plaque vs. as an engineering print from Staples.
Buy this printable from the shop!
Due to the number of requests for this image, you can now purchase and instantly download it from the shop!


I am so going to do this! Thank you so much for creating this tutorial! I have a beautiful picture I took in Tulum that would be perfect above my bed. I can’t wait to try it.
You are so welcome Mimi and that sounds like an amazing idea, can’t wait to see it!
Hi! I recently tried to print at Staples and they called and told me they couldn’t print on the architectural paper because it was a picture and NOT an actual architectural print. They were so rude! Told me Corporate doesn’t allow it? Have you ever had them tell you that?
Thank you!
Hi Tiffany,
Wow that’s really weird. I have never heard of this unless it’s a new rule or something. Did you try calling a different Staples? I’d be curious if it was only that specific store. Let me know if you were able to get it printed or are still having issues.
Katie
This is super cool! I’m so glad I resd this tutorial, so many ideas now!! Thanks
So glad you liked it Virginia! I was honestly impressed at how well it turned out on the foam board, and how sturdy it is. 🙂
This is such a great idea! I’m with you on loving trees!!
Thanks Amy! Yeah I’m totally #treeobsessed. lol.
It looks fantastic! Thanks for all the tips -pinning to try!
Thank you Krista! I can’t remember the last project I made where I didn’t screw up or learn something from it 🙂
LOVE this idea and the print goes perfectly with your upcycled sideboard. I love your style so much!
Thank you so much Gilly, I love your style too!
I”ve always wondered how to do this! Great tutorial and that picture is amazinggggg!!!
I actually made a different one a while back that was much smaller and had no backing, but could not figure out how the heck to hang it without the bottom lifting off the wall due to the weight of the wood. Even paint sticks were too heavy! At least now I know that the picture hanging strips work wonders. This wall hanging was much larger so I needed a backing and am so happy about the foam board. Now I want to make smaller ones to take in the RV with us 🙂
Oh so beautiful, Katie! I love that photo with the watercolor effect.
Thanks Alexis! I know you could paint an actual watercolor to look even more amazing, but until I develop your mad painting skills I’m okay with the fake effect, haha.
I love it and think that your picture is perfect for this time of year!
Thanks Jennifer! I agree, I love the fog that shows up in the image, it feels so wintery as a result 🙂
How much was it for this size of picture at Staples?
This one cost me about $12 with tax 🙂
Katie, this is beautiful. Is there a chance you’d consider selling a download version of your image? It’s simply breathtaking. Cheers, Ardith
Hi Ardith,
I actually plan to have it up in my digital shop soon 🙂
~Katie
Yippee! Thank you and looking forward to it. Happy Holidays, Ardith
I would love a copy of this print as well!
Is that photo available for download? I can’t find any I like better!
Hi Taylor,
I actually have the digital download available in my shop for $5 🙂
https://mountainmodernlife.com/shop/watercolor-lake-tahoe-print/
Katie
I can’t WAIT to do this!!! My son hiked the entire Appalachian Trail and this is a perfect way to display some of his amazing pics!!!! Thank you for paving the way to an incredible DIY project! N
Wow, first of all I think it’s so awesome that your son hiked the entire Appalachian trail! I bet you’ve heard some really interesting stores and seen some amazing photos. I think this would be a great way to display some of the pictures 🙂
Katie
Awesome tutorial! I have my engineered print in 36×48 and I’m getting this project done this weekend! One question-why did you choose black foam board over white? Were you concerned at all about the dark showing through all your white space in the pic? My picture is mostly white and it definitely crossed my mind but I can see how the black might look more polished from the side. Anyway, I’m super excited to see how it turns out! Thanks!
Thanks Carolyn! To be honest, when I first picked up the board I thought the sides would show and yes I figured black would look more polished than white, but since this is a light print, I think white would have blended well too.
If you do this project on foam board, just make sure you add more than enough adhesive. I love that this is a super light option compared to plywood, but I honestly prefer using plywood vs. foam because it seems a lot sturdier.
Have fun and I’d love to see what you create when you’re finished!
Katie
Thanks for the details! Can’t wait to try it! Wondering how you adhered the print to plywood? Also, do you recall what stain you used on the wood? Love the color 🙂
For the plywood I used the same spray adhesive but had also painted Modge Podge on top. I have a post that goes into more detail here:
https://mountainmodernlife.com/diy-large-scale-wall-art/
I hope that helps and let me know how it turned out for you 🙂
Katie
Hi Katie! I am going to try this using plywood as the backing because I plan on framing out a map where you uncover places you’ve gone, like a lottery scratcher. Do you think the spray adhesive would be enough? I don’t want to cover the top of the map with anything. Not sure if I explained that right, but here is the map I am using:
https://www.etsy.com/listing/491753329/ships-fast-its-a-beautiful-world-scratch?ref=shop_home_feat_3
Hi Andi! First off, I love this idea! We attached a map to plywood in our RV, but the map itself already had adhesive on it (https://mountainmodernlife.com/diy-push-pin-vintage-style-map/). I used spray adhesive on another large scale print that I attached to plywood which my mom has in her home (https://mountainmodernlife.com/diy-large-scale-wall-art/). There haven’t been any issues with it so as long as you use heavy duty spray adhesive I think you’ll be fine 🙂
Whatever you decide to do, keep us posted!
Katie
I just tried this with a light colored print and you can most definitely see the seams of the tri-fold board underneath the print. Any suggestions?
Hmmm, the print I used was pretty light too. What kind of tape did you use to flatten out the folds?
I used clear book tape – figuring it was the thinnest and toughest. Did you tape both sides of the folds?
Yikes, just saw this, sorry! I only taped one side because I was afraid that the tape line would have shown through the photo. I have read about other people using duct tape, so maybe that would work better. What type of paper did you use? Did you go with an engineering print like I did? To be honest, while this project worked ok, I still prefer plywood or using foam board without creases vs. the tri-fold foam board, which is why I have that updated info included in the post. Let me know if you found any tips that worked for you!
Hi Katie,
This project looks incredible! I’m not much of a DIY person and was wondering if you ever made/sold these as a final product?
Thank you!
Thank you! At this time I don’t mainly because I’m terrible at finding time for my own projects, but also because we’re traveling in our RV so storing extra materials would take up extra space and weight, and I don’t know that I’m ready to sacrifice that, haha. You can find some really amazing wall art on Etsy though!