UPDATE: All new featured RV tours will be posted on my other website, Wanderful RV Interiors. Existing tours will slowly be moved to the new website, and anything already moved will automatically redirect.
Disclaimer: This post may contain affiliate links, meaning, if you click through and make a purchase we (or those featured in this post) may earn a commission at no additional cost to you. View our full-disclosure here.
Creating a rustic accent wall in your home is an easy way to transform the look of your space and make a statement. Paint is one way to do this, but some alternative options are planked wood, corrugated metal, and wallpaper.
In fact, you may recall the $3 triangle accent wall I created in my home office a couple of years ago. We were renting at the time and I hadn’t decided if I should paint the walls or not, so instead, I went with an option that I could easily remove or change within a matter of minutes that wouldn’t damage the walls. I instantly became a fan of peel and stick designs for our rustic accent wall.
A Rustic Accent Wall for the Indecisive
We’ve painted all of the walls and cabinets in our RV white, but I wanted to add character to a narrow wall in the bedroom with texture. This was due in part to the fact we had removed the nightstand that was previously installed there and it left some screw holes that and funky indents that paint wouldn’t cover-up.
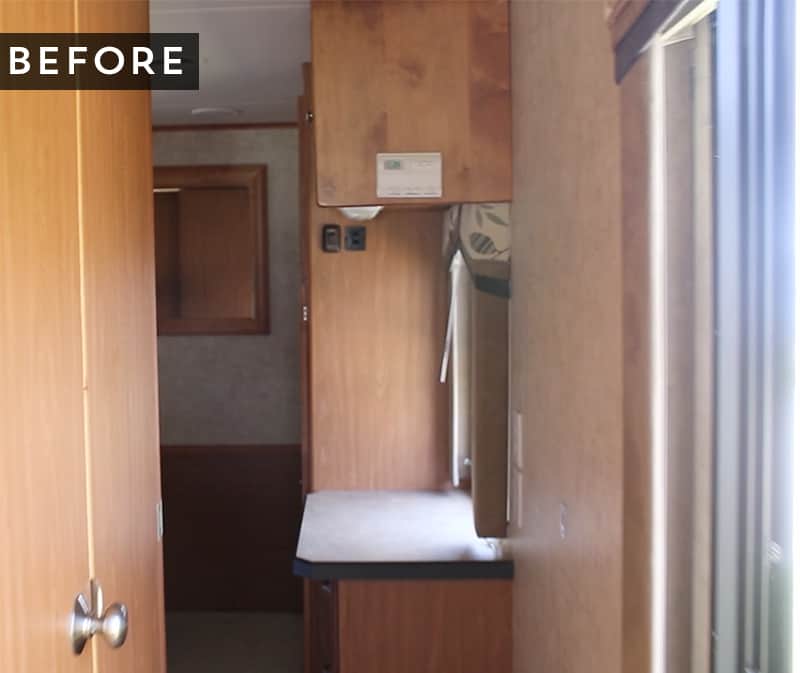
My original plan was to use shiplap or tongue and groove similar to what we did to the slide-out in the living room, only in a herringbone pattern. What I love about tongue and groove wood (or even faux plywood “shiplap”) is that it’s thin which means it’s light, and in an RV weight matters.
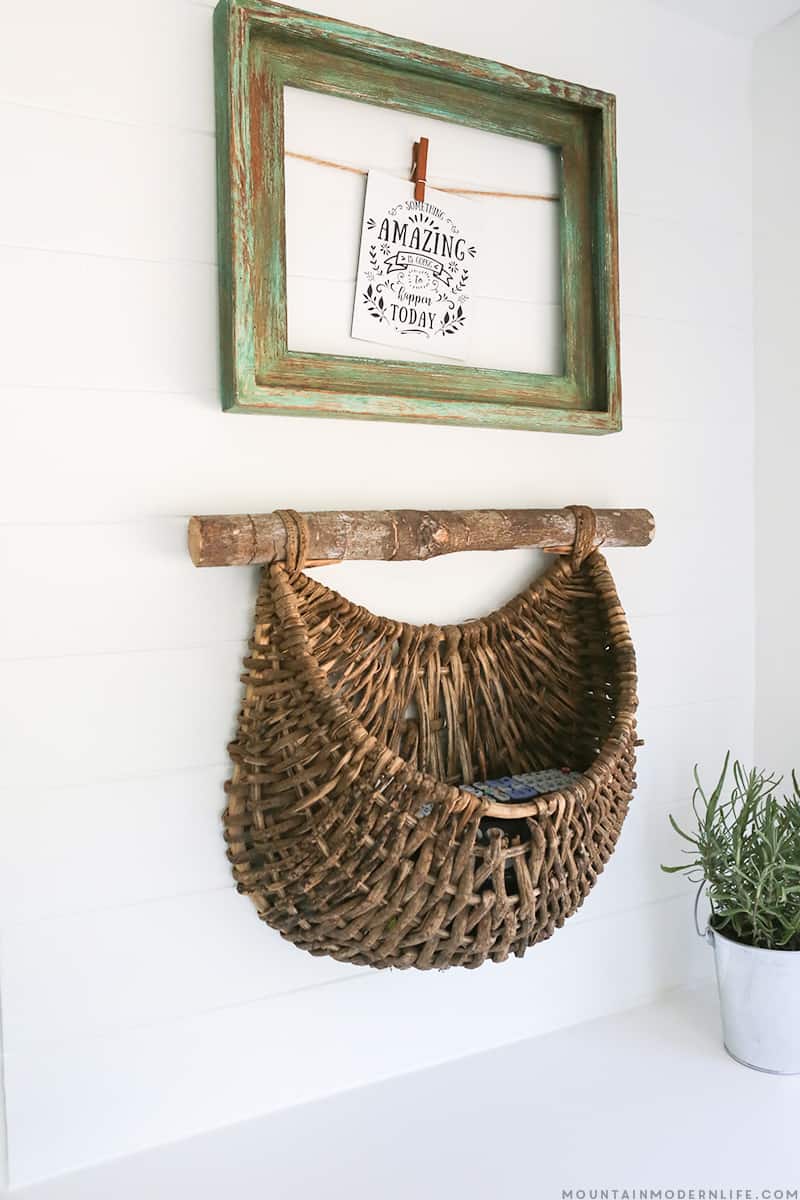
However, we were scheduled to hit the road within a couple of weeks and had a project list that only seemed to get longer. That’s when we decided to go an alternate route, one that wouldn’t require much time, money, or add much weight to our motorhome, while still covering up the wall imperfections.
I figured the best solution at this point was removable wallpaper. Although we first considered using a pallet wood style, we didn’t want it to compete with the real wood accents we had added throughout the RV. That’s when we decided to go with our second choice, stone.
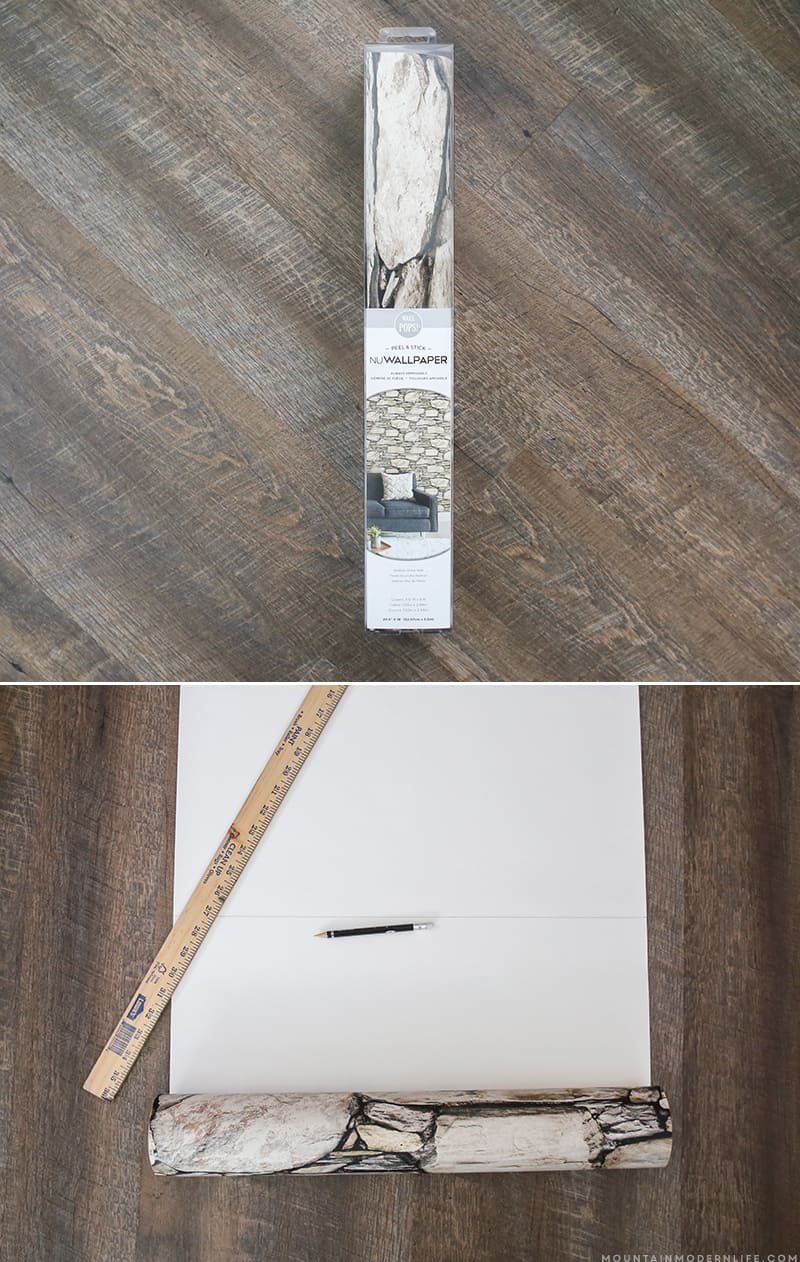
You can find all kinds of temporary wallpaper online as well as in hardware stores, craft stores and at Target. I actually picked ours up at Joann’s when it was 50% off so it was $25.
Luckily we were adding the faux stone wallpaper to a really narrow wall so one roll was enough (it covers approx. 30 sq. ft.). If you plan to create a larger accent wall you may need more.
- Removable Wallpaper (this is the one we used)
- Measuring Tape
- Yardstick
- Scissors
- Pencil
- Patience
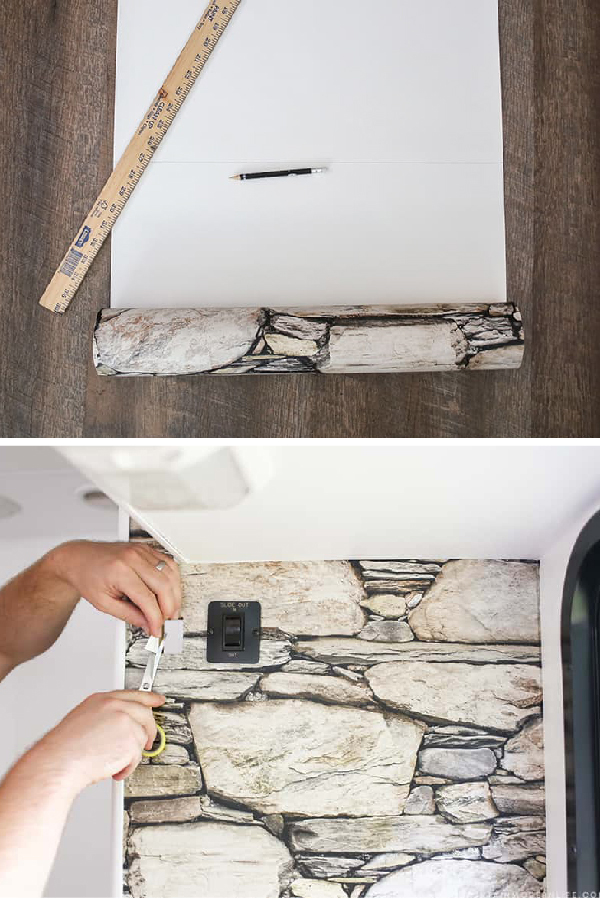
The first thing we did was measure the dimensions of the wall and jot them down. I then rolled the wallpaper out and cut the height I needed, followed by the width. Easy peasy.
Measure Twice, Cut Once
The wall we were installing the wallpaper on has an “L” shape at the top since it went around a cabinet. I measured this out onto the wallpaper and then cut it out. I didn’t want to draw on the front of the design so I did this while it was flipped over. Keep in mind that your measurements and cut-out will need to be in reverse if you do it this way.
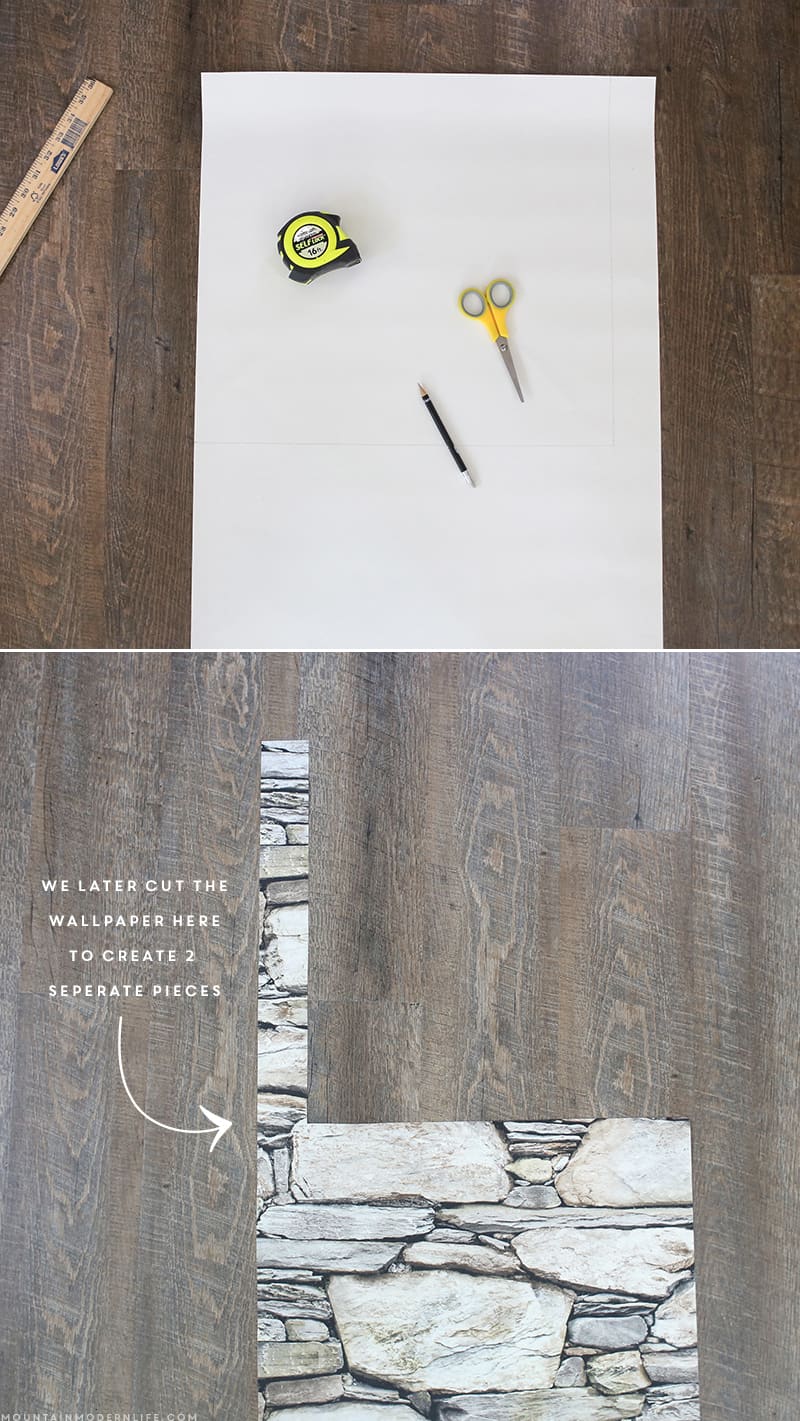
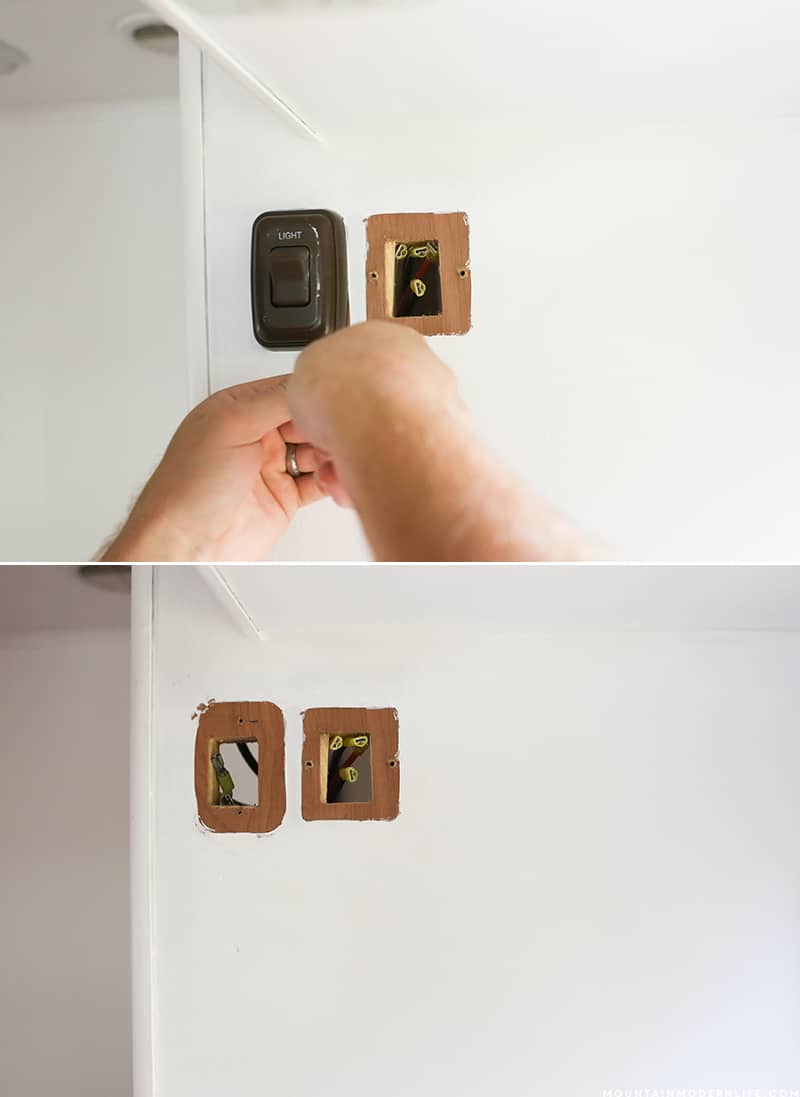
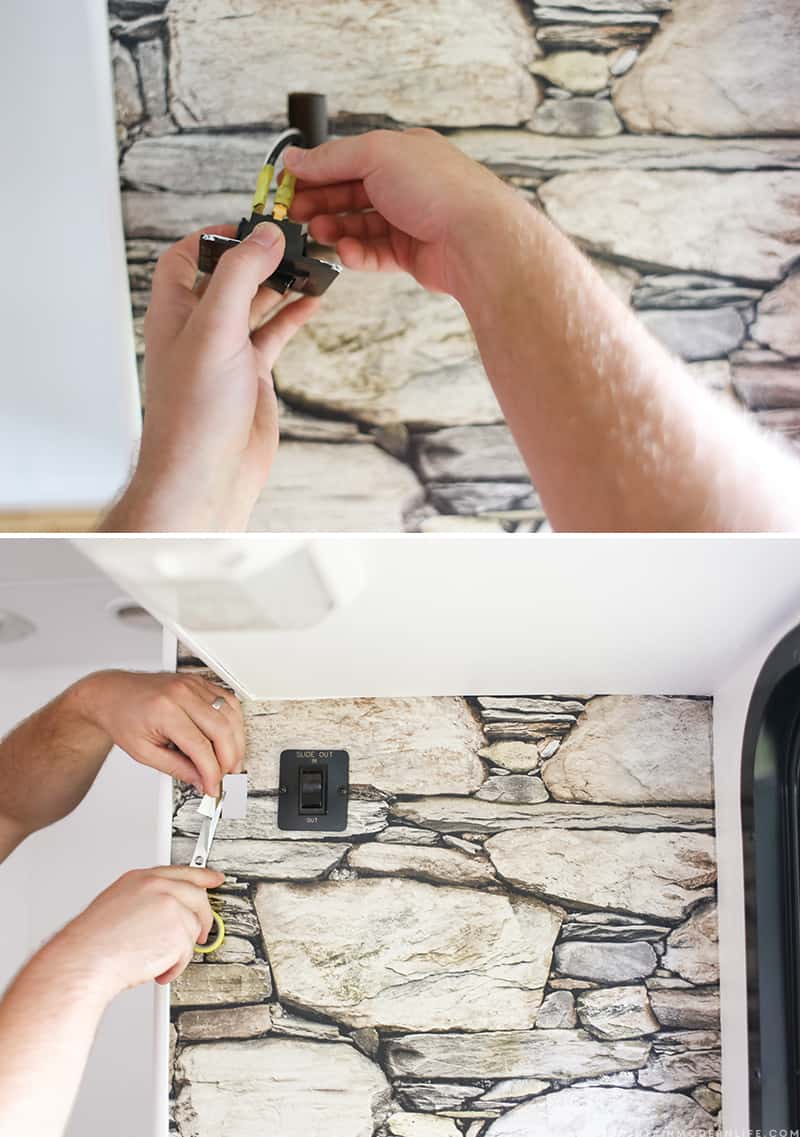
Eric then removed the switch plates for our light fixture and slide-out so that we could install the wallpaper onto the wall, and then add the switch plates back afterward.
Luckily the other side of this wall is our bedroom closet so we were able to poke a hole into the wallpaper with scissors from the closet side and then cut around the holes.
Teamwork’s a Dreamwork
We both worked together to get the faux stone wallpaper onto the wall as straight as possible. We actually ended up cutting the skinny section off so we had two pieces. We installed that skinny line of wallpaper first working our way down from the ceiling. Afterward, we started adding the rest of the wallpaper starting in the far right corner and working our way to the left and down. I used the scraper from my Silhouette Machine, just like I did for this large wall art, and this one too. However, you could use a tool specifically made for wallpaper or even just a credit card.
Although one person could do this, we found it a lot easier with two. Even then several curse words were expressed during the process.
One of us would hold the wallpaper roll while the other person slowly guided it down and pressed it into place, unraveling the wallpaper as we worked our way down the wall. We had to adjust it along the way, sometimes lifting it up a few inches and then guiding it back down. Luckily it’s removable wallpaper so we had some flexibility with the placement.
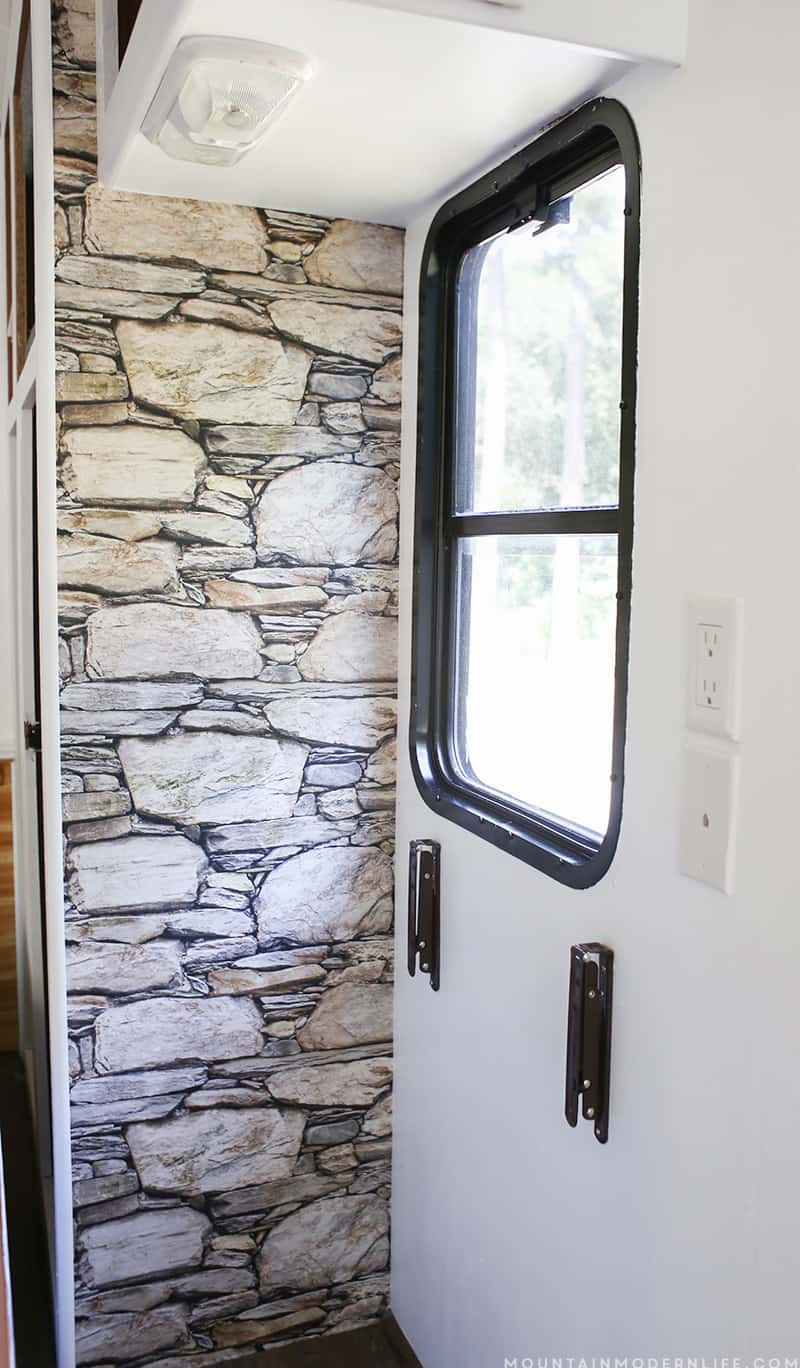
Not gonna lie, it was a total pain and I’m pretty sure the whole time we talked about never using wallpaper again. And this was in a tiny space! Then once our faux stone wall was finished we were excited about how it turned out and were all like “Well, I guess that wasn’t too bad”. Haha.
It’s not perfect but the texture of the stones is very forgiving, plus it covered up the funky lines in the wall.
Wallpaper Remorse
About thirty minutes later I started to have wallpaper remorse. Did I just make a big mistake? Did it look too cheesy? Did it cheapen the rest of the space? I honestly wasn’t too sure how I felt about it and a couple of days later I told Eric it was fine for now but that I wanted to add my wood wall later.
Indecisive Much?
After we installed our wall-mounted desk I decided to give it some time to see if it would grow on me.
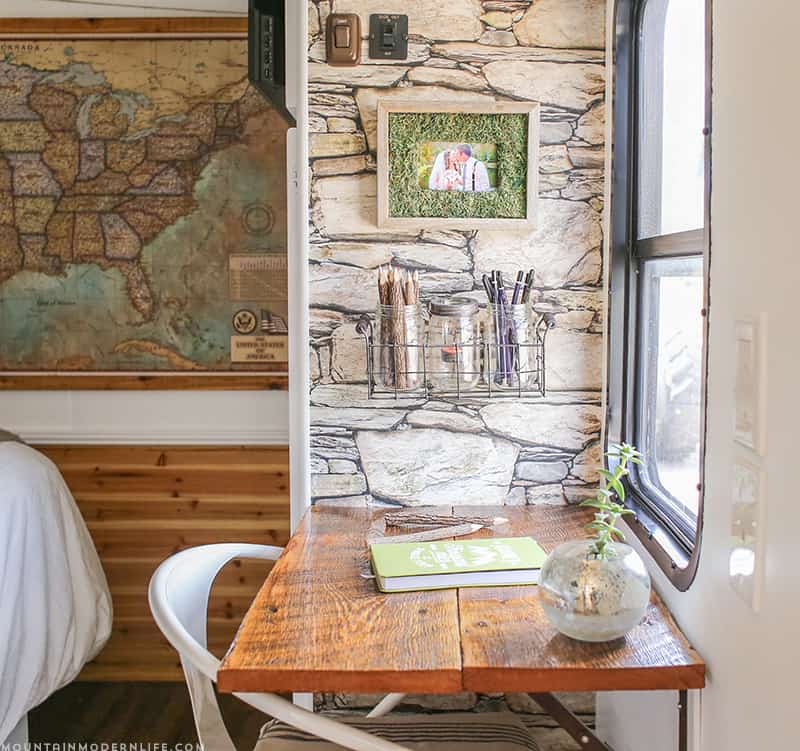
Update: We actually did end up changing the wallpaper within a couple of months, but I think if I had used a different pattern or texture I may have liked it. Maybe something that didn’t compete with everything else going on.. or something super bold that makes a statement. This was sort of just “meh” in the space. It didn’t really add anything, and instead made the space feel a bit cluttered to me.
What I learned from our temporary rustic accent wall
I still think wallpaper is a fun way to spruce up boring walls or cover wall imperfections in an RV. My only advice would be to make sure you LOVE the pattern, and if you do then you’ll probably love it in the space! That was my first and main mistake.
So if you’re looking for a non-permanent way to spruce up your walls then I definitely say removable wallpaper is the way to go.
If you’ve used it in your home or RV, let us know how it turned out in the comments below!


We absolutely love how this turned out! It looks fantastic in that space!!
We are super excited about how it came out too! I love all of the wallpaper options out there and spent a lot of time just trying to decide which was my favorite. 🙂
These are brilliant,love how they work.
Thank you!
The rock looks good in there. I think if you had put wood on it, the wood desk wouldn’t look quite as dynamic as it does. Good choice in the rock pattern too.
Thanks Sandy! It definitely helps the desk stand out without competing 🙂