UPDATE: All new featured RV tours will be posted on my other website, Wanderful RV Interiors. Existing tours will slowly be moved to the new website, and anything already moved will automatically redirect.
Disclaimer: This post may contain affiliate links, meaning, if you click through and make a purchase we (or those featured in this post) may earn a commission at no additional cost to you. View our full-disclosure here.
Thank you so much to BEHR for sponsoring this post! As always, all opinions are 100% my own.
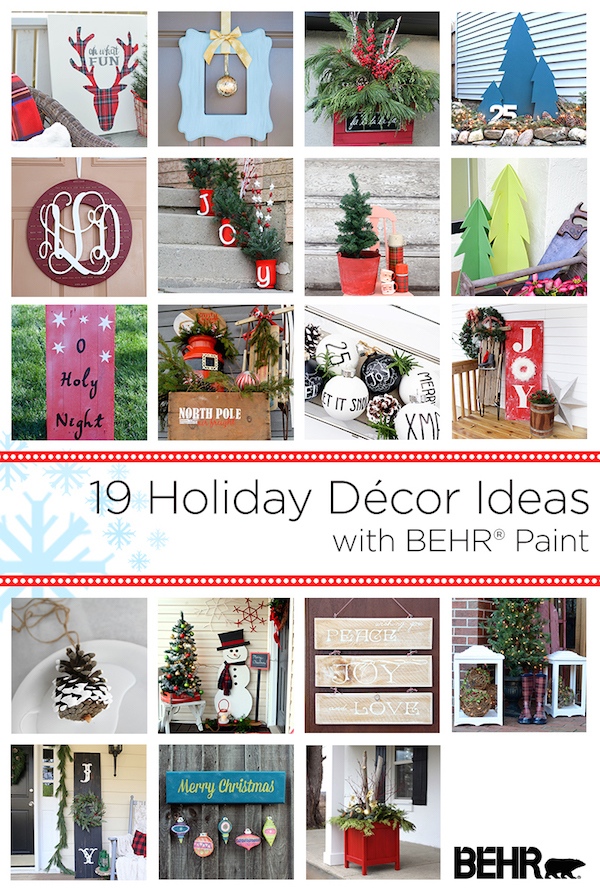
I’m so excited to have teamed up with 18 other bloggers to share some outdoor holiday decor ideas with you.
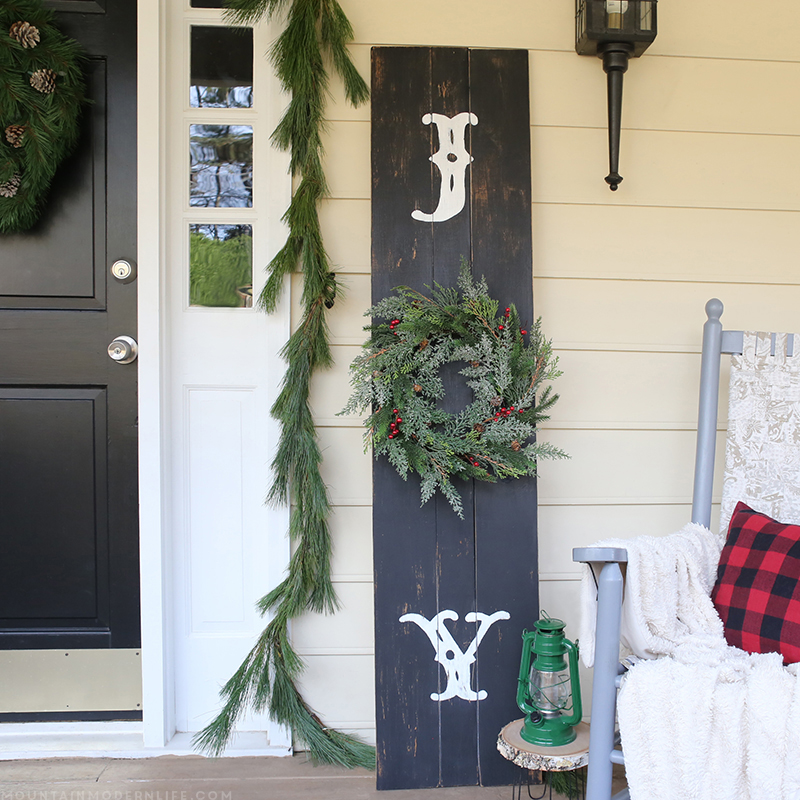
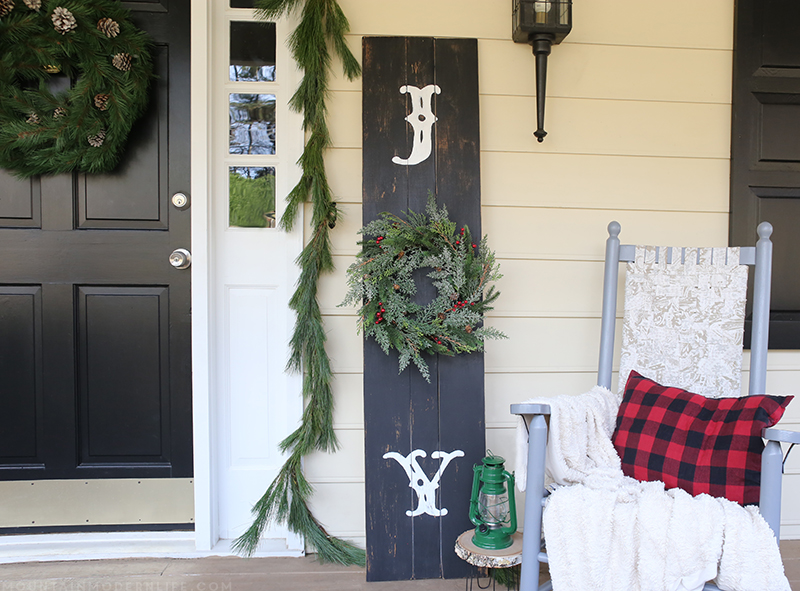
We may be majorly downsizing in 3 months, but I’ve decided that’s only more reason to enjoy decorating our (rental) home for the holidays, and that includes the front porch. So this year I made a quick and easy rustic front porch Christmas sign that says “Joy”.
Rustic Front Porch Christmas Sign
Seriously ya’ll this project is so easy and is a fun way to spread some holiday cheer on your porch. True confession, I originally planned to paint my sign in BEHR Farmhouse Red but I changed my mind at the last minute and decided to go with Carbon. I think the black paint is the perfect backdrop for the white letters and gives the sign a vintage/rustic vibe. Plus the pops of green and red look so pretty next to it.
- Scrap wood
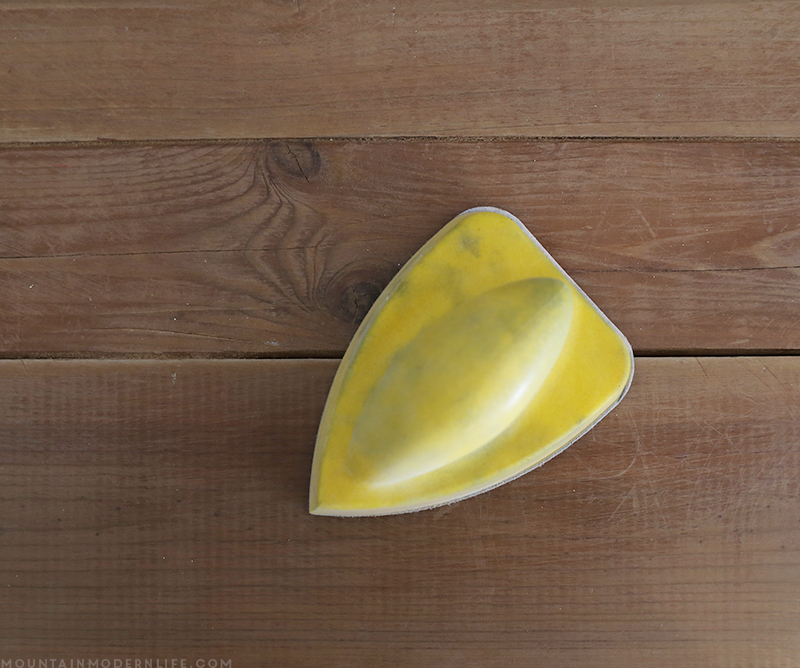
- Sandpaper
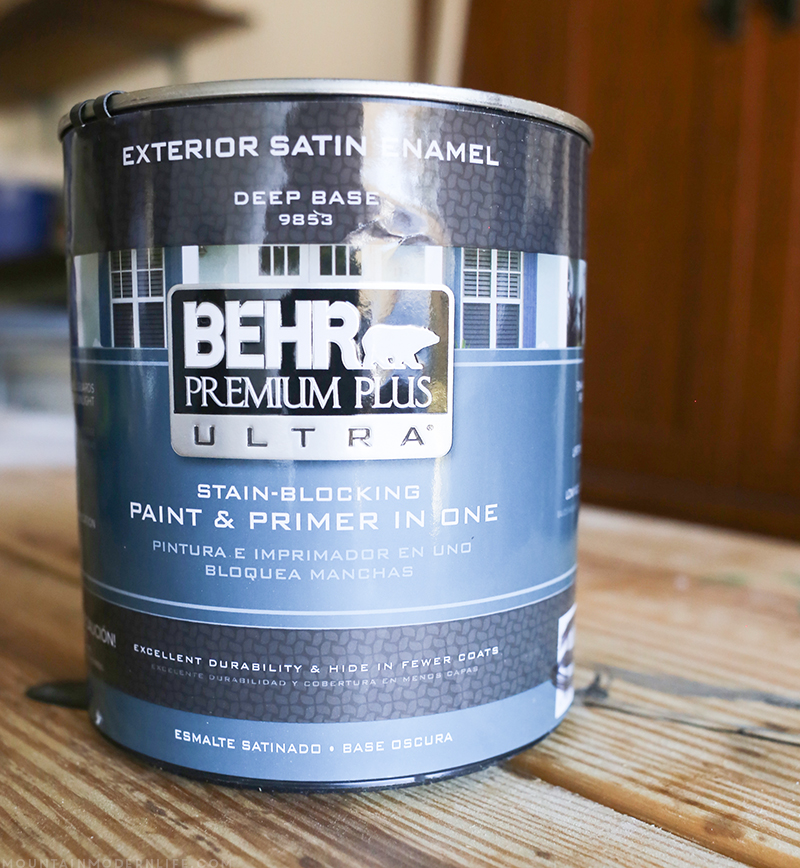
- BEHR Premium Plus Ultra Exterior Satin Paint – Carbon N520-7
- BEHR Satin Enamel Paint – Polar Bear
- Paint Brush
- Craft/Detail paintbrush
- InkJet Printer/Copy Paper
- Chalk
- Pen
- Nail/Hook
- Wreath
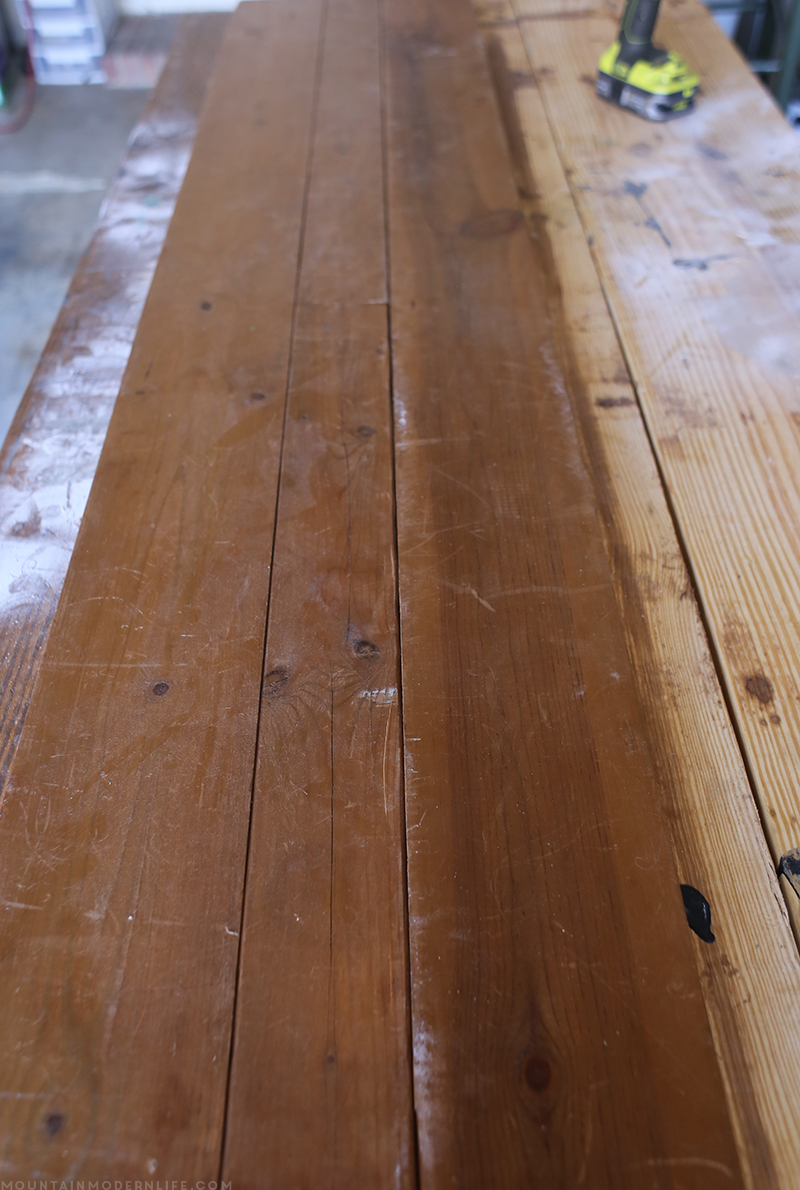
Roughly two years ago we built a rustic desk for my office, which was then moved into our bedroom before being replaced by a smaller desk. It was then dismantled and we’ve repurposed the wood into several projects since, including the pipe shelves in our dining room, my moose mug holder, and now this Christmas sign. Plus there is still even more scrap wood to use for future projects.
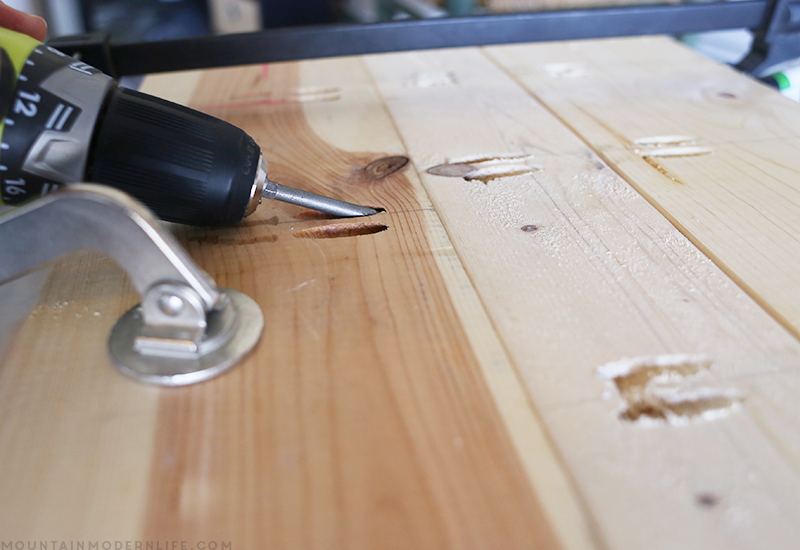
The length of the wood was perfect for my vertical sign and two of the boards were already Kreg jigged together (basically screwed to one another using our fave tool ever, the Kreg Jig). We just had to attach another board that had previously been unscrewed.
If you are using multiple pieces of wood and don’t have the Kreg Jig you can always use wood glue and nail or screw in a wood brace to connect the boards to one another. Or make it even easier by using just one board that is wide enough 🙂
The boards were dirty and a bit roughed up from being in our garage, so I cleaned them up and gave them a light sanding. I wanted character so I didn’t bother making them perfect for our rustic front porch Christmas sign.
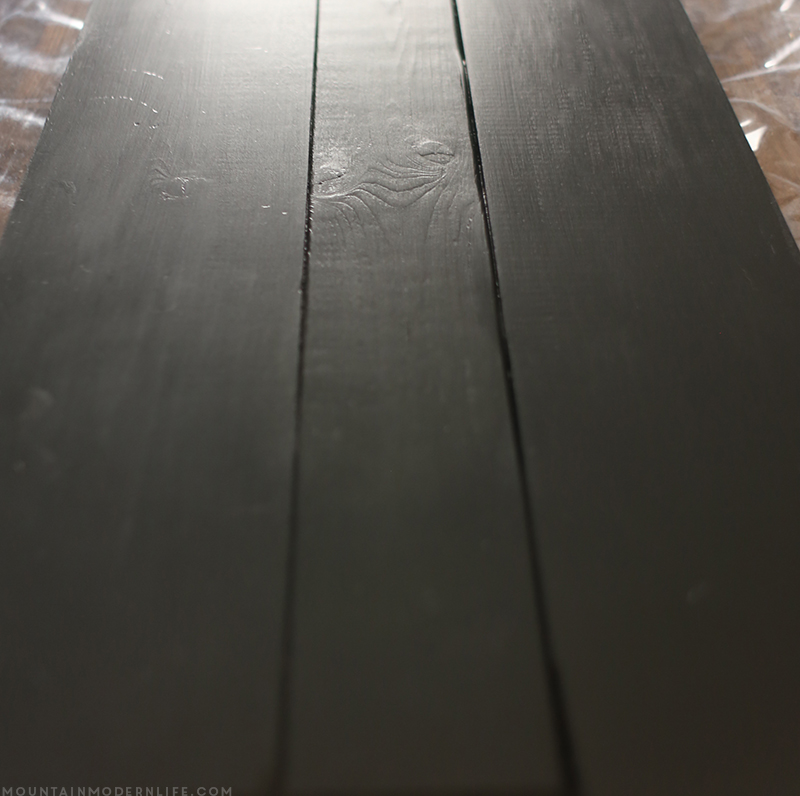
I then brushed on a coat of BEHR Carbon Exterior paint. The coverage was awesome and I only did 1 coat. I wasn’t too concerned about perfection since I planned to distress the wood a bit later on anyway.
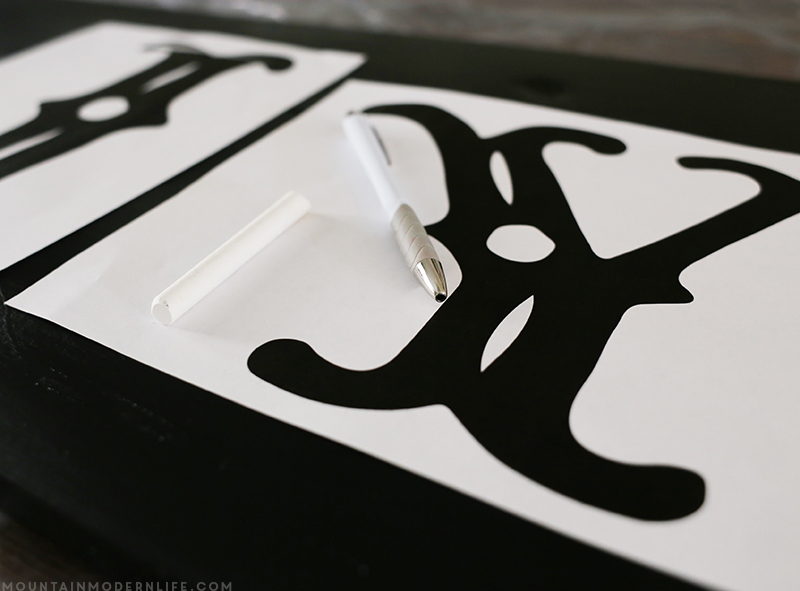
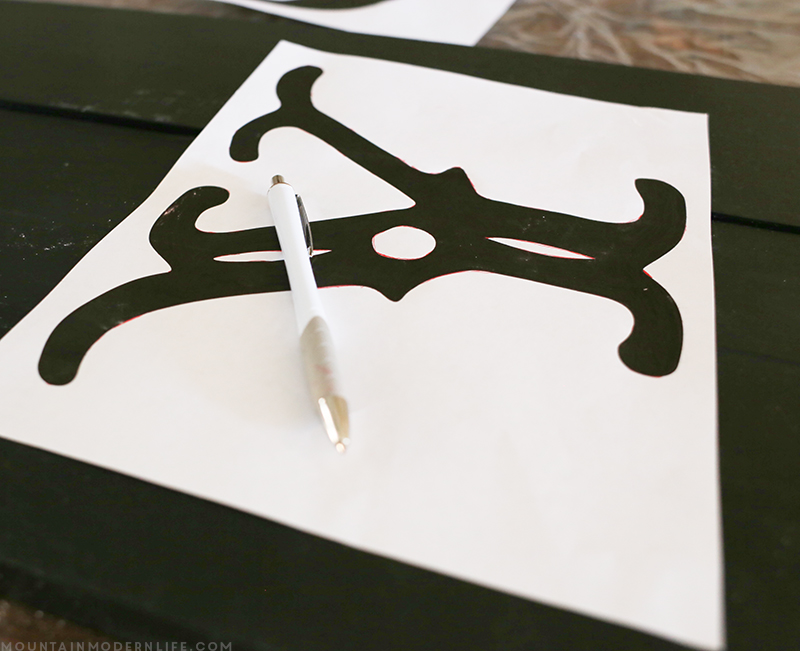
I then used my inkjet printer and regular copy paper to print out the letters “J” and “Y”. I used the same font I used for our “Merry Everything” sign, which you may have seen in my Christmas home tour last year.
I thought about using my Silhouette machine but decided to hand paint the letters on instead so that I could distress them for a vintage/rustic feel. Once printed I used one of my favorite techniques to transfer the letters onto the wood. This basically imprints the design onto the wood in chalk so that you can use the transfer as a guide to paint on top of.
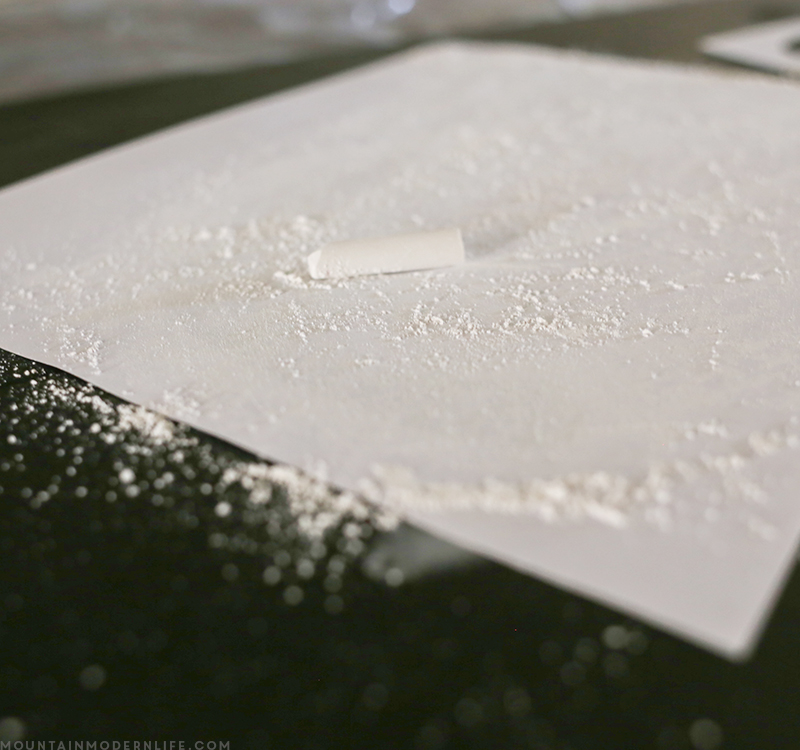
First, flip the paper over and rub chalk all over the back of the paper on the opposite side of the ink letter.
Then flip it back over, place it where you want on the wood, and begin tracing the outline of the letter with your pen (any pen/pencil/colored pencil should do the trick). I also shade in the inside of the letter with my pen real quick. Don’t worry about it being perfect.
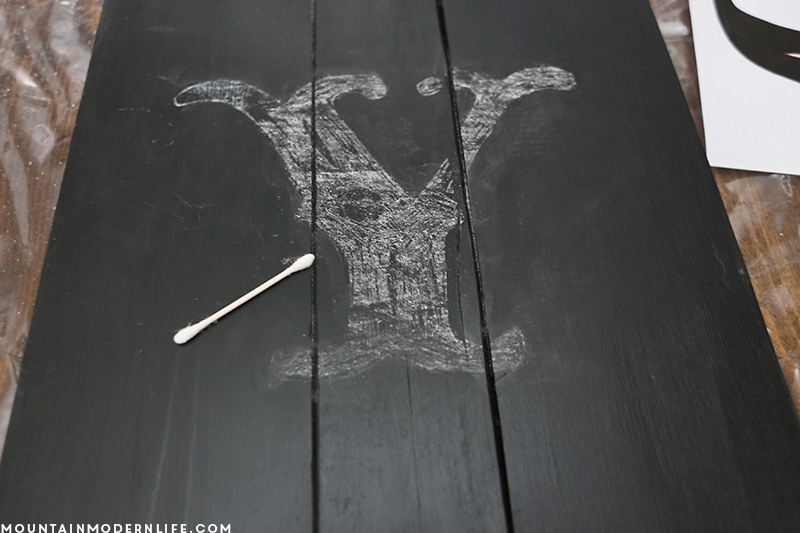
Afterward, you can remove the paper and will see the letter has been transferred on top of the wood with chalk. It’s like magic. No matter how many times I do this, it amazes me every time. #easilyamused
Yes it may be a bit messy and there could be chalk dust around the letter but you can easily clean that up with a tissue or q-tip. It’s really just there as a guide so that you know where to paint.
I used sample paint for the letters that I had on hand from when we were trying to decide what shade of white to paint our bedroom. It’s called Polar Bear and it seemed totally appropriate for our rustic front porch Christmas sign, don’t you think? 🙂
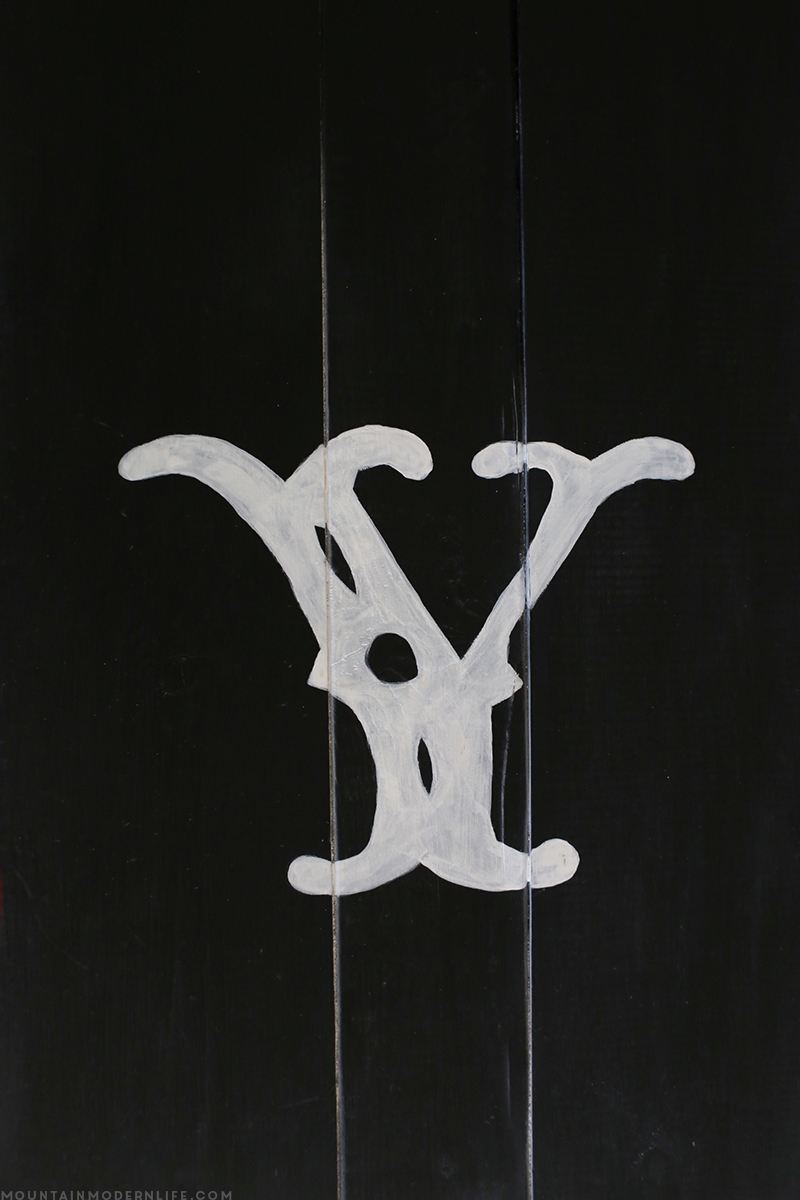
I painted a couple of coats of white paint with a small detail/craft brush, letting it dry in-between. I like to mix in a little water to help it go on smoother. Again, I wasn’t worried about it being perfect since I knew it would be sanded down and distressed later on. Here is a photo during the process. Looks rough, eh?
I have shaky hands and just want you to see that it doesn’t need to be perfect because a couple more coats and some distressing can make all the difference.
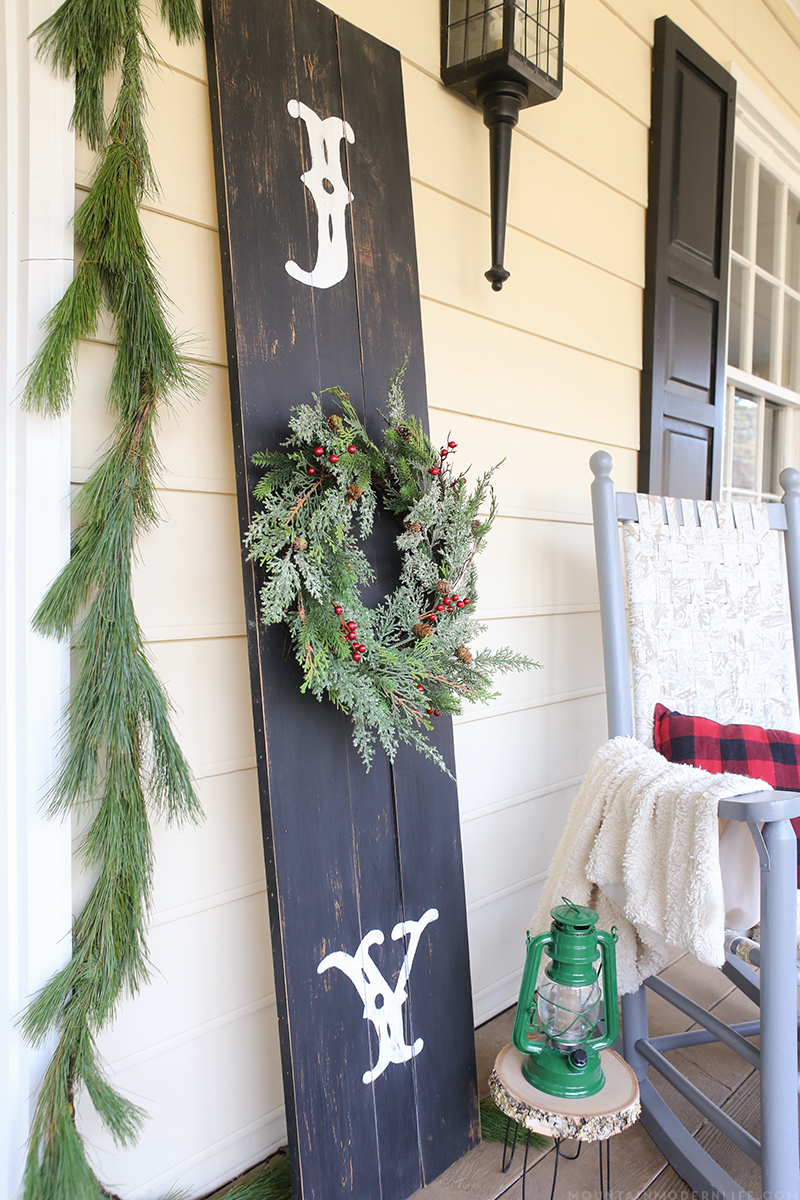
I then added a nail to the center of the boards so that I could hang a wreath from it to be the “o” in Joy. I love the pop of green that it brings to the sign. I think I will add some battery operated LED lights to the wreath in the next couple of days.
Here is my rustic front porch Christmas sign all finished up. I didn’t bother sealing it since I don’t mind it getting more weathered but you could certainly add some sealer for added protection.
Oh, and I may have moved our welcome mat to clean it up before the photo and totally forgot to put it back, haha.
And that’s it! Pretty easy, huh? What do you think of the rustic front porch Christmas sign? Will you be making your own?
How about some more holiday inspiration?
Be sure to visit the blogs below for additional outdoor project ideas!
DIY Painted Wood Snowman | The Frugal Homemaker // Merry Christmas Sign with Hanging Ornaments | The DIY Dreamer // Joy Porch Sign | Sugar Bee Crafts // Paint Dipped Pine Cones | Someday I’ll Learn // Santa Front Porch Display | NewlyWoodwards // DIY Black &White Ornaments | My Little Secrets // O Holy Night Sign | Marty’s Musings // Fence Picket Door Hanger | Maison de Pax // Ornament Frame Decor | Made to be a Momma // Holiday Planter | Life at Cloverhill // A Monogrammed Christmas Wreath | Just a Girl and Her Blog // Outdoor Christmas Display | Frugal Mom, Eh! // DIY Outdoor Plywood Holiday Trees | Décor Adventures // Christmas Hanging Baskets | Clean and Scentsible // Outdoor Lanterns | All Things Heart and Home // Plaid Deer Head Sign | A Pop of Pretty // Christmas Decorating | Be Crafty Workshop // DIY Christmas Trees | Poofy Cheeks
(This giveaway has ended)
What outdoor holiday projects do you have planned?



my fave Behr paint color is:
calypso blue! love it!
Thanks so much for the chance to win!!
Joey J.
I just looked up that color and love it! Thanks for entering and good luck 🙂
Thanks! Yea, it’s a great color!
Love your rustic sign and the Carbon is the perfect backdrop 🙂 xo
Thanks Robin! I love how the other colors pop against it and it has since made it’s way into additional holiday decor items throughout our home 🙂
This is so cute! Love the rustic look!
This is too cute! I love the font you chose and the wreath as the letter “O.”
Are you willing to share the name of the font?! Thanks~
Brooke