UPDATE: All new featured RV tours will be posted on my other website, Wanderful RV Interiors. Existing tours will slowly be moved to the new website, and anything already moved will automatically redirect.
Disclaimer: This post may contain affiliate links, meaning, if you click through and make a purchase we (or those featured in this post) may earn a commission at no additional cost to you. View our full-disclosure here.
I have an obsession with reclaimed wood. It’s my weakness.
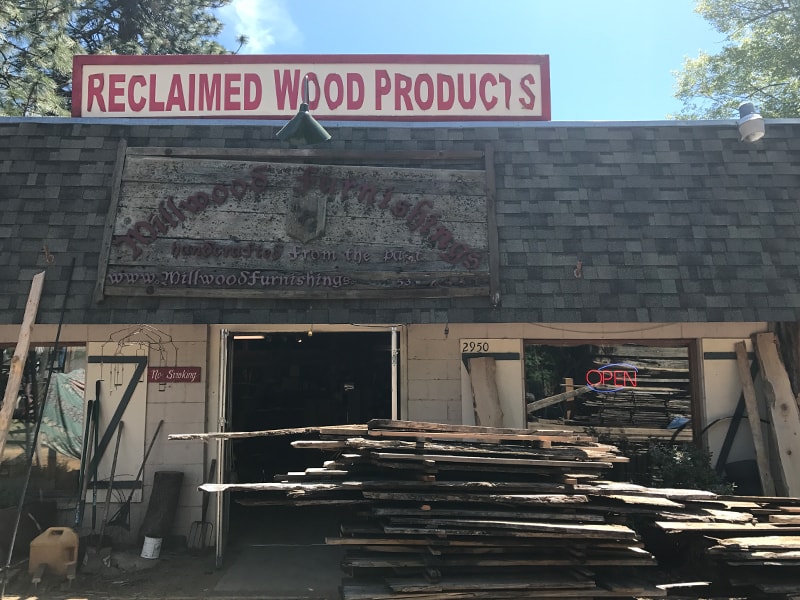
In fact, salvage architectural yards are some of my favorite places to visit during our travels.
I find it somewhat hilarious that I can be such a germaphobe yet will dig through a pile of old wood without hesitation.
Eric often has to run after me and remind me to be careful, but I’m like a kid in a candy store and his words fall on deaf ears.
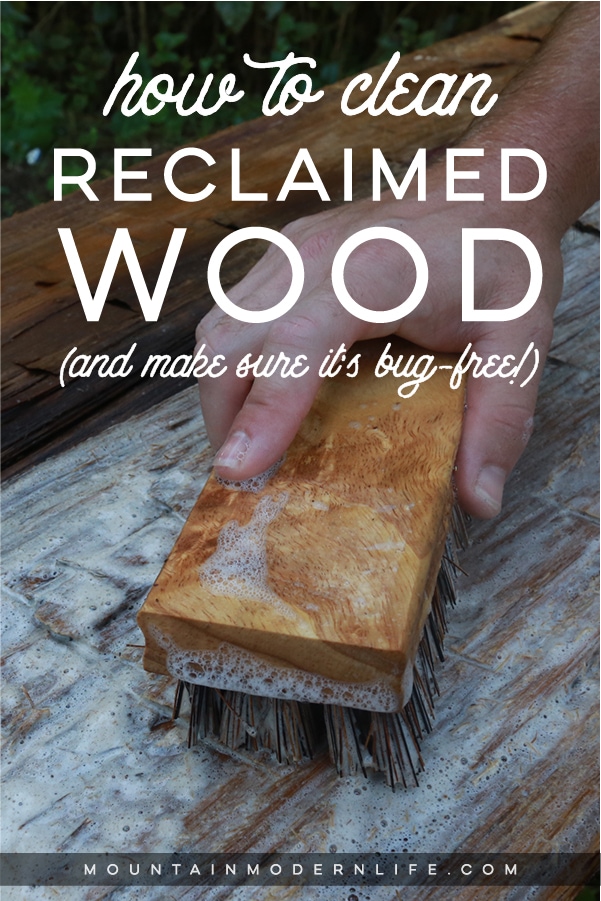
How to clean reclaimed wood
With that said, there’s no telling what’s caked on or living in that beautiful wood, which is why cleaning it is an important step before bringing it into your home or RV.
We’ve learned a thing or two over the years, mostly through trial and error, so I wanted to share some tips on how to clean reclaimed wood, and make sure it’s bug-free!
We’ve put together a video going over some of these methods, which you can watch below:
Safety First!
When working with reclaimed wood it’s a good idea to wear eye protection, a dust mask, and heavy-duty gloves. And be sure to carefully remove any old nails or fasteners.

My biggest takeaway from cleaning reclaimed wood:
We’ve created several projects using reclaimed wood, from the gilded wall hangings in our previous home to countless projects in our RV, including our kitchen cabinets.
The most important lesson I’ve learned with reclaimed wood is when to lightly clean it vs. give it a scrub or sand down. And unfortunately, I learned this the hard way.
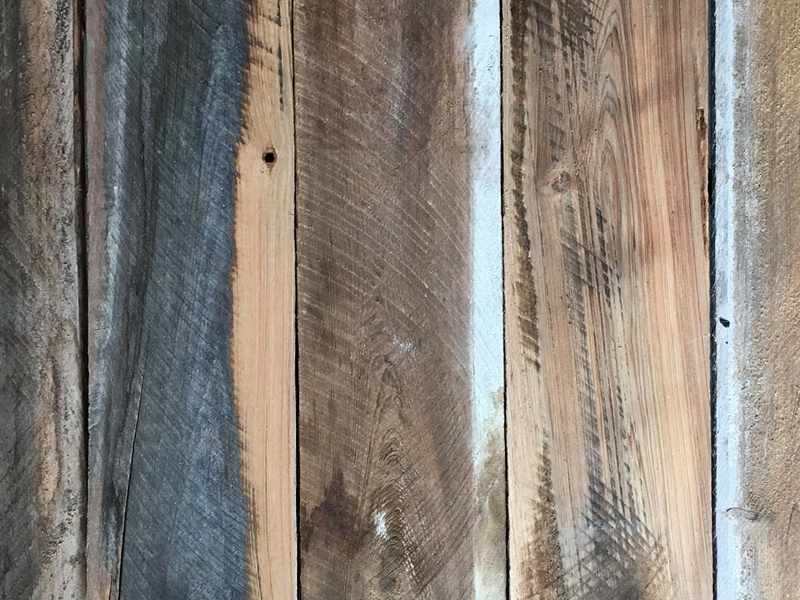
Years ago, when I started cleaning reclaimed wood, I would sand it down with a hand sander, which would get rid of that beautiful patina and some of the character.
Or I would lose the patina from scrubbing it down, and the variation in color is what drew me to it in the first place.
What was I thinking?!
Then I went so light with the cleaning or sanding that I didn’t remove as much of the dirt as I would have liked.
So I guess it’s all about finding that happy medium, but mostly understanding what you want from the wood before you start, and then use the method that will help you achieve that goal.
Just remember that once the patina comes off, you can’t add it back.
How to Clean Reclaimed Wood – Professional Options
Before I dive into the process we generally use at home, here are some other options you may want to keep in mind:
- Kiln-Dried Wood
- Have it Milled Down
Kiln-Dried
If you’re researching shops that sell reclaimed wood, you may want to ask if they kiln dry the wood. This is essentially storing the wood in a kiln (think of it as a large oven) for a certain period time to remove the moisture. This process can be expensive, tedious, and time-consuming depending on the type of wood and thickness needing to be dried out. This is why wood that has been kiln-dried is often more expensive than wood being sold as-is.
The price may be worth it to you though because kiln-dried wood is basically sanitized through the process, and any bugs or bacteria that may have been living inside of it, will be dead.
This means all you really have to worry about is cleaning up the appearance of the wood or finishing it. If using the wood indoors and you want to keep the patina (which is often the case for buying it in the first place), then you won’t have much to worry about. If you plan to use it outside, then you may want to treat it for insects to prevent future issues, but I’ll touch on that in a minute.
I recommend checking with the owner of the wood you’re buying from to see if the wood has been kiln-dried, or if they have that service available. In my experience, the businesses that specialize in selling reclaimed materials to interior designers or architects, tend to be the ones that generally use a kiln, which is why the pricing is higher than wood you may find at your local antique mall, but again, it’s a good idea to ask so you know for sure.
If it’s not, and they don’t have a kiln (kilns are expensive and not all businesses have them on location), then you may want to call around to see if there’s one nearby. While a local business may have one, they still may be wary of taking on a small-batch or custom order, or charge a premium for the service, simply due to the time required.
Side Note: If you’ve ever wondered why the wood at your favorite lumber yard or hardware store isn’t the dimensions it states, like a 2×4 is actually a 1.5×3.5, it’s because the wood went into the kiln this size, but after losing moisture it shrank.
Air-Dried vs. Kiln-Dried
In my experience, the wood from lumber yards, salvage yards, or sawmills has been air-dried, but not always kiln dried.
What does that mean? It basically means the wood has been sorted and stored outside to air dry naturally. This takes much longer than the kiln process, but is less expensive and supposedly makes the wood easier to work with vs. kiln-dried wood, which may be a tad more fragile. I don’t know this from experience, just from what I’ve read. However, while a decent amount of moisture may have been removed, it doesn’t kill off any bugs that may be living inside. And while the sun beating on the wood can help with sanitation, it may not be as effective as the kiln.
Tip: You can use a moisture meter to see how much moisture is left inside the wood you choose.
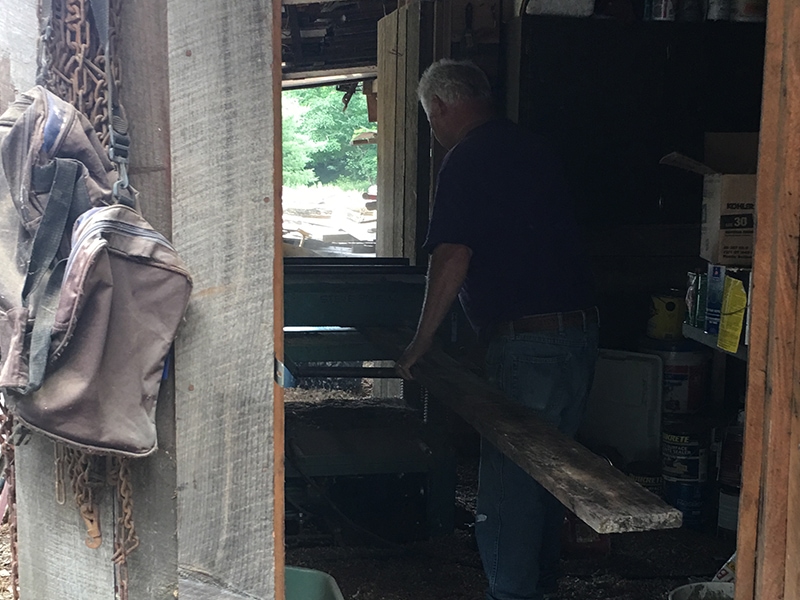
Milled Wood
If you don’t need to show all sides of the reclaimed wood, you may want to consider having at least one side milled down.
Milling the wood is what generally makes it flat and square, although if you only get one side milled down it will be flat, but doesn’t necessarily make it square.
Not only does this process create a cleaner surface on the milled side, but it can save A TON of weight because you can have it milled down pretty thin. This is what we did for all of the reclaimed wood in our RV, and is how we’ve been able to use beautiful wood rich in history without stressing about adding too much weight.
However, just because it’s created a cleaner surface on one side, doesn’t mean it has gotten rid of any critters that may be living inside.
If you’re familiar with companies such as Stikwood or Plank and Mill, their wood has already been both kiln-dried AND milled down, making it safe and easy to work with. This is also why it costs more, but you get what you pay for and it can definitely be worth it!
Cleaning Reclaimed Wood at home
if you already have a piece of reclaimed wood and just wanna get it cleaned up at home, here are some methods to consider:
- Pressure Washer
- Hose, Bristle Brush, and Soapy Water
- Steamer
- Wire Brush
- Sand Paper
Pressure Washer
I’ll be honest and say we’ve never used this method, but if we ever take on a bigger project we absolutely will!
Not only is this a simple and effective method, but it can really help save on time. And if you don’t have a pressure washer, you can rent one from Home Depot pretty inexpensively.
Some tips to keep in mind are to keep the nozzle at least a foot away from your wood so you don’t damage it or lose too much of the patina. This is also why it’s important you keep the pressure washer on the lowest setting. I would test it from even farther away and see how it goes.
It’s important you make sure the weather is in your favor because you’ll want to let the wood dry in the sun for at least a day, probably 2 to be safe.
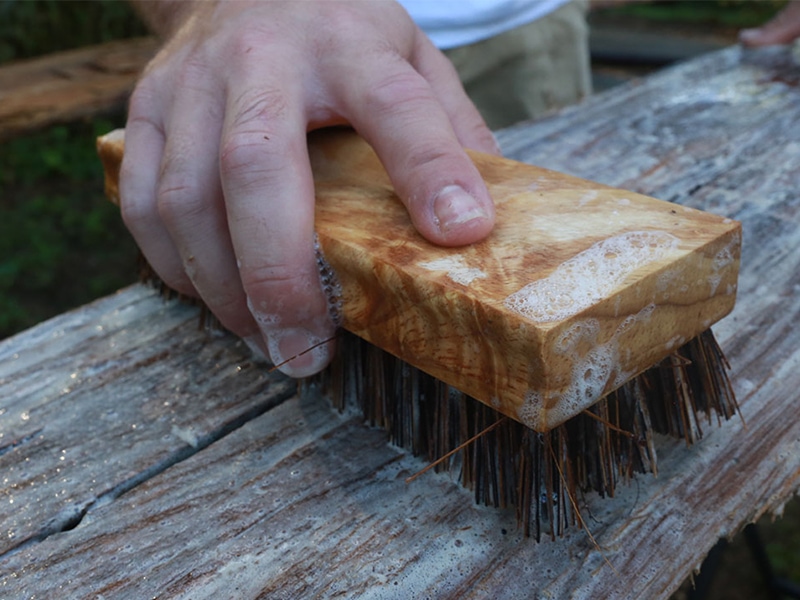
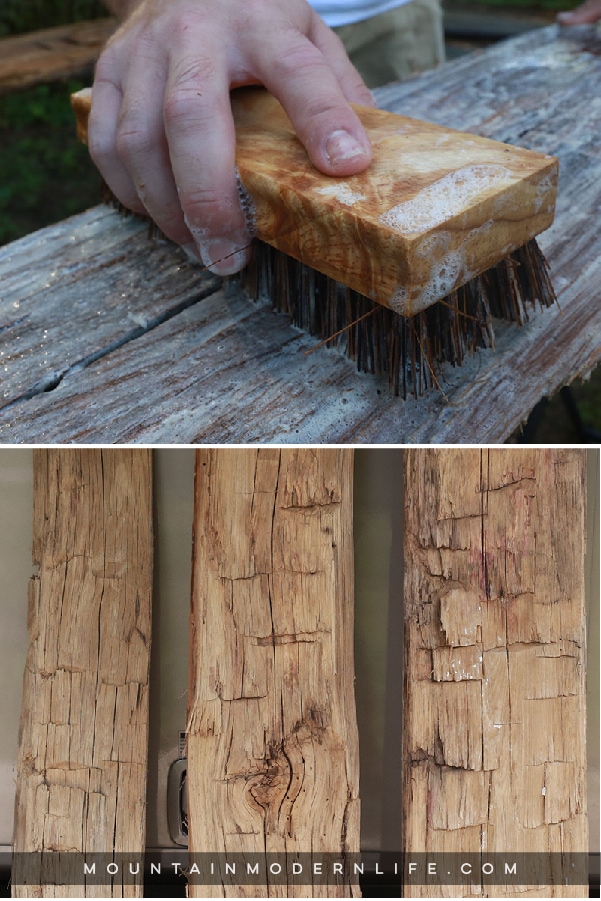
Hose, bristle brush, and a bucket of soapy water
This is the method we’re most familiar with because it’s how we generally clean our reclaimed wood. It can be labor-intensive, but it’s cost-effective and works wonders in cleaning up the wood.
I recommend setting the wood up on sawhorses (or makeshift sawhorses) and rinsing them down with a hose and nozzle. After rinsing all sides, scrub the boards down with soapy water – we use dish soap. You may need to refresh the soapy water depending on how gross it gets.
Afterward, rinse the boards back down and let them air dry in the sun for 1-2 days. More or less time may be necessary depending on the length and thickness of the wood.
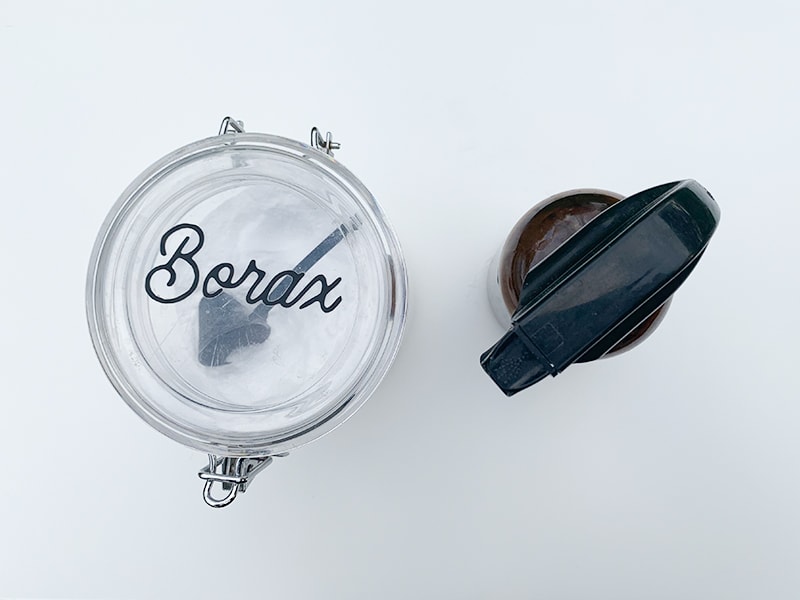
I don’t know how much it does or doesn’t help, but I also add a little bit of borax to our soapy water. I figure if it helps clean laundry, then it may help clean the wood.
How to Clean Reclaimed Wood without losing the Patina
If you’re worried about removing too much of the color or patina that’s built up onto the wood, then you may wanna skip scrubbing the wood down too harshly. Here are some other methods to help disinfect the wood, or lightly clean it up:
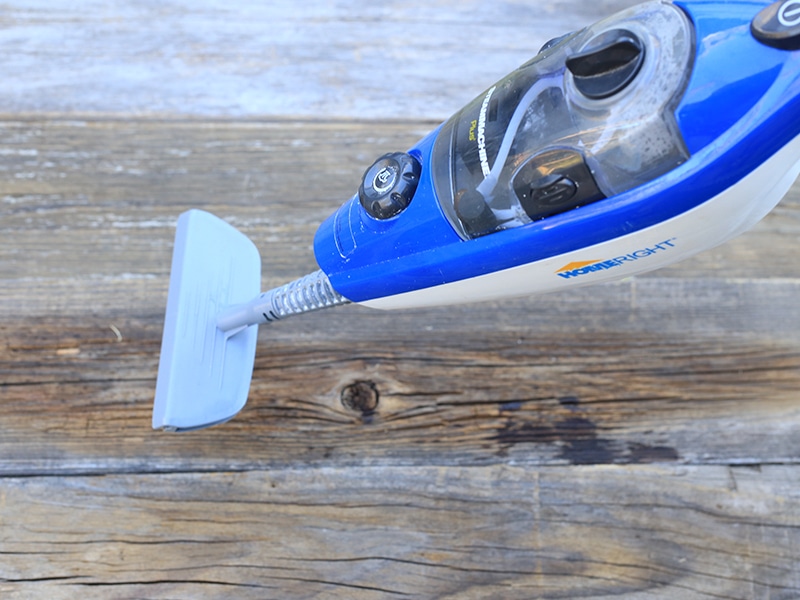
Steamer
We generally use our steamer on our reclaimed wood to help sanitize it. This also helps clean up some of the caked-on dirt without completely taking off the patina. The only issue with the steamer is it doesn’t deep clean the wood or remove any bugs that may be living inside, so that’s something to keep in mind.
Wire Brush
We almost always go over our reclaimed wood with a wire brush before sanding. Not only can this help loosen up any dirt, but it’s a great way to lightly clean up the wood without removing the beautiful patina that made you choose it in the first place.

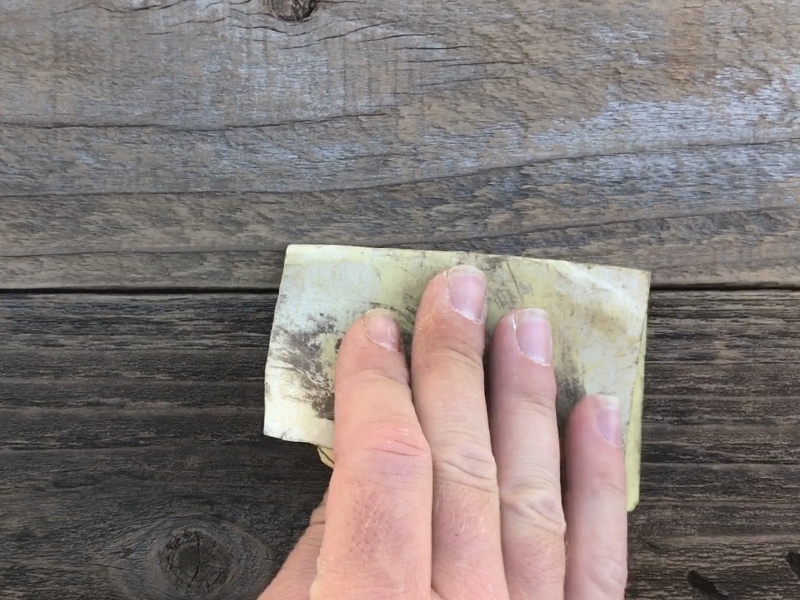
Sand Paper
If you want to lightly clean the wood, or make it feel smoother, hand sanding is the way to go. Using a palm sander may be too harsh or remove too much of the patina, so hand sanding may be a better place to start.
Removing or Preventing Bugs in Reclaimed Wood
I’ll admit the idea of bugs living in the wood we bring inside gives me the heebie jeebies, but it obviously hasn’t kept me from using reclaimed wood in our projects.
In fact, of all the projects we’ve created, there was only one time I actually saw a bug on a piece of reclaimed wood. This was several years ago and it was a board I had picked up from an antique mall. I was so freaked out I didn’t use it, but it was a good reminder for me to carefully inspect the wood I buy and to make sure I clean it well.
So when you don’t know how old the wood is or where it came from, it’s better to be safe than sorry.
Here are some options, and don’t forget about the kiln-dried method mentioned earlier.
- Kiln-Dried
- Commercial Products
- Oven
- Freezer
- Borax
Commercial Products
The two most popular solutions I’ve read about are Bora-Care and Timbor. You spray or “paint” them onto the wood. Bora-Care kills any existing bugs, and prevents future ones, but can get expensive. Timbor doesn’t get rid of bugs currently living in the wood, but it does prevent them moving forward.
Both products tend to get good reviews, but we’ve never used them so I recommend doing your research and checking what chemicals may be included and if you’re comfortable using them.
Update: We’ve purchased Bora-Care, but haven’t gotten around to using it yet, I’ll update this post once we do!
DIY Options for getting rid of bugs:
Here are some simple solutions you can try from home to make sure there are no critters living inside the reclaimed wood.
Oven
We’ve used this method in the past for smaller projects, specifically anything to do with wood slices, like our Christmas ornaments or wood slice art. The oven acts as a small kiln, but you want to be very cautious if you plan to bake your wood in the oven. Make sure it’s on a cookie sheet, that none of the wood is touching, and that your oven is on the lowest setting. And I’d definitely make sure you can keep an eye on it.
Whenever we used this process in the past I would generally leave the slices in the oven for about 20 minutes, or sometimes up to an hour. I don’t know the exact science behind this, so I kinda just did what I thought would work and never had issues. You may want to research it a bit deeper.
Freezer
This is a method I have yet to try, but apparently placing the wood in a ziplock bag and storing it inside the freezer for a few days will kill off any living bugs. This seems easier than the oven method, but I’ve read discrepancies with this method because some bugs live in extreme cold and can withstand freezing temps. I don’t know the validity of this info, but I do love how easy it is, so if you’ve tried it or know it works, let me know!
Borax
This is the method we use because it’s easy, cost-effective, and from what we can tell, it’s worked great! While borax isn’t technically toxic, you do want to be careful, especially if using it around kids or pets. It can also apparently kill grass, so if you’re doing this outside, you may want to put a drop cloth or some towels down.
I’ve read various ratios all over the web, but we add 1 teaspoon of borax to a container, then add 8oz of warm water to the container and stir it up. You want to make sure the borax has completely dissolved. We then pour the mixture into a spray bottle and mist the reclaimed wood with the mixture.
This is supposed to kill off any living critters in the wood AND prevent insect infestations from happening in the future.
After you’ve sprayed the wood down, you want to let it sit in the sun for a couple of days so it’s completely dry.
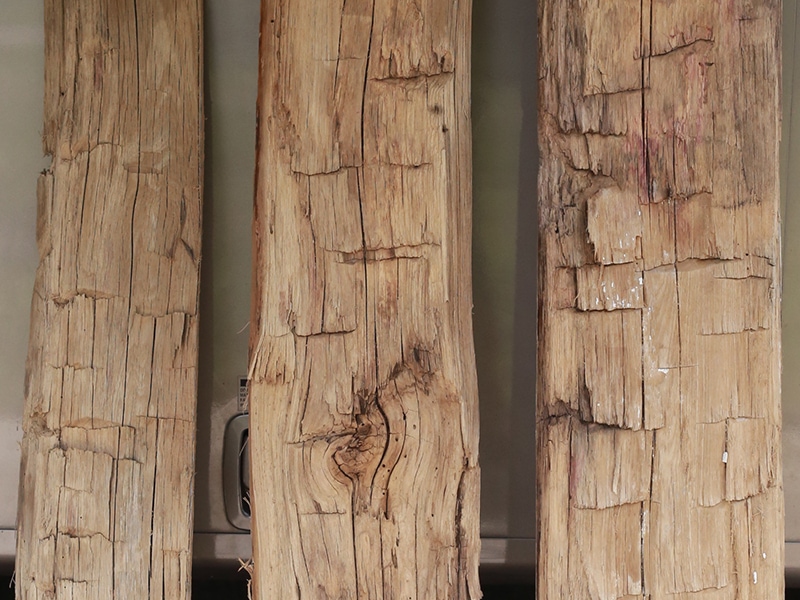
With your wood clean and bug-free, it’s ready to be used in that next project, and finished to your liking, yay!
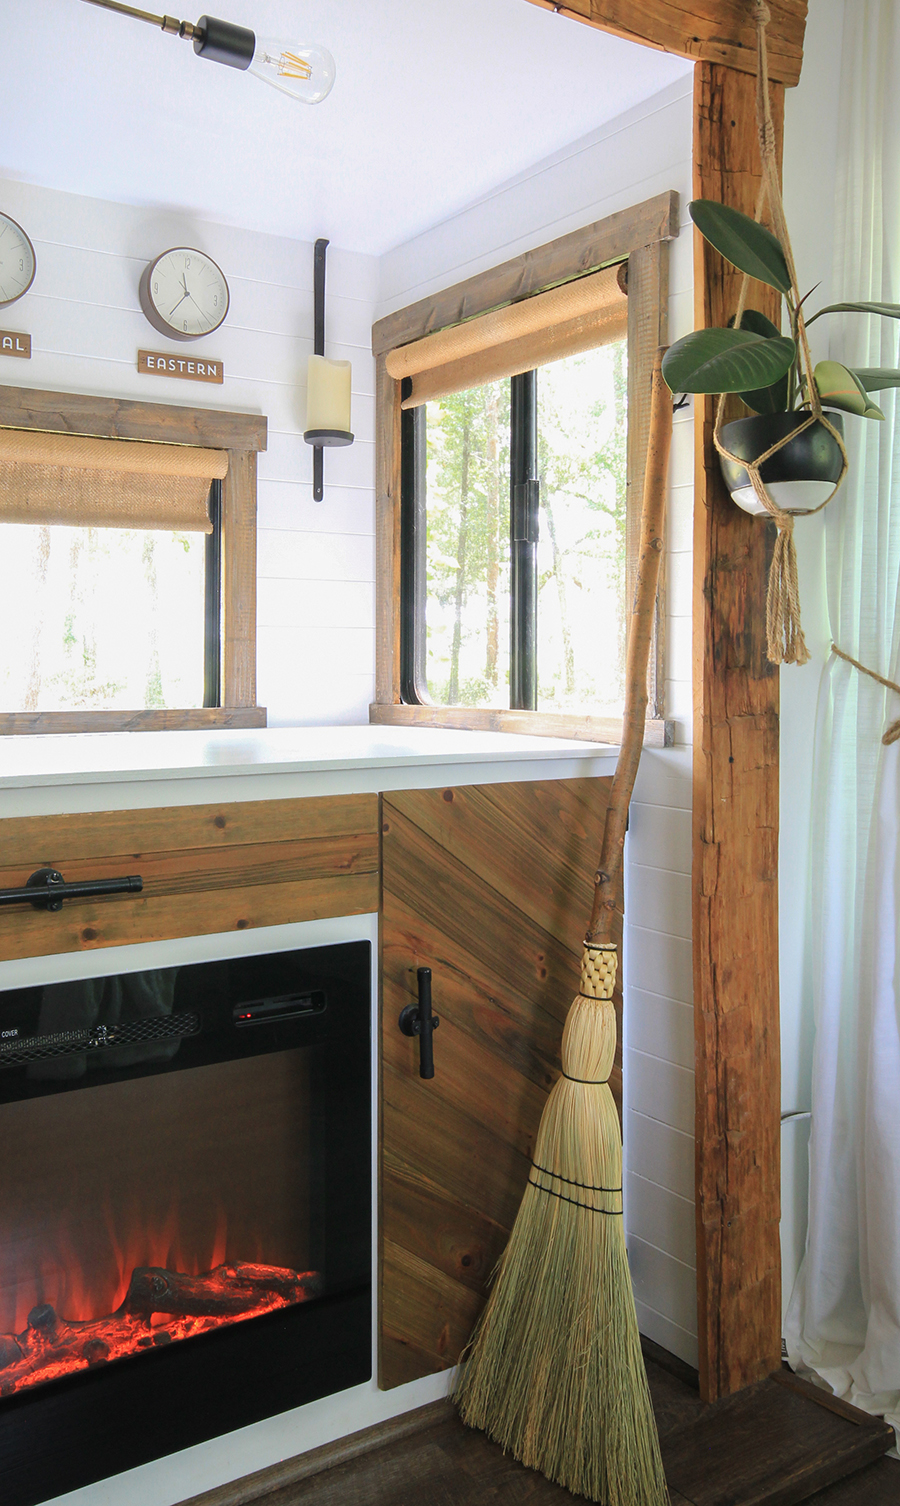
And if you’re curious, here’s the reclaimed wood installed around our RV slide-out, which we sealed with Tung Oil:

Here are some of the resources I’ve come across when researching how to clean reclaimed wood, in case you want to dig a little further:
Drying wood in the oven | The Plywood
How to Treat Reclaimed Wood for Bugs | Make From Wood
How to Treat Reclaimed Wood with Borax | Hunker
I really hope you found these tips on how to clean reclaimed wood helpful, or that they help point you in the direction of what to research further.
Do you have experience with any of these methods or a different solution you want to share? We would love to hear about it!

Thank you so very much this was very very helpful I just got my first barn wood and I didn’t know where to start with it thank you
You’re welcome, let us know how your project turns out!
I insisted on picking up a few pieces of barn board from my husband’s family farm before the barn was taken down. My plan was to make a memory for all of the children and grandchildren. That was 3 years ago… It is now time for me to plan and create. Thank you for the excellent tips!
That sounds like a wonderful project! I love pieces like that and am happy to hear this post was helpful 🙂
Im remodeling my home with wood from my property it was milled the toung and geove ceider was dryed kill and fir for the floor was also dres kill then stored in car port sowe was down wit borax and water stored in the house awile be for using. The fir wood for flooring im shou-sugi-ban burning lightly to bring out th wood grain i wore brush it out side then bring into the house to finish brushing wireg to bring out the grain im using floor wax oy no polyurethane. The question is the back side of the boards arnt burnt.do i need to pressure wash, or just gand wash with borax. Do the trick for bug free. Im doing one board at a time.befor instaling dont want to install and sand in the home messiy.and with burning the wood it would be even a bigger mess 700sq ft. I want to be bug free and working on a buget borax wash wiuld do. ?
Hi Toni, I’m not a professional but I would think the borax wash would do the trick, based on the research we’ve done. Or you may even want to burn the other side if that’s easier. Let me know how it turns out!
Katie
Sorry didnt edit it went befor i coul ill try to copy and redo toni d. Rossetti.
I’m hoping you can help me… We are building a home that has some timber structure to it. The beams are 12×12 rough cut cypress, not kiln dried, cut about 18 months ago. The timber frame sat for several months before the stock framing closed it in. I now have beams that are getting some natural patina (pretty rustic looking patina), but mold has developed on some of the structure. Do you have any suggestions or is it even possible to remove the mold? I’ve scrubbed with dish soap and had added borax too, but there is still evidence of mold. I don’t want to use a cleaner then stain because it just doesn’t look the same as the natural variation and patina. Any suggestions? It’s a pretty big project. Thanks! Lynn
I’m no expert when it comes to mold, but you may wanna research spraying it with a tea tree/water mixture. We’ve used it before with great results and it shouldn’t affect the patina of the wood. Sounds like a beautiful project so let me know how it goes!
Should have said “stick”framing👍🏼
Thanks for the tips with reclaimed wood. I am wondering if the boards have to be dry after power washing before spraying on borax or is it alright to do it while it is wet from pressure washing? It would be nice if both processes could dry at the same. Thank you so much.
I don’t think so – at least we didn’t wait. We washed, then put on the borax, then let them dry. Haven’t had any issues since and I can’t imagine that would change the process, but you may want to research further if you’re still unsure.
Use the borax solution to de-insect a beam from an old cabin we are using for a mantle on our screen porch. It has quite a bit of borax crystallng after the beam dried. I have tried to get the crystals off with a brush, but they seem “stuck” in the wood and I am worried if I scrub too hard, I will remove the coveted patina,
Suggestions to get the crystals off? Also, should I put a sealer on the beam or is that not necessary?
Hmmm, we didn’t have this issue but we mixed the borax with water so that helped it dissolve. You may need to brush it with water or maybe try using a hose with more power that could help remove it?
I would recommend at least a clear sealer – it makes it feel smoother and also makes it easier to clean in the future if needed. We used tung oil on the wood shown in this project, which did deepen the color slightly, but you can also use a clear sealer in whatever finish you prefer – flat, satin, or gloss (you may want to experiment on a test piece first).
Have you ever done any work on wood signs. I am trying to restoring handmade family sign that has been marking the driveway to our cabin in the Northwoods of Wisconsin since 1985 – being an in-law I want to do it right!!
I’ve made some wood signs for our family in the past, but not professionally. I would think this same method would work and then you could use a clear sealer that’s meant for exterior use to help protect it.
Very helpful! Thanks for sharing, maybe I missed it but after cleaning it, is there anything you you’ll put on the wood to “finish” it or just keep it natural ? I’m using the wood for simple indoor shelving
It depends on the project we’re working on but with reclaimed wood, I generally prefer to skip stain and just use a clear coat finish. For the wood shown in this post we used tung oil. It enriched the wood while allowing the natural beauty and texture to show.
I have seen where you can use a mixture of 1/2 Elmer’s glue 1/2 water to seal old barn wood doing 2 coats, I seen it on This Old House,what do you think?,would love a reply,really need to know
I’ve never heard of or tried that method to seal wood, but it sounds like the mixture used to create Mod Podge, which I’ve used to seal prints to canvas or wood. I imagine if it was on that show that it’s certainly been used before. What type of project did they use it on? I did a quick search and it seems it can be used, though it will depend on the application and won’t protect your project from water.
https://www.bobvila.com/slideshow/11-surprising-alternative-uses-for-elmer-s-glue-49289
https://www.instructables.com/id/Water-Glue-Who-Knew/
I’d recommend researching it a bit further and testing it on a sample piece of wood. Trial and error is often the best teacher! If you do use this method, let me know how it goes!
Katie
The article is too long but I don’t complain because it is very informative, Thanks for sharing this. Question: Is it okay to use soap and water to clean the wood? Does it affect the texture of the reclaimed wood ?
Thanks
As mentioned in the post, we used soap and water to first wash the reclaimed wood and have never had issues. The key is to rinse the soap off and allow the wood to fully dry. It’s never affected the texture, unless you scrub really hard with a wire brush, though it will clean off some of the patina… and lots of dirt 🙂