UPDATE: All new featured RV tours will be posted on my other website, Wanderful RV Interiors. Existing tours will slowly be moved to the new website, and anything already moved will automatically redirect.
Disclaimer: This post may contain affiliate links, meaning, if you click through and make a purchase we (or those featured in this post) may earn a commission at no additional cost to you. View our full-disclosure here.
This post was originally written in 2016, you can see photos of our renovated RV here.
We’re in week two of the One Room Challenge and we made some headway on a few projects. For those that are new here, the One Room Challenge is an interior design event that happens twice a year where bloggers have the opportunity to transform one room over a 6 week period. You can read more about it and the space we are transforming HERE.
The plan is to transform our 2008 Tiffin Allegro Openroad 32LA into a Mountain Modern Motorhome, and what better inspiration than the great outdoors?

Photo Source: Michael Walch
We plan to use a lot of white to brighten up the space, a mixture of woods for a rustic, natural feel, and then some black, copper, and a few subtle pops of blue and green. Here are a couple more inspiration photos:
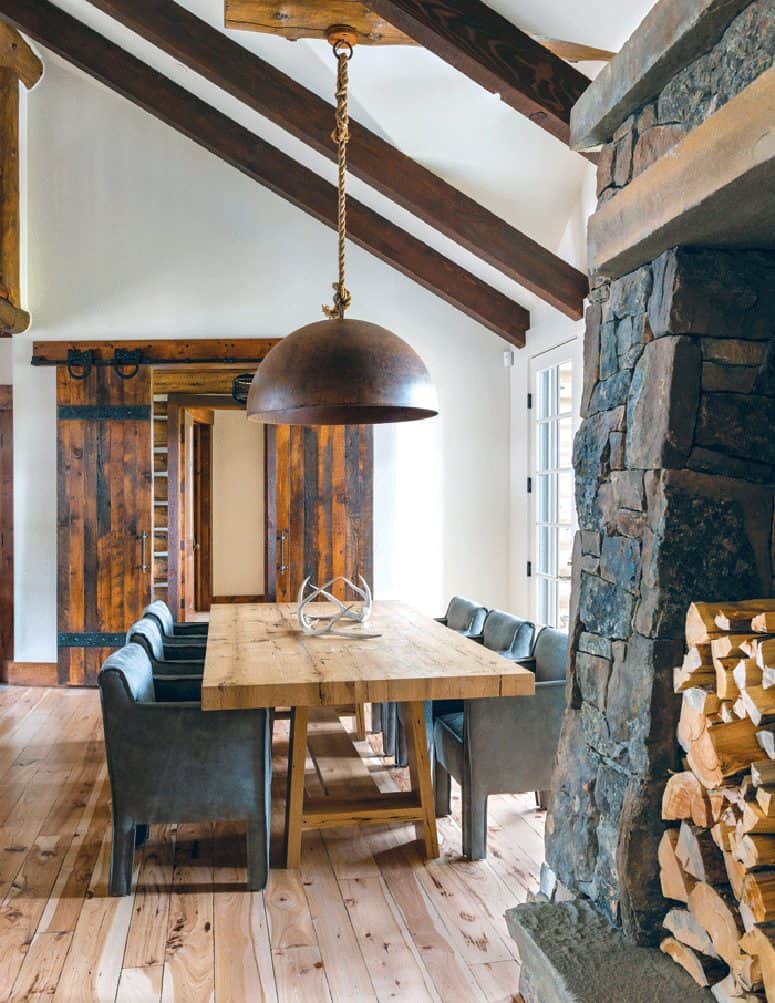
Photo Source: Pearson Design Group
Sure the room above may be about the same size as our entire RV (ha!), but I love the mixture of wood tones, the grays and blues in the fireplace, the copper tones in the sliding doors and light fixture, and of course those white walls.

Photo Source: Dwell – Photo by Christopher Testani
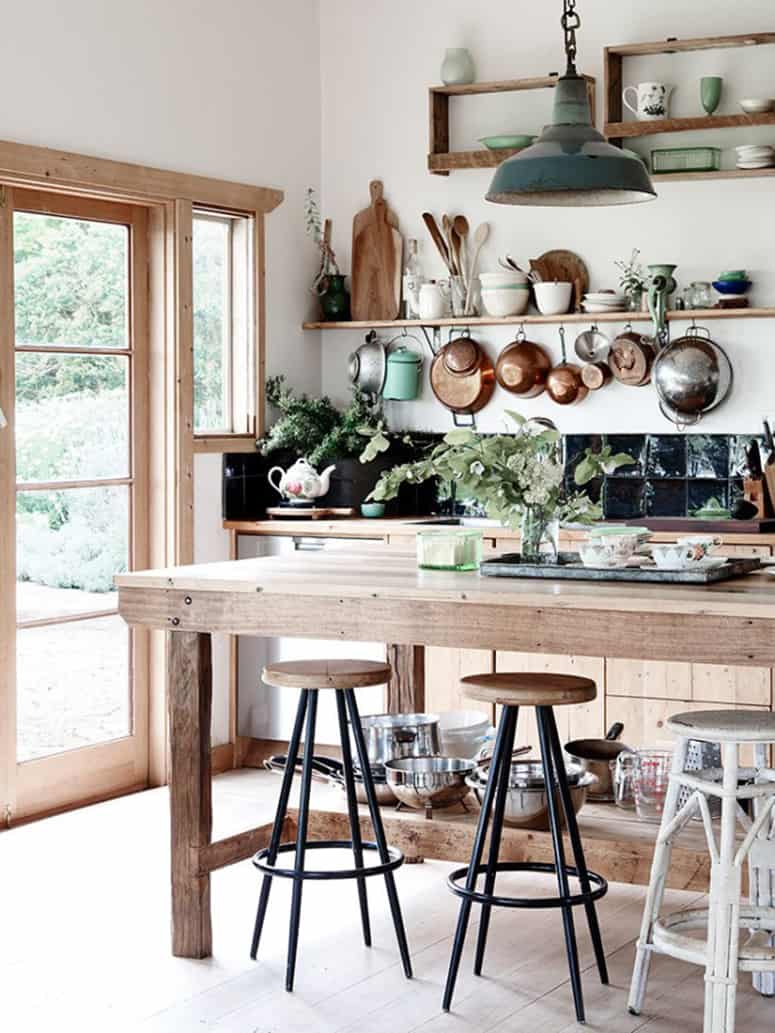
Photo Source: Eve Wilson Interior
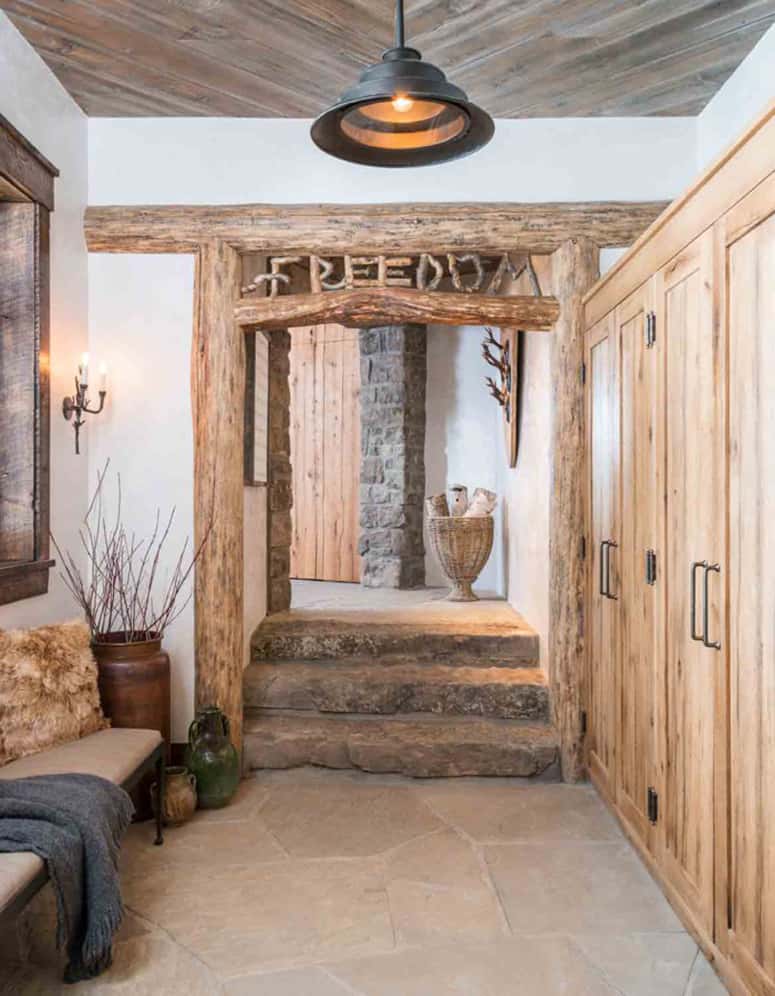
Photo Source: Pearson Design Group
One Room Challenge Week 2 – RV Reno Progress
One of the biggest projects we tackled this past week was installing the new ceiling panel in the RV. This was the suckiest project to date and yet possibly the most gratifying.
We had removed all of the damage caused by the water leak a few months ago and spent quite a bit of time cleaning it up, re-caulking everything to prevent future water issues, and installing the new skylight. However, the massive ceiling panel we had to have delivered on a freight truck just sat in our garage for months intimidating us every time we walked past it.

It was probably our scariest project to date just because we’ve never replaced a ceiling panel, especially one inside an RV that just so happens to be located between the kitchen AND bathroom with a nice pipe going through the wall. Fun stuff.
There was lots of measuring, then re-measuring, then re-measuring again before cuts were made, and there may have been a number of swear words even Abraham of The Walking Dead would be proud of. Needless to say, we are super stoked to finally have it up, woo-hoo! Of course, Eric was a champ and did most of the hard work.
Now, all we have to do to make it complete is finish painting the ceiling, install the vents and skylight, re-install the cabinets and walls…..well at least it’s a step in the right direction.
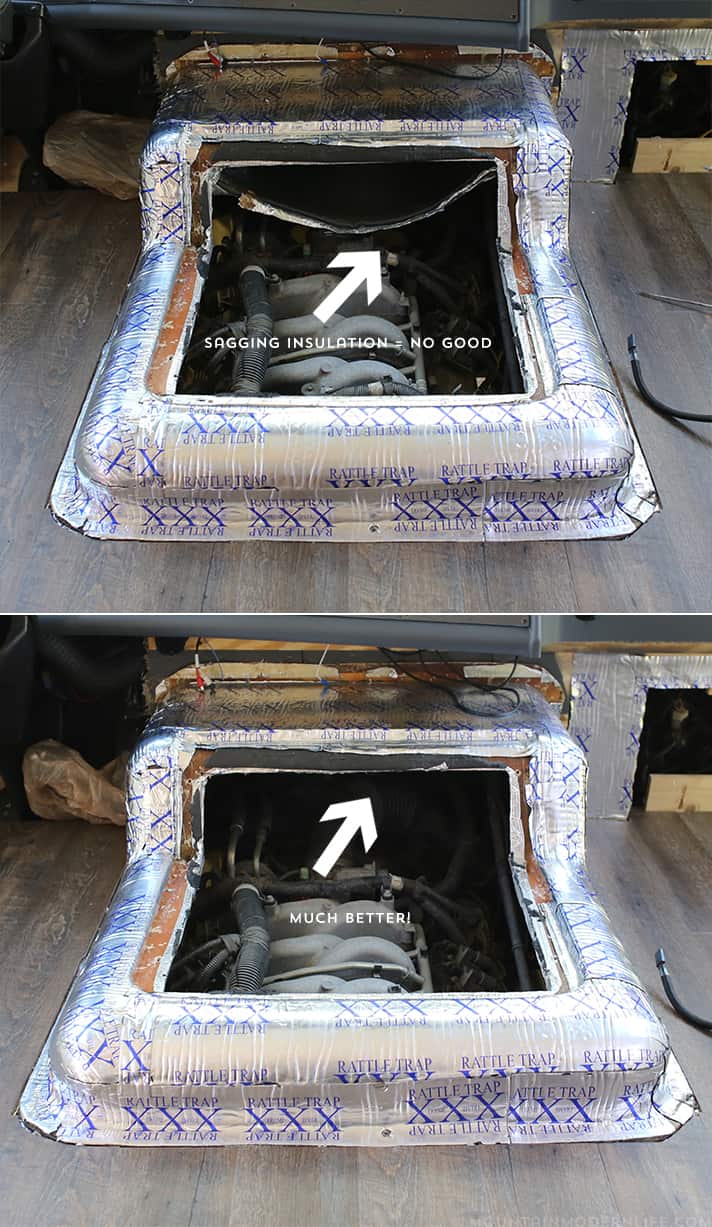
The other project we addressed this week was fixing the sagging insulation on the underside of the engine cover and update the cup holder in the front of the RV. Not the most interesting projects but they had to get done.
We noticed that the insulation that had been installed by the manufacturer was sagging which isn’t safe so we called Tiffin to see the best way to fix it. They recommended screwing the insulation back into the fiberglass top, so that’s what we did. If you have a similar issue I recommend checking with your manufacturer to see what they recommend.
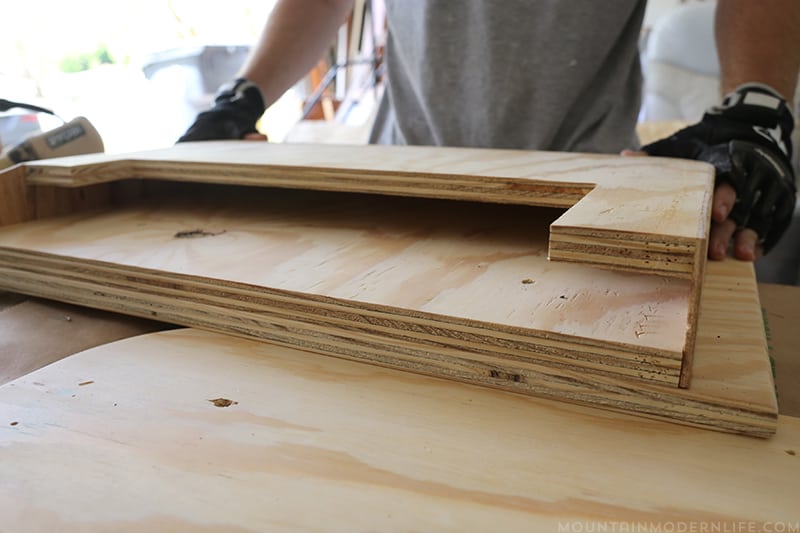
Since we built a custom engine cover the previous cup holder no longer fit so we had to deconstruct it, make it slightly smaller, and then put it back together.
I also FINALLY sealed the lower kitchen cabinets that I’ve re-painted 3498573495873457638745 times. Well maybe more like 349857 times. I painted the cabinets a dark gray back in November, but after the water damage we removed them and I figured it was the perfect opportunity to paint them black, which is what my heart kept telling me to paint them despite being in a small space. So I painted them with black chalk paint, no biggie right?
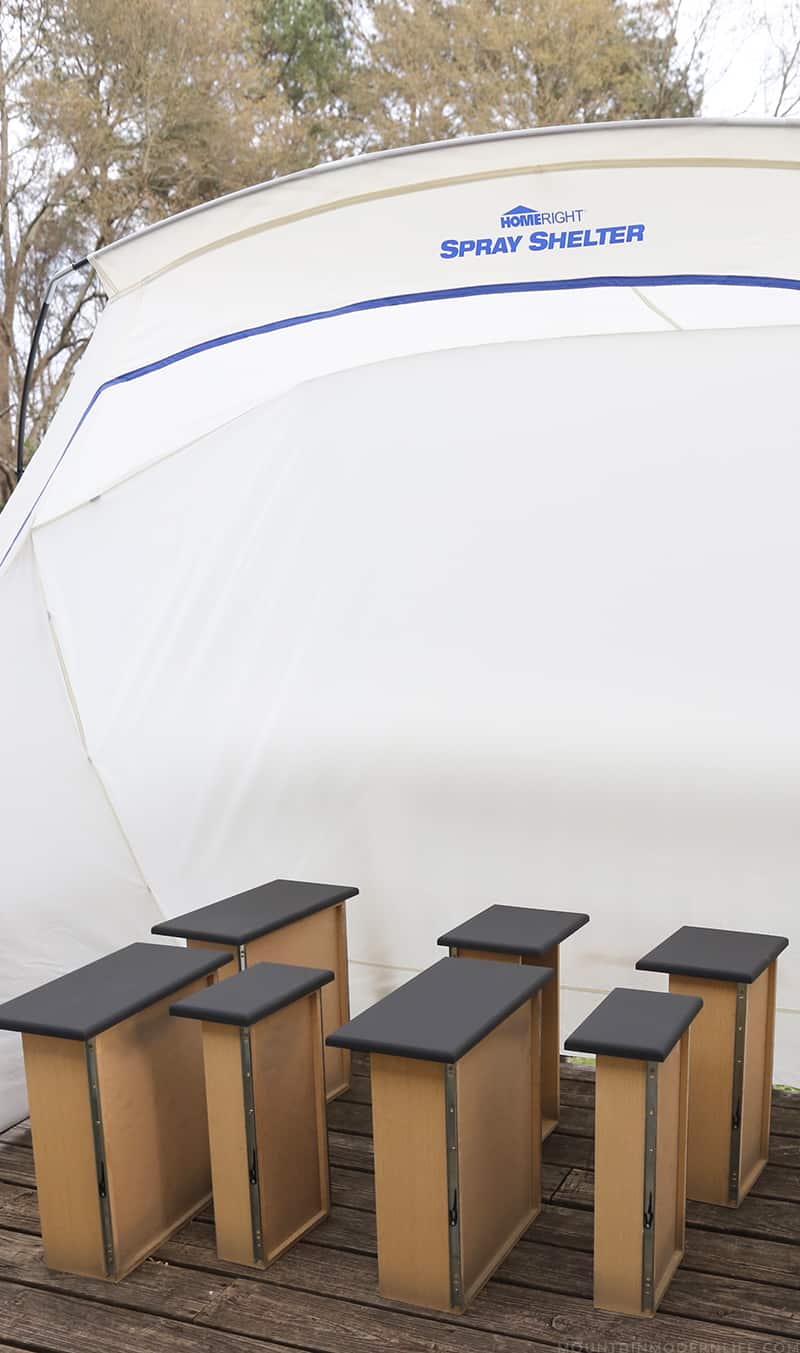
Only I left them in the garage, some other projects happened before I could seal them, they got dinged up somehow and I had to re-paint them. Then I decided to paint them outside because it was sunny and beautiful but also apparently the worst pollen day EVER and they got messed up and I had to re-paint them, then a bird literally pooped on one of them. Then I realized I should probably set up the paint tent that HomeRight had graciously sent me. Duh. I think my patience is being majorly tested here.
Then there was the whole sealing fiasco where nothing was working quite as I planned. UGH. Painting is easy and something I generally don’t mind doing, especially if I’m using chalk paint. Sealing….not so much.
Anyway, all that matters is that I found what worked well, was easy and I can’t wait to share all of that with you once they are installed.
Products we plan to use:
We are super stoked to have teamed up with TouchStone who provided us with a TV Lift and Electric Fireplace which we will be using for our custom media cabinet. We purchased our table extension slides this weekend, which we plan to install inside the media cabinet so that it can also become our office/dining table. I thought I would order some mega crazy telescoping aluminum rail system but in the end, I found some slides that will work for what we need and didn’t break the bank.
I’ve definitely had faucets on the brain and I actually lucked out on a kitchen faucet that I purchased from Amazon that was on sale. I don’t know if the price was wrong or what but I snagged that sucker up! The price went back up the next day so I’m so happy I bought it when I did because otherwise, it would have been outside my faucet budget. I’m so obsessed with this faucet that I just want to walk around with it all day. Yeah, I’m weird. It’s Unlacquered Brass but I’m still on the fence about painting it black. I’m sure some of you are cringing at just the thought of that, huh? We shall see…
I purchased the foam for the sofa we plan to build a while back and Online Fabric Store was nice enough to provide us with the fabric, yay! As much as I wanted a creamy white I knew that wouldn’t work living on the road with fur babies, so instead we went with a light/medium gray.

In case you’re curious, here is our Renovation To-Do List for the front of the RV during this 6-week challenge:
RV Renovation To-Do List:
Driver’s Area:
Paint, Seal, and Install Captain’s Chairs
Update and Install Cup Holder
Trim Engine Cover
Install Firewall Cover
Remove the TV from the front and replace it with different storage
Replace awful curtains with new blinds
Living Area:
Build Media Cabinet with TV lift, extending table, and electric fireplace
Build a Sofa with extending bed and storage
Narrow Sofa Table with Storage
Install Wood trim around windows
Install Blinds over windows
Create Rustic Slide-out Trim
Kitchen Area: (we later decided to nix the kitchen for this challenge)
Replace Ceiling Panel
Seal & Install lower cabinets
Install upper Cabinets
Shiplap Backsplash
Plywood Counters (or maybe another wood, not sure yet)
Install New Single Basin Sink
Install New Faucet
Re-install Microwave
Re-install Stove
Update Fridge Paneling
Hanging Pipe Paper Towel Holder
Other:
Finish painting ceiling/caulking/trim
Install Cat Door in the side of Stairs that will lead to the litter box
Install Hand Rail for Stairs
Update light fixtures throughout
Order other decor/accessories
Kitchen Storage/Accessories
Hmmm, sounds like I should probably get off here and get to work, eh?
Don’t forget to check back next Thursday to see the progress we’ve made. You can also follow along with our progress on Instagram.
Check out the Other ORC participants
Get your daily design inspiration and those pinning fingers ready by checking out each blogger’s room transformations. You can find links to the invited design blogger’s rooms HERE and the guest participants HERE. You can also see what other participants are doing by searching the hashtag #oneroomchallenge or #ORC on social media channels.
![]()
I am so so so excited that you are doing an RV makeover! So rad and so difficult. Can’t wait to follow along!
Thanks Celine! We still have A LOT to do and each project has been a learning experience but we are having a lot of fun at the same time 🙂
Replacing the ceiling panels seems like a lot of hard work. I am excited to see how it turns out.
Also, that inspiration photo of the kitchen is very, very nice. My favorite. Love where this is going so far.
Thanks Mila! The ceiling panel sucked so I sure am glad to have that behind us, haha. I can’t wait to get started on our kitchen, but we have a few projects to tackle before all that….
Wow! This is such an interesting project! I’m impressed. I love that black chalk paint color. It’s one of my favorites.
Hi Emy!
I love it too, especially now that I got the sealer looking the way I wanted. Can’t wait to get them installed!
Katie