UPDATE: All new featured RV tours will be posted on my other website, Wanderful RV Interiors. Existing tours will slowly be moved to the new website, and anything already moved will automatically redirect.
Disclaimer: This post may contain affiliate links, meaning, if you click through and make a purchase we (or those featured in this post) may earn a commission at no additional cost to you. View our full-disclosure here.
Eric and I wanted to share a quick RV renovation update with you today. We basically just want to give you an inside scoop on what we are working on behind the scenes before the detailed posts are written and shared on here.
This way you can follow along a bit closer to see how the updates are coming along, which at this point feels slooooooooow. We lucked out though because one of our neighbors is awesome and is letting us keep the RV parked in her driveway where we can work on it. Our driveway is super sloped so we previously had the RV in storage nearly 40 minutes away, so this definitely makes our lives easier!
I know that not everyone that visits our blog has an interest in RVing, travel or RV renovations, but I will also be continuing to share design inspiration and decor updates that we implement into our home on wheels along the way. I recently shared a post on sliding doors because we will soon be building our own sliding barn door for the bathroom and bedroom. I’m so excited!
Here’s a quick video on RV Renovation Week 1:
RV Renovation Week 1
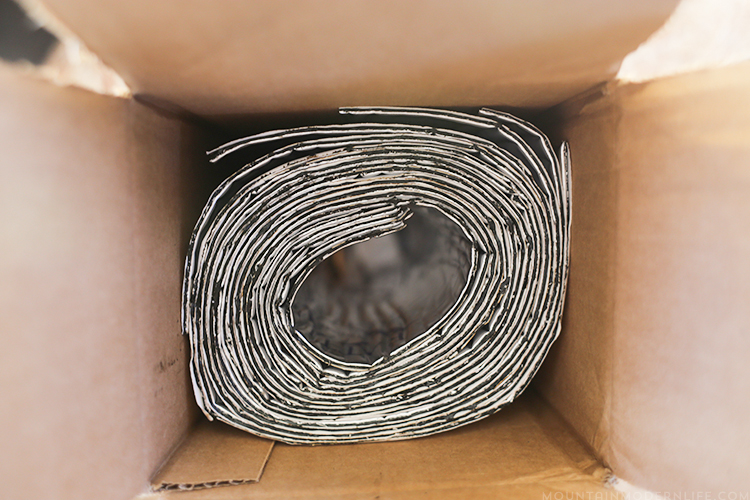
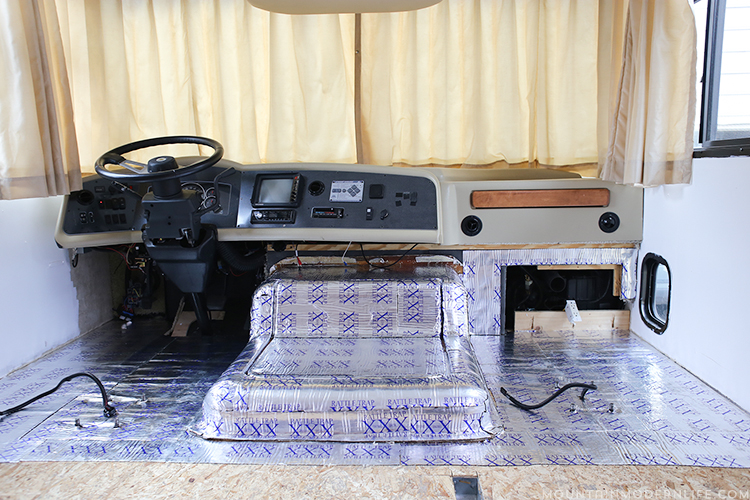
We recently removed all of the old flooring and cleaned up the engine cover upfront, also known as the “dog house”. We then re-insulated the front with FatMat Rattletrap Extreme (affiliate link), which is heat and sound resistant.
We read reviews on several different products but this one was in the middle as far as pricing goes, and was well received in the RV community so we decided to give it a go. I love how it was essentially peel and stick and super thin so the flooring could still go on top. We will have to keep you posted on the sound/heat situation once we have everything put back together and can go for a ride. (For those that are curious we have a 2008 Tiffin Allegro OpenRoad 32LA).
Here’s a photo of the new installation upfront. Don’t you just love the 70’s style curtains on our windshield? Man, I cannot wait to replace those! Update: See our new blinds!
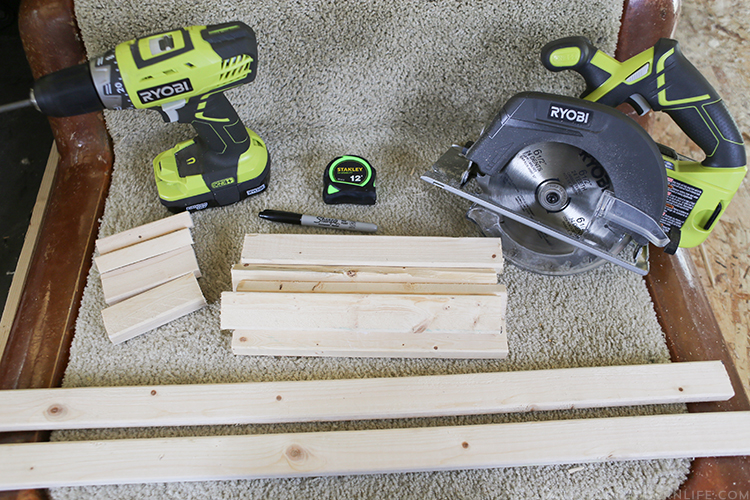
Eric and I wanted to do something with the “doghouse” hump in the RV but most people tend to leave the carpet on and we didn’t want to do that. We considered painting it or using a vinyl or headliner fabric but ultimately decided to clean it up, re-insulate it, and then build a frame around the existing cover. This project will not be complete for RV Renovation Week 1 but we plan to have it finished over the next few weeks. Update: You can see the completed doghouse/engine cover here.
This way we can then add the flooring to the new cover (which sorta resembles a stair) and have it flow with the rest of the RV. It’s definitely coming along but we aren’t quite finished with it yet. We should have it all fixed up and ready to go by the end of next week and will then share what we did in case anyone else is looking for ways to spruce up their RV doghouse.
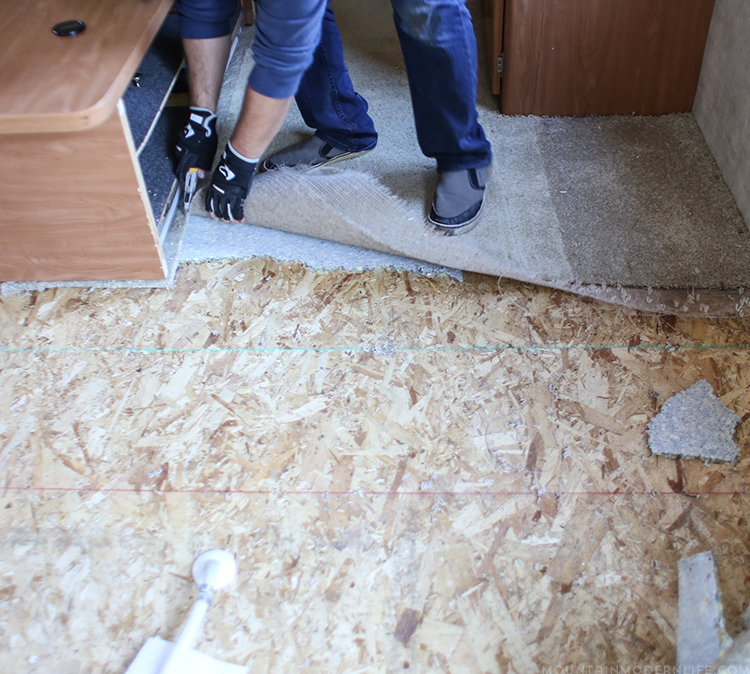
Goodbye Carpet
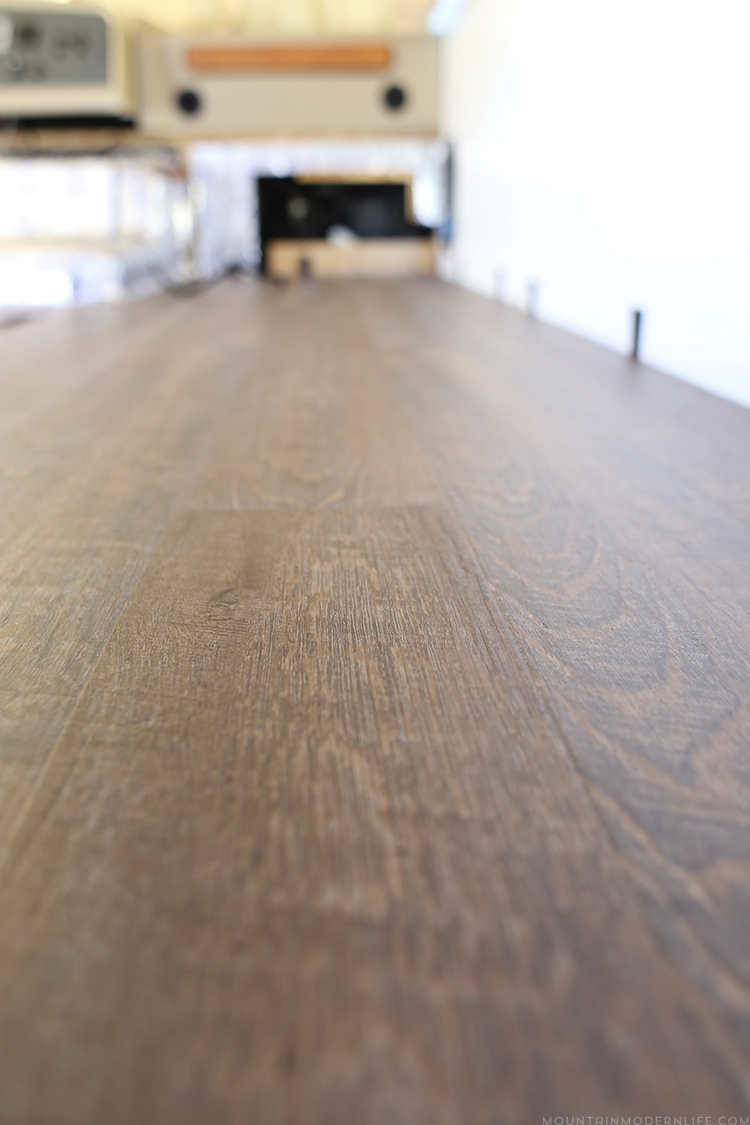
Now that all of the old flooring is out, we have started installing the new vinyl plank flooring and it’s soooooo dreamy! love the warm rustic tones it brings to the RV. Here’s a little sneak peek:
Oh and true confession… I may have re-painted the lower kitchen cabinets black a couple of weeks ago. I loved the gray but originally wanted black despite some people saying it would be too dark for a motorhome. However, since we had to remove most of the cabinets in the kitchen any way I decided it wouldn’t hurt to paint them and see what I thought. So far I am very, VERY happy and think they are going to look amazing with the white upper kitchen cabinets 🙂 Update: See our kitchen renovation reveal here.
We have also been zeroing in on our kitchen counter, sink and faucet options and those little details have me over the moon. More on that later…
Well, that about sums up the progress of the RV Renovation update. Thanks for following along and if you have any questions feel free to leave them below.

Hi! I’m updating a 1991 Class A & these are great ideas. BTW, I have black kitchen cabinets on the lower half of my home kitchen and white above. You will be so very happy. For some reason, my lower cabinets seemed to get the worst of my cooking “fall-out.” I’m sure they still do, but I’m the only one who knows it now. ?
Great work ! Got a question for you ! On one of the pictures we see the carpet being cut with an exacto knife…That works great but what did you do with the leftover carpet that shows underneath the bench? Did you leave it there? Does it still show? Thanks for the prompt reply as I am just starting on my reno journey… Maggie
Hey Maggie, sorry for the delayed reply. We did actually end up cutting much further underneath the bed, and we actually had a side of the bed removed in order to get further underneath. With that said we did not completely remove the carpet under the bed, as it was actually installed under the slide-out mechanisms. But we made sure to remove enough so that it wouldn’t be seen and so that we could install our new flooring underneath the bed by about 4 to 5 inches all the way around. Anyway, I hope that helps but feel free to let me know if I can clarify anything. Best Wishes, Eric