UPDATE: All new featured RV tours will be posted on my other website, Wanderful RV Interiors. Existing tours will slowly be moved to the new website, and anything already moved will automatically redirect.
Disclaimer: This post may contain affiliate links, meaning, if you click through and make a purchase we (or those featured in this post) may earn a commission at no additional cost to you. View our full-disclosure here.
Do you ever find yourself overthinking a project in order to make it more original? Only once you have an idea it’s not exactly what you had in mind and you would only be creating it to be “different” rather than just creating something you know you’ll love?
I’ve certainly become this way and its kind of annoying. It wasn’t until I was talking with our neighbor about it that it dawned on me that I don’t have to keep trying to be different, I just need to do what I love and the rest will follow. (Thanks Jan!) Not to mention, the harder I try to come up with something, the more blocked I feel.
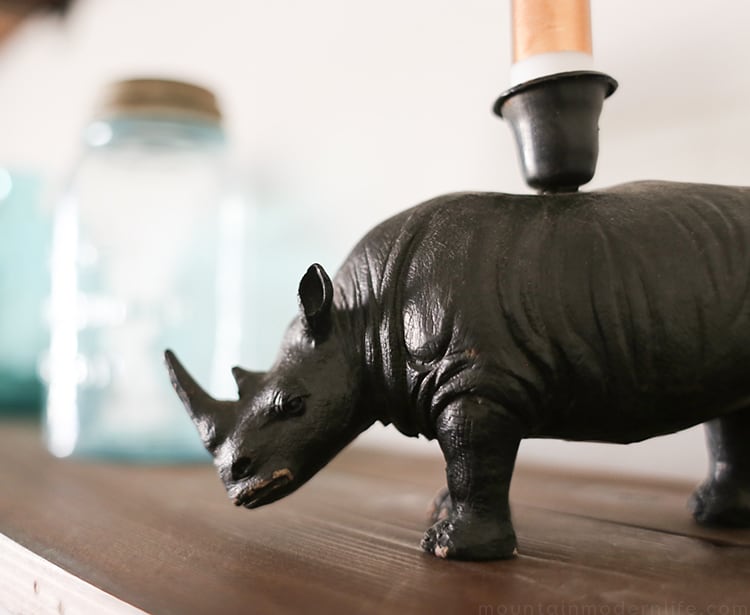
This doesn’t mean I don’t enjoy coming up with inventive ideas, or at least trying to. I guess what I’m trying to say is that it’s okay to create or buy something you love, even if it’s overly trendy or popular. Besides, you bring your own personality to projects and it’s the way you decorate that makes it more personal anyway, ya know?
With that said, I had wanted to create some pipe shelves for a long time but kept putting it off simply because I was seeing them everywhere. This is originally what led me to want to make them in the first place, so go figure. Haha.
Rustic Modern Shelves
I had purchased a massive pack of flanges nearly two years ago, but the project I had in mind kept changing and then basically never happened because I ultimately decided that I needed something smaller to fit my needs for that space. So instead the first pipe project I created is this old pipe organizing system.
Then every few months I would make a new project using flanges and pipe I had leftover like curtain rods for nearly every window in our home, my copper pipe tray, some copper pipe drawer pulls, our copper pipe desk… and then eventually got around to making some super duper easy rustic modern shelves for our dining room, which you may have caught a glimpse of when I shared some color trends for 2016.
There are countless ways to create a project, but it’s always a good idea to keep both form and function in mind. I’ve learned this lesson time and time again while we renovate the RV, but I’ll save that for another post.
Sure this may not have been the huge pipe shelf I originally had in mind, but it was just what we needed for the space, and we had everything we needed to make them which is always a plus. It was mostly inspired by the rustic modern pine shelf from Restoration Hardware, which they no longer sell.
Repurposing an old Desk
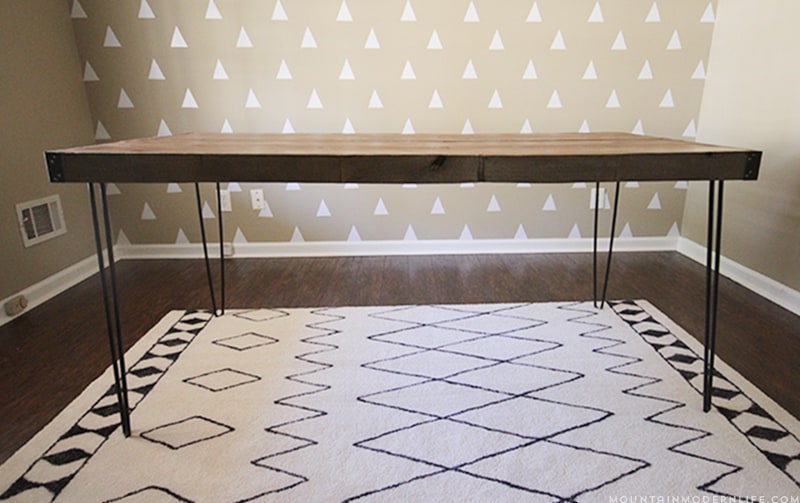
A couple of years ago we built a rustic hairpin desk for the office and I loved it! However, after we built the copper pipe desk and had the desk from our modern rustic office refresh, we no longer used it. The size was built specifically for our home office so once we took it out of there it was a bit too wide for any other space. So it just sat in our garage for a while until I figured out what to do with it.
Here’s a photo in case you never saw it:
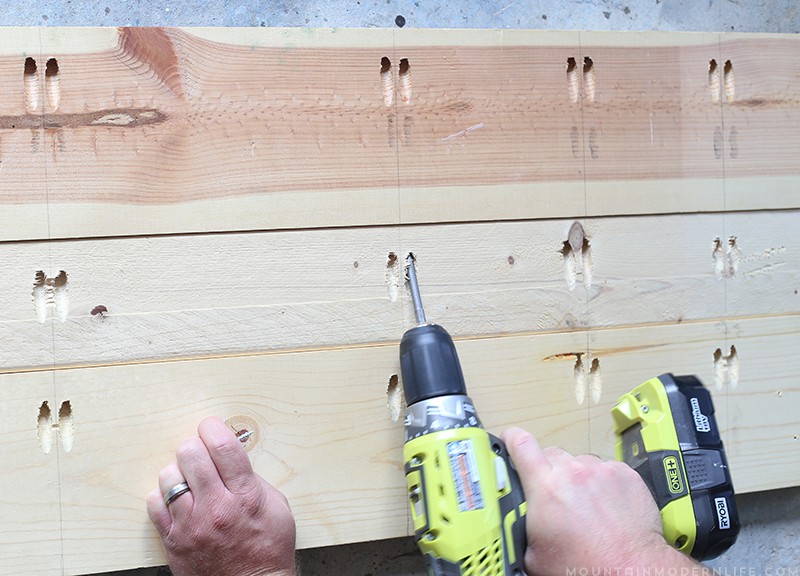
To make space in the garage we had actually removed the legs and then left the tabletop off to the side, which had essentially just been Kreg jigged together.
I honestly planned to use some reclaimed barn wood for this shelf project but after I finished cleaning the wood and letting it dry I noticed it was infested with some nasty creepy crawlies. Yuck. Needless to say that wood didn’t get used.
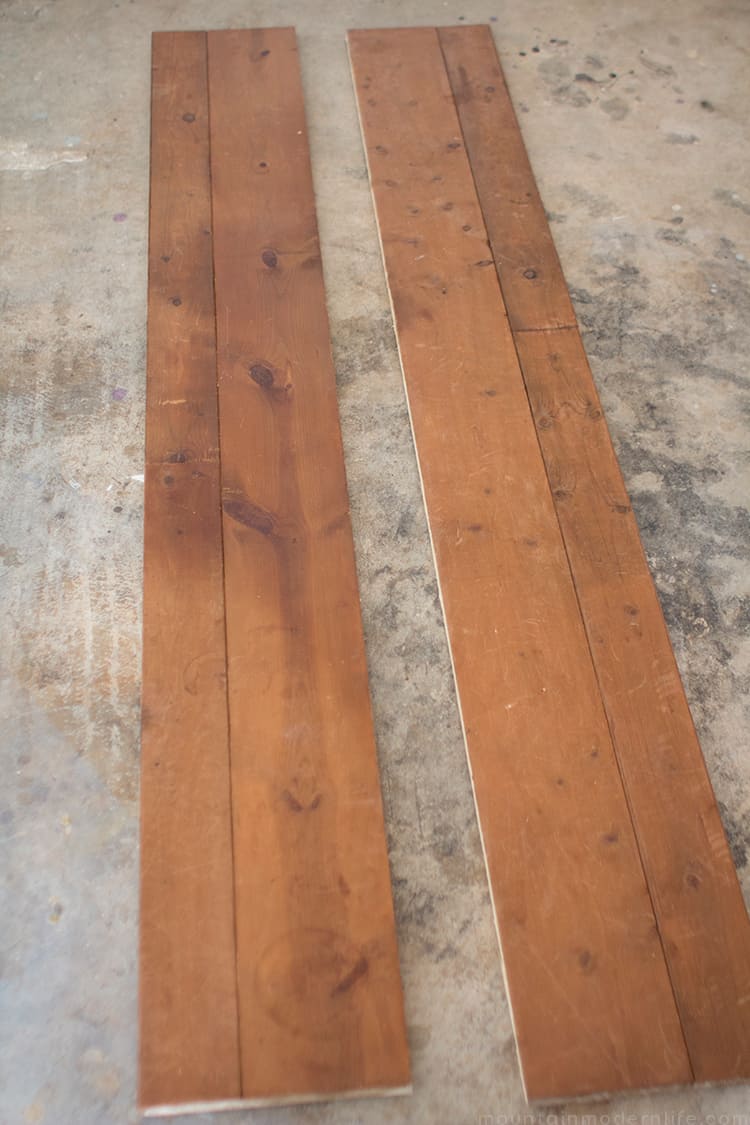
However, it was at that point that I remembered having the wood top from this desk in our garage. The top was made out of 1 x 6 boards and we only wanted to use 2 boards per shelf, so we had to unscrew them from one another, leaving only 2 boards attached per shelf.
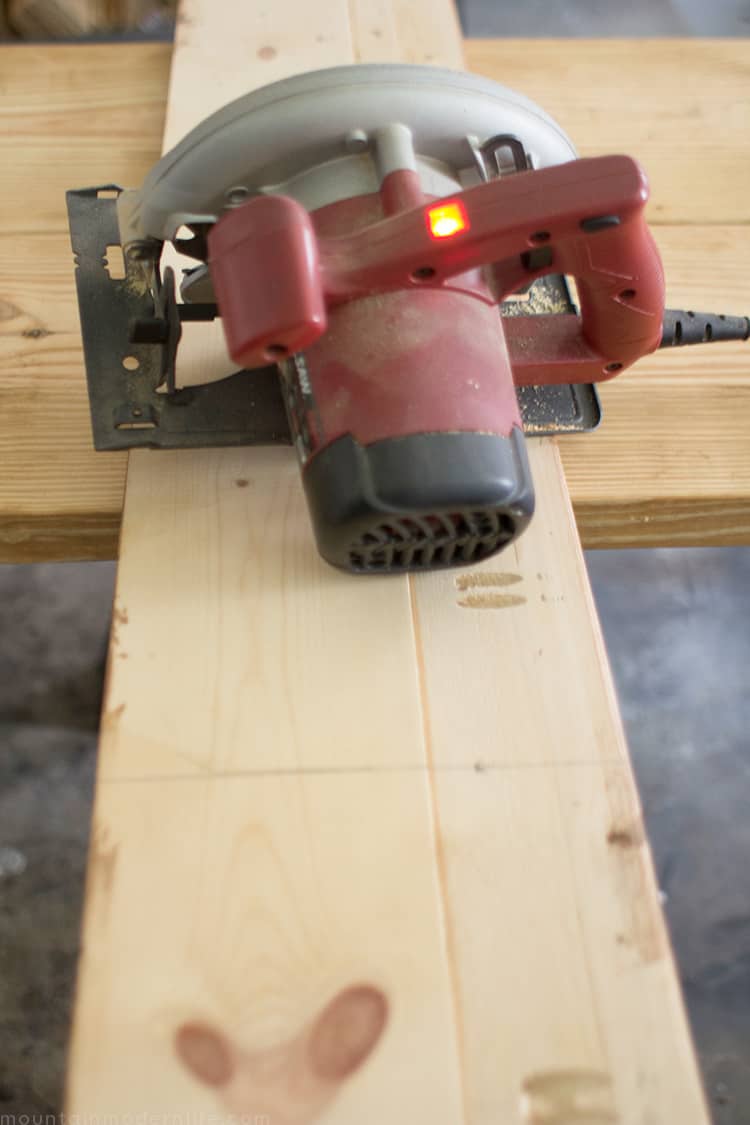
We then cut them down to the dimensions we wanted.
Of course, you could easily just use some reclaimed wood or buy the exact board size you need. Most hardware stores will cut the boards down to size for you.
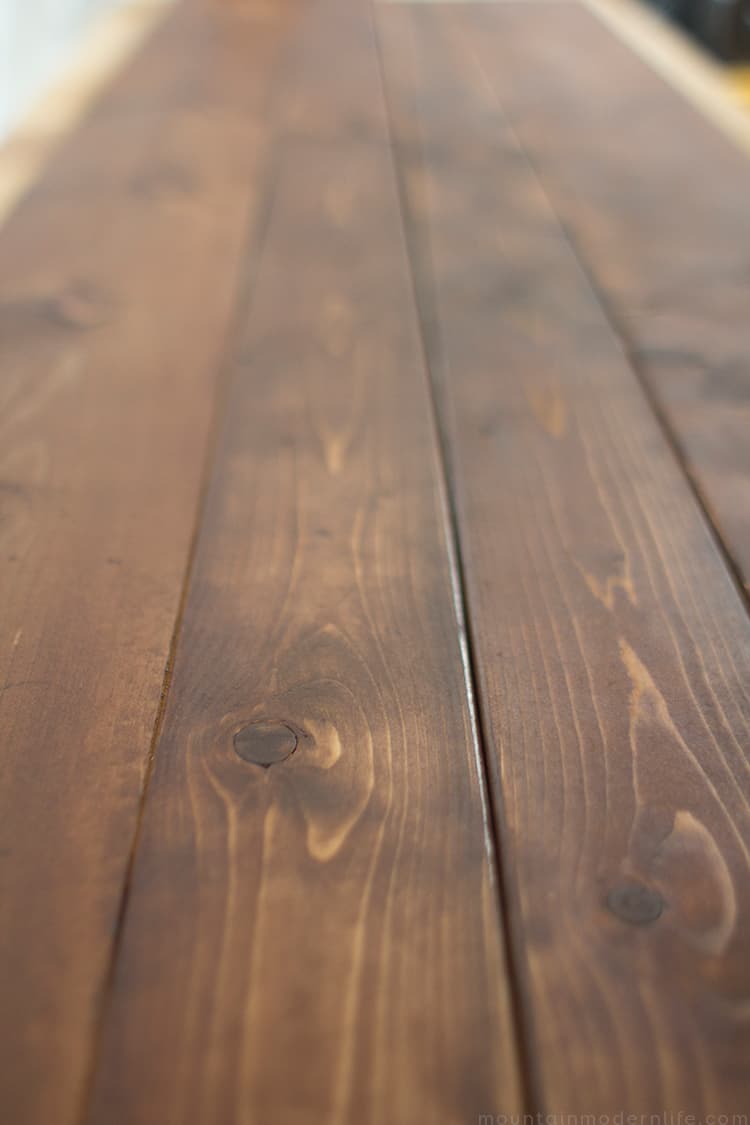
I had previously used a natural stain on this top and it was a bit faded because I never sealed it (woops) so I decided to give it a light sanding and re-stain it.
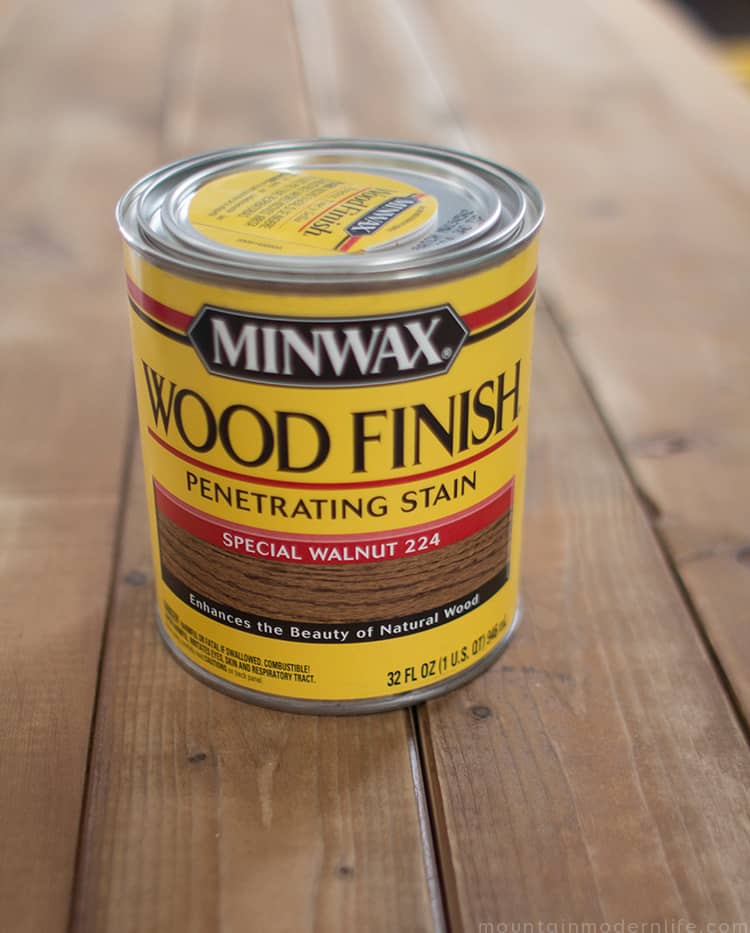
These days I try to stick to more natural or water-based stains, but back when I did this project I used special walnut, and love how the color turned out.
Here are the basics of what you will need to create your own rustic modern shelves. Depending on if you already have the wood cut to size, the only tools you’ll need are a pipe cutter and a drill. We used copper pipe because we had some leftover from previous projects, but you can use galvanized instead if you want, which is more heavy-duty and already threaded. Other options would be PVC pipe or electrical conduit pipe. Copper pipe isn’t threaded so we had to use epoxy to attach it to the pipe fittings.
** Make sure that the fittings you buy are the same size as the pipe. For example, if you use 1/2 inch pipe, make sure the flanges are 1/2 inch as well.
Wood for Shelves
Stain/Sealer
Pipe
Pipe Male Adapters
Pipe Flanges
Pipe End Caps
Pipe Cutter
Painter’s Tape
Epoxy (if using Copper Pipe)
Drill
Screws
Measuring Tape
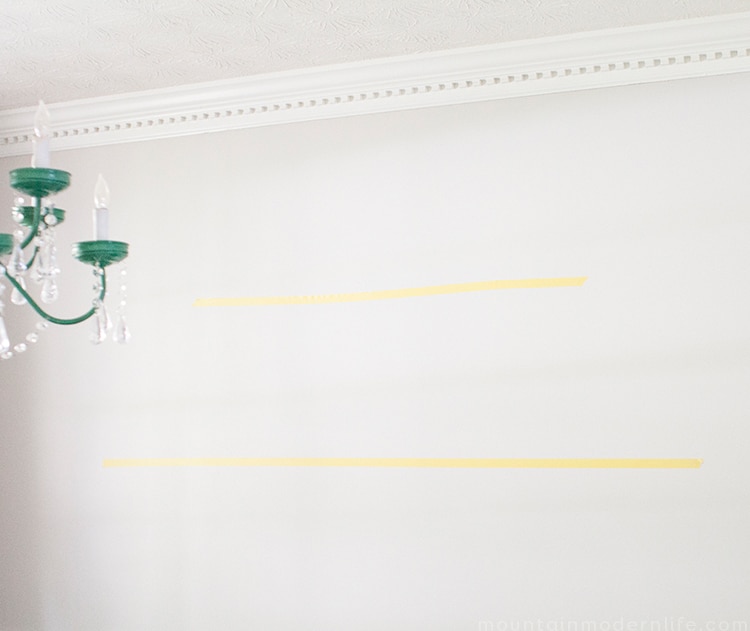
I’m very much a visual person to we taped off the areas in the dining room where the shelves would go. This helped us determine how long we wanted each shelf and where to place it on the wall.
We decided to make the top row 44″ and the bottom row was 67″.
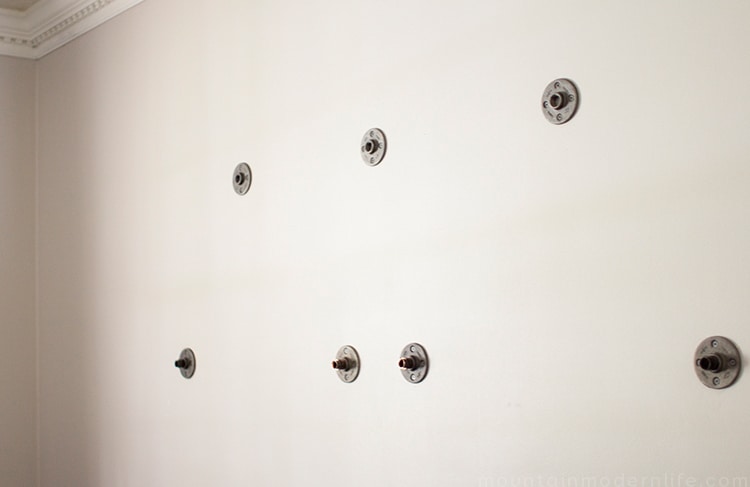
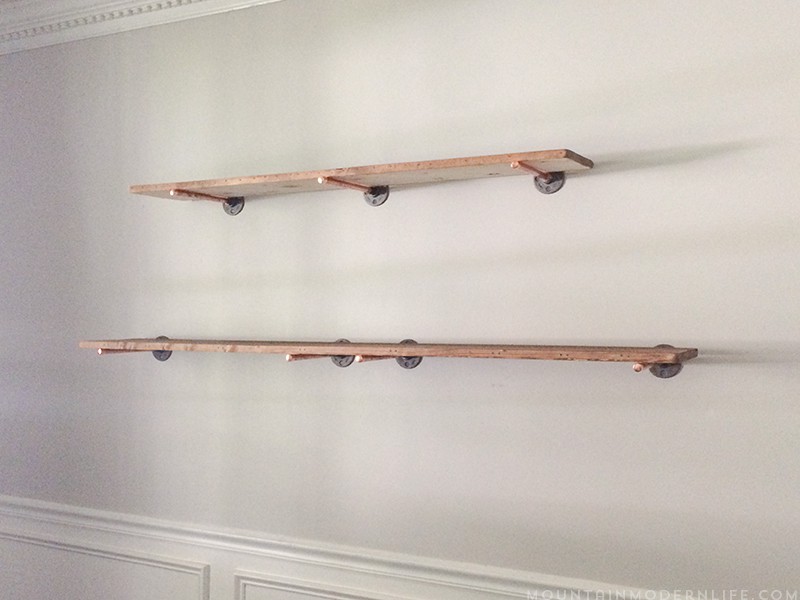
Here’s what the wall looked like, once we screwed the flanges into place – we used 7 total. You can also see some of the “male adapters” we screwed into the bottom row in the photo below:
It’s a good idea to use your stud finder to help you determine where to attach the flanges into the wall. You will also want to use anchors if you are using heavy wood or plan to display heavy items on the shelves.
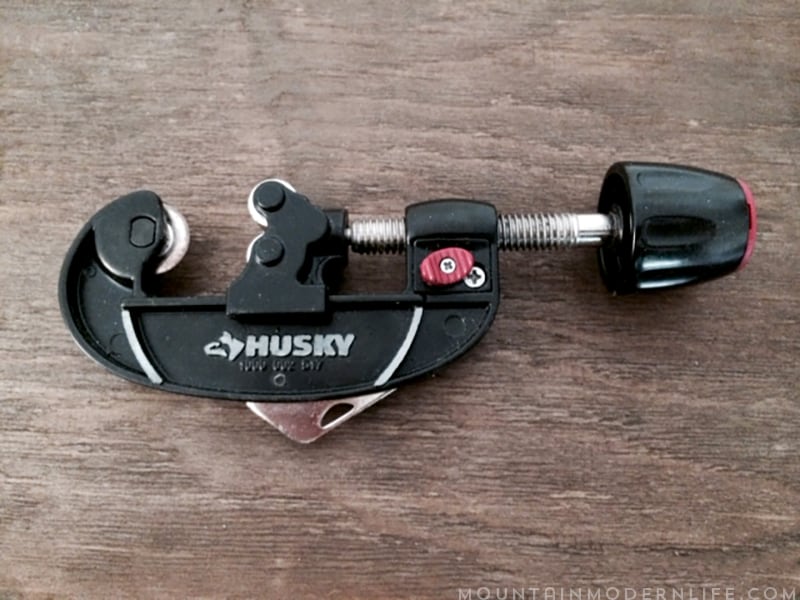
I did have to use my pipe cutter to cut the copper pipes down to size, but if you’ve never used a pipe cutter before, it’s super easy.
The pipe flanges and male adapters came out of the wall about 1 1/8 of an inch, so we decided to make our pipes 9 1/4. This way they would come out just beyond the wood shelves we had.
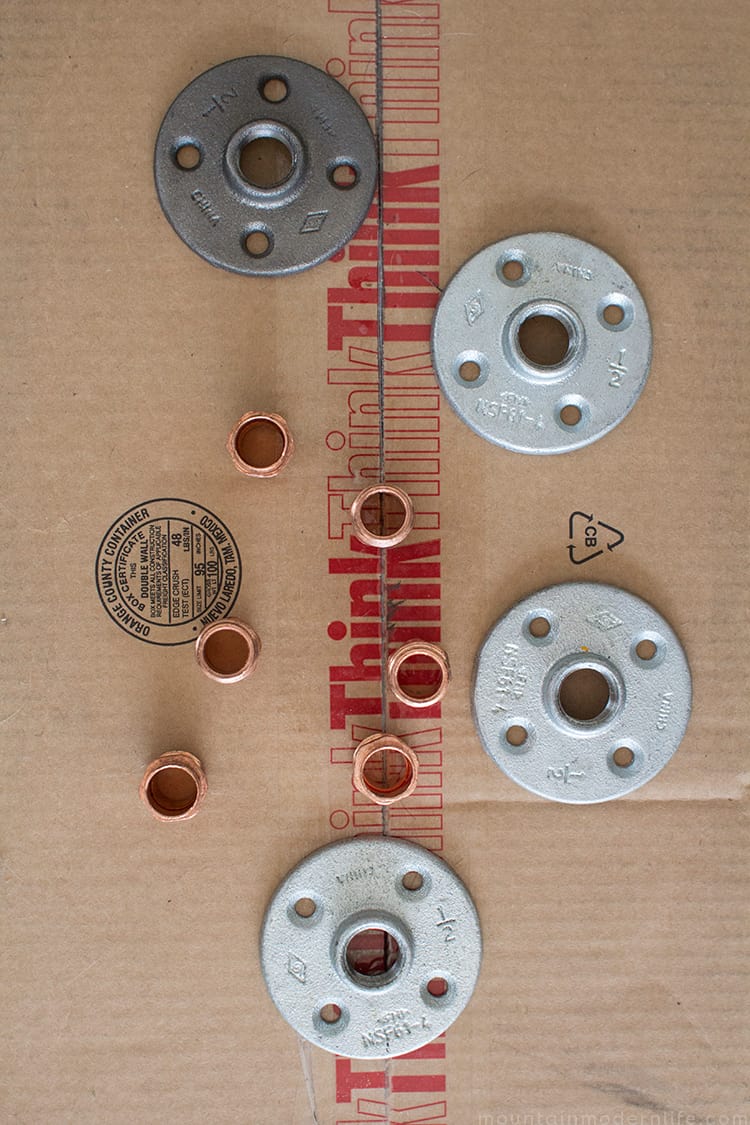
You can see some of the flanges and pipe male adapters in the photo below. I actually purchased one new flange because I couldn’t find the rest from the massive pack I purchased a while back. Of course, as soon as I brought it home and attached it to the wall, I found the bag I had with extras. Isn’t that typical? This is why one of the flanges in the photo below is a different color.
I had considered leaving the pipes copper because you know I love me some copper, but in the end, I decided to paint the pipes, adapters, end caps, and flanges all black.
Before I painted everything I did attach the pipes to the wall just to make sure everything was going to look right.
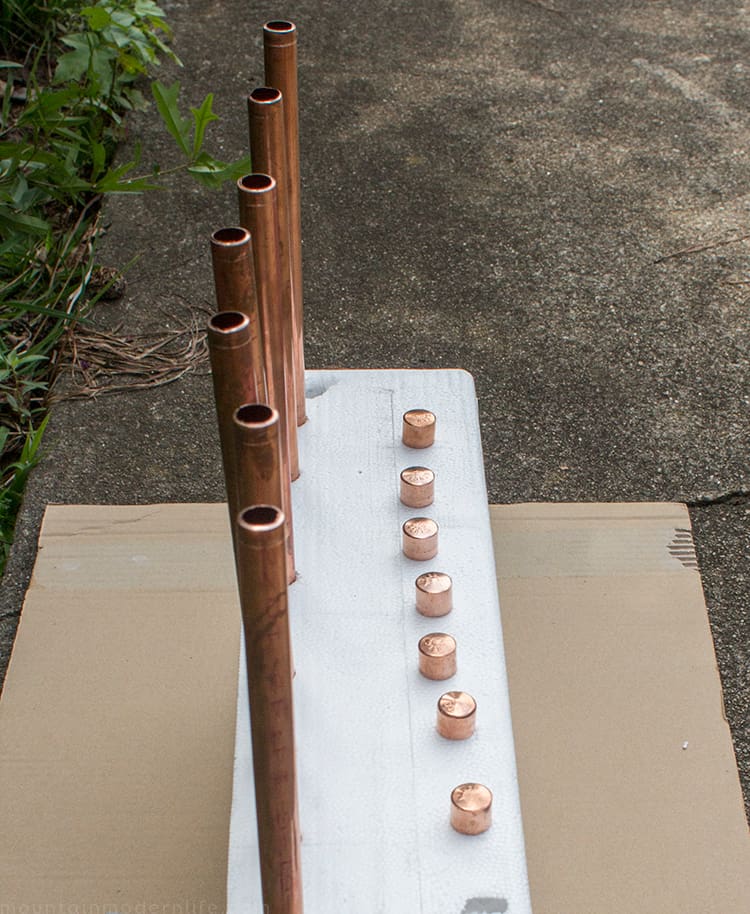
I then got everything ready to paint.
Tip for Spray Painting Pipes:
By the way, after spray painting some light fixtures recently I discovered a super-easy way to paint pipes.
I don’t have a photo of this thanks to my computer recently crashing and losing some of my photos (booooooo), but you can use fishing line – or any kind of heavy-duty string – then thread the string through the pipes. You can then hang it somewhere – either with a tarp behind it or somewhere outside and then spray paint away. Then after the first coat is dry you can easily spin the pipes on the fishing line to spray paint the areas that were missed in the first round and repeat as necessary.
This is my new favorite way of spray painting anything like pipes so I hope it will help you too 🙂
I think it’s a good idea to lightly sand the pipes or add a coat of spray paint primer before adding your first coat of color, but I didn’t do either of these things. I did add a clear coat afterward but noticed that the paint did scratch in a few areas later on – mainly because I didn’t give the paint time to cure before I put everything together. #impatientmuch
How to Create the Pipe Shelf Bracket:
The shelf bracket is made out of just 4 pieces: the pipe floor flange, male adapter, pipe, and end cap.
First, screw a male adapter into a flange on the wall. Then use epoxy to attach an end cap to one end of the pipes.
Afterward, you can add epoxy to the inside of a male adapter and slide the pipe in. Just make sure you push the pipe in all the way and hold it in place for about a minute or so. Repeat these steps until all of your pipe shelf brackets are in place. Sorry, I don’t have any great photos of this process.
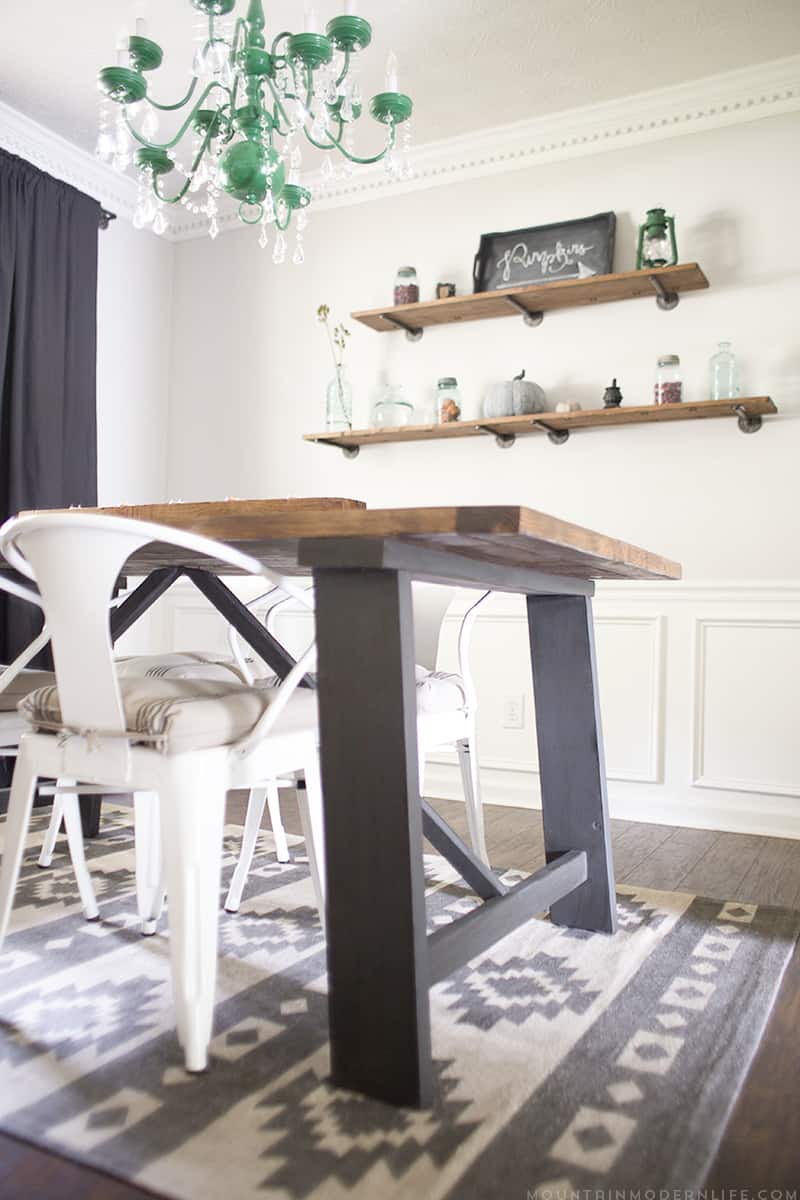
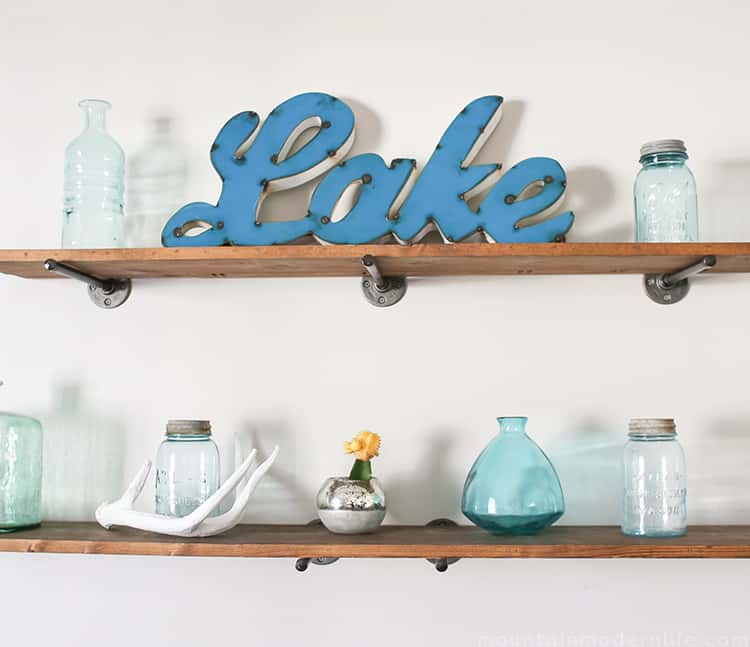
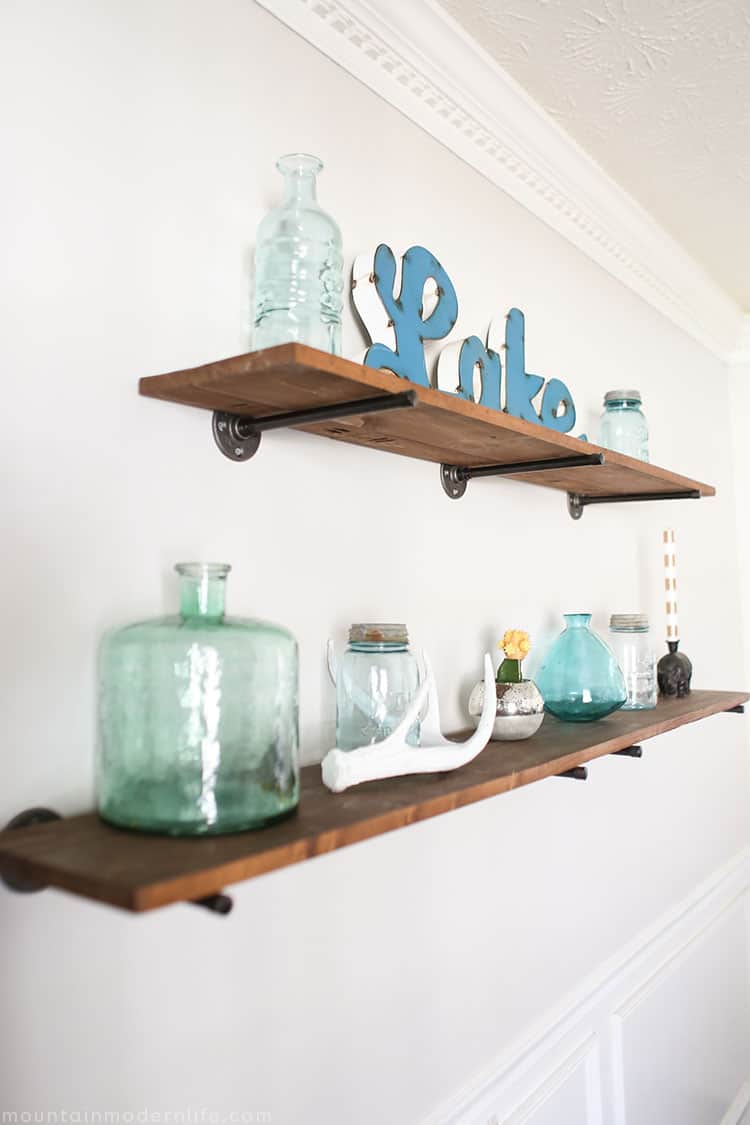
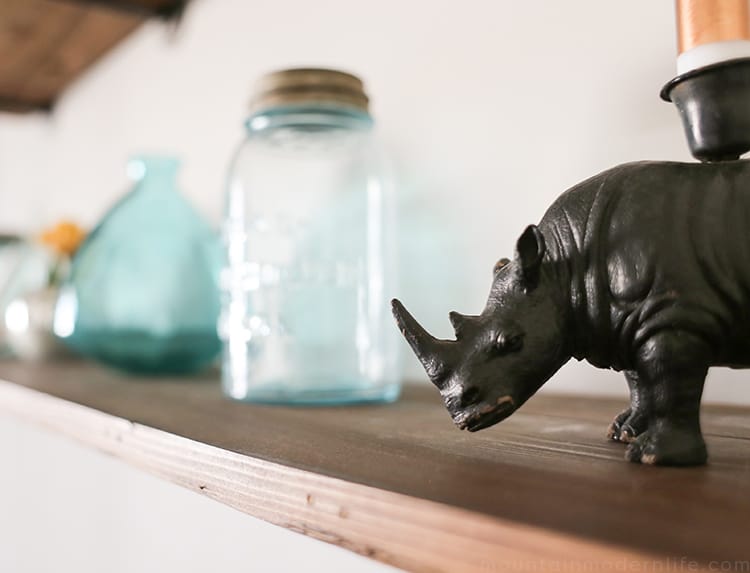
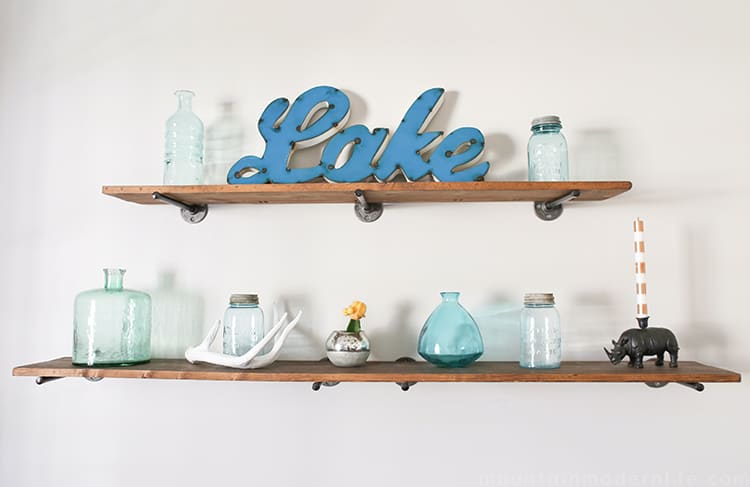
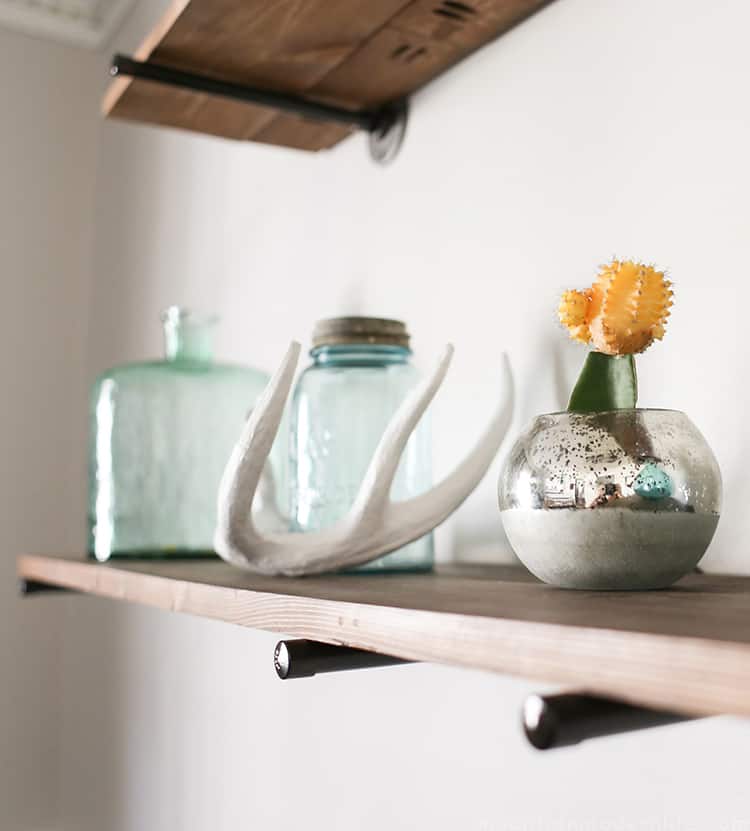
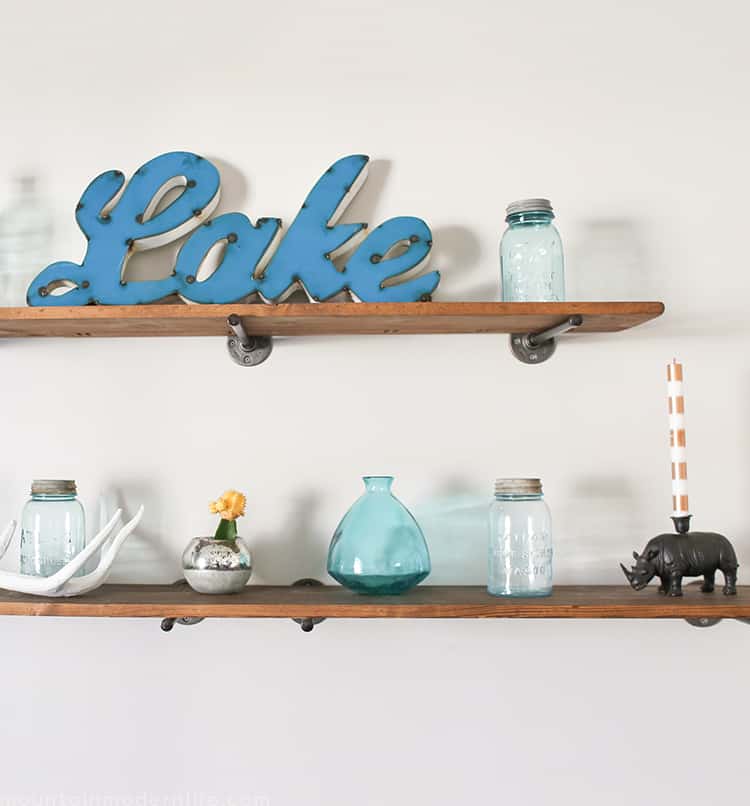
Here are our new rustic modern shelves all finished up:
I love how these rustic modern shelves turned out and it was seriously such an easy project. So what do you think?
If you have a project in mind that you’ve been going back and forth about creating, I say go for it!
By the way, with some of the remaining wood from the hairpin desk, I was able to create our rustic Christmas sign, so I’m happy that we were able to repurpose it into several projects. The hairpin legs are still awaiting their next makeover…


They look great! My husband collects lanterns and this would make a great shelve to display them!