UPDATE: All new featured RV tours will be posted on my other website, Wanderful RV Interiors. Existing tours will slowly be moved to the new website, and anything already moved will automatically redirect.
Disclaimer: This post may contain affiliate links, meaning, if you click through and make a purchase we (or those featured in this post) may earn a commission at no additional cost to you. View our full-disclosure here.
If you’ve been following along with the One Room Challenge, then you know today marks the 6th week and therefore the reveal day, woo-hoo!
For those that are new here, the One Room Challenge is an interior design event that happens twice a year where bloggers have the opportunity to transform one room over a 6 week period. The plan is to transform our 2008 Tiffin Allegro Openroad 32LA into a Mountain Modern Motorhome, so during the challenge we decided to focus on the front of our RV. You can read more about it in Week 1, check out our inspiration and plans in week 2, and see the progress we made in week 3 and week 4, and week 5.
And as it turns out, 6 weeks went by A LOT faster then we could have anticipated. I mean, it went CRAZY fast!
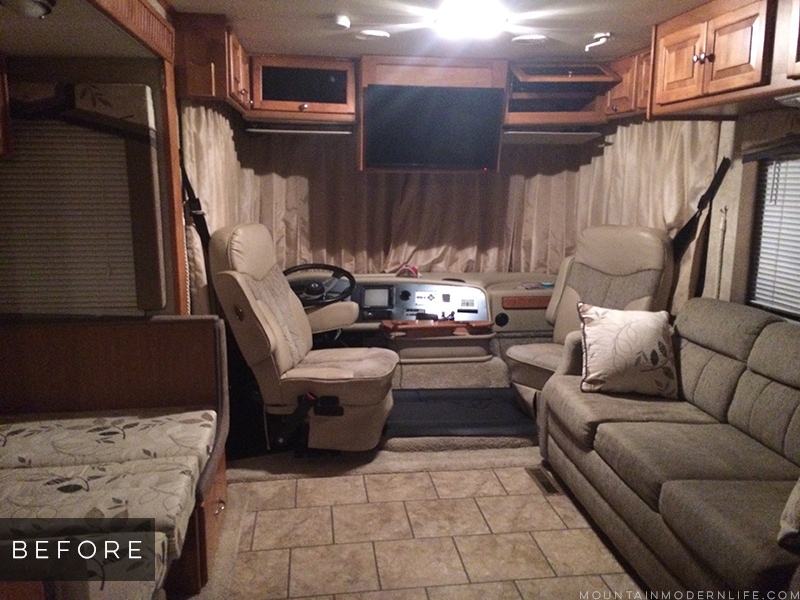
As a refresh, here’s what our RV looked like when we bought it:
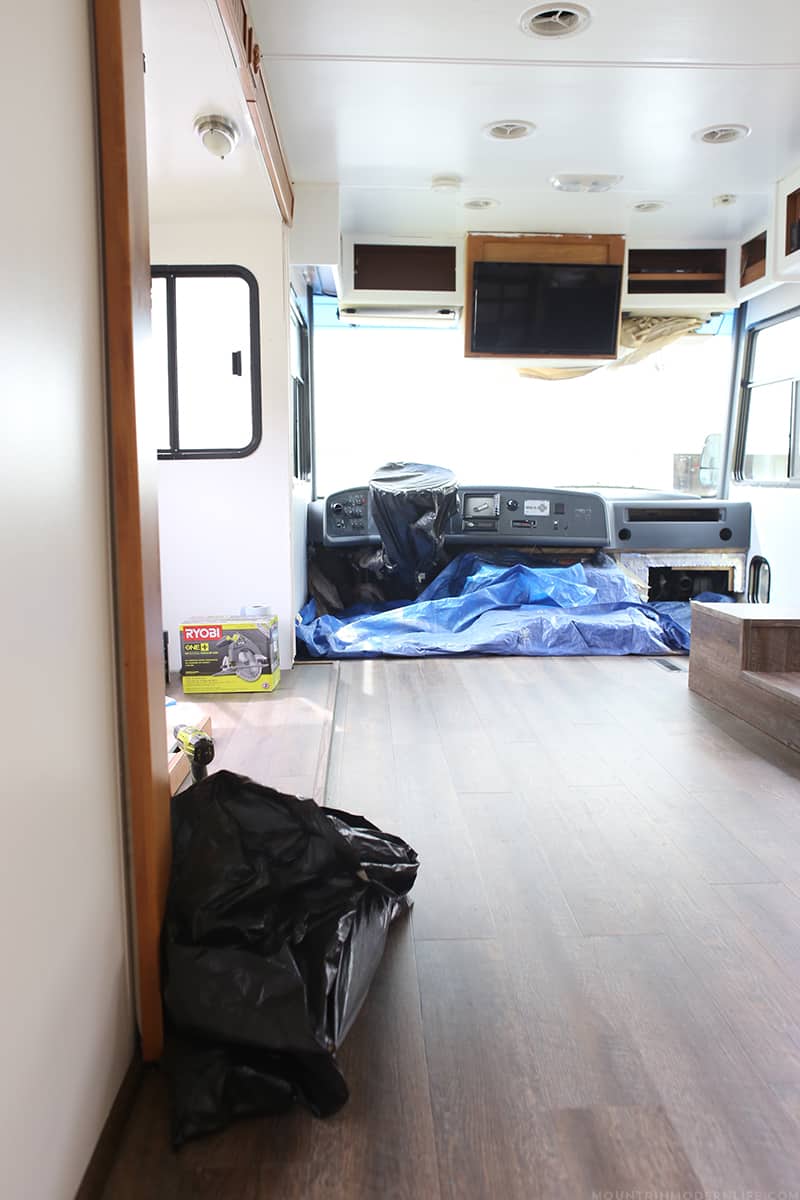
Here’s what it looked like 6 weeks ago:
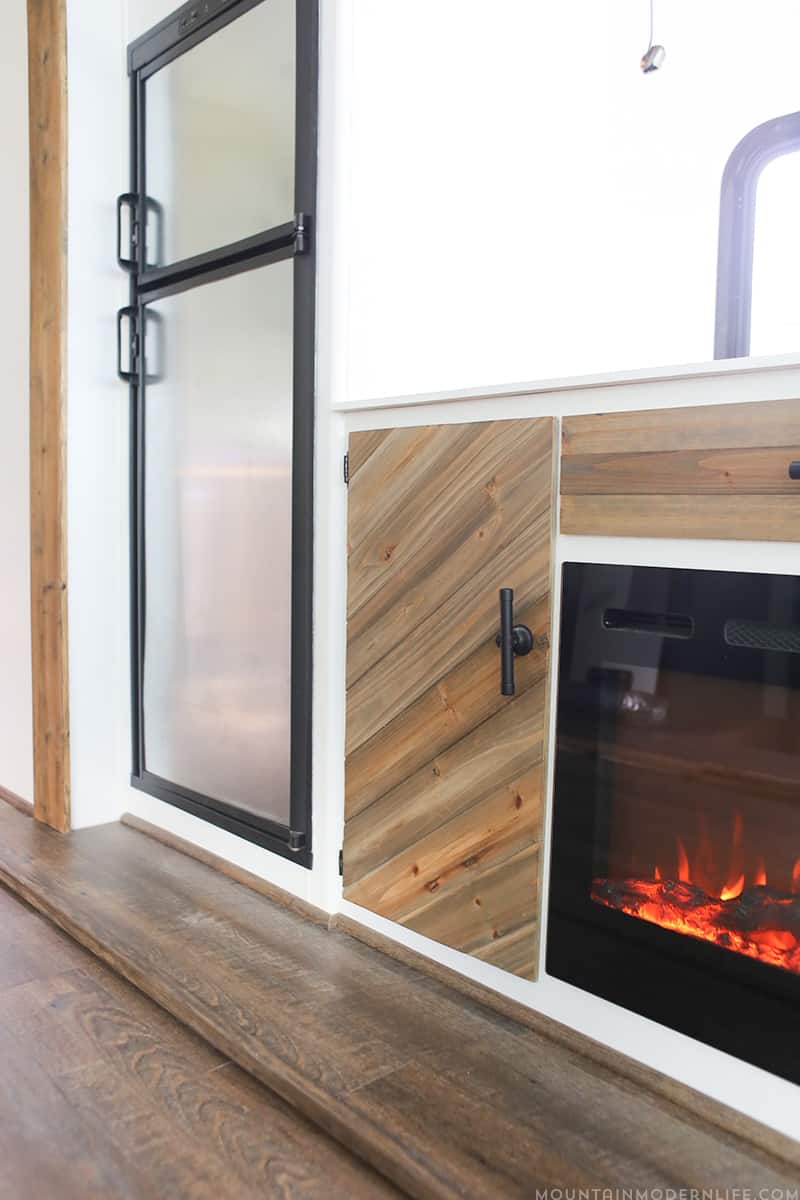
And this is what it looked like today:
ORC Week 6: Rustic Modern RV Renovation Progress
Okay okay so we didn’t get nearly as much completed as we had hoped and I’m bummed about it, but we worked really hard these past few weeks and so I’m really proud of what we did accomplish.
We knew the renovation would continue after the One Room Challenge since we still have the kitchen, bath, and bedroom, but joined in as a guest participant for the motivation. And motivate it did! I’d like to think we got a lot more accomplished than we would have otherwise, despite all of the roadblocks we hit along the way.
One Challenge, Two Challenge, Three Challenge, Four
There were a lot and I mean A LOT of challenges with our RV renovation. We spent a lot of our time just doing research as a lot of the items we are building are custom and we didn’t find any exact plans to go off of. On top of that, we need to keep weight in mind so just because I love something, doesn’t always mean it’s practical.
I think our biggest issue with finishing was focusing on too many areas at one and making a few too many trips to the hardware or lumber store because we didn’t have everything we needed, then thought we did, then had to adjust our plan, then had to go back to the store and so on. Or realizing what we needed had to be ordered online because we couldn’t find it locally. I had saved a bunch of information and had secret boards up the wazoo on what I wanted for the RV, but when it came down to it a lot of those items wouldn’t work due to size, weight or cost.
We had also worked on some kitchen projects and then realized there was no way we could finish everything in 6 weeks and then focused all of our attention to everything in front of the kitchen instead. We lost some time because of this but at least now a couple of kitchen projects are ready to go.
Finding a balance between design choices that also work in a moving vehicle isn’t always easy, but I strangely enjoyed the challenge 🙂
We are obviously rookies at this whole renovating thing, but I think the next area we focus on will go a lot smoother. At least I hope so.
Dang, it got hot!
Did I mention it got super hot here this past week? We have our RV parked in our neighbor’s driveway since ours is sloped so we try to only work in there during the day and then not run the generator unless absolutely necessary, which happened a few times. Let me tell you, things got hot up in there! On the plus side, I think I lost a few pounds, haha.
And the Renovation Continues…
Anyway, the front still needs some work, but we are happy with how it looks so far.
The plan is to continue to update the front of the RV over the next week and then move onto the kitchen area. We still need to finish the sofa, build the cabinet where the TV previously was upfront, finish up the trim, install our light fixtures, install the blinds, put back the passenger’s captain’s chair, make a few other tweaks here and there and THEN we can focus more on some of the decor.
I thought about quickly putting up some of the fun accessories/decor but with projects still being unfinished, I didn’t want to do it just for the sake of this post. Not to mention we have to be really careful what we attach to the walls of the RV and I don’t want to do something quick and then realize I should have thought it out a little better.
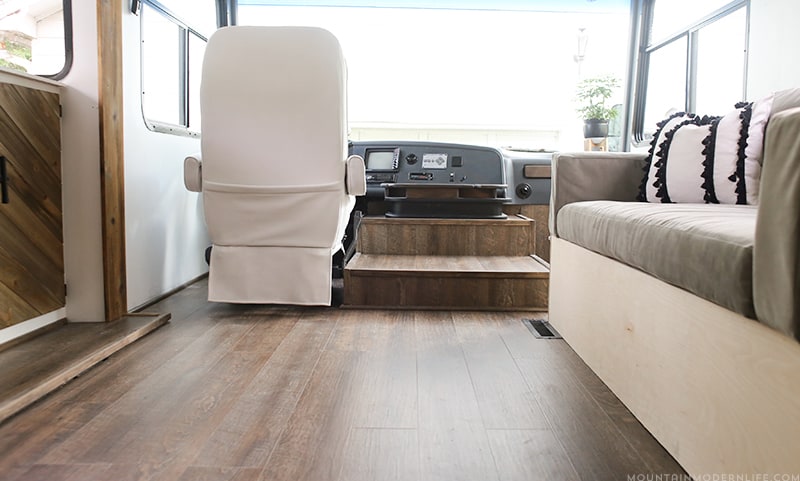
Here are a few photos of the progress we have made so far in transforming our RV into a rustic modern motorhome:
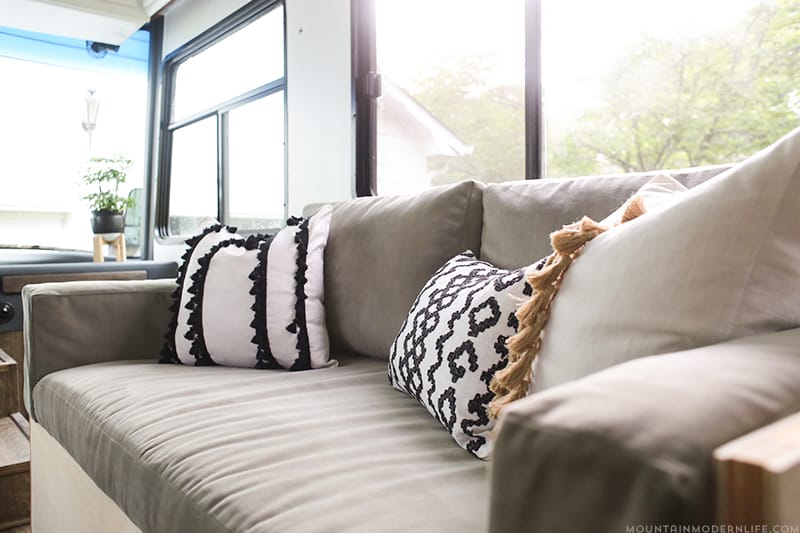
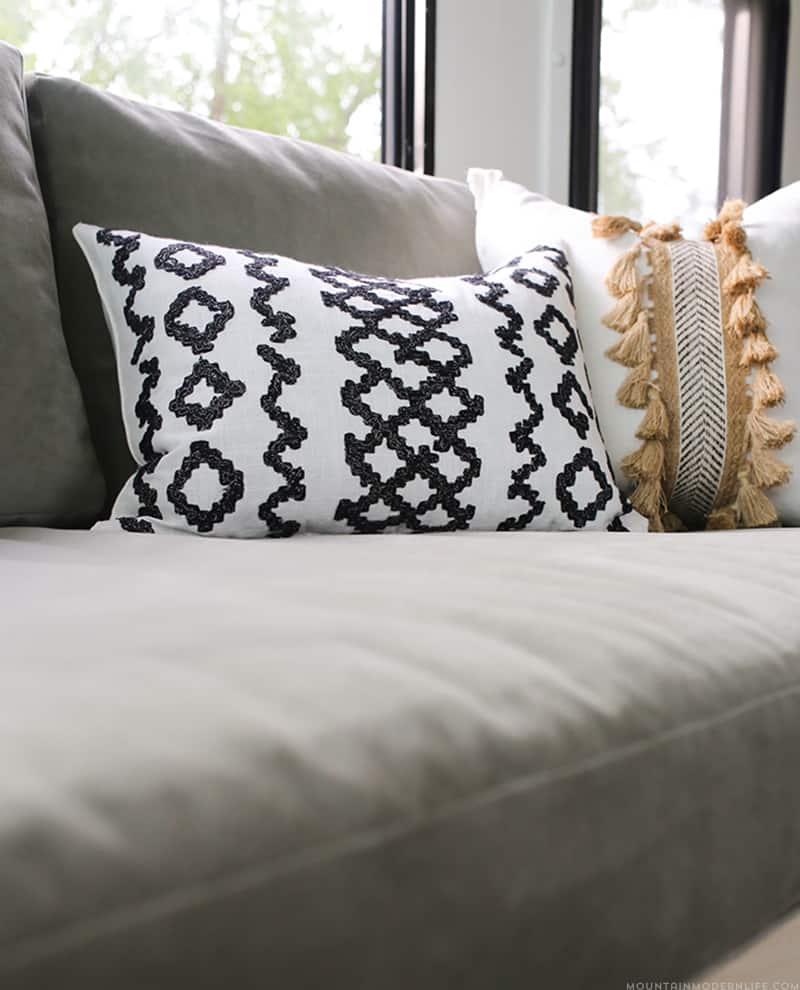
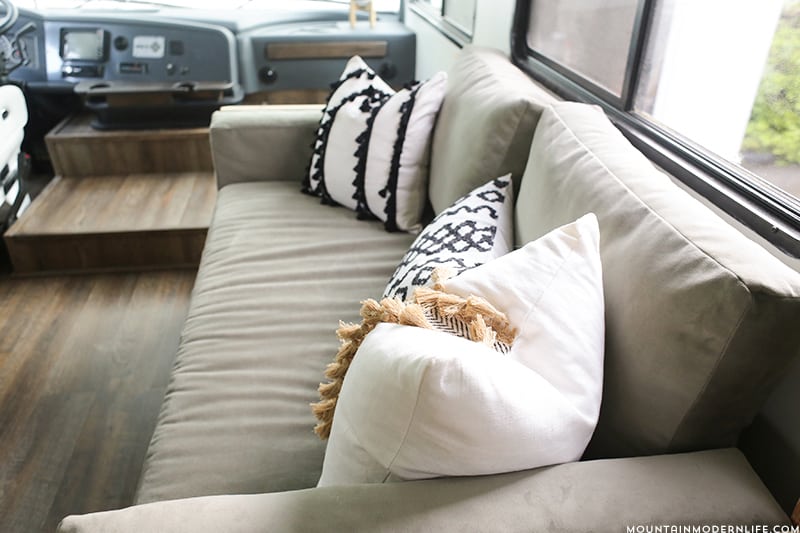
We still have to finish up the storage sofa and narrow storage behind it as well – it’s about 85% done. We’ve never built a sofa before but Eric is a freakin’ champ and my mom made the cushions for it – aren’t they awesome?! I’m sure she’s freaking out because I didn’t smooth out the fabric before taking the photos, haha.
All of the pillows were a DIY since I couldn’t find what I loved at a price I was okay with paying.
Oh and in case you’re wondering, we didn’t install the passenger chair yet because we need to install our windshield blinds. That’s on the agenda for this weekend and we figured they would be easier to install without the chair there.
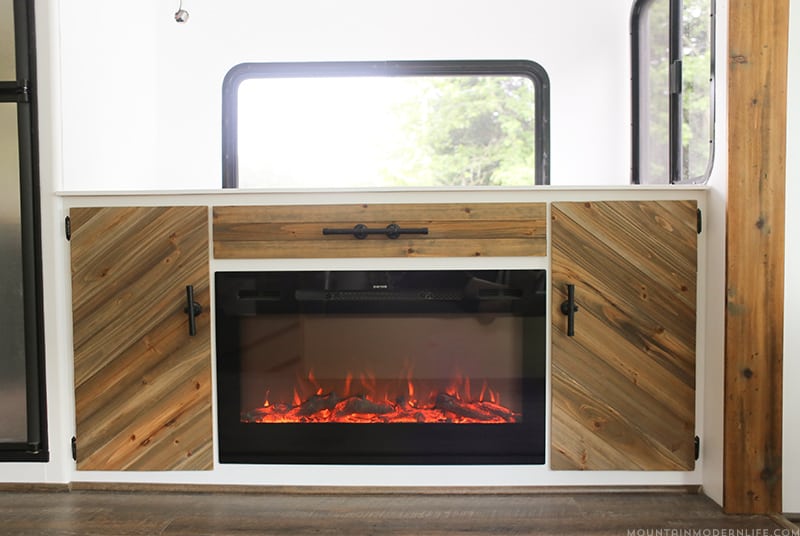
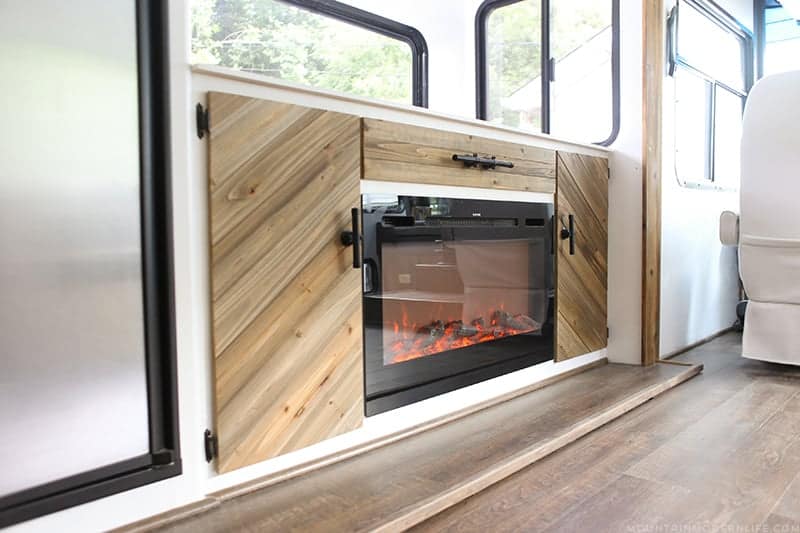
Of course, our favorite project is our new custom media cabinet! It has a TV lift and an electric fireplace AND an extending table, whaaaaaa? We need to make the table leaves so we’ll share that next week.
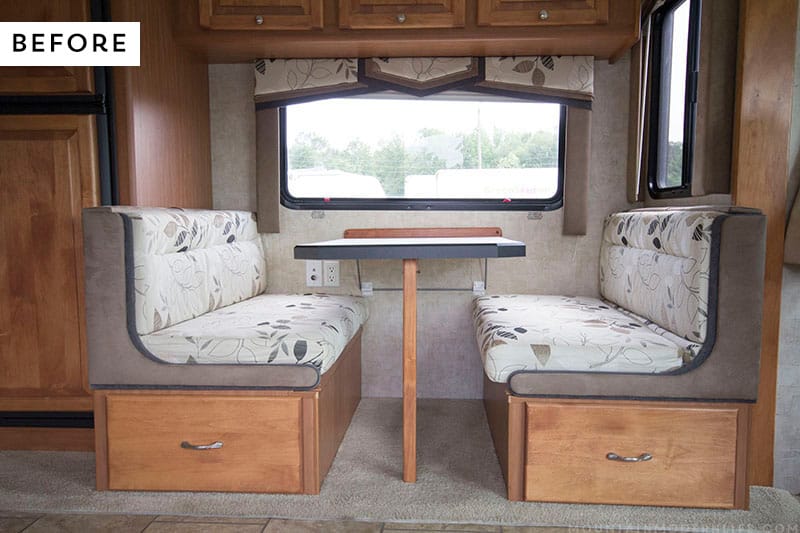
There was previously a dinette booth in the slide-out, but we knew we wanted something more functional with a bit more design to it. Here’s a before photo:
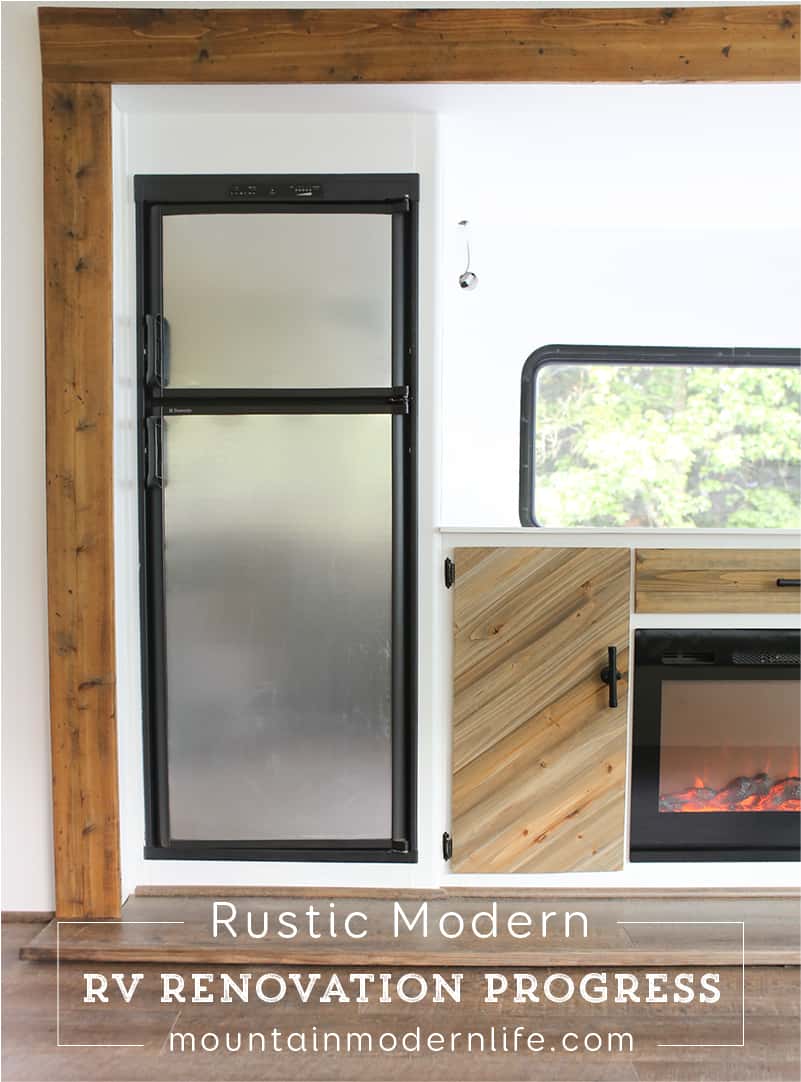
And this is what that space looks like with our new rustic modern cabinet:
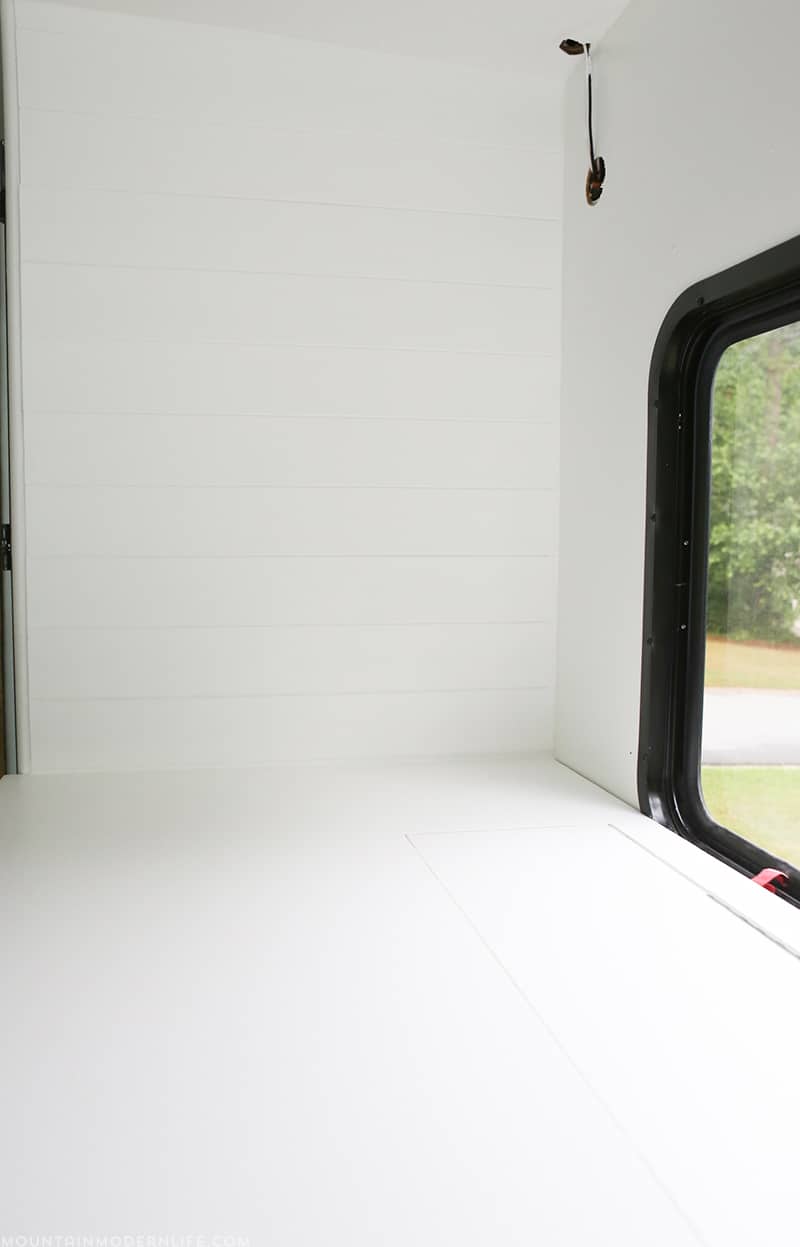
I also added a small shiplap accent wall to one side of the media cabinet. It’s not perfect and of course I had to do it on a ceiling that sloped but I still love how it turned out. I have plans for wall storage as well as a solution for hiding those holes you see to the right, but we didn’t get to those projects in time.
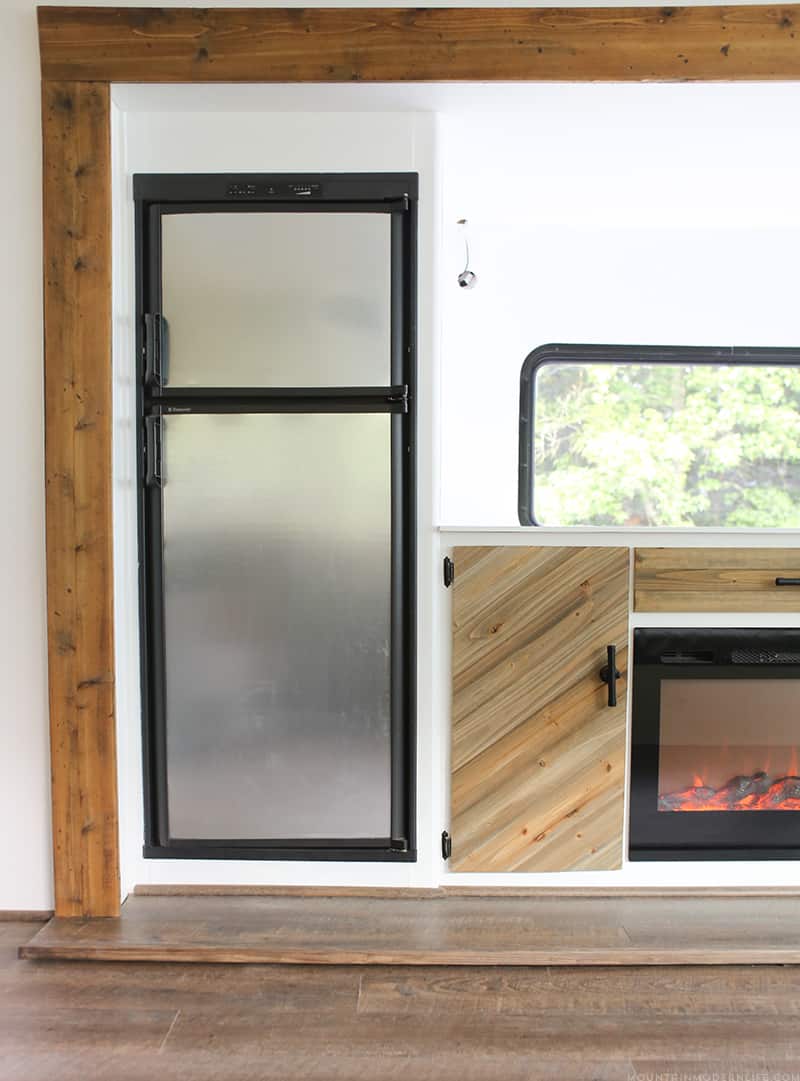
We used cedar that I distressed and stained for a lightweight, rustic frame around the slide-out. I would have loved to use reclaimed wood but it was out of budget and difficult to find wood that wasn’t crazy heavy.
I also love how our new fridge panels turned out. It’s just galvanized sheet metal that we cut to size. It’s magnetic and can be used as a dry erase board. Not to mention it’s waaaaay lighter than the wood panels that were previously in there.
Well, that about wraps up what we accomplished in 6 weeks. So what do you think so far?
Here are the projects we worked on the past 6 weeks:
- Replaced Ceiling Panel
- Sealed Kitchen Cabinets ( then decided to skip the kitchen area for this challenge)
- Re-installed the slide-out Flooring
- Installed our Custom Engine Cover and CupHolder
- Created and Installed Custom Firewall Cover
- Trimmed out Front of RV driver area
- Sealed Kitchen Cabinets
- Painted our Captain’s Chairs
- Built Custom Media Cabinet with TV Lift and Fireplace
- Sealed Kitchen Cabinets
- Created Shiplap Accent Wall
- Sealed Kitchen Cabinets
- Rebuilt new cabinet for upfront (door needs to be installed)
- Painted and installed upper cabinets
- Sealed Kitchen Cabinets
- Started Narrow Sofa Table/Storage Build
- Sealed Kitchen Cabinets
- Sealed Kitchen Cabinets
- Caulked cabinets and walls
- Sealed Kitchen Cabinets
UPDATE: Check out our Renovated RV Tours HERE!
Check out the other Room Reveals!
Get those pinning fingers ready by checking out each blogger’s room transformations. And I’m telling you they are AMAZING! You can find links to the invited design blogger’s rooms HERE and the guest participants HERE.
Are you planning a room transformation? I’d love to hear about it in the comments below!

Hooray for electric fireplaces! This looks like it was SUCH a fun project! I LOVE how it turned out! Makes me want an RV…and for a non-camper-type, that is saying A LOT 🙂 Congrats. It’s a gorgeous space!
Thank you Heather! I’m bummed we didn’t finish everything we wanted but I love how it’s coming along!
Holy smokes! You two are absolute rock stars! Look at how far you’ve come … it looks so warm and inviting! LOVE all that wood!!!
Thanks Kristi! I knew I wanted some rustic wood in there, but we definitely have to be smart about our choices so it doesn’t add too much weight 🙂
It looks amazing! That fireplace is incredible! So much brighter already.
Thanks Madeline! I am pretty obsessed with that fireplace, it will certainly help keep us warm. Of course I also love that we can have it turned on for ambiance but don’t have to turn on the heat, which is nice 🙂
Looks great! So warm and modern. I love that fireplace.
Thank you so much Emy!
Wow this is the coolest motor home ever! That media cabinet is amazing!
Thanks Dara! I wish we could have finished more in the past 6 weeks, but am looking forward to the rest of the projects we have planned 🙂
I can’t wait to see all that you’ve done to the RV. We’ve owned an RV for many years. We currently don’t have one but hoping in the next few years. I literally cannot stand the interiors of RV’s. They are so ugly. I will be doing my own renovations also. So,it’s so nice to see what you’ve both done.
Amazing!!! Great job thinking outside the box!
Thanks Toni! I know what you mean, even brand new RVs have some of the worst interiors! Not to mention I don’t want our home on wheels looking like every other motorhome out there. It’s been a challenge but it’s been fun and a great learning experience too 🙂
You DIY’d the pillows???? Love them! I love the bright white and wood combo also!
Thanks Kemley! What’s funny is I was having trouble finding pillows I LOVED that were not crazy expensive and after spending too much time online and out and about, I finally decided just to make my own. Of course afterwards I found a slew of awesome pillows more in line with what I was looking for at HomeGoods, haha. And of course they didn’t have anything the 23487239482 times before that but isn’t that the way it goes? I still love how ours turned out though )
Just AWESOME! Your the first RV ORC btw, I’m sure since I read all of them! Love the changes you you made! Congrats and CHEERS to us for another room/RV done!
I love the fireplace. What are you doing for a table/ chairs to eat/computer use? We are pulling our mh apart this summer. My husband wants to tear out sofa and put in a desk for computers. It’s not practical if anyone spends the night. Your sofa is making me think we could do a shelf table that drops down for a bed.
Thanks Thelma! The middle drawer of the media cabinet actually slides out into a table, which we will use as our dining table/work area. You can see a sneak peek at the link below:
https://mountainmodernlife.com/installing-tv-lift/
We’ll be writing up a more detailed post in the near future 🙂
I love your idea for a table/bed!
Katie
This makes me want to get an RV and trek around the country! I love how this is coming along 🙂 Pretty please continue to post updates!
This is going to be fantastic when you finish as you have already made great progress! What a fun project! I love the progress so far!
Thank you much Pat! We are going to be hitting the road here soon with a lot left to do 🙂
Do you have a post with the updated extending table!?! I’m so anxious to see how it turned out!
Thank you much! We couldn’t wait for it to be up either, we will have a post come out next week that shows the final project, and how we made it 🙂
My husband, myself and our 3 kiddos are prepping to hit the road full time and your blog is a God send. 23 have similar styles and you are showing us its possible to maintain your style while living in a RV. I have a question though- you mention that you put in shiplap but I need details please?!? This is my dream but didn’t think it was possible. Is there another post where you share what and how you did this?
How exciting Sarah! When do you plan to take off?
We actually just used tongue and groove that we painted white, which kept the process super simple. We did the same thing for our kitchen backsplash and then we used pine tongue and groove in the hallway and bathroom. We don’t have any of those posts up yet… but are slowly getting them added to the blog. In fact, we plan to have the backsplash post up by next week.
You can always use plywood cut into strips for the shiplap look though. It’s actually cheaper and gives more of the appearance of shiplap in my opinion. We were just in such a rush that we did the tongue and groove because it was quicker. They also make wallpaper that looks like shiplap so that’s another option. The main thing when it comes to updating the RV is keeping weight down. I’d say that’s been our biggest challenge so far, especially because I just want to add rustic wood everywhere! 🙂
It looks so pretty! Love your colors! We need to get rid of the refrigerator panels also. Can you give details on locating the galvanized sheet metal and what gauge did you use? How did you cut it?
Thanks Emy! We actually have a post/video about it here:
https://mountainmodernlife.com/rv-fridge/
Looks like I need to update the links on this post 🙂
Katie